Replacing a pull chain lamp socket may seem like a daunting task, but with the right tools and instructions, it can be a straightforward DIY project. Whether your pull chain is stuck, broken, or simply worn out, learning how to replace it can save you time and money while restoring functionality to your lamp.
This guide on how to replace pull chain lamp socket will walk you through the steps to safely and efficiently replace a pull chain lamp socket, ensuring your lamp works like new again.
Why Replace a Pull Chain Lamp Socket?
Pull chain lamp sockets are one of the most common types of lamp sockets, used in table lamps, floor lamps, and other lighting fixtures. They feature a built-in pull chain mechanism that allows you to easily turn the lamp on and off without having to fiddle with a switch or cord.
Over time, however, these pull chains can become stuck or break due to wear and tear. This can result in an unusable lamp and the need for a replacement socket. Replacing a pull chain lamp socket is also necessary if you want to change the type of bulb your lamp uses, as different sockets accommodate different types of bulbs.
Materials You Will Need
To replace a pull chain lamp socket, you will need the following materials:
A Replacement Socket:
You can find these at most hardware stores or online. Make sure to choose a socket that is compatible with the type of bulb you want to use, such as a standard incandescent bulb or a candelabra bulb.
Wire Cutters:
These will be needed to cut the wires connecting the old socket to the lamp.
A Screwdriver:
Most lamps have screws holding the socket in place, so you will need a screwdriver (usually Phillips head) to remove them.
Electrical Tape:
This will be used to secure and insulate the wires after they have been connected to the new socket.
7 Steps on How to Replace Pull Chain Lamp Socket
Step 1: Unplug the Lamp
Before beginning any work, ensure the lamp is unplugged from the electrical outlet. This step is critical for your safety as it prevents the risk of electrical shock while handling the wiring or socket components.
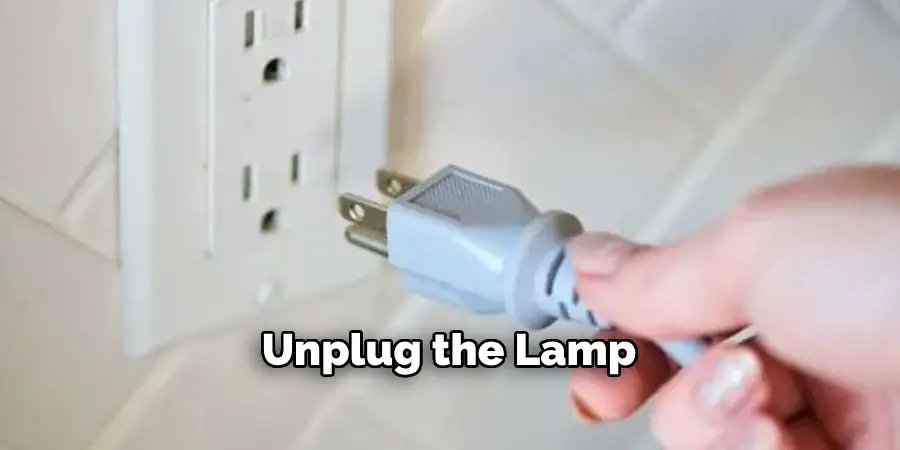
Always double-check that the lamp is not connected to a power source before proceeding. If the lamp was recently in use, allow it to cool down before unplugging and beginning the replacement process.
Step 2: Remove the Bulb and Shade
Carefully unscrew the light bulb from the socket and place it in a safe location to avoid breakage. Next, remove the lamp’s shade by following the specific method for your lamp model.
This may involve unscrewing a finial, unclipping the shade, or loosening any other attachment mechanisms. Removing the bulb and shade provides clear access to the socket area and minimizes the risk of damaging the lamp components during the replacement process.
Step 3: Locate and Remove Lamp Socket
Carefully examine the base of your lamp to locate the socket. Depending on the type of lamp, you may find it hidden under a removable cover or exposed directly on the base.
Using wire cutters, gently snip off any zip ties or clips holding the wiring in place. Then, gently pull out the socket from its position.
Step 4: Disconnect Wires from Socket
Once you have removed the socket, carefully examine it for any signs of damage or wear and tear. If it looks worn out or damaged, it’s best to replace it entirely rather than trying to repair it.
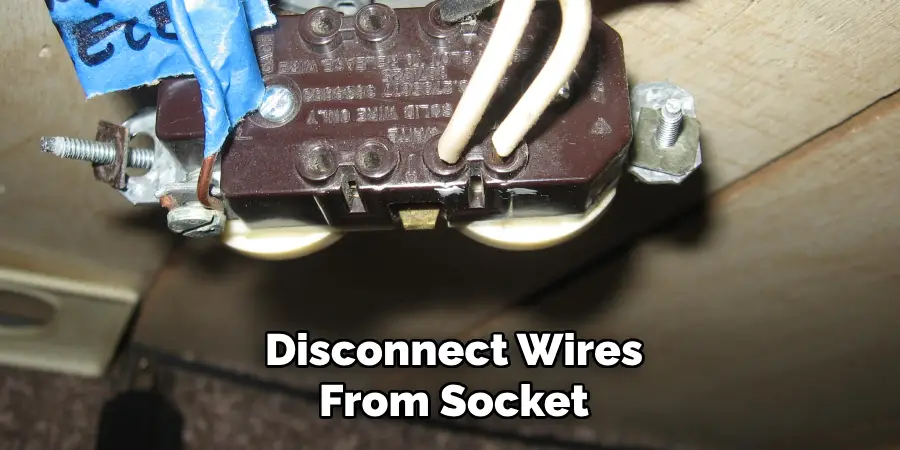
Next, take note of how the wires are connected to the socket. In most cases, there will be two wires – one neutral wire (usually white) and one hot wire (usually black). Some lamps may also have a ground wire (usually green or bare). Using a pair of wire cutters, carefully snip the wires near the base of the socket. Make sure to leave enough length on the wires so that you can easily reconnect them later.
Step 5: Prepare New Socket
If you are replacing the old socket with a new one, make sure to choose a socket that is compatible with your lamp and its wattage. You can find this information on the old socket or in your lamp’s manual.
Before attaching the new socket, strip off about half an inch of insulation from the ends of the wires. Twist the copper wire strands together tightly to create a secure connection.
Step 6: Connect Wires to New Socket
Next, carefully connect the black (hot) wire to the brass terminal on the new socket and tighten it with a screwdriver.
Then, connect the white (neutral) wire to the silver terminal and tighten it as well. If your lamp has a third green or bare wire for grounding, attach it to the green screw on the new socket.
Step 7: Reassemble Lamp and Test
Once you have securely connected all wires, reattach any additional components that were removed such as screws or covers. Place a new light bulb into the socket and plug in the lamp. Turn on the switch to test if the bulb lights up.
If everything is working properly, congratulations! You have successfully rewired your lamp and it’s now safe to use again.
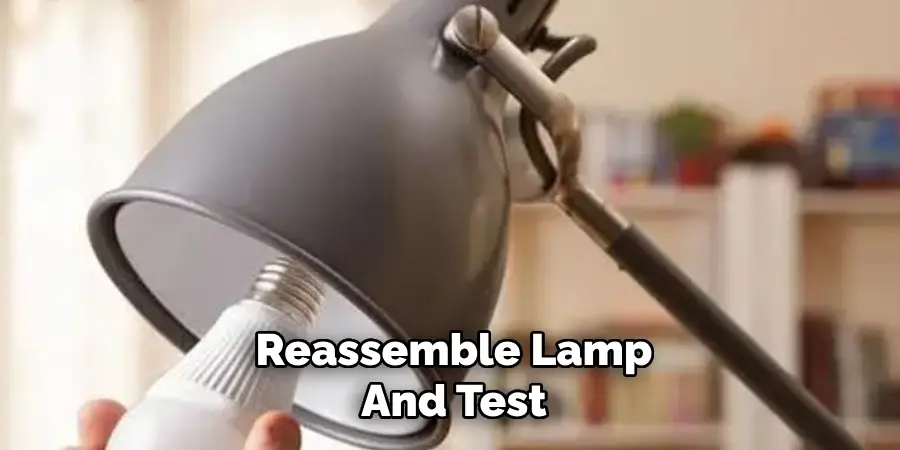
Following these steps on how to replace pull chain lamp socket ensures that you have safely rewired your lamp.
Safety Tips
- Always unplug lamps before attempting any repairs or maintenance.
- Use caution when handling wires and electrical components.
- If you are unsure about anything, consult a professional electrician for assistance.
- Never touch exposed wires or terminals while the lamp is plugged in.
- Regularly inspect lamps for frayed cords or other potential hazards.
- When making repairs, use only replacement parts that are compatible with your specific lamp model.
- Keep lamps away from water or other liquids to avoid electrical shock.
- Clean the lamps regularly to prevent dust buildup, which can be a fire hazard.
- If you notice any strange smells or smoke coming from your lamp, immediately unplug it and seek professional help.
Do You Need to Use Professionals?
When it comes to ensuring the safety and functionality of your lamps, there are times when consulting a professional is essential. If you encounter complex electrical issues, such as flickering lights, damaged wiring, or persistent problems after repairs, it is best to reach out to a qualified electrician or repair specialist. Attempting to fix advanced electrical problems without the proper tools or expertise can be dangerous and may lead to further damage.
Additionally, professionals can help identify underlying issues, recommend suitable replacement parts, and perform repairs in compliance with safety standards. Professional restoration can also help preserve the quality and longevity of vintage or high-value lamps.
Frequently Asked Questions
Q: How Often Should I Clean My Lamp?
A: It is recommended to clean your lamp at least once a month, or more frequently if it is located in a high-traffic area or collects dust quickly. Regular cleaning not only helps prevent dust buildup but also ensures that your lamp is functioning properly and safely.
Q: What Type of Light Bulb Should I Use for My Lamp?
A: The type of light bulb you use will depend on the specific lamp model. It is important to check the manufacturer’s instructions or consult with a professional to determine the correct type and wattage of light bulb for your lamp. Using the wrong type or wattage can potentially damage your lamp or create a fire hazard.
Q: Can I Leave My Lamp On Overnight?
A: It is generally not recommended to leave a lamp on overnight, as it can be a safety hazard and increase energy consumption. However, if you need to leave a light on for security purposes or in case of an emergency, make sure to use energy-efficient bulbs and keep the lamp away from any flammable materials.
It is also important to regularly check and replace old or damaged light bulbs to prevent any potential issues. Ultimately, it is best to turn off your lamp when not in use for extended periods of time.
Q: Can Using Energy-Efficient Light Bulbs Make a Difference in Reducing My Electricity Bill?
Yes, absolutely. Swapping traditional incandescent light bulbs for energy-efficient ones like LED or CFL bulbs can result in significant cost savings on your electricity bill. These types of bulbs use less energy to produce the same amount of light, making them more efficient and cost-effective in the long run. Additionally, they have a longer lifespan compared to traditional bulbs, meaning you won’t have to replace them as often.
Conclusion
Switching to energy-efficient lighting is a simple yet impactful way to reduce electricity costs and promote sustainability. Not only do LED and CFL bulbs consume less energy, but their longevity also minimizes waste and the need for frequent replacements.
By making this small change, homeowners can contribute to a greener environment while enjoying significant savings over time. Thanks for reading this article on how to replace pull chain lamp socket.

