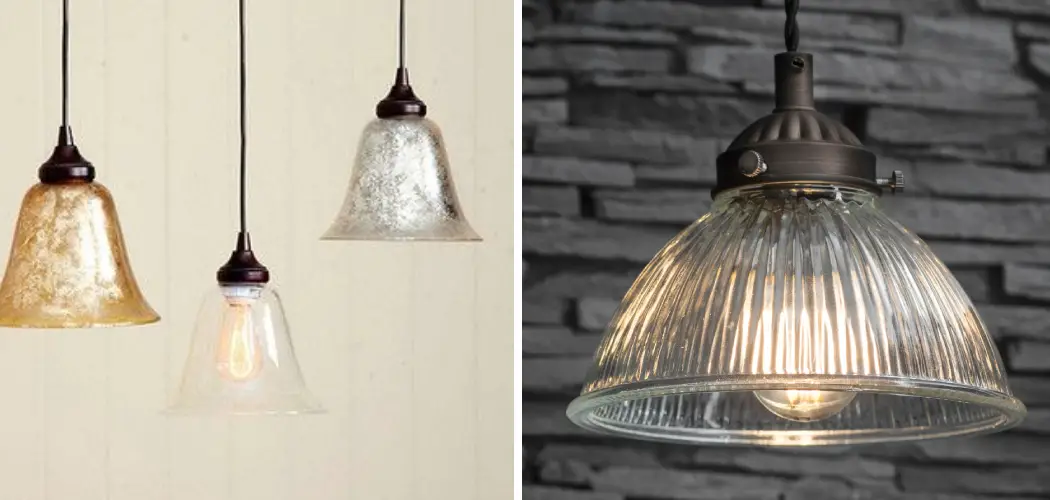
Are you looking to add pizzazz to your décor but don’t know where to start? Replacing an outdated or damaged pendant light shade with a new one is a smart and easy way to give your home a more modern look. Not only is it simple enough for anyone, regardless of DIY experience level, but it can also be completed in just minutes!
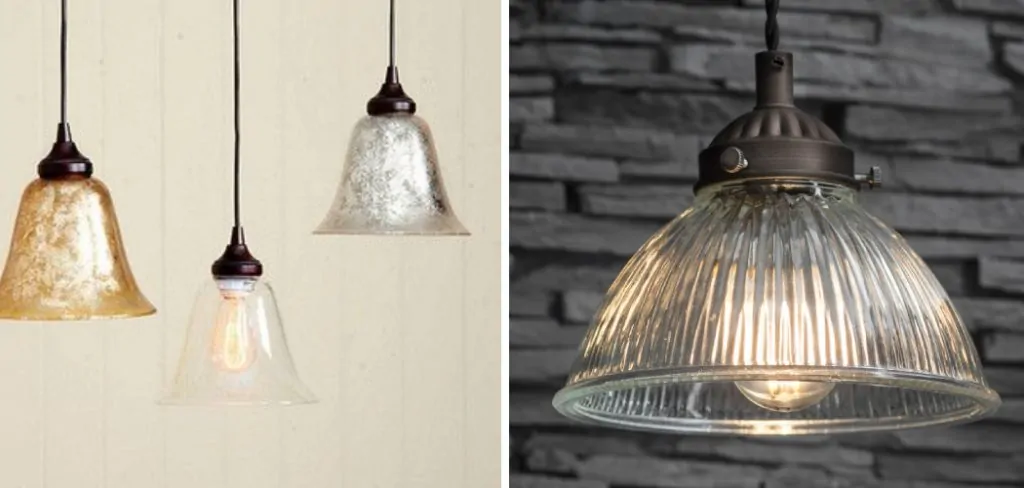
Whether you have an old, outdated shade or one that is cracked and needs to be replaced, the steps for replacing a pendant light shade are outlined below.
In this blog post, we’ll walk through the steps on how to replace pendant light shade so you can get the stylish glow you’re looking for in no time. Keep reading to learn more!
What Will You Need?
To get started, gather the following materials:
- New pendant light shade of your choice
- Screwdriver (Phillips head for most modern models)
- Safety glasses/goggles
- Ladder (if needed)
Once you have all your supplies, it’s time to start the replacement process.
10 Easy Steps on How to Replace Pendant Light Shade
Step 1: Turn Off the Electricity
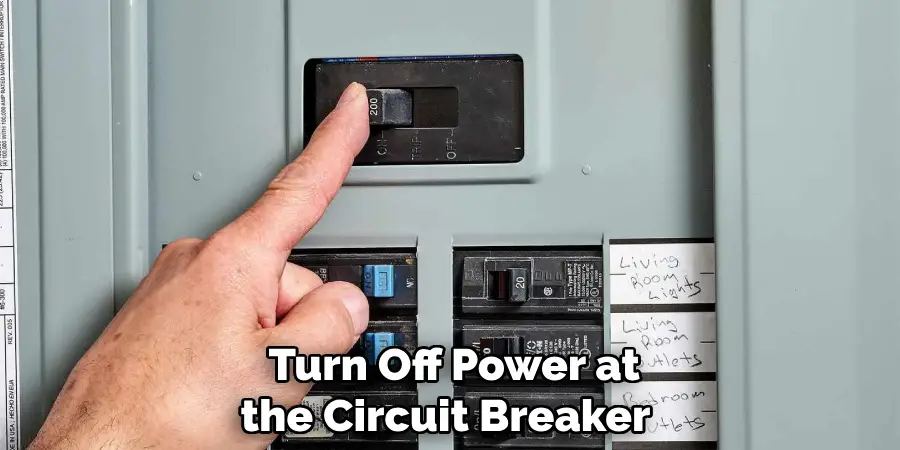
The most important step in any do-it-yourself project is safety first! Before beginning any electrical work, be sure to turn off power at the circuit breaker to avoid electrocution or fire hazards. If you need to know which breaker is for your pendant light, turn off all power in the house just to be safe. Try to find the breaker once the power is off.
Step 2: Remove Old Shade
Once you have ensured that the power is off, you can start removing the old shade. Most pendant lights are secured with screws or bolts on the outside of the shade. Use your screwdriver to loosen and remove these fasteners. Once they are loose, lift up and off the pendant light.
Step 3: Clean Socket
Once you have removed the shade, inspect the socket for any dirt or debris that may have accumulated. This could cause problems when installing a new shade, so it’s important to ensure the socket is clean and dust-free before proceeding. Use a damp cloth to wipe away dirt or dust, then set the socket aside.
Step 4: Install New Shade
Now that your pendant light is prepped for a new shade, it’s time to install it! Take your new shade and carefully slide it onto the socket of your pendant light. Make sure the shade is securely in place by gently pressing down on it. You can also use your screwdriver to secure the shade with the same screws or bolts you used to remove the old shade.
Step 5: Secure Shade with Fasteners
To ensure that the new shade stays in place, you’ll need to secure it with fasteners. Depending on the model of your pendant light, you may have screws or bolts on the outside of the shade. Make sure these are tightened securely with a screwdriver. Don’t overtighten, as this could damage the shade.
Step 6: Reconnect the Electricity
After the new shade is securely installed, it’s time to reconnect the electricity. Go back to the circuit breaker and turn the power back on. If you turned off all the power in the house earlier, turn on all the breakers.
Step 7: Test the Light
The final step in replacing a pendant light shade is to test the light to ensure it works properly. Flip the switch to the on position and observe if the light turns on. If it doesn’t, double-check your installation and the connection to the power source.
Congratulations! You have successfully replaced your pendant light shade.
Step 8: Clean Up
Now that your new pendant light shade is installed and working properly, it’s time for clean-up. Remember to dispose of the old shade safely; if it’s broken, wrap it in old newspaper or bubble wrap before putting it in the trash to prevent injury. Store any reusable materials and tools for future use. Remember to wipe down your work area to keep it clean and safe for the next project.
Step 9: Enjoy Your New Pendant Light Shade
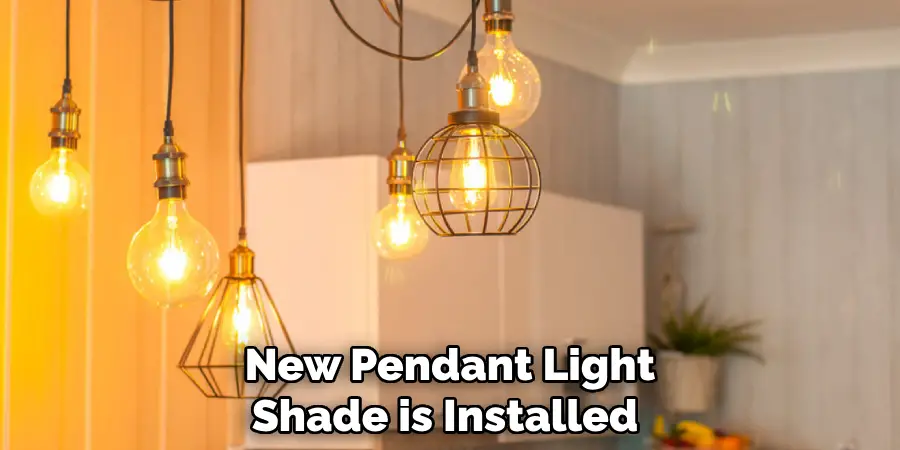
After all the cleaning and storing away tools, it’s time to enjoy your newly installed pendant light shade! Its fresh look should add to your room’s overall ambiance, whether modern, eclectic, or traditional style. Remember to take a step back and appreciate your handiwork and the fresh new look it gives your space. This is the reward for your hard work and DIY spirit.
Step 10: Maintenance
Keeping your new pendant light shade looking fresh and functioning properly is just as important as the installation process. Dust and clean your pendant light shade periodically to maintain its new, fresh look. Always ensure the power is turned off before cleaning to prevent any electrical hazards. With regular care and maintenance, your new pendant light shade will continue to enhance the ambiance of your room for years to come.
By following these ten easy steps on how to replace a pendant light shade, you can give your room a much-needed upgrade in no time. With the right tools and supplies, this DIY project is accessible to anyone regardless of experience level. Remember that safety is always first!
5 Additional Tips and Tricks
- Make sure to choose a shade that complements the shape and size of your room. A pendant light can be used to create a specific look or mood in any interior, so you should take your time when selecting a fitting design.
- Use appropriate tools and safety precautions when installing the new shade. Having the correct tools available will make the job easier and ensure that you don’t make any mistakes.
- If your pendant light has an exposed bulb, check whether the new shade is approved for this type of lighting. This will prevent any risk of electric shock and other safety issues.
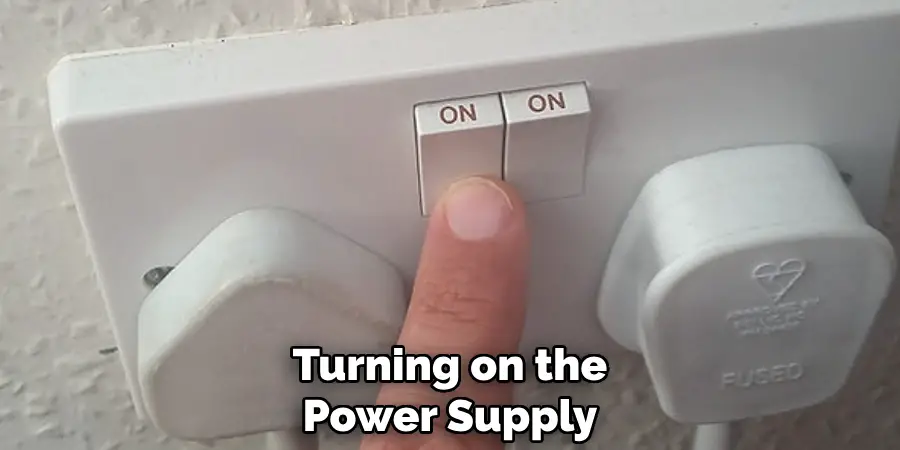
- Take time to securely attach the new shade onto the ceiling plate before turning on the power supply. A loose connection can be a fire hazard and should always be avoided.
- If you feel you need more confidence changing the shade yourself, it’s best to call an electrician for the job. Professional help will ensure that the new shade is installed correctly and safely.
With the right preparation and a bit of patience, replacing your pendant light shade can be an easy task. Following these tips will help you make sure that the job is done correctly and safely so you can enjoy the new look in your home for years to come.
6 Things You Should Avoid
- Don’t use a damp cloth to clean your new shade. This can lead to discoloration and damage over time.
- Avoid using harsh chemicals or abrasive scrubbers when cleaning the replacement shade, as this can weaken or distort its structure.
- If you want to repaint your shade, make sure it’s made of durable material like metal that the paint won’t damage.
- Only try to install the new shade yourself if you feel comfortable with electricity. This can lead to dangerous mistakes and put your safety at risk.
- Avoid placing pendant lights directly above a heat source, such as a stovetop, fireplace, or radiator. The heat could damage the shade and cause a fire.
- Don’t hang heavy items from your pendant light. Doing so could cause it to fall and lead to injury or property damage.

By taking the necessary precautions, you can ensure that replacing your pendant light shade is a safe and successful endeavor. Following these tips will help you create the perfect look for any room in your home.
What Are the Disadvantages of Pendant Lighting?
Although pendant lighting can be a great addition to any home, there are some potential disadvantages that you should keep in mind. Pendants can obstruct views in a room as they hang lower than other types of ceiling-mounted lights.
They also can cast unwanted shadows onto walls and furniture if not placed correctly, so it’s important to be mindful when deciding on the placement of your pendant lights. Additionally, depending on the shape and design of the shade, it can be more difficult to clean than a regular ceiling light.
Overall, pendant lighting is an easy way to add style and ambiance to your home with minimal effort. With careful consideration and preparation, you can easily replace your pendant light shade and enjoy the results for years.
Are Pendant Lights Good for Living Room?
Yes, pendant lights are a great choice for your living room. The low-hanging lighting option can help create the perfect atmosphere for entertaining guests or hosting a dinner party.
Pendant lights also make it easy to highlight certain areas of your living room, like artwork or furniture pieces. With the wide variety of shapes and sizes available, you can find the perfect pendant light to fit your style and living room décor. Plus, installing the new shade can be done in no time with minimal effort, making it a great DIY project for any home.

So if you’re looking for an easy way to upgrade your living room, consider investing in pendant lights! Replacing your pendant light shade can be a breeze with the right preparation and tools. Enjoy the fresh, new look it brings to your home for years.
Conclusion
How to replace pendant light shade can update the look of a room and add some style and charm with minimal effort. With just a few tools, some determination, and this guide, replacing your pendant light shade can be an easy and rewarding task. It’s important to pay attention to safety instructions when dealing with electricity and make sure to disconnect the power prior to switching out the shade.
Finish it off by coordinating the shade with other elements in the room so you get just the perfect balance of tranquility and vibrancy for your space. Enjoy the process because replacing a pendant light shade doesn’t have to be overwhelming. You’ll discover your creative side in doing so!
Doing this will make your space instantly transform into something much more fitting, according to your style. So get those hands ready, follow this guide closely, and go ahead and replace that pendant light shade!

