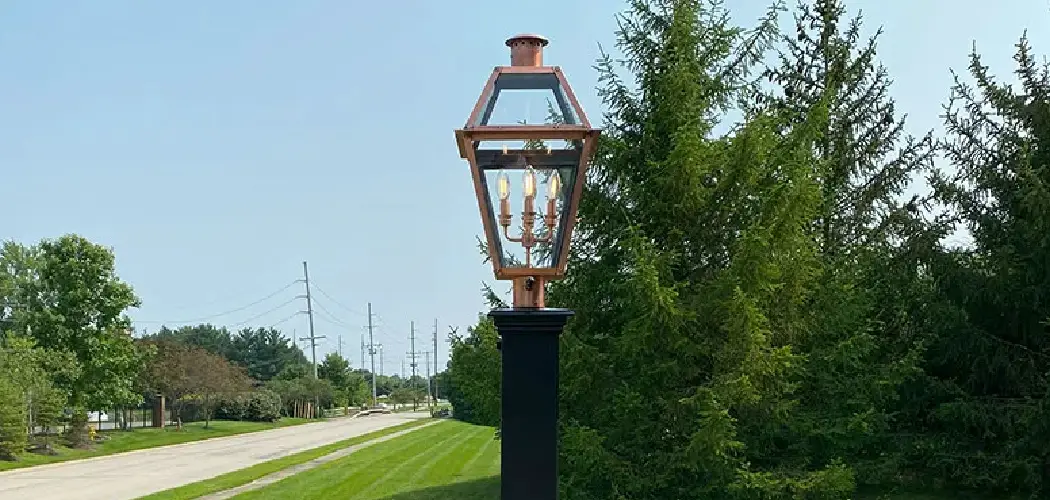
Replacing an outdoor lamp post may seem like a daunting task, but with the right tools and guidance, it can be done efficiently and safely. Whether your current lamp post is damaged, outdated, or you simply want to upgrade your outdoor lighting, this step-by-step process will help you tackle the project with confidence. By following these instructions on how to replace outdoor lamp post, you can ensure your new lamp post is installed securely, providing both functionality and style to your outdoor space.
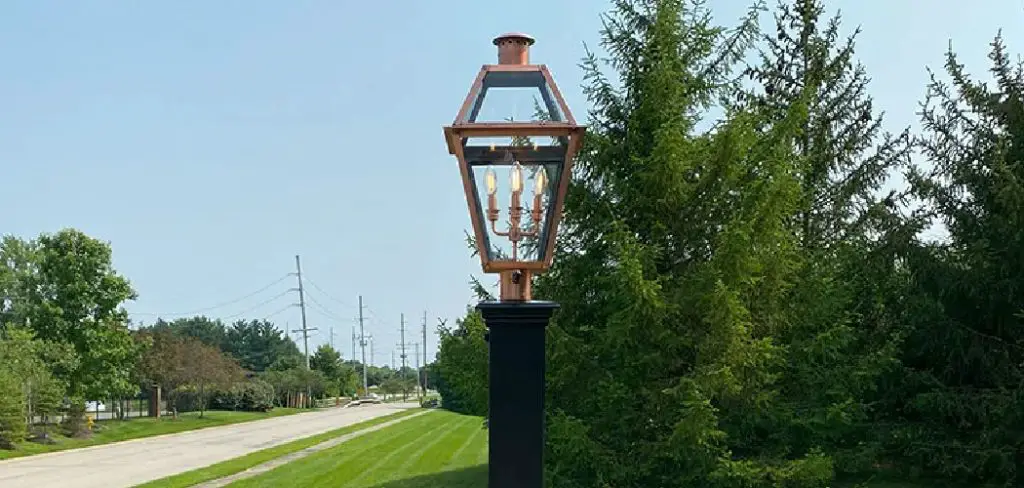
Why Replacing an Outdoor Lamp Post is Important
Replacing an outdoor lamp post is more than just a cosmetic upgrade—it plays a critical role in maintaining safety, functionality, and curb appeal for your property. Over time, lamp posts can deteriorate due to weather exposure, rust, or other forms of wear and tear, potentially compromising their structural integrity and performance.
A damaged or malfunctioning lamp post can create safety hazards, such as inadequate lighting or electrical issues, which may pose risks for homeowners and visitors alike.
Additionally, upgrading to a more modern and energy-efficient lamp post can help reduce energy costs while enhancing the aesthetic appeal of your outdoor space. Investing in a new lamp post ensures your property remains well-lit, safe, and visually appealing.
Tools and Materials You’ll Need
To successfully install or replace a lamp post, you’ll need the following tools and materials:
- Tools:
- Screwdriver (flathead and Phillips)
- Adjustable wrench
- Power drill with masonry bits
- Wire strippers
- Level
- Shovel or post hole digger
- Voltage tester
- Materials:
- New lamp post
- LED or energy-efficient lightbulb
- Outdoor-rated electrical wire
- Conduit for protective wiring
- Cement or post-setting compound
- Screws, bolts, and mounting brackets (included with the lamp post)
- Weatherproof sealant
Having these tools and materials ready will ensure a smooth and efficient installation process. Always prioritize safety by turning off the power supply before beginning any electrical work.
10 Methods How to Replace Outdoor Lamp Post
1. Evaluate the Condition and Purpose of the Existing Lamp Post
Before you begin any physical work, take time to assess the existing outdoor lamp post. Consider its structural stability, the quality of its wiring, and whether the base is solid or cracked. Evaluate if it still fits your outdoor lighting needs—are you looking for better illumination, a more modern look, or simply replacing a broken fixture?
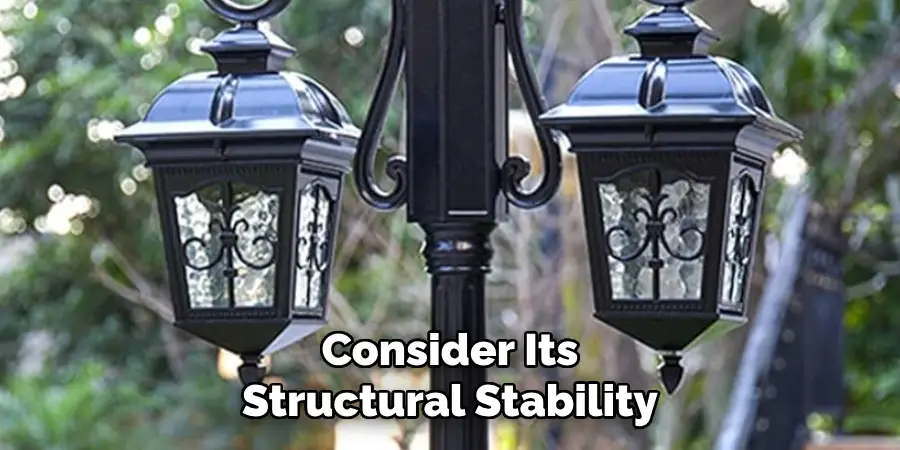
Understanding what’s wrong with the old post helps determine what’s required for the replacement, whether it’s just the light fixture or the entire post and electrical setup. This planning phase is essential to ensure the replacement is safe, functional, and matches your aesthetic vision.
2. Turn Off the Power at the Breaker Box
Safety is paramount, so the very first hands-on step is to shut off the power to the lamp post at your home’s circuit breaker. Identify the breaker that controls the outdoor lighting circuit and flip it off. Then, using a voltage tester or multimeter, confirm that there’s no current running through the lamp post wires. Never attempt to work on any part of the electrical system, even the fixture or bulb, without confirming that the circuit is dead. This step protects you from electric shock and ensures that the entire process can be carried out safely and confidently.
3. Remove the Old Lamp Fixture and Post
With the power safely off, begin dismantling the old lamp post. Start by removing the top lamp fixture, unscrewing it from the post and carefully disconnecting the wiring. Next, if the post is bolted to a mounting plate, remove the bolts. If it’s set in concrete, you may need to use a shovel and digging bar to break up the base and pull the post out. Take care not to damage the underground conduit or wiring as you remove the post. If the old wiring is frayed or deteriorated, it may also need to be replaced as part of the upgrade.
4. Inspect and Prepare the Existing Wiring and Conduit
Once the post is removed, inspect the wiring that runs underground. Look for cracks, exposed copper, or brittle insulation. If the wiring is in poor condition or not up to current code, replace it with new, outdoor-rated wire—typically 12-gauge UF (underground feeder) cable or wiring in a weatherproof conduit.
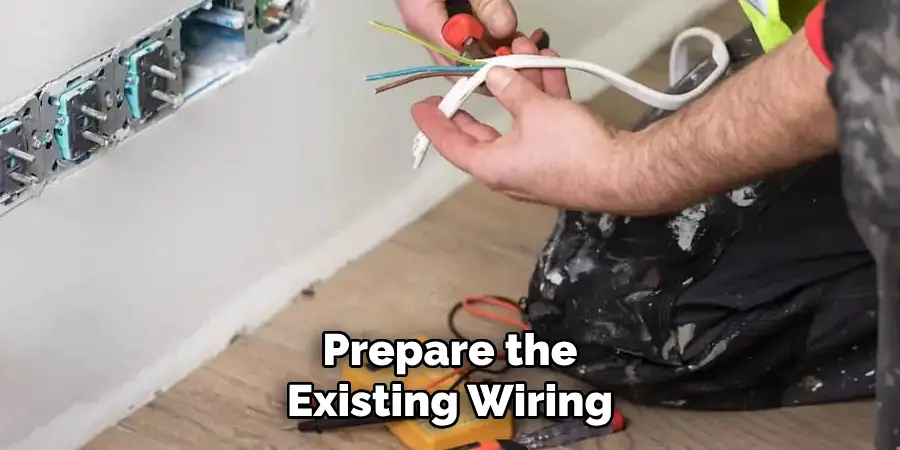
Also inspect the conduit for damage or blockages. If you’re pulling new wire, a fish tape can help guide it through the conduit. A reliable electrical foundation is crucial for the safety and longevity of your new lamp post installation.
5. Choose a Suitable Replacement Lamp Post
Next, select a new lamp post that fits both your functional and aesthetic requirements. Consider height, material (aluminum, steel, PVC), finish, and style—modern, classic, or rustic. Make sure the new lamp post is rated for outdoor use and is compatible with the electrical setup you have. Some posts come with pre-installed mounting plates, while others are designed to be set in concrete. If you’re in a coastal or rainy area, opt for a corrosion-resistant material like powder-coated aluminum. Also decide whether you want features like dusk-to-dawn sensors, motion detection, or smart lighting controls built in.
6. Install a New Mounting Base or Prepare a Concrete Pad
If your new lamp post requires a mounting base and the old one is damaged or unusable, you’ll need to pour a new concrete pad. Dig a hole at least 18 inches deep and wide enough to support the new post or anchor bolts. Set a PVC conduit sleeve through the base for wire access before pouring concrete. Allow the pad to cure for at least 24–48 hours. If using an anchor bolt kit, embed the bolts while the concrete is wet, aligning them with the post’s base. A stable foundation ensures your lamp post will be level, secure, and long-lasting.
7. Secure the New Post and Thread the Wiring
Once the base is ready, stand the new lamp post upright and align it with the mounting holes or insert it into the ground sleeve. Carefully thread the electrical wiring up through the hollow interior of the post until it reaches the top. This might require a helper or a fish tape for ease.
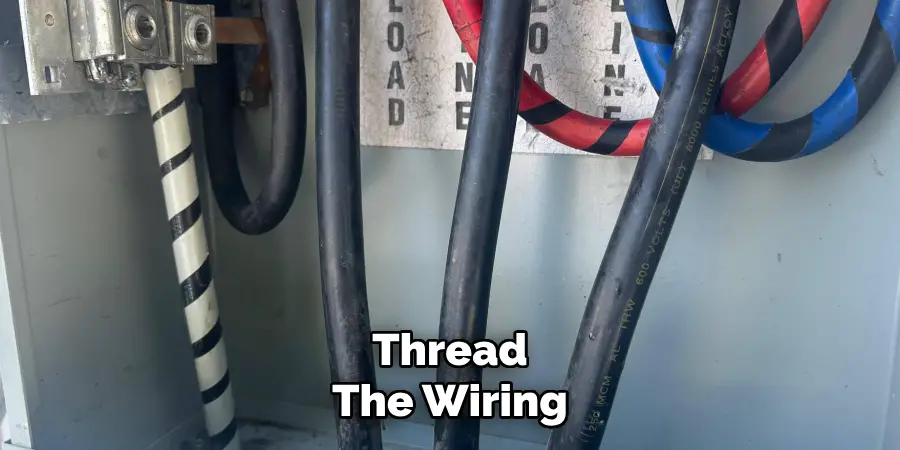
Make sure the post is plumb (perfectly vertical) using a level, and tighten all bolts or set screws. Securing the post correctly prevents leaning or instability, especially in high-wind areas or snowy climates, where even minor tilts can worsen over time.
8. Wire the New Lamp Fixture
With the post securely in place and the wire fed through, connect the new light fixture at the top of the post. Match the wire colors: black to black (hot), white to white (neutral), and green or bare copper to the ground screw or green wire. Use waterproof wire nuts or connectors rated for outdoor use. Wrap connections with electrical tape to ensure they’re sealed against moisture.
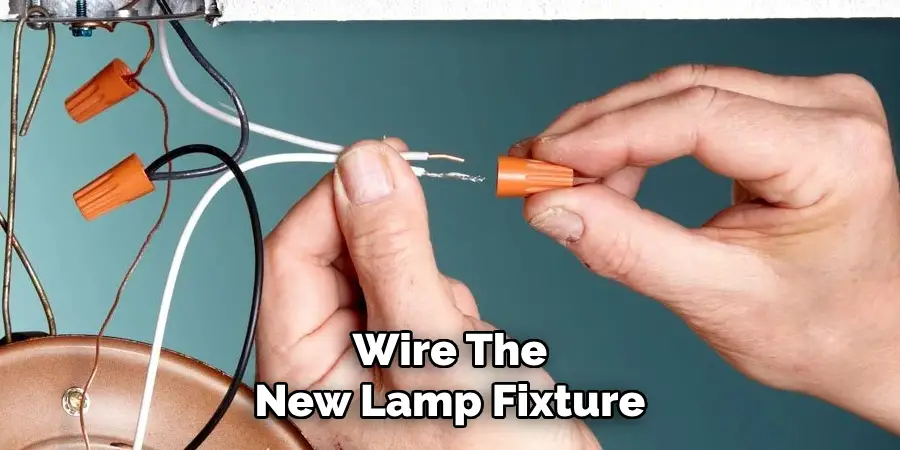
Carefully tuck the wires into the base of the fixture, then attach the light head to the top of the post according to the manufacturer’s instructions. This is the final step in making the electrical connection.
9. Test the Electrical Connection and Functionality
Once everything is wired and mounted, turn the circuit breaker back on and test the lamp. Make sure the light turns on and off properly, and verify any built-in sensors or timers are functioning as intended. If the lamp doesn’t light up, double-check your wire connections, the bulb, and that the correct breaker is powering the post. This is also the time to install the correct bulb type—preferably an LED bulb rated for outdoor use. A successful test ensures all components are functioning and safe before regular use.
10. Finish with Weatherproofing and Maintenance Tips
To complete the replacement, apply silicone caulk or weatherproof gaskets around any gaps where water might enter, especially at the base and fixture connection. Make sure the wiring connections are protected from rain and insects. Check that the post is free of sharp edges or burrs, and clean off any dust or fingerprints. Over time, perform seasonal checks on the fixture, cleaning the lens, tightening screws, and ensuring the wiring remains dry and intact. Routine maintenance will preserve both the look and functionality of your new lamp post for many years to come.
Maintenance and Upkeep
Proper maintenance is essential to extend the life of your lamp post and ensure it continues to function efficiently. Regularly inspect the lamp post for signs of rust or corrosion, especially if it is installed in an area with high humidity or salt exposure. Apply a protective coat of paint or rust-resistant finish as needed to prevent damage. Replace burnt-out bulbs promptly to maintain consistent lighting, and use energy-efficient bulbs to reduce electricity consumption.
Additionally, inspect the base and foundation for stability, tightening or adjusting bolts if necessary to keep the post secure. By dedicating time to routine upkeep, you can protect your investment and keep your lamp post looking and performing its best for years to come.
Conclusion
In conclusion, proper installation and maintenance of your lamp post are crucial to ensuring its longevity and optimal performance. Taking the time to follow these steps not only enhances the aesthetic appeal of your outdoor space but also provides reliable lighting for safety and convenience. With regular care and attention, your lamp post will continue to be a practical and stylish addition to your property for years to come. Thanks for reading, and we hope this has given you some inspiration on how to replace outdoor lamp post!

