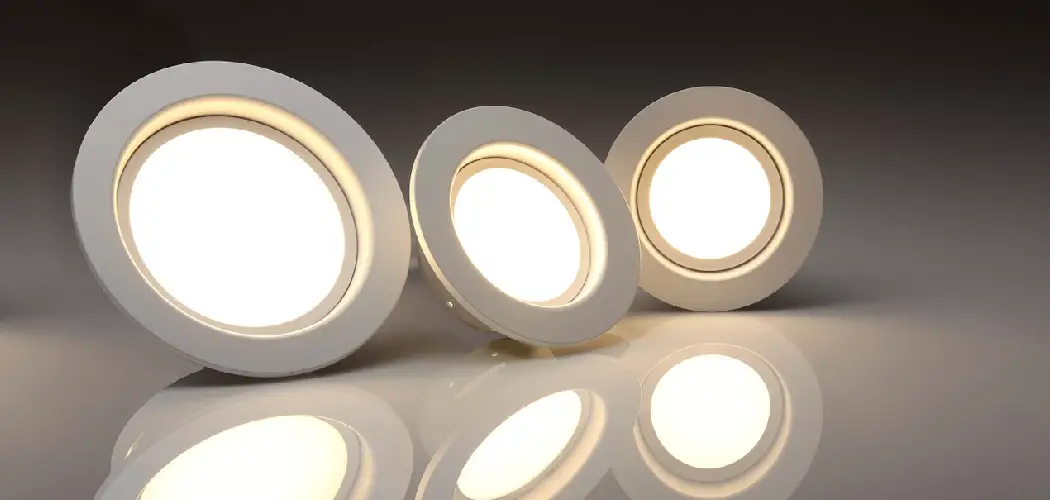
LED puck lights have surged in popularity as a sleek, contemporary lighting option for homeowners seeking both aesthetic appeal and energy efficiency. Commonly used under cabinets, in closets, or as accent lighting, these compact LED lights provide a discrete yet powerful illumination.
Despite their durability, LED puck lights may occasionally require replacement due to factors like prolonged usage, technological advancements, or evolving decor styles. Understanding how to replace LED puck lights is crucial to maintaining an uninterrupted and functional light source in your space.
This guide offers a thorough overview of the steps involved in replacing LED puck lights within various contexts, ensuring readers can confidently tackle this task—whether for aesthetic updates or essential maintenance.
Types of LED Puck Lights
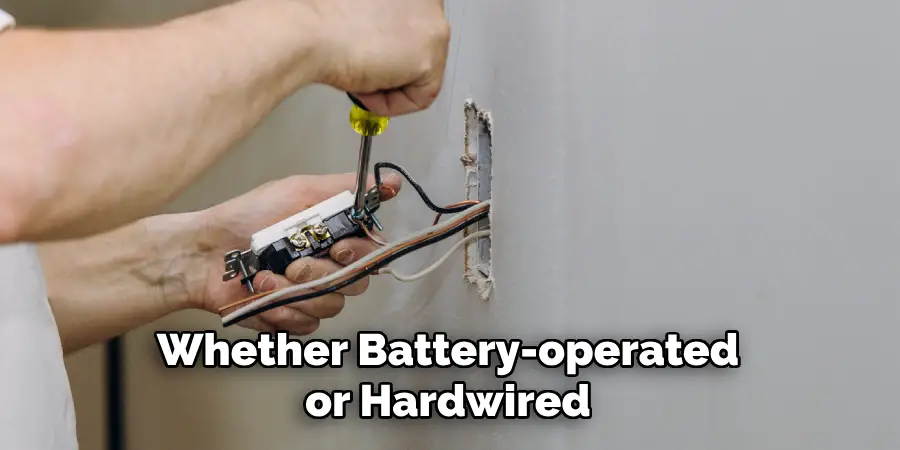
LED puck lights primarily come in two variants: battery-operated and hardwired. Battery-operated puck lights are valued for their portability and ease of installation, making them an ideal choice for areas with limited access to electrical outlets.
These typically involve a simple setup, including adhesive backing or minor screw-on mounts. Conversely, hardwired puck lights necessitate a more permanent installation, connecting directly to a home’s electrical system. This type allows for a cleaner look with no visible cords but requires a more complex installation, often executed by a professional.
Both puck lights are utilized under kitchen cabinets, inside drawers, or display lighting. Additionally, advancements in technology have introduced special features like dimmable and color-changing capabilities, allowing users to customize the ambiance of their space with great flexibility.
Identifying Replacement Needs
Even the most reliable LED puck lights can exhibit warning signs demanding attention and possibly replacement. Indicators such as dimming, flickering, complete failure, or discoloration can alert users to a problem.
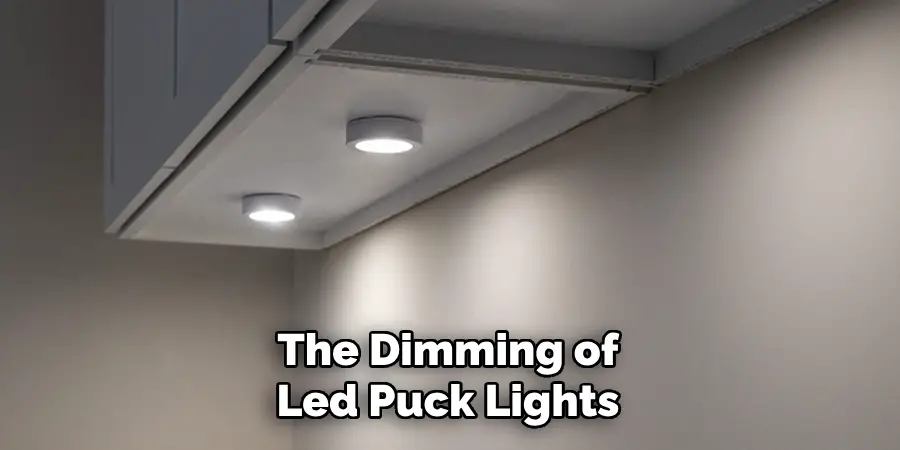
The dimming of lights often suggests that the LEDs are coming to the end of their lifespan. Conversely, flickering could be symptomatic of a faulty driver or an inconsistent power supply.
If the lights fail altogether, the LEDs may have burnt out, or the battery power has depleted (for battery-operated variants), or there could be damaged wiring or a faulty transformer (in the case of hardwired options). Discoloration can signal that the LEDs are deteriorating due to prolonged use or excessive heat exposure.
To verify that replacement is necessary, one should first ensure that the issue isn’t due to something simple, like dead batteries in battery-operated models or a tripped breaker for hardwired lights. In the case of hardwired puck lights, inspect for loose connections or signs of damage to the wire insulation.
If basic troubleshooting doesn’t resolve the issue, replacement is likely the next appropriate step.
Choosing the Right Replacement
Compatibility with the existing setup is paramount when selecting replacement LED puck lights. It’s essential to match the new light’s size, voltage, wattage, color temperature, and lumen output to the original. These specifications ensure that the new light will fit properly, provide the desired illumination level, and function safely without overloading the electrical system.
To find this information, begin with the original packaging or product label, which typically lists these details. If these are unavailable, the manufacturer’s website is a reliable source; model numbers or product names can often lead you to the specifications. For hardwired puck lights, compatibility is especially critical.
The replacement must match the system’s voltage and wattage to avoid electrical hazards or damage to the circuit. Overpowered lights can trip breakers, while underpowered ones can result in subpar performance.
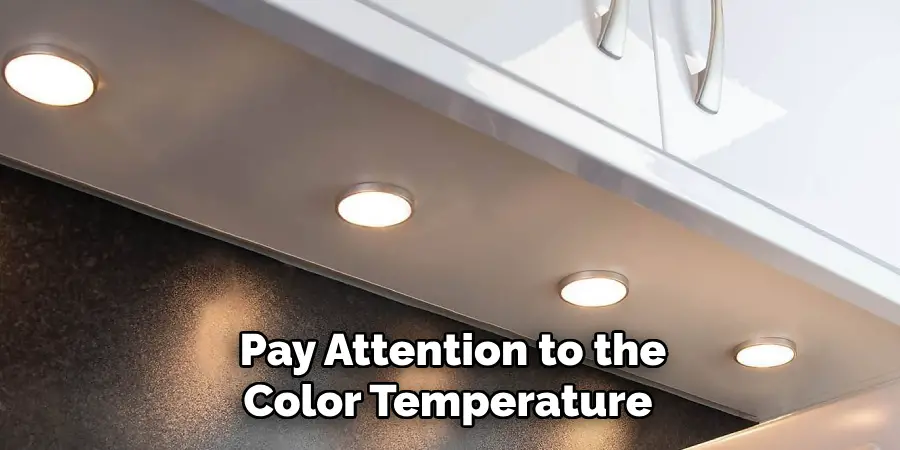
Furthermore, pay attention to the color temperature of the light, measured in Kelvins (K), to maintain the space’s ambiance. Lumens indicate light output; thus, choose a replacement with a similar lumen rate to ensure consistent brightness across all fixtures. You will preserve your lighting set-up’s function and design integrity by carefully selecting a compatible replacement.
Gathering Tools and Materials
Having the right tools and materials is crucial before starting the replacement process for LED puck lights. The required items will vary depending on the type of puck light you’re replacing.
- For Battery-operated puck lights, gather the following:
- Replacement Batteries – Ensure you have the correct size and type.
- Screwdriver – A Philips or flathead screwdriver to open the battery compartment if it’s secured with screws.
For Hardwired puck lights, you will need:
- Screwdriver – For opening the light fixture and securing any necessary connections.
- Wire Stripper – To cleanly strip the electrical wires for a safe connection.
- Crimp Connectors – If needed, to join wires securely.
- Electrical Tape – For insulating wire connections or marking wires.
- Ladder – If the installation is beyond reach.
Additional items for hardwired replacements include:
- Voltage Tester (Optional) – For ensuring the power is off before beginning work.
- Replacement Transformer (If applicable) – Only if the existing transformer has failed or is not compatible with the new lights.
Having these tools and materials ready will streamline the replacement process, keeping it efficient and safe.
How to Replace Led Puck Lights: A Beginner’s Guide
Replacing LED puck lights, whether battery-operated or hardwired, is a task that can be accomplished with some DIY spirit and careful attention to safety and detail. Below is a guide designed to assist you through each step of the replacement process.
1. Battery-Operated Puck Lights Replacement
- Safety Removal: If available, turn off the device using the on/off switch. Gently pry the light fixture from its position, taking care not to damage the surface it’s attached to. Some models may require loosening screws, so have your screwdriver at the ready.
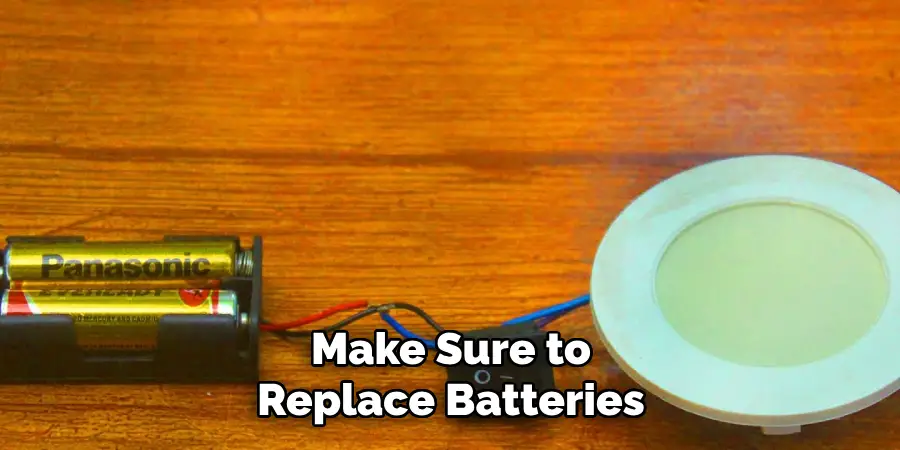
- Battery Replacement: Open the battery compartment; this may slide or snap open, or you might need a screwdriver. Observe the existing batteries’ orientation and note the polarity (+ and -) marked inside the compartment. Remove the old batteries and dispose of them according to local regulations.
- Inserting New Batteries: Place the new batteries into the compartment, aligning them with the correct polarity. This step is critical as reversing the polarity can prevent the light from working or cause damage.
- Testing the New Light: Secure the battery compartment, reattach or screw the puck light back into its original position, and switch it on. Check the functionality of the light to ensure it illuminates as expected.
2. Hardwired Puck Lights Replacement
- Safety First: Before starting any work on hardwired appliances, switch off the main power supply to that area of your home. Use a voltage tester to confirm that no active current is running through the wires. This ensures your safety while working with electrical components.
- Removing the Old Light: Unscrew the faceplate or housing of the existing puck light to access the wiring. Carefully take note of how the wires are connected – it may be helpful to take a photo or label the wires with tape to recall their configuration during the reinstallation.
- Matching Connections: After removing the old fixture, connect the new light’s wires to the corresponding ones in the electrical box. Commonly, you’ll find a black or red wire (live), white (neutral), and green or bare copper (ground). Use wire strippers to prepare the ends of the wires if needed, and make sure to use crimp connectors to secure the joins. Insulate with electrical tape where necessary.
- Securing the New Light: Place the new puck light into position and secure it with the appropriate screws or mounting hardware. Tidy any loose wires and ensure they do not pose a hazard or are subject to strain.
- Restoring Power: Once the new light is installed, restore power at the main switch and test the light for functionality. Check that all connections are stable and that the light operates smoothly without flickering or intermittent outages.
By following these steps carefully, you can successfully replace LED puck lights in your home, ensuring continuous and efficient illumination for your space.
Remember, if you are not confident about performing any of these tasks or if you encounter complex electrical issues, it is advisable to consult a professional electrician. Always prioritize safety when dealing with electrical installations.
Advanced Issues and Troubleshooting
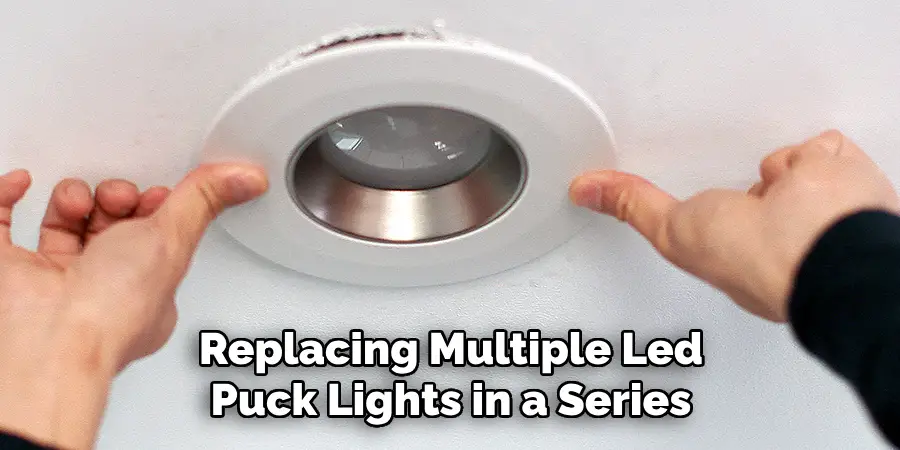
When replacing multiple LED puck lights in a series, you may encounter scenarios that need advanced troubleshooting. If you observe that some lights are not working while others are, this could indicate a series of connection issues where one malfunctioning light affects the rest. In this case, you must test each light individually to identify the faulty one.
More intricate electrical issues, such as fluctuating brightness levels or a short circuit, may stem from problems beyond simple connection errors. Such complexities could involve a faulty dimmer switch, inadequate gauge wiring, or an overloaded circuit. If you’ve checked the connections and replaced the lights without resolving the issue, it might be an underlying problem within the wiring itself.
It’s crucial to recognize when a project goes beyond a DIY scope. Extensive rewiring, troubleshooting a faulty circuit, or persistent problems after standard solutions have been attempted should prompt you to seek professional help.
Skilled electricians have the tools, knowledge, and safety protocols necessary to handle complicated issues efficiently and safely. Not only does this mitigate the risk of personal injury or property damage, but it also ensures that your lighting system functions correctly, adhering to all electrical codes and standards.
Final Touches and Maintenance Tips
After successfully installing your new puck lights, it’s important to undertake some final touches and maintenance to ensure their longevity and efficiency. Begin by cleaning the new puck light lens and the surrounding area; this enhances illumination and maintains a pristine appearance.
Dispose of used batteries and any removed components responsibly, referencing local regulations for proper recycling or disposal.
Regular maintenance of your puck lights is key. Dust and wipe the lenses periodically to prevent buildup that can diminish the brightness. Check connections periodically to ensure they remain tight and secure, as loose connections can lead to performance issues.
Lastly, make sure to replace batteries as needed to maintain consistent light output. Timely attention to these small aspects will prolong the life and effectiveness of your puck lights.
That’s it! You’ve now learned how to replace LED puck lights, from simple battery replacements to more complex hardwired installations and advanced troubleshooting. With the right tools, knowledge, and safety measures, you can confidently update your home’s lighting system to improve functionality and aesthetics. Remember to always prioritize safety and consult professionals when needed. Now go forth and enjoy a well-lit space!
5 Benefits of Replace LED Puck Lights
When it comes to illuminating your home or office, the smallest lights can make the biggest impact. LED puck lights, in particular, have been a revolution in how we light our spaces. Originally designed as task lights, puck lights have grown in popularity due to their versatility and energy efficiency. Here are five reasons to consider replacing your conventional lights with LED puck lights.
1. Energy Efficiency
In our ever-increasingly energy-conscious world, LED puck lights are lighting the way. They consume significantly less power than incandescent and even fluorescent bulbs, leading to a noticeable decrease in your electricity bills. LED technology means a smaller carbon footprint for those with a green thumb, contributing to a more sustainable future.
Lower electricity bills
With LED puck lights, you can expect a reduction in energy consumption by up to 80% compared to traditional lights. This efficiency is not just a passing trend; it’s a long-term solution that translates to significant savings month after month.
Environmentally friendly
Switching to LED helps significantly reduce the demand for electricity, thereby mitigating greenhouse gas emissions. LEDs also contain no toxic elements and are 100% recyclable, reducing the overall environmental impact.
2. Brightness and Illumination
One of the most striking features of LED puck lights is their quality and strength of illumination. These lights offer bright, clear light that not only elevates visibility but also adds to the aesthetic appeal of your space.
Enhanced lighting in various spaces
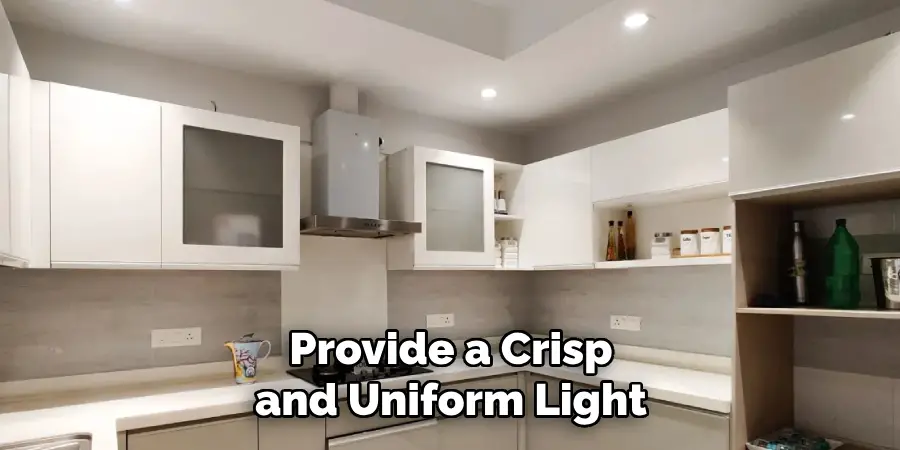
From kitchen under-cabinets to display cases, LED puck lights provide a crisp and uniform light that makes any area not only better-lit but more inviting.
Focus on aesthetics
The modern design and glow of LED puck lights draw the eye, transforming dark, bland spaces into warm, welcoming ones. Plus, the focused light distribution is perfect for highlighting specific features or artworks in your interior.
3. Longevity and Durability
In the battle against burnout, LED puck lights triumph with their impressive lifespan. They are built to last, even under constant use, and can endure the passing of time without losing brightness.
Extended lifespan compared to traditional lighting
Typically, an LED puck light lasts 10 to 20 times longer than a halogen or incandescent bulb, which means less time and money spent on replacements.
Low maintenance costs
The longevity of LED puck lights combined with their low wattage means you won’t just save on your energy bills but also on maintenance costs. This is especially beneficial for high-ceiling fixtures or locations where changing a light bulb is a hassle.
4. Versatility in Design
LED puck lights are known for their adaptability. They’re available in various sizes and can be installed in just about any environment to meet your specific lighting needs.
Flexible installation options
The compact size and ability to be hardwired or battery-operated make LED puck lights an excellent choice for tricky-to-light spaces. They can be recessed or surface-mounted, providing ample light without taking up too much space.
Complements different decor styles
The unobtrusive nature of the design and the neutral, white light options mean LED puck lights blend seamlessly with a range of interiors, from ultra-modern to classic and cozy. Their versatility allows you to highlight your living space, even when they’re not turned on.
5. Cost-Effectiveness
While the initial cost of LED puck lights may be slightly higher than their traditional counterparts, the benefits far outweigh the price difference in the long run.
Initial investment vs. long-term savings
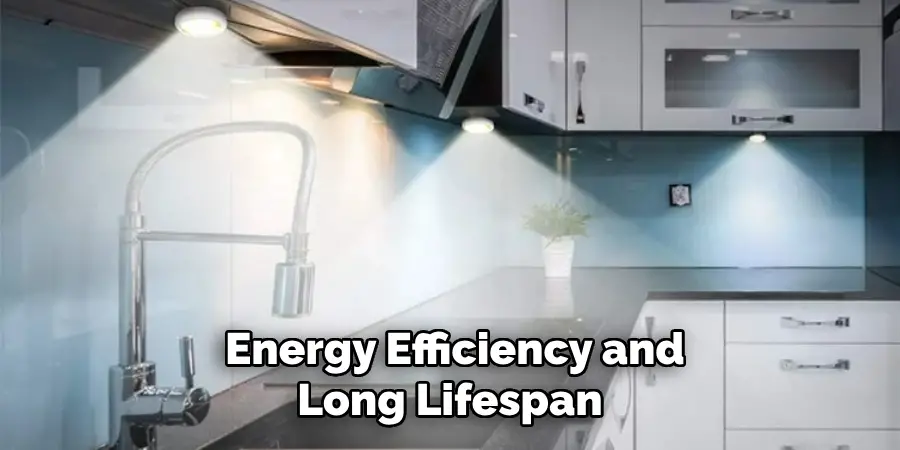
Considering their energy efficiency and long lifespan, LED puck lights offer an outstanding return on investment. They quickly pay for themselves by reducing electricity costs and the need for frequent replacements.
Value for money and return on investment
The cost-effectiveness of LED puck lights isn’t just about savings. It’s about getting more for your money regarding the quality of light and the overall improvement of your living space. As an investment in your home, LED puck lights enhance both style and functionality.
So, if you’re looking for a bright idea for your lighting, consider switching to LED puck lights. With benefits that span everything from your bank account to the environment, it’s clear that LED technology is the future of illumination.
Conclusion
In conclusion, understanding how to replace LED puck lights and maintain them is essential for enjoying their full benefits. Proper installation and routine care ensure these lights perform at their best, enhancing the ambiance and functionality of your home.
While this guide provides comprehensive steps for replacement, it is always prudent to consult additional resources or professional services when you encounter complexities beyond a typical DIY project. Remember, investing in proper maintenance not only prolongs the life of your lighting fixtures but also ensures a safe and well-lit environment.
So, whether you are a seasoned DIY enthusiast or a newcomer to home improvements, always prioritize safety and precision when working with electrical components, and do not hesitate to reach out for expert assistance when needed.

