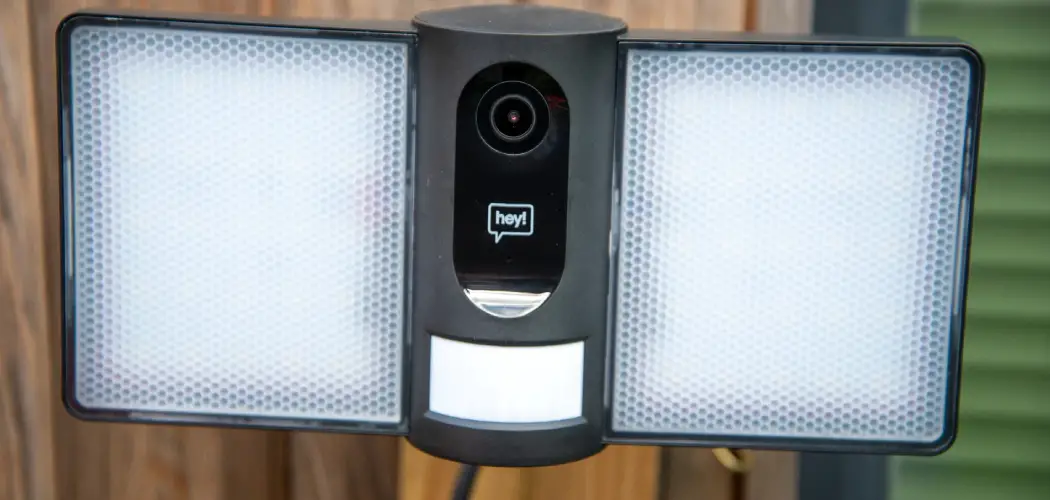
Are you tired of continuously replacing your flood lights? Do you want to know how to replace them efficiently and effectively? Look no further, as this guide will provide step-by-step instructions on how to replace flood light.
Replacing a flood light might seem daunting at first, but with a bit of guidance and the right tools, it can be a straightforward process that anyone can accomplish. Whether you need to replace a burned-out bulb or upgrade to a more efficient lighting solution, knowing how to safely and effectively change a flood light is essential for adequately illuminating your outdoor spaces. This guide will walk you through the necessary steps, from gathering your tools to ensuring the light fixture functions correctly after installation.
By following these simple instructions, you’ll be able to confidently tackle the task, ensuring your property’s safety and security remain uncompromised.
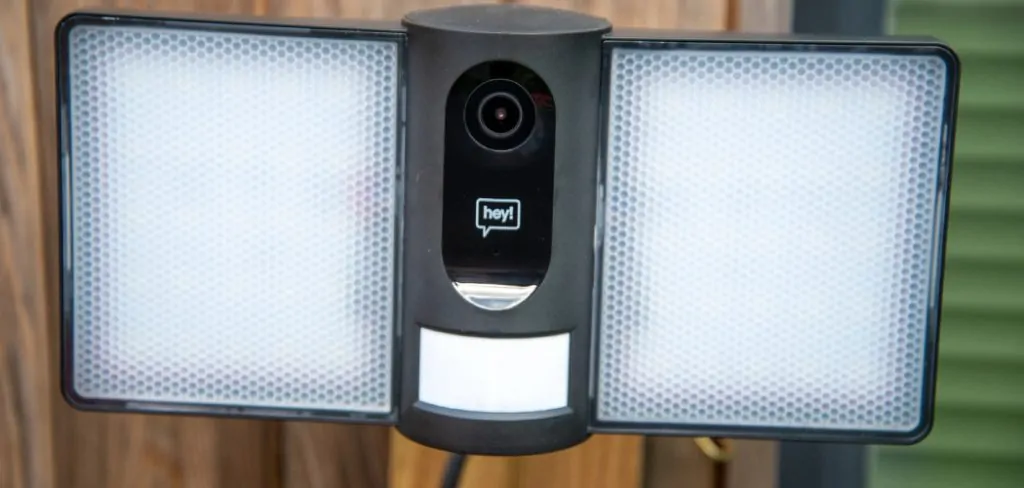
What Will You Need?
Before you begin the process of replacing your flood light, it’s essential to gather all necessary tools and equipment. Here is a list of what you’ll need:
- New flood light bulb or fixture
- Ladder or step stool (if necessary)
- Screwdriver or allen wrench (depending on the type of screws holding the fixture in place)
- Safety gloves and goggles
- Electrical tape
- Wire strippers (if needed)
- Voltage tester
All these items must be ready before starting the replacement process to ensure a smooth and safe experience.
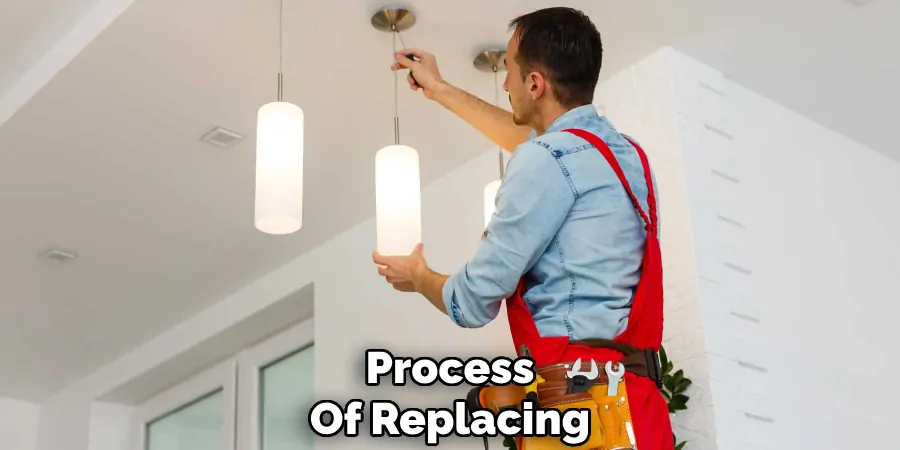
10 Easy Steps on How to Replace Flood Light
Step 1. Turn Off the Power
To ensure safety, the first step is paramount: completely turn off the power to the flood light fixture. Begin by locating the appropriate circuit breaker in your home’s electrical panel and switching it off. This crucial step prevents any possibility of electric shock while you are working.
Confirm that the power is off by testing the floodlight switch to ensure it doesn’t turn on. For added safety, use a voltage tester on the fixture’s wires after removing the cover to double-check that there is no electrical current. Taking these precautions is vital for your safety, as well as ensuring the work environment is secure before proceeding further with the replacement process.
Step 2. Remove the Old Fixture or Bulb
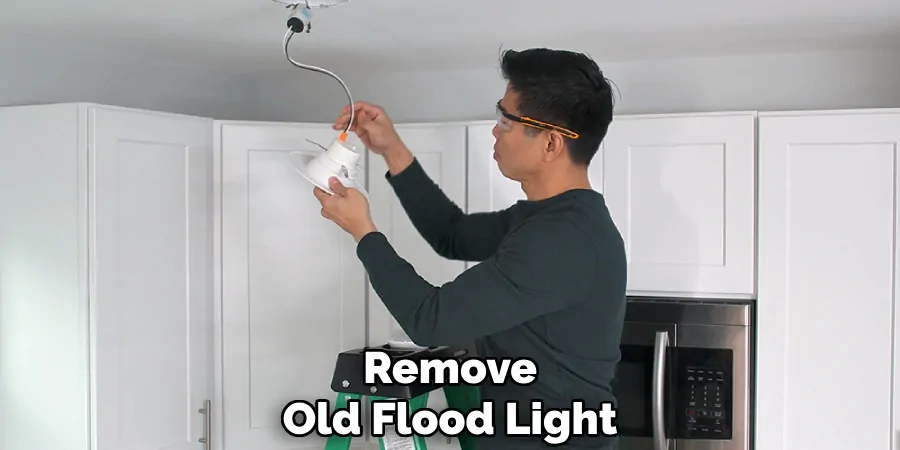
Once you have confirmed that the power is off, it’s time to remove the old flood light fixture or bulb. If you only replace the bulb, gently unscrew it from the socket. For fixtures, carefully remove the screws or bolts holding the fixture in place using a screwdriver or allen wrench. Once the screws are removed, carefully lower the fixture. If the fixture is wired directly, take note of the wire connections—this will help you when connecting the new fixture.
Use your wire strippers to carefully disconnect the wires, remembering the original configuration to simplify reattachment. Handle the old fixture or bulb carefully to avoid breakage, as this can pose an additional hazard.
Step 3. Prepare the New Bulb or Fixture
With the old bulb or fixture removed, it’s time to prepare the new bulb or fixture for installation. If you are installing a new bulb, ensure it is compatible with the existing fixture in terms of wattage and size. For a new fixture, carefully review any included instructions to familiarize yourself with the installation process. Before proceeding, verify that all the necessary components are present, such as mounting brackets, screws, and any required gaskets. Double-check the fixture for any visible damage or defects that might have occurred during shipping, as these can affect performance and safety.
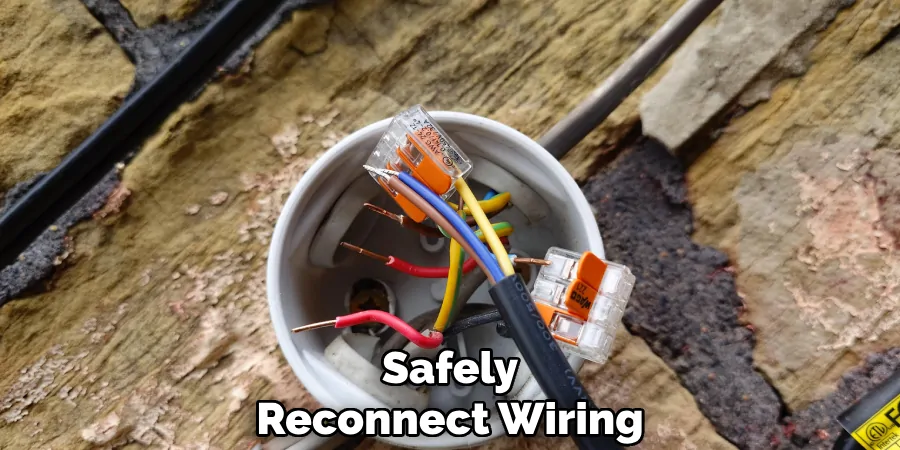
Step 4. Connect the Wiring
With the new fixture or bulb ready, safely reconnect the wiring. For fixtures, align the wires of the new fixture with the existing wiring from the wall or ceiling. Match the black wire from the fixture to the black wire from the power source, the white wire to the white wire, and the green or bare copper wire to the grounding wire or grounding screw on the fixture. Securely twist the wires and cover each connection with electrical tape or wire nuts to prevent exposure.
Step 5. Attach the New Fixture
After ensuring the wires are securely connected, attaching the new flood light fixture to its mounting location is time. Carefully align the fixture’s mounting bracket to the holes where the previous fixture was attached. Insert the screws or bolts and tighten them using a screwdriver or allen wrench, ensuring the fixture is fastened securely to prevent any wobbling or misalignment. Check that the fixture is straight and properly aligned with the surrounding surfaces. Attach fixtures with additional components like gaskets or covers as described in the installation instructions.
Step 6. Insert the New Bulb
With the fixture securely mounted, you can now insert the new bulb. If you’re installing a new bulb in an existing fixture, gently screw the bulb into the socket, ensuring it fits snugly but without over-tightening, as this could damage the bulb or fixture. For fixtures with a protective cover or lens, ensure it is clean and debris-free before reattaching it. Carefully secure the cover in place following the manufacturer’s instructions, if applicable. Correctly inserting the new bulb is crucial for your flood light’s performance and longevity, providing bright and reliable illumination to enhance security and visibility around your property.

Step 7. Restore Power
With the new bulb in place and the fixture securely mounted, the next step is to restore power to the flood light. Return to your home’s electrical panel and switch the circuit breaker back on to allow electricity to flow to the fixture. Once power is restored, test the floodlight by turning on the switch to ensure it operates correctly. Observe the light for any flickering or unusual behavior, which might indicate an improper installation or a malfunctioning component. Ensuring the power is restored correctly is vital to confirm that your newly installed flood light is functioning as expected, providing consistent and adequate illumination.
Step 8. Perform a Final Inspection
Once the flood light is functioning correctly, it’s essential to perform a final inspection to confirm the quality and safety of the installation. Begin by visually inspecting the fixture to ensure all components are properly secured, no loose wires are exposed, and the protective cover or lens is firmly in place. Check for any unusual noises or signs of distress when the light is operating. Additionally, observe the flood light’s illumination pattern to ensure it covers the intended area effectively. Make any minor adjustments needed to enhance the light’s performance. Completing this thorough inspection helps ensure that your flood light will provide reliable and safe operation, improving your home’s security and visibility.
Step 9. Maintenance and Troubleshooting
Regular maintenance is essential to ensure the longevity and reliability of your flood light. Periodically check the fixture for signs of wear or damage, such as rust, corrosion, or cracks in the protective cover. Clean the fixture and the bulb to remove any dust or debris affecting its performance. If you notice any irregularities, such as flickering or dimming, verify the connections and inspect the wiring for any faults. Additionally, check the bulb for proper seating and replace it if necessary.
Step 10. Documenting Installation
After completing the installation and final inspection of your flood light, it’s a good practice to document the process for future reference. Begin by recording details such as the date of installation, the model and specifications of the floodlight, and any unique steps or adjustments made during the setup. Keep a copy of the manufacturer’s installation instructions and any warranty information. Take photographs of the installed fixture and its surroundings to provide a visual reference. Having this documentation on hand will be helpful for future maintenance and troubleshooting if you decide to upgrade the lighting system.
By following these steps, you can confidently install a new flood light fixture and bulb, enhancing your home’s security and visibility.
5 Things You Should Avoid
- Ignoring Safety Precautions: Always prioritize safety by turning off the power at the circuit breaker before starting any work. Please do so to avoid electrical shocks or injury. Use a voltage tester to ensure the power is indeed off.
- Using Incompatible Parts: Ensure the new fixture and bulb are compatible with your existing electrical system. Using mismatched components can lead to early failures or potential electrical hazards.
- Overtightening Screws or Bulbs: Avoid overtightening screws or bulbs, as this can damage the fixture or bulb, making them difficult to remove later. Tighten only until they are secure without applying excessive force.
- Skipping Wire Connection Checks: Pay attention to the importance of checking wire connections. Ensure all wire nuts are correctly secured, and there are no exposed wires which could cause short circuits or other electrical issues.
- Don’t Use an Old or Damaged Bulb: It’s always best to use a new bulb when installing a flood light. Using an old or damaged bulb can affect performance and potentially cause issues in the future.
Conclusion
How to replace flood light can be a straightforward and rewarding task when done with careful attention to safety and detail.
By following a systematic approach, starting with power disconnection, verifying compatibility, and ensuring secure installations, you ensure that your flood light functions efficiently and effectively. Proper maintenance and periodic inspections further extend the lifespan of your lighting solution, providing continuous illumination for enhanced safety and visibility around your property.
With the information and steps provided, you have the tools necessary to confidently replace and maintain your flood lights, enjoying the benefits of a well-lit and secure environment.

