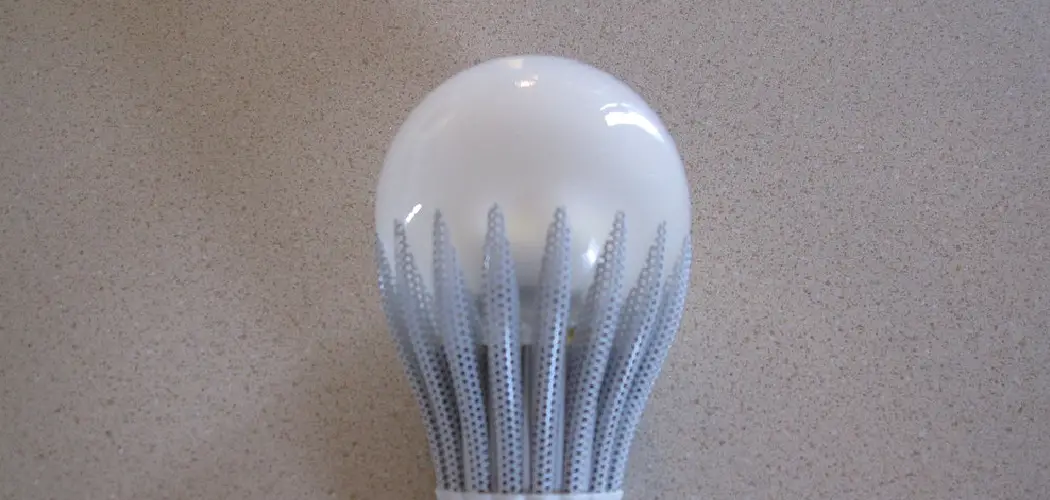
Are you facing an emergency light bulb situation and unsure how to proceed? Don’t worry, you’ve come to the right place! In this guide, we will walk you through the steps on how to replace emergency light bulb.
Emergencies strike when we least expect them, making it vital to ensure that all safety equipment, including emergency lighting, is in proper working order. In dim conditions, a well-functioning emergency light can be the beacon that guides us to safety. However, like any other piece of equipment, emergency lights are subject to wear and tear, and their bulbs may need replacing when they burn out or malfunction.
This guide will provide simple, step-by-step instructions to safely and efficiently replace an emergency light bulb, ensuring that your emergency lighting is always ready when you need it most.
When Should You Replace Your Emergency Light Bulb?
The most common reason for replacing an emergency light bulb is when it burns out. However, there are other situations where you may need to replace the bulb, including:
- The bulb flickers or dims.
- The light fails to turn on during a test.
- The bulb has physical damage, such as cracks or breaks.
If you notice any of the above signs, replacing your emergency light bulb as soon as possible is essential. Not only will this ensure that your emergency lighting system remains functional, but it also helps avoid unexpected emergencies due to faulty equipment.
Types of Emergency Light Bulbs
Before we dive into the steps for replacing an emergency light bulb, it’s crucial to understand the different types used in emergency lights. Depending on your specific lighting system, you may need one or a combination of these three types:
- Incandescent Bulb: These traditional bulbs use a filament that heats up and produces light when electricity passes through them. Incandescent bulbs are relatively inexpensive but have a shorter lifespan compared to other types.
- Fluorescent Bulb: These bulbs contain mercury vapor and phosphors that produce light when excited by an electric charge. Fluorescent bulbs are more energy-efficient than incandescent bulbs, making them the preferred choice for many emergency lighting systems.
- LED Bulb: LED bulbs use light-emitting diodes to produce light and are the most energy-efficient of the three types, consuming less power and lasting longer than both incandescent and fluorescent bulbs.
Depending on your emergency lighting system’s design and bulb compatibility, you may need to purchase a specific type or bulb for replacement. Always refer to the manufacturer’s instructions or consult a professional if unsure.
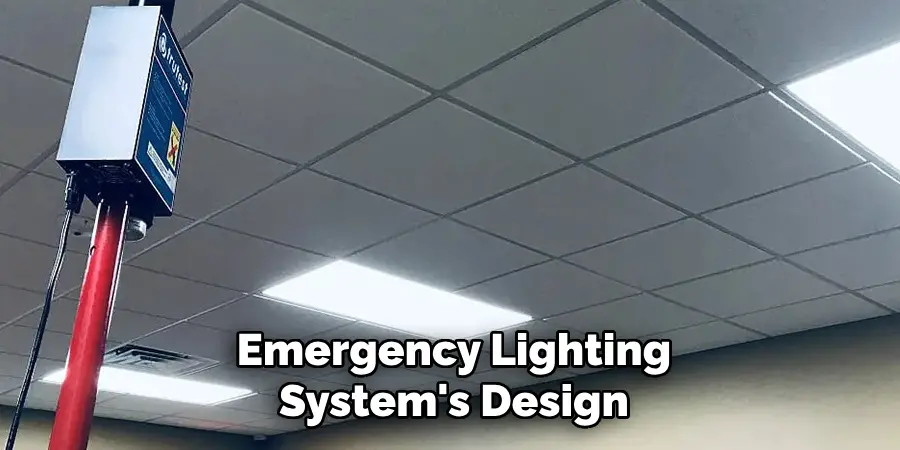
What Will You Need?
Before we dive into the steps, let’s gather all the necessary tools and equipment to carry out this task effectively. Here’s what you will need:
- A new emergency light bulb (make sure it is compatible with your existing fixture)
- A ladder or step stool
- Safety gloves
- Safety glasses
- Screwdriver (depending on the type of fixture)
Once you have all these items, you can proceed with the replacement process.
10 Easy Steps on How to Replace Emergency Light Bulb
Step 1. Turn off Power
First things first, before replacing any light bulb, safety should always be a top priority. Turn off the power supply to your emergency light to ensure your safety and prevent electric shocks or short circuits. If you cannot locate the circuit breaker for the specific light, turn off the main power supply to your home or building.
Step 2. Set Up a Ladder or Step Stool
Safely position your ladder or step stool to comfortably reach the emergency light fixture. Ensure that the ladder is on a stable surface and locked in place—if it has safety locks—to prevent accidents while performing the bulb replacement. It is essential to never stretch beyond a safe and comfortable reach; always move the ladder instead.
Step 3. Remove the Light Fixture Cover
Carefully unscrew or unclip the light fixture cover to expose the bulb. In some models, this will involve removing screws with a screwdriver, while others may simply require a gentle but firm pressure to release clips or a twist motion to remove the cover. Always handle the cover carefully to avoid damage or breakage, setting it aside in a safe location until you’re ready to reattach it.
Step 4. Remove the Old Bulb
Once the cover is off, you should have clear access to the bulb. Grasp the bulb firmly but gently and unscrew it by turning it counterclockwise. Some emergency light bulbs may instead be pin-type bulbs that require a straight pull to release them from the socket.
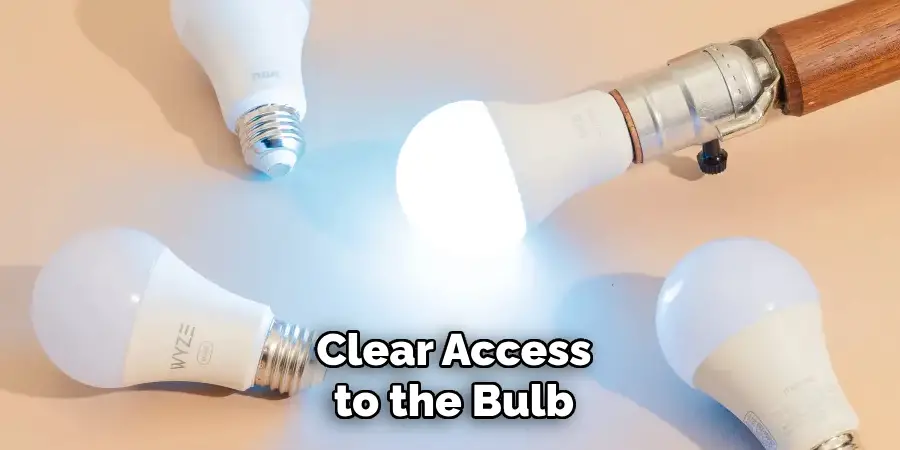
When removing the bulb, be careful not to apply too much force, which could cause it to break. If the bulb doesn’t turn or pull out easily, you may need to wiggle it slightly to loosen it before removing it.
Step 5. Check the Socket and Fixture
Inspect the light socket and surrounding fixture for any signs of damage or corrosive buildup that might affect the new bulb’s performance. Ensure that the socket is clean and free from debris. If necessary, gently clean the area with a dry, soft cloth to remove any dust or contaminants. Be cautious not to disturb any wiring or electrical components inside the fixture.
Step 6. Insert the New Bulb
It’s time to install the new bulb with the socket and fixture clean and in good condition. Carefully remove the replacement bulb from its packaging, handling it by the base to reduce the risk of contaminating the glass with oils from your fingers, which can affect its longevity and performance.
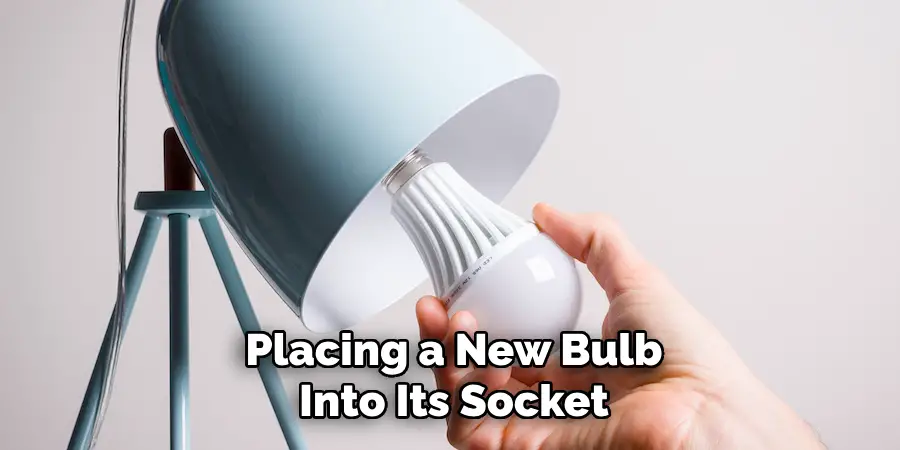
Align the new bulb with the socket; if it’s a screw-in bulb, insert it gently and turn it clockwise until it is firm. For pin-type bulbs, align the pins with the holes and push straight in to secure. Do not over-tighten or force the bulb, as this could lead to damage.
Step 7. Test the Bulb
Before proceeding to reassemble the fixture cover, testing the new bulb is essential. Turn the power supply on temporarily to see if the bulb illuminates appropriately. If it doesn’t, ensure that it is correctly seated in the socket and that there are no issues with the power supply. Once confirmed that the bulb is working, turn off the power again to safely continue the replacement process.
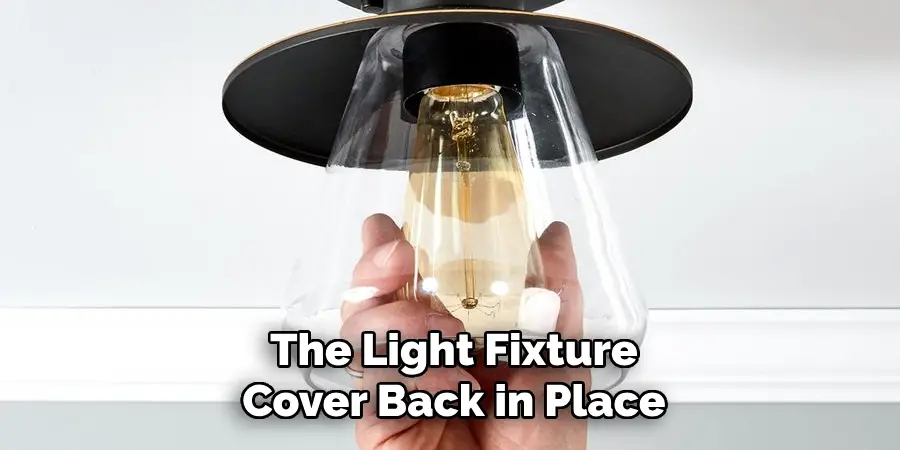
Step 8. Reattach the Light Fixture Cover
After ensuring the new bulb correctly functions, it’s time to put the light fixture cover back in place. Align the cover with the fixture, and, depending on the model, either screw it back into place, snap the clips shut, or twist it to lock. It’s crucial to handle the cover gently to avoid damaging it. Confirm that the cover is secure to protect the bulb and internal components of the light from dust and damage.
Step 9. Dispose of the Old Bulb
Proper disposal of the old bulb is essential for environmental safety. Incandescent bulbs can be disposed of with your regular trash. Still, more energy-efficient bulbs, like CFLs or LEDs, often contain small amounts of hazardous materials and should be taken to a recycling center or particular disposal facility. Check local regulations to ensure appropriate handling of bulb types.
Step 10. Conduct Regular Maintenance
To conclude, performing regular checks on all emergency lights is wise to ensure they are in good working condition. This includes routine cleaning of the fixtures, testing the lights and batteries, and timely replacement of bulbs as needed. Keeping up with maintenance not only guarantees the reliability of your emergency lighting but also ensures compliance with safety standards and regulations.
By following these ten easy steps, you can confidently and safely replace an emergency light bulb without needing professional help.
5 Additional Tips and Tricks
Tip 1: Use the Right Bulb
Ensure you’re using the correct bulb for your emergency light fixture. Check the old bulb for its wattage, voltage, and base type before purchasing a new one. Using the correct bulb can lead to good performance or even damage to the fixture.
Tip 2: Keep Spare Bulbs Handy
It’s always a good idea to have spare bulbs available. This will save you time and ensure that your emergency lights are never out of service for long periods. Store them in a cool, dry place where you can easily access them when needed.
Tip 3: Handle Bulbs with Care
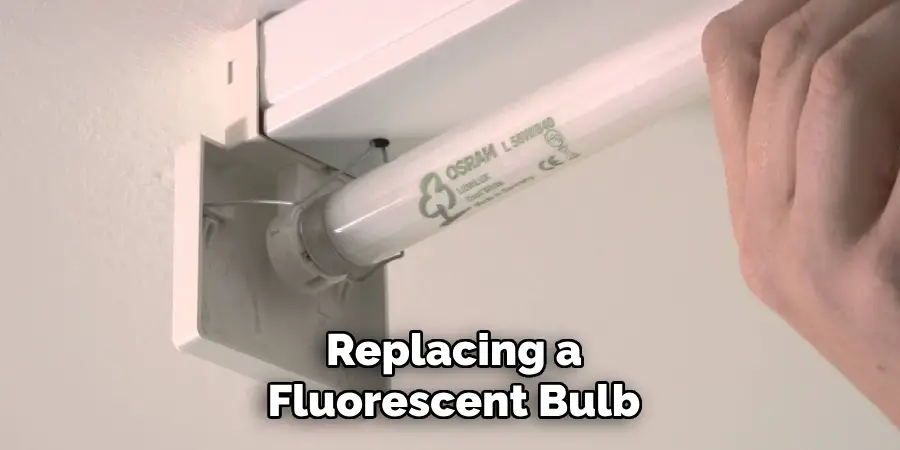
Remember that bulbs can be fragile. Be gentle when installing the new bulb to avoid damaging the filament or LED elements. If you’re replacing a fluorescent bulb, avoid touching the glass with your bare hands, as the oils can affect the lifespan and efficiency of the bulb.
Tip 4: Regularly Dust the Fixtures
Dust and grime can accumulate on light fixtures, potentially affecting the light output. When you perform bulb replacements, take the time to dust off the institution and its cover. This will help maintain the brightness and functionality of your emergency lights.
Tip 5: Educate Yourself on Emergency Lighting Standards
Familiarize yourself with the emergency lighting standards and regulations relevant to your area. Knowing these prerequisites can help ensure your emergency lighting system is always up to code and functioning optimally.
With these additional tips and tricks, you can easily handle emergency light bulb replacements.
6 Things You Should Avoid When Replacing an Emergency Light Bulb
Avoid 1: Neglecting Safety Precautions
Never attempt to replace a bulb without first turning off the power supply to avoid the risk of electrical shock. Always prioritize safety and use proper precautionary measures, such as insulated gloves, when necessary.
Avoid 2: Using Mismatched Bulb Types
Do not use a bulb that differs in wattage, voltage, or base type from what the emergency light fixture requires. Correct specifications can lead to efficient lighting or potential damage to the institution.
Avoid 3: Overhandling the Bulb
Avoid handling the glass part too much when placing a new bulb into its socket. Oils from your skin can transfer to the bulb, which might decrease lifespan and affect performance.
Avoid 4: Forcing the Bulb into the Socket
Avoid applying excessive force when installing the new bulb. If it does not fit easily, double-check if it’s the correct type and that you align it properly rather than pushing or twisting too hard.
Avoid 5: Disregarding Environmental Disposal Methods
Don’t throw away used bulbs with your regular waste, especially if they are CFLs or LEDs. These bulb types should be disposed of according to local regulations at a proper recycling facility to prevent environmental harm.
Avoid 6: Skipping Regular Maintenance Checks
Pay attention to the regular maintenance checks of your emergency lights. This includes cleaning, testing, and timely replacement of bulbs. Keeping up with these tasks ensures that your emergency lighting system is always ready for use in an emergency.
Avoiding these common mistakes can ensure a safe and efficient emergency light bulb replacement process.
Some Frequently Asked Questions
1. How Can You Change the Bulb in an Emergency Light?
When changing the bulb in an emergency light, ensure you have all the necessary equipment, such as the replacement bulb, a stable stepladder, insulated gloves, and a screwdriver if needed.
Once you’re geared up, carefully follow the detailed steps in this guide, starting with switching off the electrical power to the unit to prevent accidents. To elaborate, carefully remove the light fixture cover, which might require unscrewing or gently unlocking the cover’s clasps. When handling the bulb, do so with caution — especially if it is fluorescent to prevent breakage and contamination.
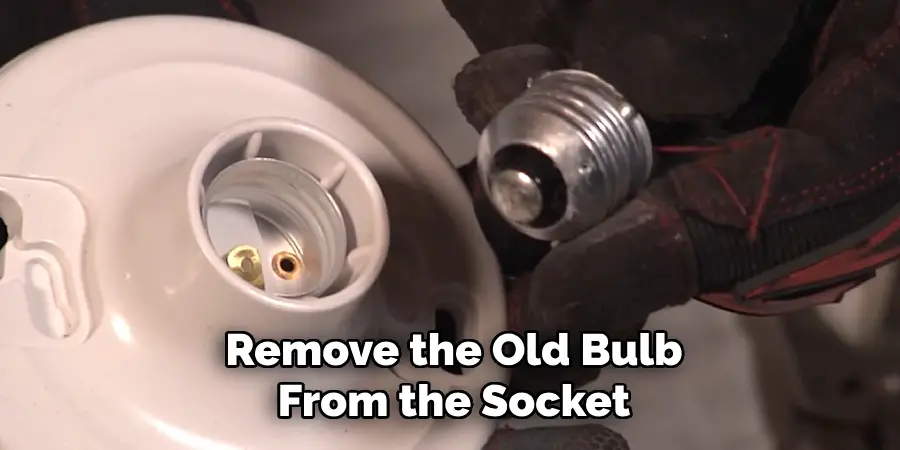
Gently remove the old bulb from the socket by supporting its base, and avoid applying pressure to the glass to avoid damage. Before installing the new bulb, inspect the socket and surrounding area for any signs of damage or wear that could affect performance. Once inspected and cleaned, insert the new bulb and secure it correctly.
Finally, restore power temporarily to test the new bulb, ensure functionality before replacing the fixture cover, and conduct a final safety review to ensure the emergency light is ready for operation. Remember to dispose of the old bulb properly per local regulations to minimize environmental impact.
2. How Do Emergency Light Bulbs Work?
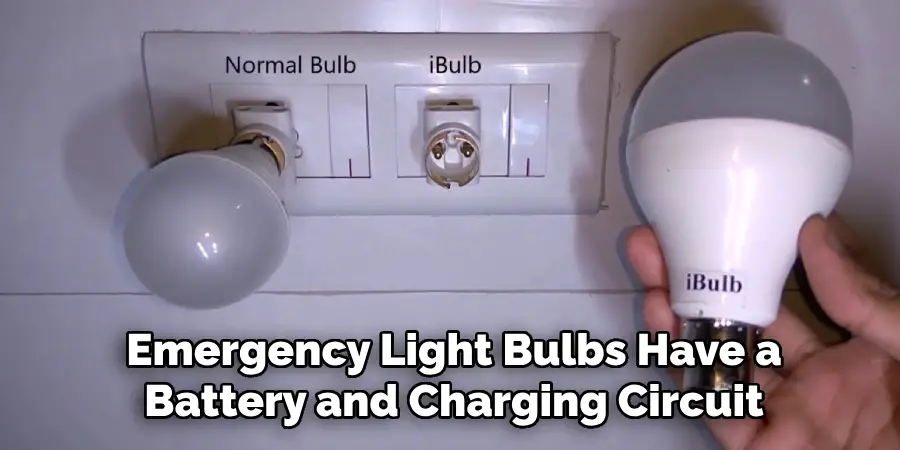
Emergency light bulbs are designed to function as a backup lighting source during power outages or emergencies. Most emergency light bulbs contain a battery and charging circuit, allowing them to remain off until needed when the primary power fails.
When the primary power supply is disrupted, the bulb will automatically activate and emit its pre-set level of brightness utilizing its built-in battery power. Depending on the bulb’s design, emergency light bulbs can also be manually activated by flipping a switch or pressing a button.
In addition to providing light during power outages, emergency light bulbs may also have other features, such as weather resistance and motion sensors. Some emergency light bulbs are also designed to emit different colors or flashing patterns to signal specific information during an emergency.
Their functionality is essential in providing visibility and guidance during critical situations, making them a crucial component of any emergency lighting system.
Overall, understanding how emergency light bulbs work can help you better maintain and utilize them when needed.
3. How Do Emergency Lights Recharge?
As mentioned earlier, most emergency light bulbs have a battery and charging circuit. This battery is constantly being charged by the primary power source when it’s available to ensure that it’s ready for use during an emergency.
Some advanced emergency lights may also have a solar panel or backup generator as an additional charging source during prolonged power outages.
It’s essential to regularly check the charging status of your emergency lights and ensure that they function correctly. If you notice any issues with the charging process, it’s crucial to address them promptly to maintain optimal performance.
4. How Do You Check Your Emergency Light Battery?
To check the battery status of your emergency lights, follow these steps:
- Turn off the primary power supply to the emergency light.
- Observe if the bulb is activated and emitting light. If it’s not, then there’s likely an issue with the battery or charging circuit.
- Remove the fixture cover and locate the battery within the unit.
- Inspect the battery for any signs of damage, corrosion, or leaks.
- Test the voltage levels using a multimeter to ensure the battery is charged.
- If there are any issues with your emergency light battery, replace it immediately to maintain proper functionality.
Always prioritize safety when inspecting and replacing batteries in your emergency lights. If you need clarification on the process, it’s best to consult a professional technician for assistance.
Conclusion
In wrapping up, how to replace emergency light bulb is a straightforward task that can be carried out safely and efficiently by following the proper procedures. Ensure that all safety measures are adhered to, from turning off the power supply to correctly disposing of the used bulbs.
Regular maintenance and knowing the workings of your emergency lighting system are crucial to guarantee that it functions correctly when you need it the most. By avoiding common mistakes and conducting frequent checks, you can help ensure the safety and preparedness of your environment for any emergency.
Always remember that if you’re uncertain about the process or encounter any issues, feel free to seek professional help.

