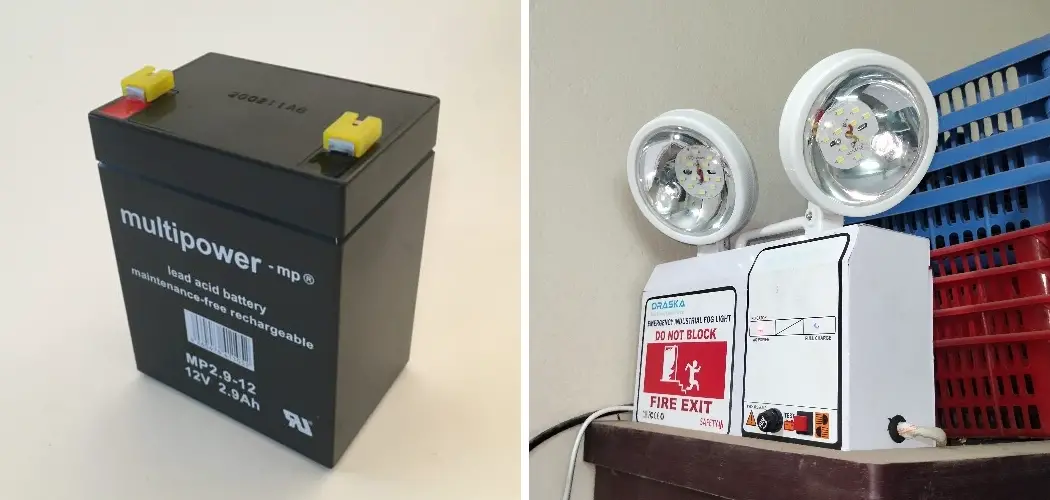
Are you getting ready for a power outage or want to replace your emergency light battery? Replacing an emergency light battery is a simple task that anyone can do with the right tools and precautions.
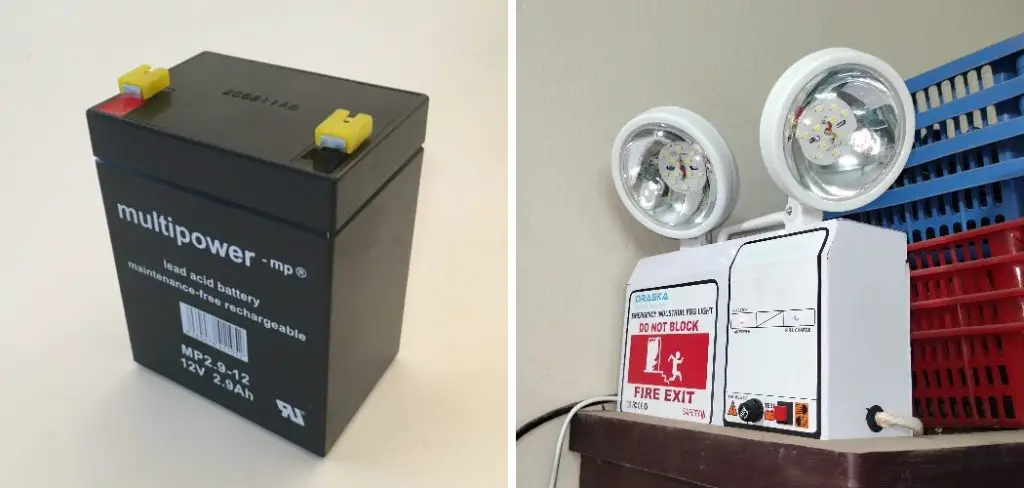
Replacing the battery in an emergency light is a critical maintenance task ensuring the device operates effectively when needed. In emergencies where power outages are possible, a functioning emergency light provides visibility and can guide you to safety. This guide will walk you through a step-by-step process of how to replace emergency light battery, including the tools required, identification of the appropriate replacement battery, and the actual installation procedure.
Whether you’re a facilities manager maintaining a commercial property or a homeowner looking to secure your residence, knowing how to replace an emergency light battery is essential.
When Should You Replace Your Emergency Light Battery?
Before diving into the replacement process, it’s important to understand when to replace your emergency light battery. It’s recommended to replace the batteries in your emergency lights every 2-3 years, depending on usage and environmental factors. If you notice any of the following signs, it may be time to replace your battery:
- The light is dimmer than usual
- The light flickers or doesn’t turn on at all
- The battery has visible signs of leakage or corrosion
If you experience any of these issues, it’s crucial to replace your emergency light battery immediately. A faulty battery can compromise the device’s effectiveness and put your safety at risk.
What Will You Need?
Before you begin the replacement process, gather all the necessary tools and materials. Here’s a list of items that you’ll need to replace an emergency light battery:
- Phillips screwdriver
- Flathead screwdriver
- Replacement battery (make sure it is compatible with your emergency light)
- Safety gloves
- Safety glasses
It is crucial to have the right tools when replacing an emergency light battery to ensure a smooth and safe process. Safety gloves and glasses protect your hands and eyes from potential hazards.

10 Easy Steps on How to Replace Emergency Light Battery
Step 1. Turn Off the Power:
Before starting any work on the emergency light, it’s crucial to ensure your safety by turning off the power supply to the unit. This can often be done at the circuit breaker or fuse box. If you’re unsure which switch controls the emergency light, switch off the main power supply.
Step 2. Locate and Remove the Screws:
Using a Phillips screwdriver, locate and remove the screws that secure the cover of the emergency light. Pay attention to the screw placement, as you will need to return them to their original positions later. Safely place the screws in a container or on a magnetic tray to prevent them from rolling away or getting lost. With the cover removed, you should have access to the battery compartment.
Step 3. Disconnect the Old Battery:
Care to disconnect the old battery once you have access to the battery compartment. Use a flathead screwdriver to gently pry off the connectors if they are tight or corroded. Remember to handle the battery carefully, as batteries can leak harmful chemicals if damaged. Dispose of the old battery properly, following local regulations for battery disposal.
Step 4. Prepare the Replacement Battery:
Once the old battery is disconnected and safely removed, prepare the replacement battery for installation. If the new battery has protective caps on the terminals, remove them. Check to ensure that the polarity of the battery matches the requirements of the emergency light unit. It is also wise to confirm that the voltage and ampere-hour (Ah) ratings are compatible with the device to ensure optimal performance and safety.
Step 5. Install the Replacement Battery:
Carefully place the replacement battery into the compartment, ensuring it sits securely and in the correct orientation. Attach the battery connectors to the corresponding terminals on the battery, observing the proper polarity red to positive (+) and black to negative (-). The connections must be snug and secure to prevent any power issues in the emergency light.
Step 6. Test the Connection:
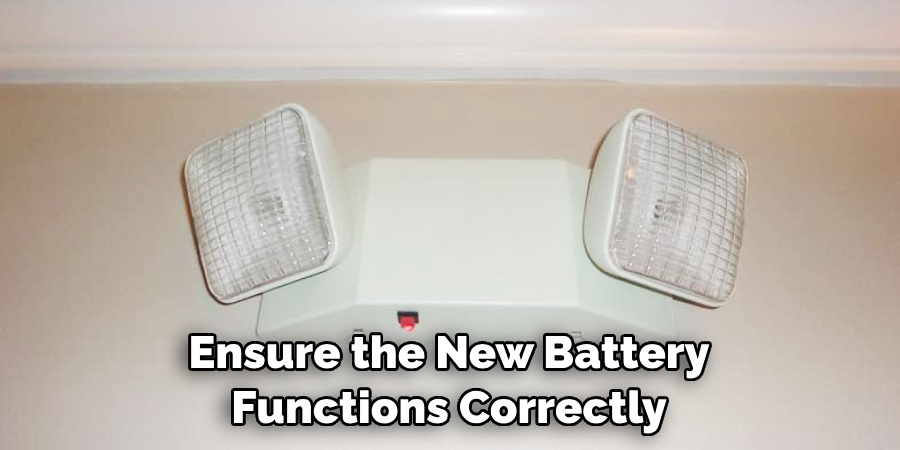
Before reassembling the emergency light, it’s crucial to test the connection. Turn the power back on temporarily to ensure the new battery functions correctly. The light should illuminate brightly without any flickering. If the light does not turn on, double-check the connections to ensure they are secure and correctly oriented. Once confirmed, turn the power off again to continue the replacement process safely.
Step 7. Replace the Cover:
It’s time to replace the cover once you’ve confirmed the new battery is working correctly. Align the cover back onto the emergency light and use the Phillips screwdriver to reinsert the screws you previously set aside. Ensure the cover is secured tightly to protect the internal components from dust and damage. Do not over-tighten the screws, as this may strip the threading or damage the cover.
Step 8. Clean the Unit:
After the cover has been replaced and secured, take a moment to clean the emergency light unit. Wipe down the exterior with a soft cloth to remove any dirt or fingerprints that might have accumulated during the battery replacement. This not only maintains the aesthetic appeal but can also prevent any debris build-up that could affect the light’s functioning in an emergency situation.
Step 9. Restore Power to the Unit:
With the cleaning complete, the final step in the emergency light servicing is to restore power to the unit. Carefully switch the power supply back on at the circuit breaker or fuse box. Observe the emergency light to ensure it lights up, indicating that the battery replacement was successful. Some units may have a ‘test’ button to confirm functionality. If the light fails to operate correctly, ensure all connections are secure, and the correct battery type has been used.
Step 10. Conduct a Full Function Test:
After the power has been restored and initial functionality is confirmed, conduct a full function test if your unit has that feature. This often involves simulating a power outage to ensure the emergency light activates and remains illuminated for the required duration. Check the manufacturer’s instructions to determine the recommended test procedure for your specific model. Document the test results as part of your routine maintenance records. Regular testing is crucial in ensuring your emergency lighting operates effectively in an actual power outage.
By following these ten easy steps, you can safely replace an emergency light battery and maintain the safety and functionality of your lighting system. Remember always to prioritize safety when working with electricity and dispose of old batteries responsibly to protect the environment.
5 Additional Tips and Tricks
- Ensure Compatibility: Before purchasing a replacement battery for your emergency light, confirm that the voltage and ampere-hour (Ah) ratings match the original battery or the manufacturer’s specifications.
- Safety First: Always turn off the power supply to the emergency light circuit before attempting to replace the battery. It’s also wise to use insulated tools to prevent any accidental electrical shocks.
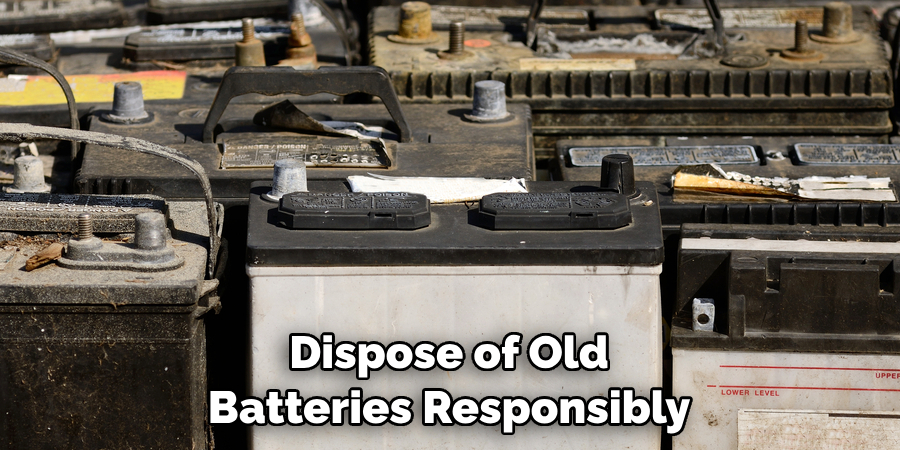
- Proper Disposal: Be environmentally responsible by disposing of the old battery at a recycling facility. Avoid throwing it in regular trash due to the harmful chemicals it contains.
- Check the Connections: Once you install the new battery, ensure the connections are tight and secure. Loose links can lead to malfunctioning the emergency light when needed the most.
- Test the Light: After replacing the battery, test the light to ensure it’s functioning correctly. It’s good practice to test the light monthly as part of regular maintenance.
With these additional tips and tricks, you can ensure a smooth and successful emergency light battery replacement process.
6 Things You Should Avoid When Replacing an Emergency Light Battery
- Neglecting Safety Procedures: Never attempt to replace the battery without first turning off the power supply. This could lead to electric shock or other injuries. Always prioritize personal safety and follow proper electrical safety protocols.
- Using Incorrect Battery Type: Do not use a battery that does not match the exact specifications of the emergency lighting unit—this includes voltage, size, and ampere-hour (Ah) rating. An improper battery can fail in emergencies, have a shorter lifespan, or even damage the unit.
- Forgetting to Test Before Finalizing: After installing the new battery, complete the crucial step of testing the unit before sealing the cover. This ensures that everything is working as it should and saves time by preventing the need to disassemble the unit again.
- Improper Disposal of Old Batteries: Do not dispose of old batteries with regular waste. Batteries contain environmentally harmful materials and must be recycled or disposed of according to local regulations.
- Ignoring Manufacturer’s Instructions: Each emergency light model can have unique features and specifications. Only proceed with the battery replacement after reviewing the manufacturer’s guidelines to ensure compatibility and proper installation procedures.
- Rushing the Process: Take time when replacing the battery, and follow each step carefully. Rushing can lead to mistakes or overlooking important details, which can affect the functioning of the emergency light in an actual emergency.
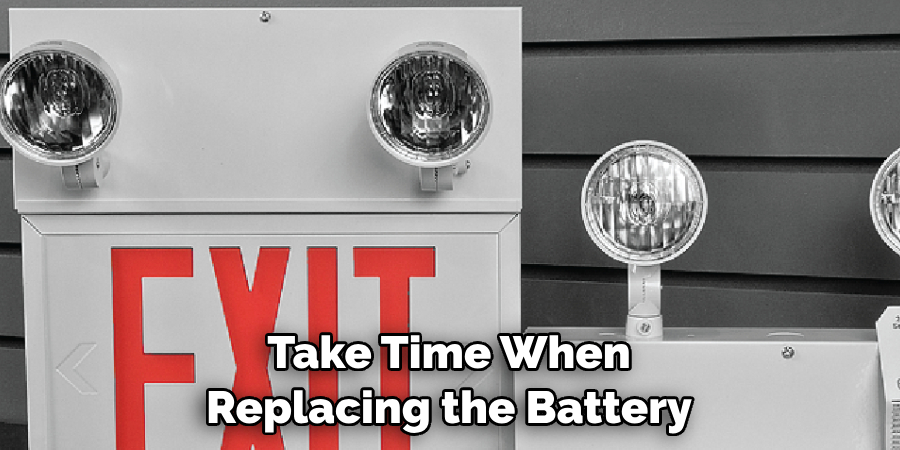
Avoiding these common mistakes can ensure a successful and safe emergency light battery replacement process.
Some Frequently Asked Questions
1. How Do You Change the Battery in an Emergency Light?
To change the battery in an emergency light, follow these steps:
- Turn off the power supply to the emergency light at the circuit breaker or fuse box.
- Remove any screws or clips holding the cover in place, and carefully remove the cover.
- Take note of how the old battery is connected and disconnect it from its terminals.
- Dispose of the old battery properly and insert the new one.
- Connect the new battery to the terminals using the same configuration as the old one.
- Replace the cover and secure it with any screws or clips previously removed.
- Clean the unit with a soft cloth to remove any dirt or fingerprints.
- Restore power to the unit at the circuit breaker or fuse box.
- Observe the emergency light to ensure it lights up, indicating a successful battery replacement.
- If your unit has a ‘test’ function, press it to confirm functionality. Conduct a full function test according to the manufacturer’s instructions and document the results for routine maintenance records.
With these steps and tips, you can easily change the battery in an emergency light and ensure its proper functioning during power outages. Always prioritize safety and follow the manufacturer’s instructions for best results.
2. What are the Use Cases for Emergency Lighting?
Emergency lighting is essential in a variety of situations, including:
- During Power Outages: When the primary power source is lost, emergency lighting ensures adequate visibility and safety.
- In Case of Fire or Other Emergencies: In the event of an emergency such as a fire, emergency lighting helps occupants safely navigate exits and evacuation routes.
- For Routine Maintenance Checks: Regularly testing and inspecting emergency lighting is essential to ensure proper functioning in emergencies.
- In Critical Facilities: Facilities such as hospitals, airports, and data centers require continuous lighting in the event of a power outage to maintain essential operations.
- In Remote or Isolated Areas: Emergency lighting can be crucial in providing visibility during emergency situations in remote or isolated locations.
- In Low Visibility Environments: Places like parking garages and stairwells can lack natural light, making emergency lighting necessary in case of power outages or other emergencies.

Overall, emergency lighting is crucial for ensuring safety and security in a variety of settings and situations. Proper maintenance and battery replacement plays a vital role in ensuring the effectiveness of emergency lighting systems.
3. Why Battery is Used in Emergency Light?
Emergency lights use batteries to provide backup power in case of a primary power failure. This ensures that there is continuous lighting during emergency situations, allowing people to safely evacuate the building or navigate to exits and evacuation routes. Batteries are also used because they can store energy and release it when needed, making them an efficient source of backup power for emergency lighting systems.
Additionally, batteries used in emergency lights are often designed to have a longer lifespan and be more durable, as they may need to sit idle for extended periods of time before being used in an emergency. This makes them reliable sources of backup power for critical facilities and other settings where continuous lighting is necessary for safety and security purposes.
So, the use of batteries in emergency lighting is essential for ensuring the functionality and effectiveness of these systems in emergency situations. Overall, batteries play a crucial role in providing backup power for emergency lighting, making them an integral component of these systems.
4. How Do Emergency Lights Work Without Power?
Emergency lights work without power due to their battery backup system. When the main source of power is lost, the emergency light’s battery kicks in and provides power to the unit, allowing it to continue functioning. This ensures that there is continuous lighting during an emergency, providing visibility and safety for occupants.
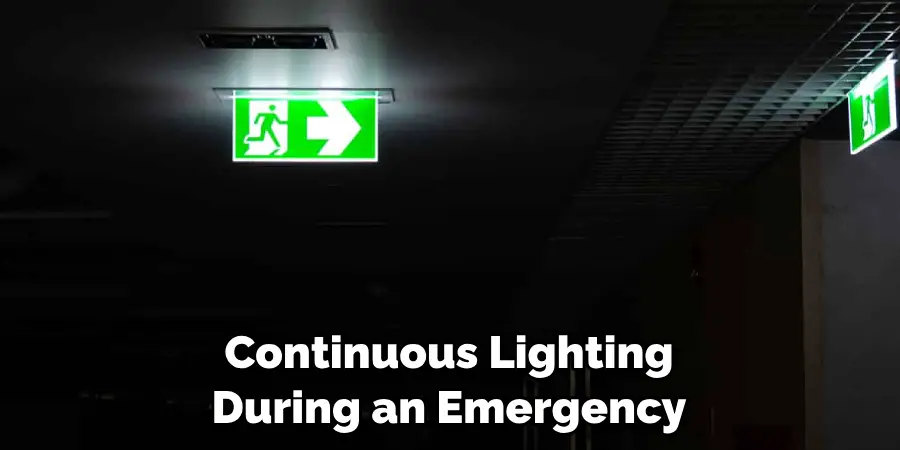
In addition to battery backup, some emergency lights also have built-in generators or solar panels that can provide power in case of a prolonged outage. These features make emergency lights reliable sources of backup power and allow them to continue functioning even without a main power supply.
Overall, emergency lights are designed to be self-sufficient during power outages, making them an essential safety feature in buildings and other settings.
5. Can Emergency Lights Be Turned Off?
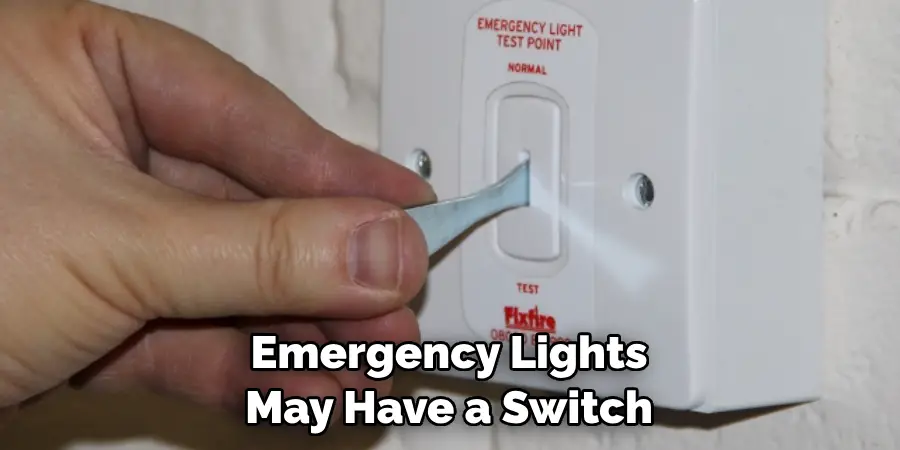
Most emergency lights cannot be turned off, as they are designed to remain on at all times in case of a power outage. However, some models may have a switch that allows them to be manually turned off for maintenance or testing purposes.
It is important to note that turning off an emergency light should only be done in accordance with the manufacturer’s instructions and proper safety procedures. In case of a power outage, the unit should be left in its default ‘on’ position to ensure continuous lighting for occupants.
Overall, while some emergency lights may have a switch for turning them off, it is not recommended to do so unless necessary and with proper safety precautions. Always follow manufacturer’s instructions and guidelines when operating emergency lights.
Conclusion
In conclusion, the replacement of an emergency light battery is a critical maintenance task that ensures the reliability and functionality of emergency lighting systems. The steps provided offer a straightforward method for safely removing the old battery and installing a new one, with emphasis on safety and adherence to manufacturer guidelines.
Regular checks and replacement not only ensure compliance with safety regulations but also instill confidence in occupants that, in the event of an emergency, they will have a well-lit path to safety. Remember to document the maintenance process and test the emergency light post-installation to verify its proper operation. By following these guidelines, you can help maintain the integrity of emergency lighting systems and ensure they are ready when needed most.
Hopefully, the article on how to replace emergency light battery has provided valuable insights and information on the importance of proper maintenance for these crucial safety systems. Stay safe!

