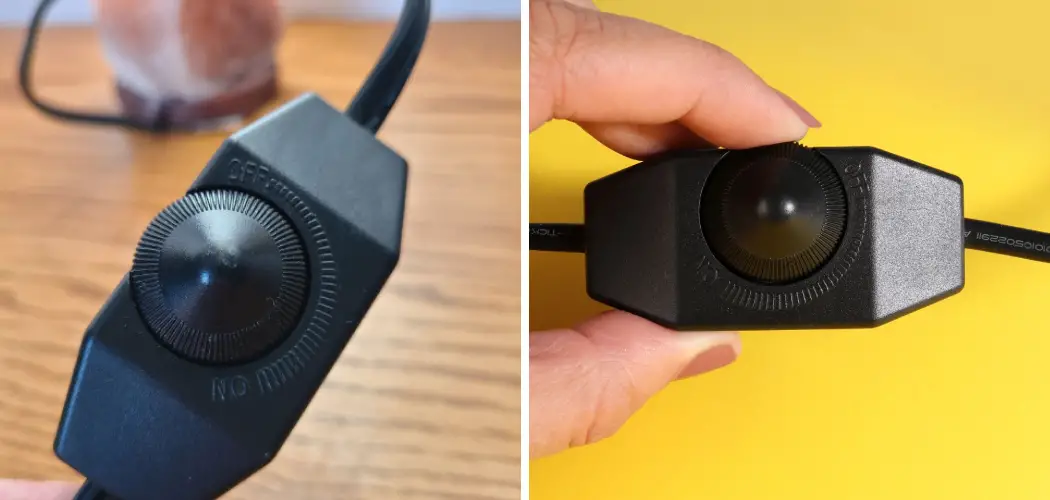
Have you ever noticed that your salt lamp is not giving off the beautiful warm glow it used to? Or maybe it’s flickering or not turning on at all? Chances are, the problem lies with the dimmer cord. The dimmer cord is responsible for controlling the brightness of your salt lamp and over time, it can wear out or become damaged. But don’t worry, replacing the dimmer cord on your salt lamp is a simple and cost-effective solution.
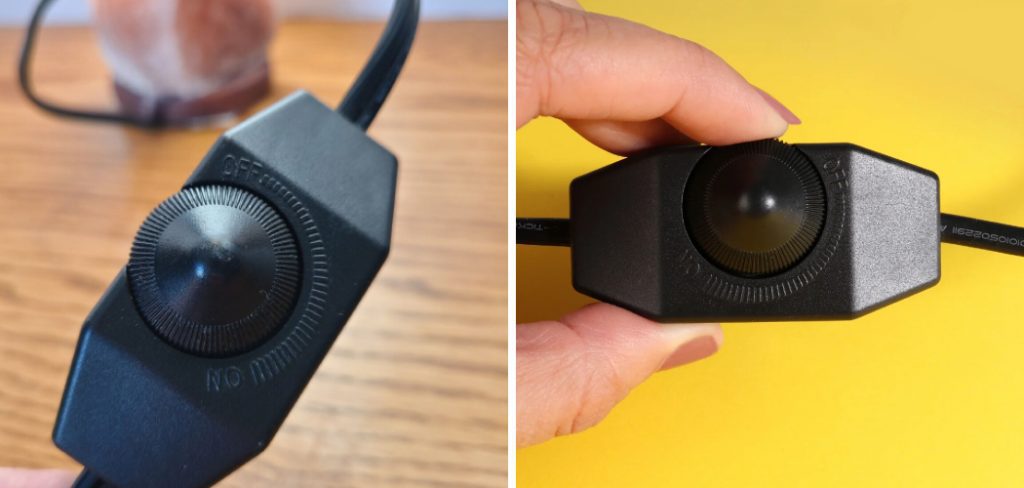
In this guide, we will walk you through the steps on how to replace dimmer cord on salt lamp. You don’t need any special tools or extensive technical knowledge, just a few basic supplies and some patience. So let’s get started!
Understanding Dimmer Cord on Salt Lamp
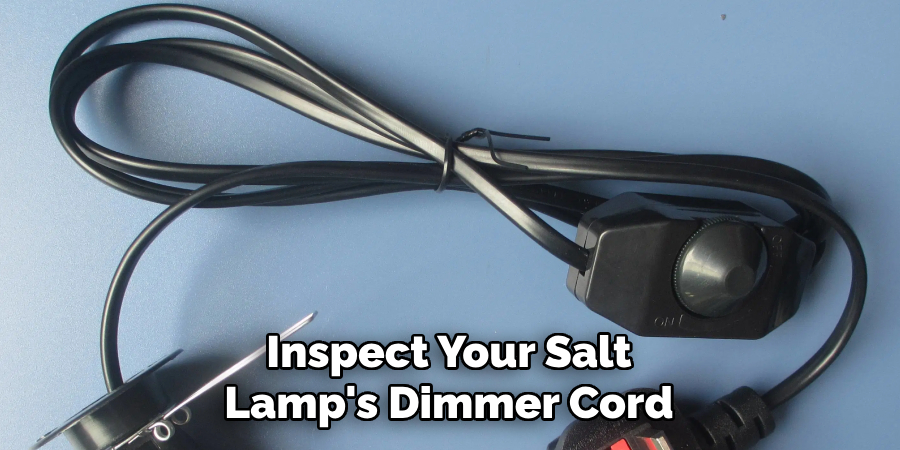
Before we jump into the replacement process, it’s important to understand what a dimmer cord is and how it works. A dimmer cord is essentially a type of power cord that has a built-in dimming feature. It allows you to adjust the brightness of your salt lamp by sliding or turning a switch.
The cords are usually made of plastic and have an attached dial or slider that controls the flow of electricity. The higher the setting, the brighter your salt lamp will be. Dimmer cords are commonly used in lamps and light fixtures because they offer convenience and flexibility in controlling the lighting.
Tools and Materials You Will Need to Replace the Dimmer Cord on the Salt Lamp
- New dimmer cord (make sure it is compatible with your salt lamp)
- Wire cutters
- Wire strippers
- Screwdriver
- Electrical tape
- Scissors
Step-by-step Guidelines on How to Replace Dimmer Cord on Salt Lamp
Step 1: Unplug the Salt Lamp
As with any electrical repair, the first and most important step is to unplug the salt lamp from its power source. This ensures your safety and prevents any accidents from happening. If your salt lamp has been on for a while, give it some time to cool down before proceeding. Unpluging the cord from the lamp itself is also recommended. If your salt lamp is hardwired, turn off the circuit breaker to be extra safe.
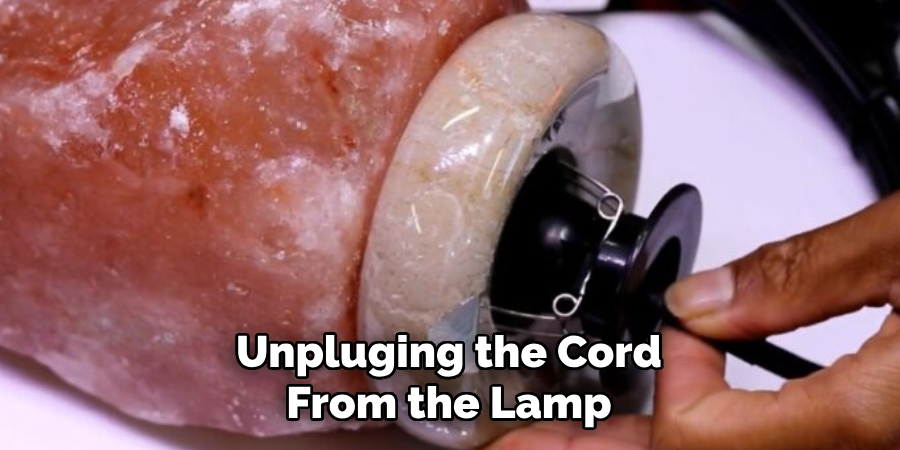
Step 2: Remove the Old Dimmer Cord
Use your screwdriver to remove any screws holding the dimmer cord in place. Once loosened, gently pull out the old cord from the salt lamp. If there are any knots or tangles, carefully untangle them using your fingers or a pair of tweezers. Make sure to keep track of the old cord, as you will need it for reference when installing the new one. While removing the old cord, inspect it for any signs of damage or wear and tear. If you notice any, it’s time to replace it.
Step 3: Prepare the New Dimmer Cord
Take your new dimmer cord and check if it has a plug attached to one end. If not, strip about half an inch of the outer plastic coating exposing the wires underneath. Then, strip off about half an inch of the insulation from each wire. If your new cord already has a plug attached, skip this step. This is usually the case with pre-made replacement cords.
Step 4: Connect the Wires
Now it’s time to connect the wires. Look at your old cord and take note of how the wires were connected. Usually, there will be two wires attached to each terminal – one from the lamp and one from the plug (if applicable). Use your wire cutters to snip off any damaged or frayed ends of the wires.
Then, using your wire strippers, strip off about half an inch of insulation from each wire. Once done, simply twist the wires together, matching the colors (if applicable), and secure them with electrical tape.
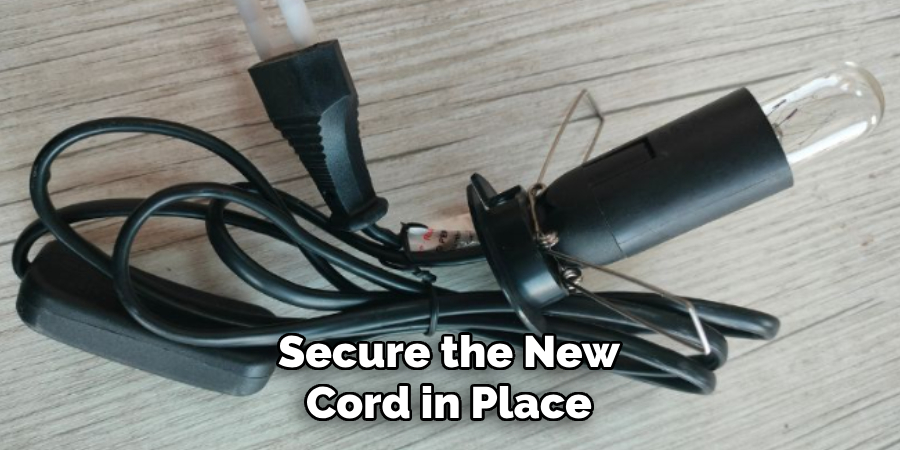
Step 5: Secure the New Cord
With the wires connected, it’s time to secure the new cord in place. Gently tuck any excess wire into the salt lamp base and use your screwdriver to reattach any screws or clips holding the cord in place. Make sure the cord is not tangled or interfering with any other parts of the lamp. Make any necessary adjustments before plugging the lamp back in.
Step 6: Test the New Dimmer Cord
Plug your salt lamp back in and test out the new dimmer cord. Gradually adjust the brightness to your desired level to ensure it is working properly. If everything looks good, pat yourself on the back – you’ve successfully replaced the dimmer cord on your salt lamp. Make sure to properly dispose of the old cord and enjoy your beautifully lit salt lamp once again.
Following these simple steps, you can easily replace the dimmer cord on your salt lamp and bring back its warm glow. Remember to always practice caution when dealing with electrical repairs and if you are unsure or uncomfortable, it’s best to seek professional help. Happy lighting!
Additional Tips and Tricks to Replace Dimmer Cord on Salt Lamp
- If your salt lamp is hard to remove from the dimmer cord, you can try using a pair of pliers to gently twist and pull the plug out.
- Before replacing the dimmer cord, make sure to unplug the salt lamp from its power source to avoid any accidents or electric shocks.
- If you’re having trouble finding a replacement dimmer cord, you can also try using a regular lamp cord and attaching it to the salt lamp’s bulb holder.
- To ensure that your replacement dimmer cord is of good quality, you can test it first by plugging it in and turning on the salt lamp. If there are any flickering or loose connections, then the cord may not be suitable for your salt lamp.
- When attaching the new dimmer cord to the salt lamp, make sure that all connections are secure and tightly screwed in. Loose connections can cause flickering or even short circuits.
- If you want to add an extra layer of protection for your salt lamp, you can also purchase a surge protector to plug it into before connecting it with the replacement dimmer cord.
- After successfully replacing the dimmer cord, make sure to properly dispose of the old one. You can check with your local waste management guidelines on how to dispose of electrical cords safely.
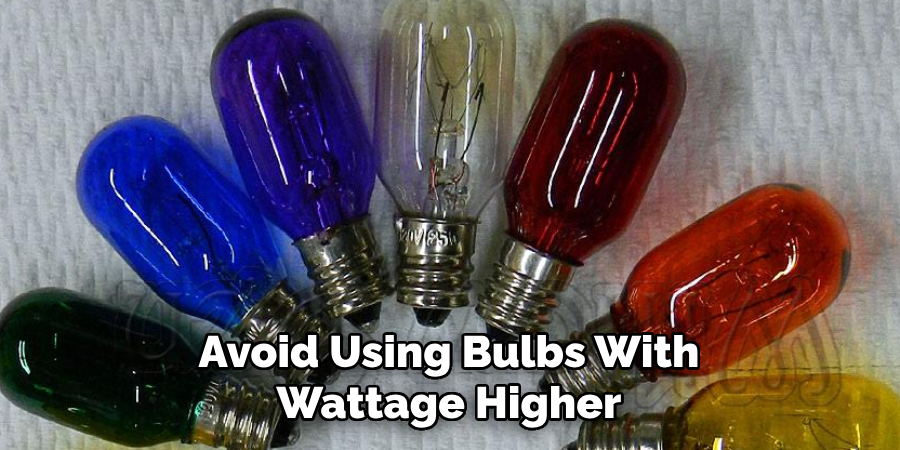
- To keep your salt lamp in good condition and extend its lifespan, avoid using bulbs with wattage higher than recommended for your specific salt lamp size.
- If you notice any strange smells or malfunctions after replacing the dimmer cord, immediately unplug the salt lamp and check for any loose connections or damaged components.
- It’s always a good idea to have some spare replacement dimmer cords on hand in case of emergencies or unexpected damages.
Following these additional tips and tricks can help ensure a smooth and safe replacement of the dimmer cord on your salt lamp. Remember to always prioritize safety and proper handling when dealing with electrical components. Stay mindful of any potential hazards and consult a professional if necessary. With proper care, your salt lamp will continue to provide warm and calming light for many years to come! Happy replacing!
Things You Should Consider to Replace Dimmer Cord on Salt Lamp
1. The first thing you should consider when replacing the dimmer cord on your salt lamp is to check its wattage rating. This is important because using a cord with a lower or higher wattage than what the lamp needs can result in damage to both the lamp and your home’s electrical system. It is recommended to use a cord with the same wattage rating as the original one.
2. Another factor to consider is the length of the new cord. Make sure that the cord you choose has enough length to reach from the lamp to your nearest power outlet without putting any strain on the cable. This will ensure that there are no loose or dangling cords, which can be a safety hazard.
3. It is also important to check the type of plug on the new cord. The salt lamp may have a specific type of plug that fits into it, so make sure to choose a cord with the same type of plug for a secure and proper fit.
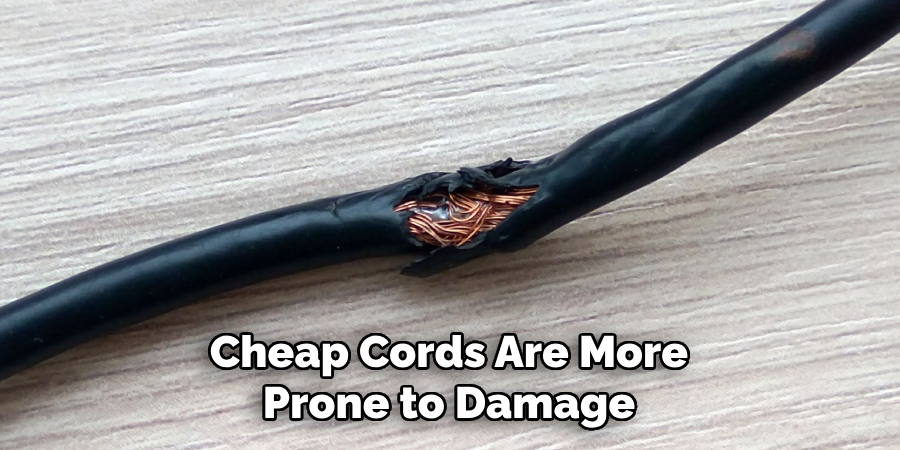
4. When purchasing a replacement dimmer cord, opt for high-quality ones even if they may be more expensive. Cheap cords are more prone to damage and can cause safety hazards, so investing in a good quality cord will save you from potential problems in the future.
5. If you are unsure about how to replace the dimmer cord on your salt lamp, it is recommended to seek professional help. Electricians have the necessary knowledge and experience to safely replace the cord and ensure that the lamp is functioning properly.
6. Before replacing the cord, make sure to unplug the salt lamp from the power source to avoid any electrical mishaps. Also, handle the new cord with care and follow the proper installation instructions provided by the manufacturer.
7. If your salt lamp has additional features such as a USB port or Bluetooth connectivity, make sure that these functions are supported by the new dimmer cord you choose.
8. Regularly check the condition of the cord and replace it if there are any signs of wear and tear. This will ensure that your salt lamp continues to function efficiently and safely.
9. Consider purchasing a surge protector to use with your salt lamp as an added safety measure. This will protect both the lamp and your home’s electrical system from power surges.
Following these considerations will ensure that you replace the dimmer cord on your salt lamp safely and effectively, and enjoy the many benefits of having a Himalayan salt lamp in your home. Remember, always prioritize safety when working with electrical appliances. So, invest in good quality products and seek professional help when necessary.
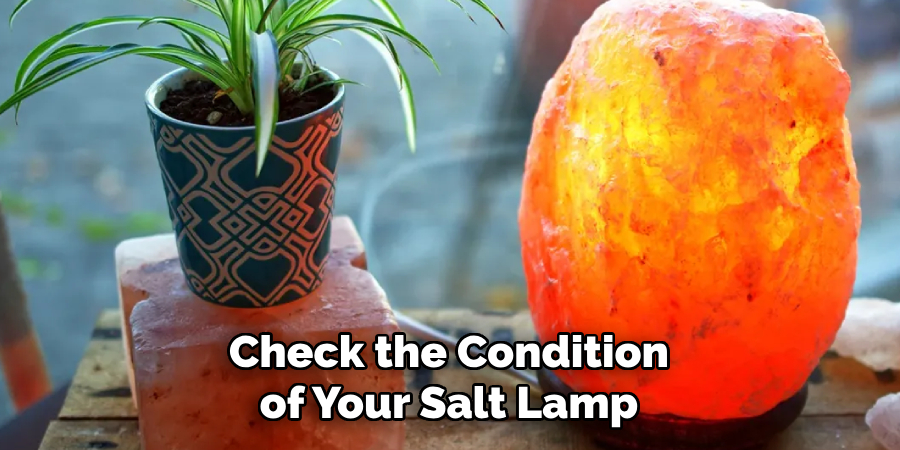
Additionally, make sure to regularly check the condition of your salt lamp to ensure its longevity. With proper care, your salt lamp will continue to provide a warm and soothing ambiance to your home for years to come. Enjoy the many benefits of this unique and beautiful natural light source! Happy lamping!
Precautions Need to Be Followed for Replacing Dimmer Cord on Salt Lamp
- First and foremost, make sure to disconnect the power supply to the salt lamp before attempting to replace the dimmer cord. This will prevent any accidents or electric shocks.
- Wear protective gear such as gloves and safety glasses while handling the dimmer cord and other electrical components of the salt lamp.
- Use a voltage tester to check if there is still electricity running through the old dimmer cord before removing it. This will ensure your safety while working on the salt lamp.
- Carefully read and follow the instructions provided by the manufacturer for replacing the dimmer cord. Each salt lamp may have a slightly different method of replacement.
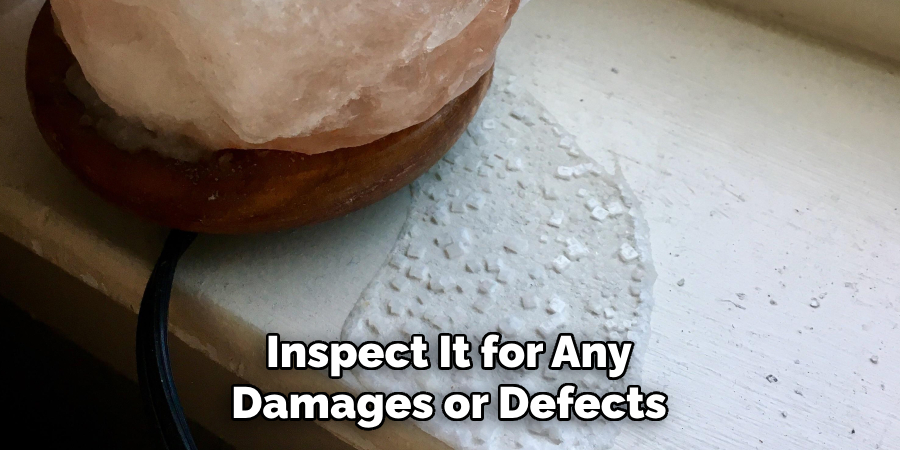
- Before attaching the new dimmer cord, inspect it for any damages or defects. If you notice any, do not use it and contact the manufacturer for a replacement.
- Make sure to properly secure all connections when replacing the dimmer cord. Loose connections can cause electrical issues or even pose a fire hazard.
- Avoid using excessive force when handling the dimmer cord or other components of the salt lamp. This can damage them and affect their functionality.
- Take your time when replacing the dimmer cord and follow all steps carefully. Rushing through the process can lead to mistakes or accidents.
Following these precautions will ensure that the replacement of the dimmer cord on your salt lamp is done safely and effectively. It is important to prioritize safety when dealing with electrical components, especially in a household setting. If you are unsure or uncomfortable with the replacement process, it is always best to seek professional help.
Frequently Asked Questions
Why Would I Need to Replace the Dimmer Cord on My Salt Lamp?
The dimmer cord on a salt lamp is responsible for controlling the brightness of the lamp. Over time, this cord can become damaged or worn out, resulting in issues with adjusting the brightness of your salt lamp. In some cases, the dimmer cord may stop working altogether. This is a common occurrence and can happen due to regular wear and tear or accidental damage.
How Do I Know if My Dimmer Cord Needs to Be Replaced?
If you are having issues adjusting the brightness of your salt lamp, or if the dimmer cord is visibly damaged, it may need to be replaced. You can also test the functionality of the cord by plugging it in and attempting to adjust the brightness. If nothing happens, or if there is a loose connection, it may be time for a replacement.
What Tools Do I Need to Replace the Dimmer Cord?
Replacing the dimmer cord on your salt lamp does not require any specialized tools. All you will need are a pair of wire cutters, a screwdriver, and a replacement dimmer cord. You can purchase a replacement cord at most hardware stores or online.
Can I Replace the Dimmer Cord on My Salt Lamp Myself?
Yes, you can replace the dimmer cord on your salt lamp yourself. However, if you do not feel comfortable or confident in doing so, it is always best to seek professional help. It is important to follow safety precautions and handle all electrical components with caution. If you are unsure about the process, it is best to seek assistance from a certified electrician.
How Often Should I Replace the Dimmer Cord on My Salt Lamp?
The frequency of replacing your dimmer cord may vary depending on usage and overall wear and tear. It is a good idea to inspect your salt lamp’s dimmer cord periodically for any signs of damage or malfunction. Generally, it is recommended to replace the dimmer cord every 1-2 years for optimal performance of your salt lamp.
Are There Any Precautions I Should Take When Replacing the Dimmer Cord?
Yes, it is important to exercise caution and follow safety guidelines when replacing the dimmer cord on your salt lamp. Always unplug the lamp from the power source before beginning any repairs. Use insulated tools and make sure to properly secure all connections before plugging the lamp back in. If you are unsure about the process, it is best to seek professional assistance.
Conclusion
Now you know how to replace dimmer cord on salt lamp, you can easily fix any issues with your salt lamp’s brightness control. Remember to periodically check the condition of your dimmer cord and replace it every 1-2 years for optimal performance. Always prioritize safety when handling electrical components and seek professional help if needed.
Enjoy the warm glow and health benefits of your salt lamp with a functioning dimmer cord! So go ahead and replace that dimmer cord on your salt lamp to keep it shining bright. With these simple steps, you can easily maintain the functionality of your salt lamp and continue to enjoy its soothing ambiance. Happy salt lamp-ing!

