Christmas lights are a quintessential part of holiday décor, bringing warmth and joy to countless celebrations. However, even a single burned-out bulb can affect the entire light strand, leaving parts of your tree dim and disrupting the festive ambiance.
Learning how to replace christmas tree bulbs is not only practical but also cost-effective, as it helps preserve the lifespan of your decorations and prevents the need to replace entire strands. This guide provides a step-by-step approach to safely and efficiently replacing bulbs in pre-lit Christmas trees and standalone light strands, ensuring your holiday decorations shine brightly throughout the season.
Understanding Christmas Light Types
Incandescent vs. LED Bulbs
Incandescent and LED bulbs are the two most common types of Christmas lights, each with distinct differences in lifespan, brightness, and replacement procedures. Incandescent bulbs are known for their warm, classic glow, but have a shorter lifespan and consume more energy compared to LEDs. They are also more fragile, making them prone to breakage.
On the other hand, LED bulbs are energy-efficient, last significantly longer, and stay cooler to the touch, which makes them safer for prolonged use. Replacement procedures differ slightly; while incandescent bulbs often require careful handling to avoid breakage, LED bulbs are more durable but may need specific replacement parts depending on the manufacturer.
Series Wiring Systems
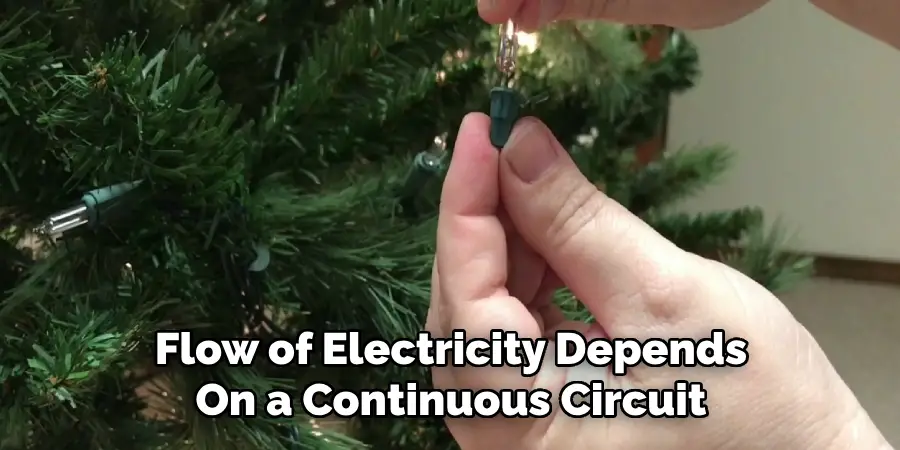
Many Christmas light strands use series wiring, where the flow of electricity depends on a continuous circuit. A single faulty bulb can disrupt the circuit, causing a whole section of lights to go out. This common issue can be frustrating, but is often resolved by identifying and replacing the problematic bulb using a bulb tester or by checking each bulb individually.
Pre-Lit Tree vs. String Lights
Pre-lit trees and standalone string lights differ slightly in accessibility and mounting styles. Pre-lit trees have lights already attached to the branches, making them convenient for setup, but sometimes trickier to replace bulbs due to their fixed position. Conversely, standalone string lights are more versatile for decorating and usually easier to troubleshoot and repair. Understanding these differences can help you handle your holiday lighting with ease and efficiency.
Tools and Materials Needed
When maintaining or repairing holiday lights, having the right tools and materials on hand can make the process smoother and safer. Here’s a list of essentials:
- Replacement Bulbs: Ensure they match the required voltage and style to maintain proper functionality.
- Bulb Tester (optional): A handy tool for quickly identifying faulty bulbs within the string.
- Small Screwdriver or Needle-nose Pliers: Useful for gently removing or securing bulbs without damaging the sockets.
- Safety Gloves: Especially important for working with incandescent lights, as broken glass can pose a risk.
- Flashlight: Provides better visibility while inspecting lights in dimly lit areas or during evening hours.
Equipped with these tools, you’ll be ready to confidently address any issues with your holiday lighting setup, ensuring a beautiful and festive display.
Identifying the Faulty Bulb
When troubleshooting holiday lights, finding the faulty bulb is key to restoring your display. Below are several effective methods to help you identify problem areas in your light strand.
Visual Inspection
Start with a close visual examination of each bulb. Look for blackened or broken filaments, as these are telltale signs of a burnt-out bulb. Additionally, check for cracked glass or other visible damage. Damaged bulbs disrupt the circuit and must be replaced to restore function to the strand.
Using a Bulb Tester
A bulb tester is a handy tool for quickly identifying faulty bulbs. To use, remove each bulb and place it into the tester; a working bulb will light up, while a faulty one won’t. Some testers even allow you to check the strand without removing each bulb, saving you time during the inspection process.
Wiggle Method
If no obvious defects are visible, try the wiggle method. Gently move each bulb while it remains in the socket. Sometimes loose connections or corrosion can cause a bulb to malfunction, and slight adjustments can restore the connection and functionality.
Common Signs of a Bad Bulb
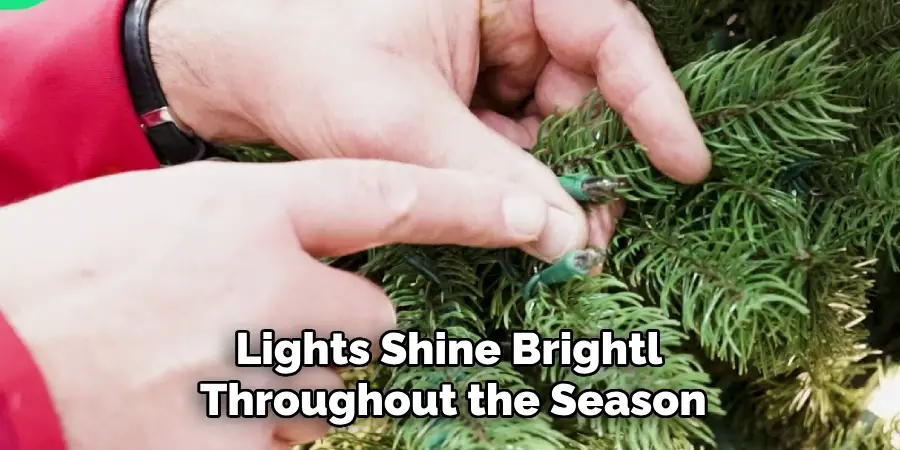
Pay attention to symptoms such as flickering lights, dim sections, or a complete loss of power along a portion of the strand. These issues typically indicate a broken or improperly seated bulb. Identifying and replacing these problem bulbs quickly will ensure your lights shine brightly throughout the season.
How to Replace Christmas Tree Bulbs: Removing the Faulty Bulb
Unplug the Light Strand
Before attempting any repairs, always ensure the light strand is unplugged from the power source. This step is crucial for your safety, preventing potential electrical shocks or other hazards while handling the bulbs. Never skip this precautionary measure.
Gently Pulling Out the Bulb
Locate the faulty bulb and carefully grip its base. Gently pull the bulb straight out of the socket without twisting or yanking on the wires. Applying excessive force can damage the socket or the wiring, complicating repairs further. Proceed patiently to preserve the strand’s integrity.
Handling Broken Bulbs
If the bulb is broken, take extra precautions. Wear gloves to protect your hands from glass shards or sharp edges. Use a pair of pliers to carefully extract the remaining pieces of the bulb from the socket. Once the shards are removed, clean the socket thoroughly to ensure all debris is cleared away. This step prepares the socket for a replacement bulb and prevents interference with electrical connections. Always handle broken bulbs with care to avoid injuries and to maintain the safety and functionality of your light strand.
Inserting the Replacement Bulb
Choose the Correct Replacement
Before inserting a replacement bulb, ensure it matches the voltage and type of the previous bulb. Using the wrong type—such as replacing an incandescent bulb with an LED—can lead to malfunction or damage to the light strand. Refer to the manufacturer’s specifications to confirm you have the correct replacement.
Aligning the Bulb Pins
Carefully inspect the replacement bulb’s pins and align them with the socket. Gently insert the bulb, ensuring it fits securely and makes proper contact with the electrical connectors. Avoid forcing the bulb into place, as this could damage the socket or the bulb itself.
Testing the Strand
After inserting the replacement bulb, plug the light strand back into a power source to test it. Observe whether the previously non-functioning section lights up. If the strand works properly, you can move on to reinstalling the lights.
Reseat if Necessary
If the section of lights still does not illuminate, power off the strand, remove the bulb, and reseat it to ensure proper alignment. Alternatively, try inserting a second replacement bulb to rule out a defective one. Once the issue is resolved, the strand should light up as intended, restoring its functionality.
Maintaining Your Christmas Lights
Proper maintenance of your Christmas lights can significantly extend their lifespan and ensure they remain a bright addition to your holiday decorations for years to come. Here are a few essential tips to keep your lights in excellent condition:
Store Properly After Holidays
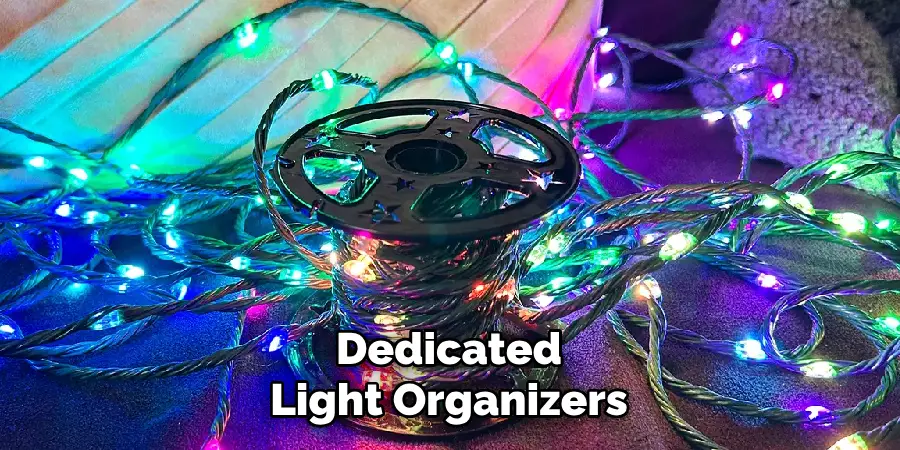
After the festive season, make sure to store your lights in an organized manner. Prevent tangled wires and broken bulbs by carefully winding the strands and using storage solutions like reels, spools, or dedicated light organizers. Keep storage containers in a dry and temperature-controlled area to avoid moisture damage.
Inspect Annually Before Use
Before you begin decorating, inspect your lights to ensure they are safe and functional. Plug in each strand to check for burnt-out bulbs, damaged wires, or other potential issues. Addressing these problems early will save time and prevent hazards.
Use Surge Protectors
To protect your lights from electrical surges, always use surge protectors when plugging them in. This precaution minimizes the risk of damage to the lights and reduces the chance of overheating or short circuits.
Label Extra Bulbs
Keep spare bulbs on hand to replace burned-out ones during the season. Store extras in a labeled container so you can quickly find the correct type and size when needed. This small step will save effort and keep your display shining brightly.
Frequently Asked Questions
Q: Can I Use LED Lights With Traditional Incandescent Ones?
A: Yes, but it’s important to keep them on separate circuits. LED and incandescent lights have different electrical requirements, and mixing them on the same circuit can lead to uneven performance or power load issues.
Q: How Can I Safely Hang Outdoor Lights on My Home?
A: Use light clips or hooks specifically designed for holiday lights instead of damaging staples or nails. These provide a secure grip while protecting your home’s surfaces and reducing the risk of electrical damage.
Q: What Should I Do if a Strand of Lights Stops Working?
A: First, check for a blown fuse in the plug, as this is a common issue. Replace it with a fuse of the same rating if necessary. Next, inspect for any damaged or loose bulbs and replace them as needed to restore the entire strand’s functionality.

Conclusion
Knowing how to replace Christmas tree bulbs is key to maintaining a beautifully lit display all season long. Start by identifying any faulty or burned-out bulbs, then carefully remove and replace them with the correct type to restore full function.
Always prioritize safety by unplugging the lights before handling any components. Matching the appropriate bulb size and type ensures optimal performance and prevents potential issues. Lastly, seasonal maintenance and proper storage play an essential role in extending the life of your decorations, keeping your holiday setup looking festive and functional year after year.

