Outdoor string lights add a warm and inviting ambiance to any space, from backyard patios to festive events. However, over time, individual bulbs may burn out, diminishing the overall charm and functionality of the lights. Replacing these bulbs is a simple and cost-effective way to keep your string lights looking their best. This guide will walk you through how to replace bulbs in outdoor string lights safely and efficiently, ensuring they continue to shine brightly for your enjoyment.
The Beauty and Functionality of Outdoor String Lights
Outdoor string lights offer more than just illumination; they create a magical atmosphere that transforms any space into a cozy and inviting retreat. Whether draped across a pergola, wrapped around trees, or strung along a fence, these lights add a decorative touch that enhances the aesthetics of outdoor areas. Beyond their beauty, they are also highly functional, providing adequate lighting for evening gatherings, outdoor dining, or simply enjoying a quiet night under the stars. Their versatility makes them a popular choice for both everyday use and special occasions, seamlessly blending practicality with charm.
Why Bulb Replacement Matters
Replacing burned-out bulbs in your outdoor string lights is essential for both aesthetic and practical reasons. A single burned-out bulb can disrupt the visual flow of the lights, detracting from the ambiance they create. Furthermore, in some string light designs, a single faulty bulb can impact the functionality of the entire strand, leaving larger sections unlit.
Regular maintenance and bulb replacement ensure that your outdoor space remains well-lit and inviting, preserving the warm atmosphere these lights are known for. Additionally, addressing burned-out bulbs promptly can prolong the lifespan of your string lights by preventing potential electrical issues caused by neglected damage.
10 Methods on How to Replace Bulbs in Outdoor String Lights
Outdoor string lights have gained popularity for transforming patios, gardens, and backyards into stunning spaces. But like any light fixture, their bulbs don’t last forever. If you’ve noticed a few burnt-out or dim bulbs ruining the ambience, don’t worry—replacing them isn’t as intimidating as it might seem.
This guide will walk you through ten foolproof methods to replace bulbs in outdoor string lights. Whether you’re a seasoned DIY enthusiast or a homeowner looking for a simple fix, you’ll walk away prepared to tackle this task safely and efficiently.
1. Inspect the String Light for Damage
Before replacing any bulbs, carefully inspect the string light for visible damage, such as frayed wires or cracked sockets. Damaged wiring could be a sign of potential safety hazards and might impact the functionality of new bulbs.
Tip: If the wiring appears compromised, consider replacing the string light or seeking professional repair instead of just changing bulbs. Safety first!
2. Turn Off the Power Source
Never attempt to replace bulbs while the string is plugged in. This eliminates any risk of electric shock and protects both you and the fixture.
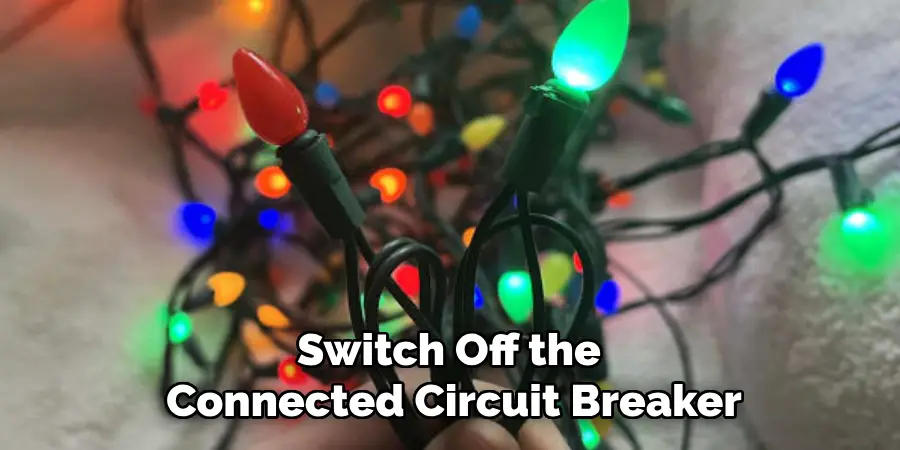
How: Unplug the lights from their power source or switch off the connected circuit breaker. Ensure the string is completely off before moving forward.
3. Identify the Type of Bulb Needed
Not all string light bulbs are created equal. Common types include incandescent, LED, and even solar-powered bulbs. Check for the specific wattage, size, and base type by inspecting the old bulb or the product packaging.
Example: If your current setup uses G40 globe bulbs, make sure replacements match the size and wattage to maintain uniform brightness across the string.
4. Use the Right Tools
Having the right tools ready can make bulb replacement smoother. Tools like gloves, a soft cloth, and a small ladder (for hard-to-reach areas) will come in handy.
Pro Tip: Work gloves are essential, especially if the old bulb shattered. They protect your hands from sharp glass while ensuring a secure grip.
5. Remove the Old Bulb Carefully
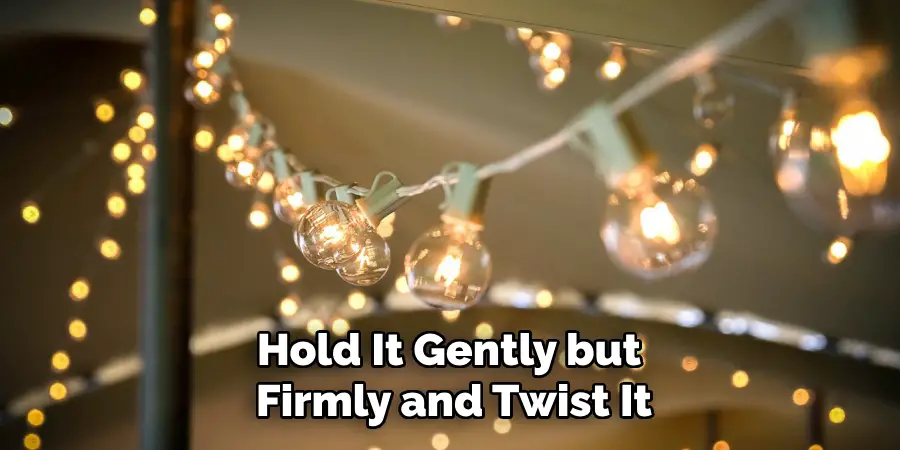
To remove the damaged or burnt-out bulb, hold it gently but firmly and twist it in a counterclockwise direction. If the bulb is stuck, use a soft cloth for better grip.
Caution: If the bulb breaks while unscrewing, grab a potato or a rubber-handled tool. Push the potato (or use the tool) into the socket, allowing it to grip the remnants for safe removal.
6. Clean the Socket
Over time, residue or debris can collect in the bulb socket, reducing the connection quality. Use compressed air or a soft brush to clean it before inserting the new bulb.
Tip: Ensure the socket is completely dry and free from moisture to prevent rust and ensure a proper fit.
7. Insert the Replacement Bulb
Align the replacement bulb’s metal base with the socket, and gently twist it clockwise until secure. Be careful not to overtighten, as this can damage both the bulb and socket.
Helpful Reminder: Test the bulb to confirm it’s properly installed and functioning before moving on to the next.
8. Replace Multiple Bulbs at Once
If your outdoor string lights use the same type of bulb and several are blown, it’s wise to swap the entire set out together. This ensures consistent brightness and extends the lifespan of the fixture.
Data Insight: LEDs, for instance, tend to last 25 times longer than incandescent lights, so upgrading while replacing might prevent future hassle.
9. Handle Shattered Bulbs with Extra Care
Accidents happen! If you’re dealing with broken bulbs, use masking tape to gently pick up tiny shards. Dispose of broken pieces in a box or container to prevent injuries.
Warning: Avoid using bare hands to clean areas with shattered glass, even if it appears safe.
10. Test the Entire String
Once you’ve replaced the necessary bulbs, reconnect the string light to power and test the setup. Check for any flickering, uneven lighting, or unresponsive sections.
Next Steps: If the issue persists, double-check the integrity of the remaining bulbs or the wiring. For ongoing troubles, contacting the manufacturer or an electrician might be best.
Bring the Glow Back to Your Space
Replacing bulbs in outdoor string lights is straightforward with the right guidance and preparation. By following these ten methods, you’ll not only restore their brilliance but also extend the life of your string lights.
Troubleshooting Common Issues
Even with regular maintenance and proper bulb replacement, outdoor string lights can sometimes present unexpected problems. Here are some common issues you might encounter and how to address them:
1. Sections of Lights Not Working
If a section of your string lights suddenly stops working, the issue might be with a single faulty bulb or a disrupted connection.
Solution: Check each bulb carefully to identify the defective one, and replace it immediately. If this doesn’t resolve the issue, inspect the wiring for visible damage or fraying.
2. Flickering or Dim Lights
Flickering or dimming could result from loose bulbs, incorrect wattage, or voltage issues.
Solution: Ensure all bulbs are securely tightened in their sockets. Verify that the bulb’s wattage matches the fixture’s specifications, and ensure you’re using a reliable power source.
3. Overheating Bulbs
Overheating is often caused by using high-wattage bulbs that are not compatible with your string lights or poor ventilation around the fixture.
Solution: Switch to low-wattage or LED bulbs, which stay cooler and consume less energy. Make sure the string lights are not bundled or positioned in a way that traps heat.
4. Lights Not Turning On
If your string lights fail to turn on, the issue could be a power source problem or a blown fuse.
Solution: Double-check that the lights are properly plugged in and that the outlet is working. Inspect and replace the fuse in the plug (if applicable), as older or overloaded fuses can disrupt power.
5. Rusty or Corroded Sockets
Outdoor string lights are exposed to weather, which can cause rust or corrosion to develop on sockets, impacting the electrical connection.
Solution: Clean the sockets with a soft brush and ensure they are fully dry. Consider applying a light coating of dielectric grease to prevent further corrosion.
6. Water Damage or Leaks
Exposure to rain or condensation can lead to water seeping into the sockets or wiring, causing damage or short circuits.
Solution: Use outdoor-rated string lights designed for wet conditions. Seal any exposed connectors with waterproof tape, and ensure the lights are installed in a way that minimizes direct exposure to moisture.
By troubleshooting these common issues, you can keep your outdoor space beautifully illuminated while avoiding costly repairs or replacements.
Conclusion
Outdoor string lights add charm and functionality to any space, creating a warm and inviting atmosphere for gatherings, celebrations, or quiet evenings. With proper care, timely bulb replacements, and effective troubleshooting, you can ensure your lights remain in excellent condition for years to come. By following the guidelines outlined above, you not only maximize the lifespan of your lighting setup but also maintain its aesthetic and practical benefits. Now that you know how to replace bulbs in outdoor string lights, try it yourself today and feel good about completing such a big DIY job!

