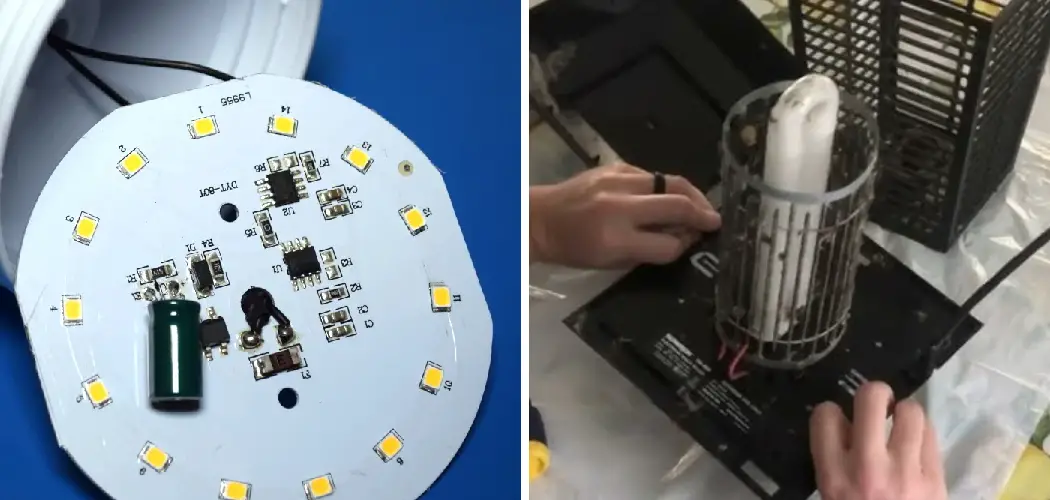
Bug zappers are essential tools for keeping outdoor spaces free from flying insects, but their effectiveness depends on a functioning UV bulb. Learning how to replace bulb in bug zapper is a simple maintenance task that ensures your device continues working at peak performance. When the bulb burns out or dims, insects won’t be attracted to the light, rendering your bug zapper useless.
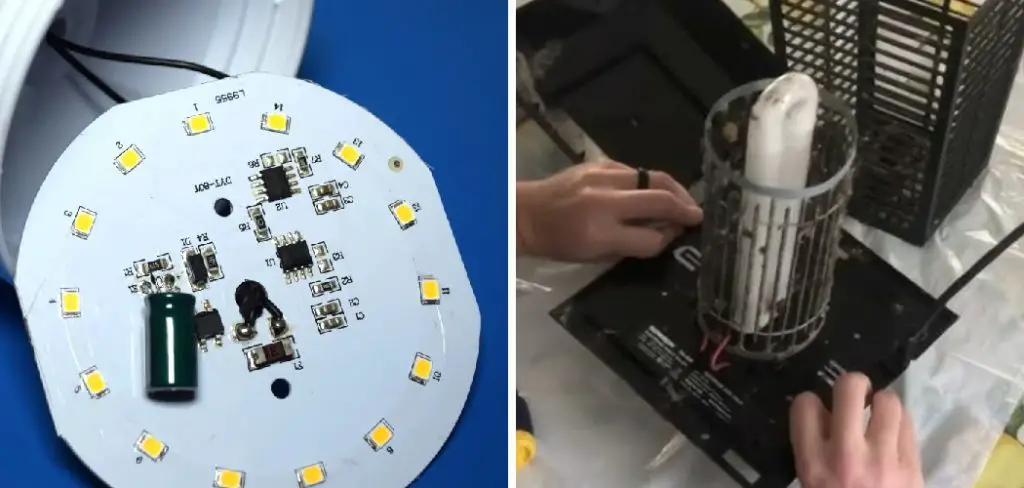
Most homeowners can complete this replacement in just a few minutes with basic tools and safety precautions. The process is straightforward and doesn’t require special electrical knowledge. By maintaining your bug zapper properly, you’ll enjoy insect-free evenings on your patio or deck throughout the warm months. This guide walks you through each step of the replacement process, from safety preparations to testing your newly installed bulb.
Why Replacing Your Bug Zapper Bulb Matters
Bug zapper bulbs don’t last forever, and their effectiveness decreases over time even before they completely burn out. UV bulbs typically need replacement every 6-12 months, depending on usage and environmental conditions. A dim or flickering bulb won’t attract insects effectively, making your bug zapper essentially decorative rather than functional.
Regular bulb replacement is much more cost-effective than replacing the entire unit. Quality replacement bulbs cost a fraction of what you’d spend on a new bug zapper, and the installation process takes just minutes. Additionally, a properly functioning bug zapper reduces the need for chemical insect repellents, creating a more comfortable and environmentally friendly outdoor environment.
Neglecting bulb replacement can also strain other electrical components in your bug zapper. Old bulbs may draw irregular power or cause flickering that affects the device’s internal circuitry. By staying proactive with maintenance, you protect your investment and ensure consistent insect control throughout the season.
Step-by-Step Guide: How to Replace Bulb in Bug Zapper
Step 1: Turn Off the Power
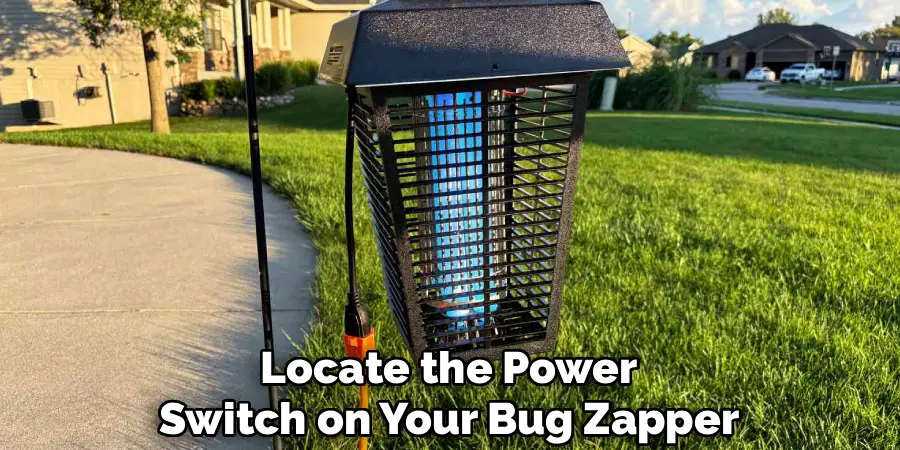
Safety should always be your first priority when working with electrical devices. Locate the power switch on your bug zapper and turn it to the off position. If your unit doesn’t have a dedicated switch, unplug it from the electrical outlet completely. Wait at least five minutes after turning off the power before proceeding to allow any residual electrical charge to dissipate.
Never attempt to replace the bulb while the unit is powered on, as bug zappers use high voltage that can cause serious injury. Even after turning off the power, treat the device with caution and avoid touching any electrical components unnecessarily.
Step 2: Allow the Unit to Cool Down
Bug zapper bulbs generate significant heat during operation, and the surrounding housing can become extremely hot. Allow the unit to cool for at least 15-30 minutes after turning off the power. This cooling period prevents burns and makes handling the components much safer and more comfortable.
Check the temperature by carefully holding your hand near the bulb housing without touching it. If you still feel heat radiating from the unit, wait longer before proceeding. Working with a cool device also reduces the risk of thermal shock that could damage the new bulb when installed.
Step 3: Remove the Protective Grid or Cover
Most bug zappers have a protective metal grid or plastic cover surrounding the bulb. Look for clips, screws, or latches that secure this protective barrier. Some units feature simple plastic clips that pop off with gentle pressure, while others may require removing screws with a screwdriver.
Keep track of any small hardware pieces like screws or clips, as you’ll need them for reassembly. Place these items in a small bowl or container to prevent losing them. Handle the protective grid carefully to avoid bending or damaging the metal wires, which could affect the unit’s performance.
Step 4: Identify the Bulb Type and Connections
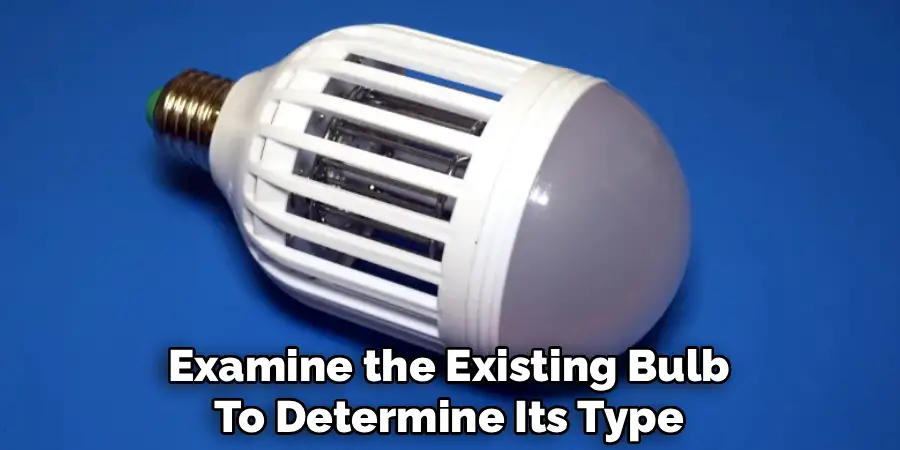
Examine the existing bulb to determine its type, wattage, and connection method. Most bug zapper bulbs are fluorescent tubes with either pin-style ends or screw-in bases. Take note of the bulb’s length, diameter, and electrical specifications, which are usually printed on the bulb itself.
Check how the bulb connects to the fixture – some twist into sockets while others slide into pin connections. Understanding the connection method beforehand makes the replacement process smoother and reduces the chance of forcing connections that don’t fit properly.
Step 5: Remove the Old Bulb Carefully
For twist-in bulbs, rotate counterclockwise while supporting the bulb gently. Pin-style fluorescent tubes typically require pushing the bulb slightly to one side while pulling it out of the socket connections. Work slowly and avoid applying excessive force that could break the bulb or damage the socket.
If the old bulb is broken or cracked, use extra caution to avoid cuts from glass fragments. Consider wearing work gloves during this step for added protection. Dispose of the old bulb properly according to your local regulations for fluorescent lighting waste.
Step 6: Install the New Replacement Bulb
Take your replacement bulb out of its packaging, handling it carefully to avoid fingerprints on the glass surface. For pin-style connections, align the pins with the socket openings and push the bulb gently into place. Twist-in bulbs should be rotated clockwise until snug, but avoid over-tightening.
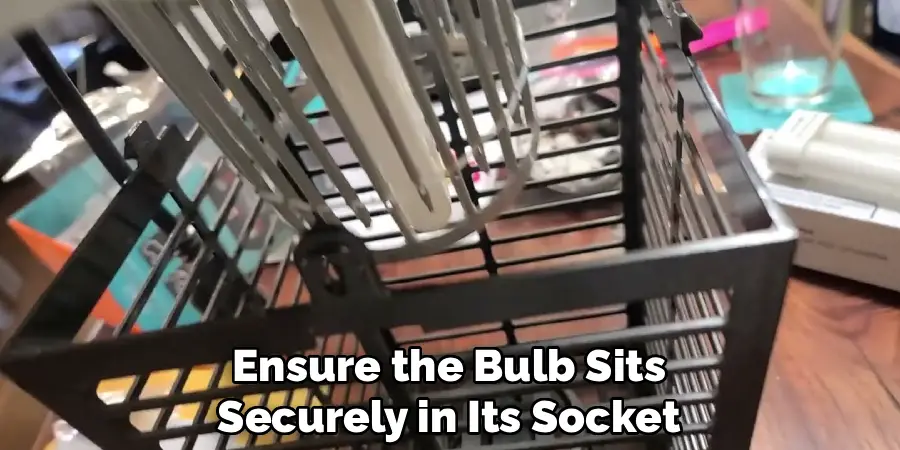
Ensure the bulb sits securely in its socket without wobbling or loose connections. A properly installed bulb will feel stable and make good electrical contact. Clean any fingerprints from the bulb surface with a soft, dry cloth before proceeding to prevent hot spots that could shorten bulb life.
Step 7: Reassemble the Protective Housing
Replace the protective grid or cover in reverse order of removal. Ensure all clips snap securely into place or tighten screws firmly without over-tightening. The protective barrier should sit flush and stable around the bulb area, maintaining proper spacing for effective insect elimination.
Double-check that all hardware is properly secured and that nothing rattles or moves when you gently shake the unit. A secure assembly ensures safe operation and prevents accidental contact with electrical components during normal use.
Step 8: Test the New Bulb Installation
Restore power to the bug zapper by plugging it back in or turning on the power switch. The new bulb should illuminate immediately and emit a bright purple or blue UV light. If the bulb doesn’t light up, turn off the power and check all connections to ensure they’re secure.
Observe the light for a few minutes to confirm steady operation without flickering or dimming. A properly functioning bug zapper bulb will produce consistent, bright UV light that’s clearly visible even in daylight conditions.
Step 9: Perform Final Safety Checks
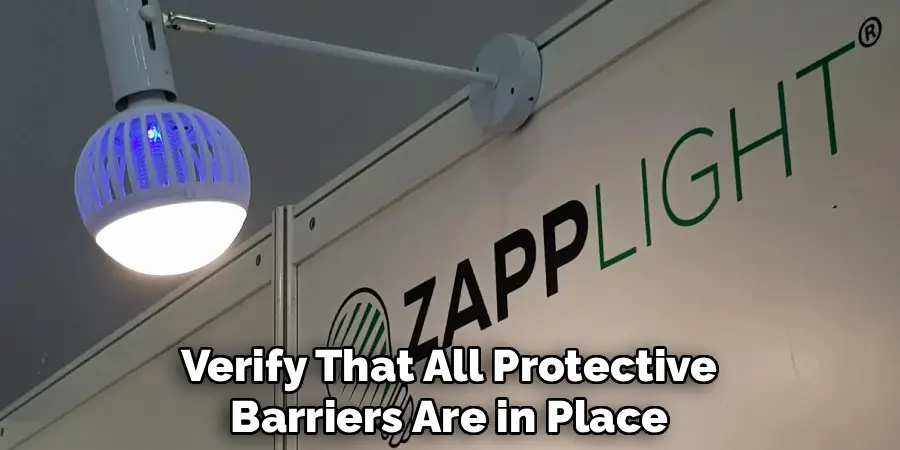
With the unit operating, verify that all protective barriers are in place and secure. Test that the power switch functions properly by turning the unit on and off. Make sure no loose wires or components are visible and that the housing is properly assembled.
Keep the area around your bug zapper clear of flammable materials and ensure adequate ventilation around the unit. Your newly serviced bug zapper is now ready to provide effective insect control for many months of reliable operation.
Troubleshooting Tips
If your bug zapper is not operating as expected, here are some additional troubleshooting steps to consider:
Check the Power Source
Ensure that the bug zapper is properly plugged in and that the outlet is functioning correctly. Test the outlet with another device to verify it is providing power.
Inspect the Bulbs
If the unit is receiving power but not attracting insects, the UV bulbs may need to be replaced. Over time, bulbs can lose their effectiveness even if they still emit some light.
Clean the Unit
Build-up of debris, dead insects, or dirt can hinder the efficiency of the bug zapper. Turn off and unplug the device before carefully cleaning it with a soft brush or compressed air.
Examine the Fuse or Wiring
Some models may have a built-in fuse that could be blown. Refer to your user manual for steps to inspect and replace the fuse, if applicable. Additionally, check for visible signs of damaged or disconnected wiring.
Positioning
Ensure the bug zapper is located in an area with high insect activity but away from competing light sources, as these can reduce its effectiveness.
If the problem persists despite these checks, consult the manufacturer’s support team or consider professional servicing to restore the unit’s functionality.
Frequently Asked Questions
How often should I replace my bug zapper bulb?
Replace bug zapper bulbs every 6-12 months for optimal performance. UV bulbs gradually lose their effectiveness over time, even if they still produce visible light. Heavy usage or harsh weather conditions may require more frequent replacement.
What type of bulb does my bug zapper need?
Check your owner’s manual or the existing bulb for specifications. Most use UV fluorescent tubes ranging from 4-40 watts. Common types include T5, T8, or compact fluorescent bulbs with specific UV wavelengths designed to attract insects effectively.
Why isn’t my new bulb working after installation?
First, verify the power is on and the bulb is properly seated in its socket. Check for loose connections or damaged sockets. If the bulb still doesn’t work, it may be defective and need replacement under warranty.
Can I use regular fluorescent bulbs instead of UV bulbs?
No, regular fluorescent bulbs won’t attract insects effectively. Bug zappers require specialized UV bulbs that emit specific wavelengths of ultraviolet light. Using incorrect bulbs will significantly reduce your unit’s insect control effectiveness.
Is it safe to replace the bulb myself?
Yes, when proper safety precautions are followed. Always turn off power, allow cooling time, and handle components carefully. If you’re uncomfortable working with electrical devices, consult a qualified electrician for assistance.
Conclusion
Knowing how to replace bulb in bug zapper empowers you to maintain your insect control system effectively and economically. This simple maintenance task takes just minutes but ensures your outdoor spaces remain comfortable and bug-free throughout the season.
Regular bulb replacement is a small investment that pays big dividends in continued pest control effectiveness. By following these straightforward steps and maintaining a replacement schedule, you’ll enjoy reliable insect elimination for years to come.
Don’t let a burned-out bulb compromise your outdoor comfort. Take action today to replace that dim or flickering bulb, and restore your bug zapper to peak performance. Your family and guests will appreciate the difference during your next outdoor gathering.

