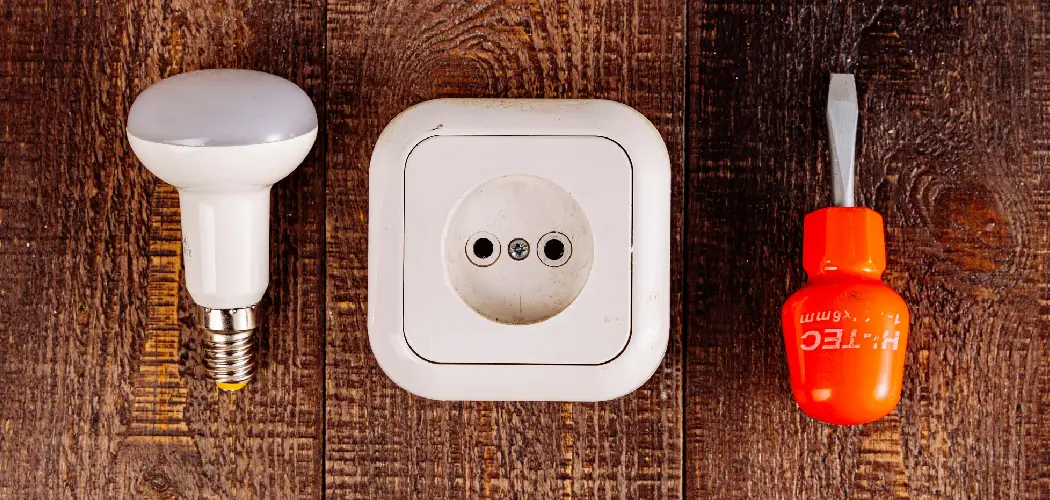
A three-way lamp socket is a special type of socket designed to work with three-way light bulbs, allowing the user to toggle between three distinct brightness levels. Unlike a standard socket, which supports only a single brightness, the three-way socket provides enhanced versatility and is commonly found in living rooms, bedrooms, or workspaces where adjustable lighting is beneficial.
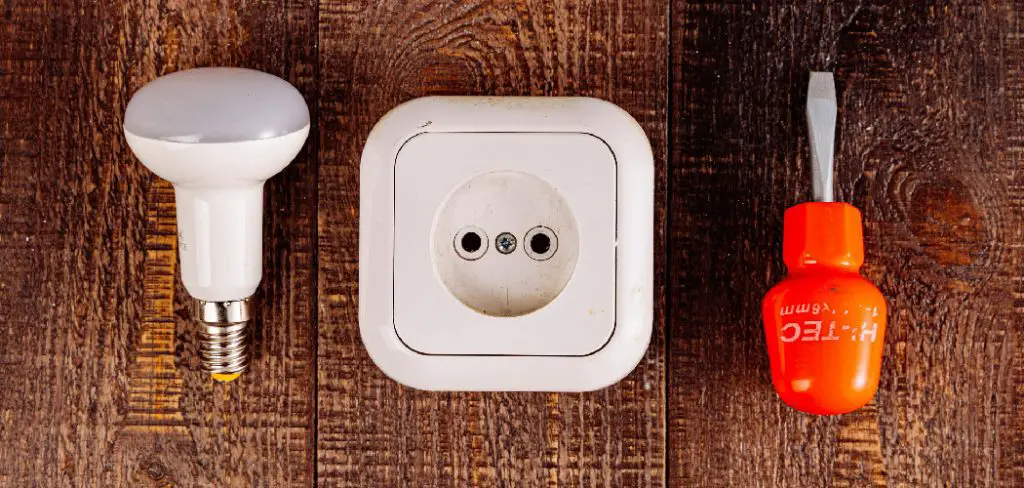
Over time, these sockets may require replacement due to issues such as a malfunctioning switch, a flickering light bulb, or complete loss of light. This article serves as a clear, step-by-step guide on how to replace a three way lamp socket, ensuring the process is safe, effective, and restores your lamp’s full functionality.
By understanding these essential steps, you can tackle the replacement confidently without the need for professional assistance.
Understanding How a Three-Way Lamp Works
A three-way lamp is a versatile lighting solution designed to offer three distinct brightness levels, all made possible by a specialized bulb and socket working in tandem. The key to its functionality lies in its internal components. A three-way bulb is equipped with two filaments of different wattages, which are activated separately or together to create varying brightness levels.
The socket itself has multiple contact points that align with the bulb’s base, allowing the switch mechanism to control which filament is powered or if both are illuminated simultaneously.
Parts of a Three-Way Socket
The main components of a three-way socket include the outer shell, the switch mechanism, the center contacts, and the base. The outer shell provides the structure, while the switch mechanism enables the user to toggle through the brightness settings.
The center contacts are crucial for transferring power to the appropriate filament in the bulb, and the base serves as the connection to the lamp’s electrical wiring.
When to Replace the Socket
It may be time to replace your three-way lamp socket if you notice certain issues, such as the bulb only functioning at one brightness level, failing to turn on entirely, or flickering despite using a functioning bulb. Addressing these symptoms promptly can restore your lamp’s usability and prevent potential safety hazards.
Gathering the Necessary Tools and Materials
Before replacing your three-way lamp socket, it’s essential to have all the necessary tools and materials on hand to ensure a smooth and safe repair. Here’s what you’ll need:
Basic Tools Needed
- Screwdriver (flathead or Phillips) – for loosening screws and disassembling parts of the lamp.
- Pliers – helpful for gripping and adjusting components securely.
- Wire Stripper/Cutter – used for prepping the electrical wires during reconnection.
Replacement Socket
Selecting the correct type of three-way socket is crucial for compatibility with your lamp. Make sure to check the specifications of your current socket and purchase a matching replacement.
Optional Safety Gear
- Gloves – to protect your hands while working, especially if glass parts are involved.
- Safety Goggles – recommended for added eye protection when working with delicate materials like glass fixtures.
Other Supplies
- Electrical Tape (optional) – useful for securing connections if needed.
- Replacement Three-way Bulb – to test the new socket after installation to ensure proper functionality.
Preparing the Lamp for Repair
Safety First
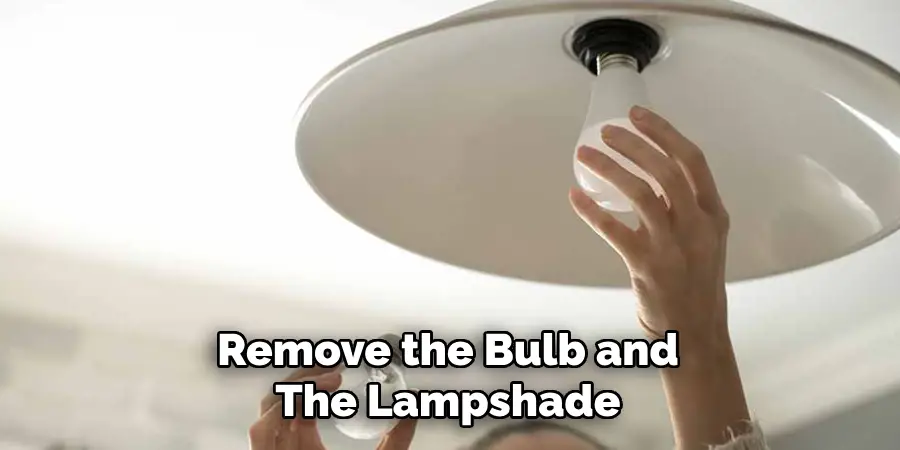
Before starting any repair work, it’s important to prioritize safety. Unplug the lamp to ensure there’s no electrical current flowing through it. Remove the bulb and the lampshade carefully to gain full access to the socket without any obstructions. This step will help prevent accidental damage to other parts of the lamp while you work.
Inspecting the Lamp Socket
Take a close look at the lamp socket, as this part often shows visible signs of damage. Check for burn marks, looseness, or other signs of wear and tear that may indicate a malfunction. If the socket appears to be damaged or worn, replacing it is necessary for the proper functioning and safety of the lamp.
Accessing the Socket Assembly
To reach the inner wiring and fully access the socket assembly, start by removing the old socket shell. Most socket shells can be detached with a simple twist-and-pull motion. Once the shell is removed, you’ll reveal the wiring beneath, which is connected to the inner components.
Take note of the wiring configuration, as this will be crucial when installing the new socket. Handle all components gently to prevent further damage to the lamp.
How to Replace a Three Way Lamp Socket: Removing the Old Socket
Disconnecting Wires
Begin by locating the brass and silver terminal screws that secure the wires to the old socket. Use a screwdriver to loosen these screws carefully. Before disconnecting the wires, take note of their placement. Labeling the wires or taking a photo for reference during reassembly is a good idea.
This step will ensure you reconnect them correctly when installing the new socket. Once noted, gently detach the wires from the terminal screws.
Unscrewing the Socket Base
After removing the wires, the next step is to unscrew the socket base from the lamp’s threaded rod. The socket base is often securely fastened, so you may need to twist it gently but firmly to free it. Take care not to damage the lamp or surrounding components during this process.
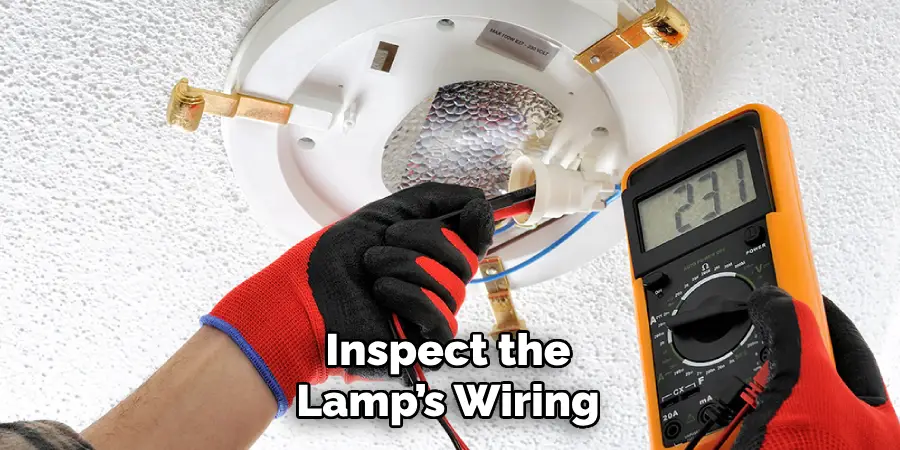
Inspecting the Lamp Wiring
With the old socket fully removed, inspect the lamp’s wiring. Look for any signs of fraying, discoloration, or damage, as these can pose safety concerns. If the wires are frayed, trim the damaged portion with wire cutters and strip the insulation to expose fresh wire ends. This step is essential for ensuring proper electrical connectivity and safety.
Cleaning the Area
Before installing the new socket, clean the area around the threaded rod and the lamp base. Use a soft cloth to remove any dust, debris, or corrosion. Cleaning the area ensures a solid fit for the new socket and promotes long-term functionality.
Installing the New Three-Way Socket
Attaching Wires to the New Socket
Begin by attaching the wires to the new three-way socket. Locate the hot (black) wire and connect it to the brass screw on the socket. Next, take the neutral (white) wire and attach it to the silver screw. Ensure that the wire loops around the screws securely and tighten them firmly to prevent any loose connections.
Check that no exposed wire is left outside the terminal to maintain safety and proper functionality. A tight and accurate connection is critical for the safe operation of the lamp.
Securing the Socket Base
After attaching the wires, carefully thread the socket base back onto the lamp’s center rod. Rotate the base until it fits snugly against the lamp structure, ensuring it is straight and secure. This step ensures that the socket remains stable during operation and improves the lamp’s durability.
Snapping on the Outer Shell
Now, align the outer shell with the socket. Slide it over the socket assembly, making sure the grooves or notches on the shell match up with those on the socket base. Once aligned, press down firmly to lock the shell into place. Check that the outer shell is secure and that the switch is correctly positioned within the opening to allow proper use.
Testing the Switch Mechanism
Before completing the installation, rotate the switch mechanism on the new socket to verify smooth operation. Ensure that it moves freely through its settings without any resistance or gaps. Testing the switch ensures that the three-way functionality is working as intended and prepares the lamp for bulb insertion. If everything is functioning correctly, proceed to screw in a bulb to finish the installation process.
Testing the Lamp
Reassembling the Lamp
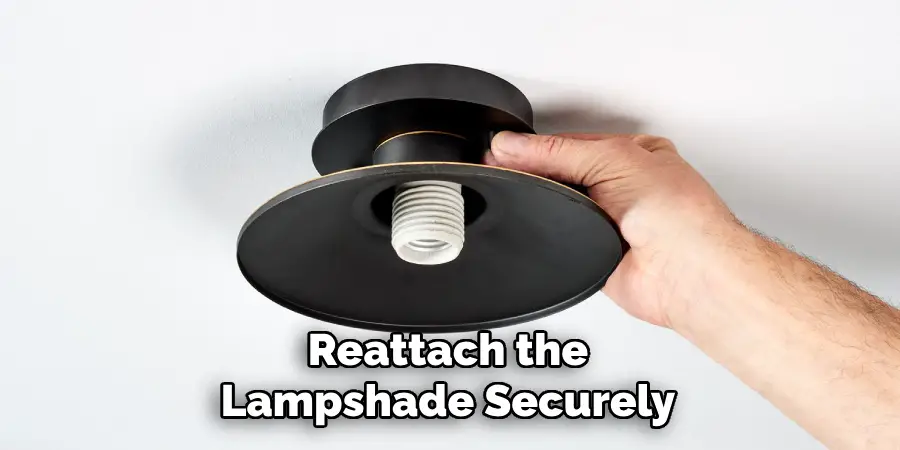
After verifying the switch mechanism, reattach the lampshade securely and insert a compatible three-way bulb into the socket. Ensure that the bulb is appropriately seated, as a loose connection could prevent the lamp from functioning correctly. Double-check that all components are assembled tightly to avoid any wobbling or instability.
Powering On Safely
Plug the lamp into a functional power outlet and carefully test each brightness setting by rotating the switch. Observe the bulb’s response to ensure smooth transitions between low, medium, and high brightness. This step confirms that the newly installed socket is working as intended and that the bulb is operating at its full capability.
Troubleshooting Issues
If the lamp fails to function properly, check the wiring to ensure all connections are secure and correctly configured. Verify that the bulb is a three-way type and replace it if necessary. If the issue persists, inspect the lamp for internal problems, such as a faulty socket or damaged components requiring professional repair or replacement.
Tips for a Safe and Lasting Repair
Choosing Quality Components
When replacing any parts of your lamp, always opt for high-quality or UL-listed components to ensure safety and durability. A reliable socket replacement can prevent electrical hazards and extend the lifespan of your lamp.
Avoiding Common Mistakes
Be careful not to over-tighten wires during the repair process, as this can damage the wiring and lead to operational issues. Additionally, ensure all wire connections are properly aligned and securely fastened in their designated positions to avoid functional failures or safety risks.
Routine Lamp Maintenance
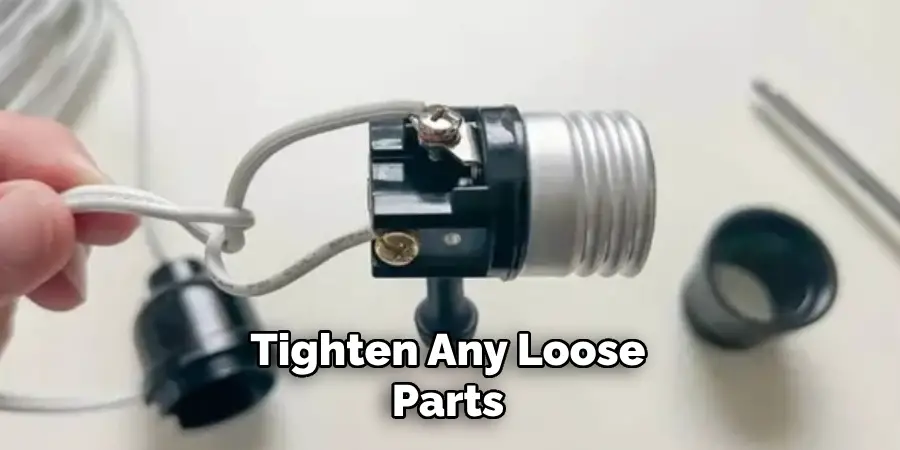
To keep your lamp functioning safely over time, perform routine maintenance by inspecting the socket for signs of wear or damage. Tighten any loose parts and clean the lamp periodically to prevent dust buildup, which can impact performance. Regular upkeep contributes to both the safety and the longevity of your repair.
Conclusion
Understanding how to replace a three way lamp socket begins with identifying the faulty socket and determining the need for replacement. The process involves safely removing the damaged socket, installing a new one, and ensuring all connections are secure. Safety and patience are key throughout, as working with electrical components requires careful attention.
Routine maintenance after the repair ensures the socket’s longevity and optimal performance. Replacing a three-way socket is a straightforward DIY task that restores your lamp’s functionality, saving you time and money while keeping your space well-lit and safe.

