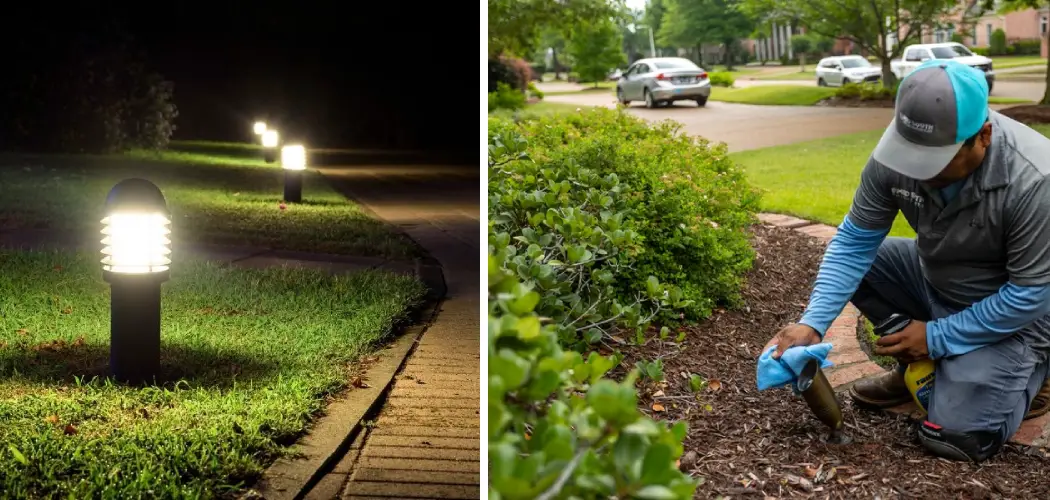
Replacing a landscape light may seem daunting, but with the right tools and guidance, it’s a straightforward task that can significantly enhance the aesthetics and safety of your outdoor spaces. Whether you’re upgrading to more energy-efficient options or fixing a damaged fixture, understanding the process is key to ensuring a successful replacement. This guide will walk you through how to replace a landscape light, ensuring your landscape lighting continues to illuminate your property beautifully and efficiently.
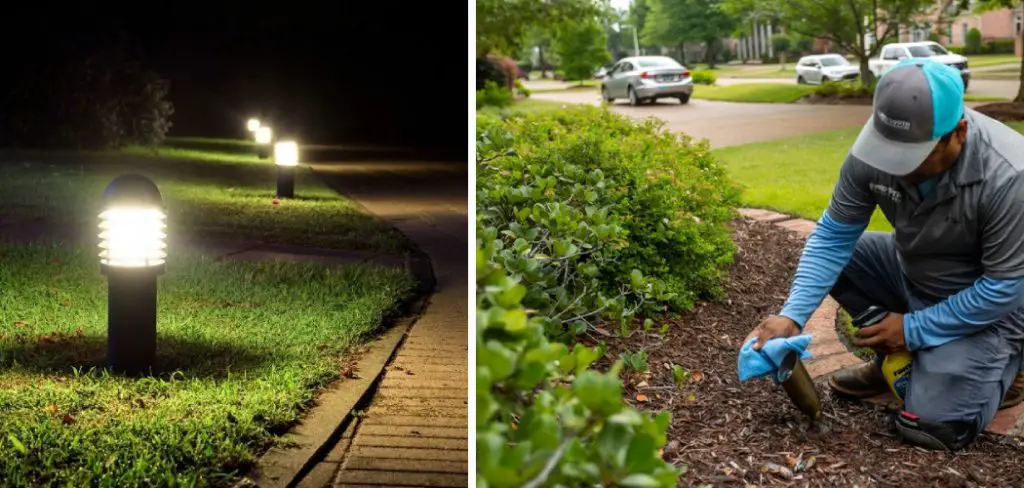
Common Reasons for Replacing Landscape Lights
There are several common reasons homeowners may need to replace their landscape lights. One major cause is upgrading to energy-efficient options, such as LED lighting, which not only conserves energy but also reduces long-term costs. Weather exposure can also lead to corrosion or damage of outdoor fixtures, necessitating replacement to maintain functionality and appearance.
Additionally, technological advances and changes in design trends might inspire updates to achieve a more contemporary look. Occasionally, individual components like bulbs or wiring can fail, prompting a comprehensive overhaul rather than piecemeal repairs to ensure consistent lighting.
Tools and Materials Needed
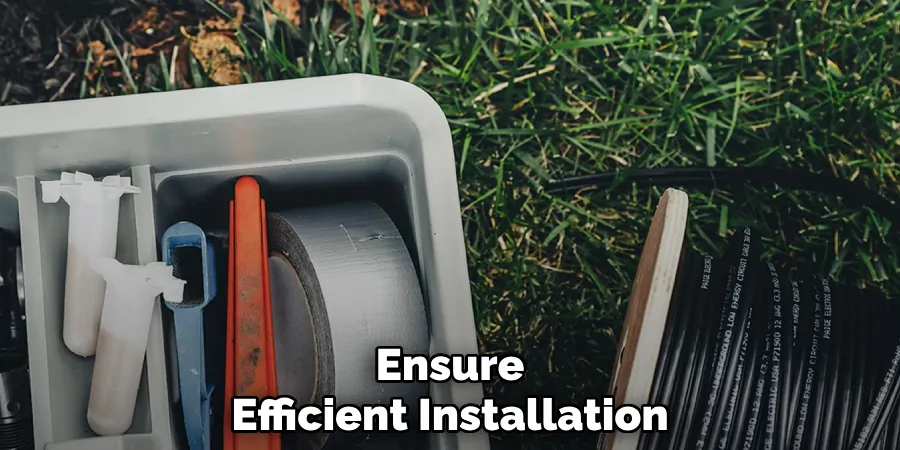
Before starting the replacement process, gather the necessary tools and materials to ensure a smooth and efficient installation. Here is a list of items you will need:
- Replacement Light Fixture: Choose a fixture that matches your existing system’s voltage and style.
- Screwdriver: A Phillips or flathead screwdriver to remove and secure screws on the fixtures.
- Wire Strippers: Essential for stripping the insulation from electrical wires.
- Voltage Tester: To confirm the power is off before handling any wiring.
- Waterproof Wire Connectors: To protect connections from moisture and ensure a secure link.
- Work Gloves: Protect your hands while handling outdoor fixtures.
- Shovel or Trowel: Useful for digging if any components need to be buried or repositioned.
- Landscape Lighting Cable: Only if needed for replacing wiring or extending the reach of the new fixture.
Having these tools and materials on hand will facilitate a safe and effective replacement of your landscape lighting. Always ensure safety precautions are followed when working with electricity.
10 Methods How to Replace a Landscape Light
1. Turn Off the Power
The first and most crucial step before replacing any landscape light is to turn off the power supply. Landscape lights are often connected to a low-voltage transformer, but even low voltage can be dangerous if handled improperly. Locate the transformer that powers your landscape lighting system and switch it off. If you’re unsure which breaker controls the system, it’s a good idea to shut off the entire circuit to be safe. By ensuring the power is off, you prevent any risk of electrical shock while handling the wires.
2. Inspect the Current Light
Before removing the old light, take a moment to inspect it. Identify what type of light fixture it is—whether it’s a spotlight, path light, or floodlight—and take note of how it is installed. Some lights are staked directly into the ground, while others are mounted on a base or secured to hardscaping elements. This inspection will give you an understanding of how the fixture is connected to the wiring and how to handle the installation of the replacement light.
3. Remove the Old Fixture
Once the power is off and you’ve assessed the current setup, you can remove the old fixture. For staked lights, gently pull the fixture out of the ground. Be careful not to damage the existing wiring, as you will likely reuse it. For mounted fixtures, you may need a screwdriver to remove screws or brackets that hold the light in place. Once the fixture is detached, you’ll see the wires that connect it to the landscape lighting system. Carefully disconnect the fixture from the wiring, taking note of which wire is connected to which.

4. Check the Wiring
After removing the old fixture, inspect the wiring for any signs of wear or damage. Over time, outdoor wires can become frayed or brittle due to exposure to the elements. If the wiring is in good condition, you can proceed with the replacement. If the wiring appears damaged, you may need to replace a portion of it or repair it with waterproof connectors. Ensuring that the wiring is in good shape is critical to the safe and effective operation of your new landscape light.
5. Select the New Light Fixture
When choosing a replacement landscape light, consider the style, wattage, and type of bulb used in the fixture. LED lights are a popular choice for outdoor lighting because they are energy-efficient and have a longer lifespan compared to traditional halogen or incandescent bulbs. Additionally, LEDs are available in various color temperatures, allowing you to customize the ambiance of your outdoor space. Make sure the new light fixture is compatible with your existing wiring and transformer, particularly if you’re upgrading from a higher-wattage system to low-voltage LED lights.
6. Connect the New Fixture to the Wiring
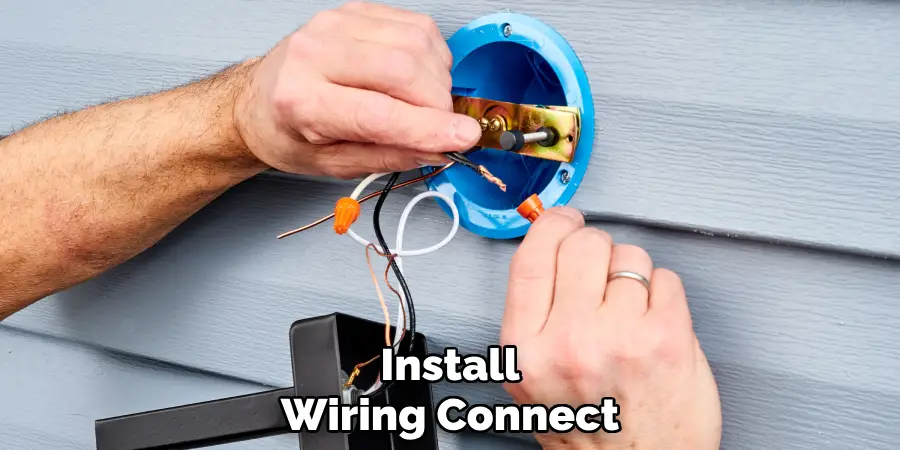
Now that you’ve chosen your new light fixture, it’s time to connect it to the existing wiring. Strip about half an inch of insulation from the ends of both the fixture’s wires and the landscape lighting wire. Use waterproof wire connectors to join the wires, connecting the positive (often marked with a stripe) to the positive and the negative to the negative. Waterproof connectors are essential for outdoor use because they prevent moisture from getting into the connection, which could lead to shorts or corrosion over time. Make sure the connection is tight and secure to ensure the light will work properly.
7. Install the New Fixture
Once the wiring is connected, you can install the new fixture in place. For stake-mounted lights, simply push the stake into the ground at the desired location. Make sure it’s secure and level, so the light is positioned correctly. For mounted fixtures, use the appropriate hardware to attach the fixture to its mounting point. Ensure the light is facing the right direction and adjust the angle if necessary to provide the best illumination for your landscape. Proper installation helps ensure that the light stays secure and functions optimally in all weather conditions.
8. Test the Light
Before finishing the installation, turn the power back on to test the new landscape light. Go to the transformer or circuit breaker and restore power to the system. If the light turns on, everything is connected correctly, and the fixture is working as it should. If the light doesn’t turn on, double-check the wiring connections to ensure they are secure. You may also want to check that the bulb is correctly seated in the socket. Testing the light ensures that you don’t have to troubleshoot issues later.
9. Make Final Adjustments
After the light is working, take a few moments to make any final adjustments. Ensure the fixture is positioned correctly and that the light beam is directed where you want it. If you’re replacing multiple lights, check that all the fixtures are evenly spaced and provide consistent illumination. You can also adjust the brightness or angle of the light to highlight specific landscape features, such as pathways, trees, or architectural elements. Fine-tuning your installation helps create a well-balanced and visually appealing lighting scheme.
10. Maintain the Fixture for Longevity
To ensure your new landscape light lasts for years, it’s important to maintain it properly. Clean the fixture regularly to remove dirt, debris, and moisture that can accumulate over time. If the fixture is in a high-traffic area or exposed to the elements, check the wiring periodically to ensure it’s still secure and in good condition. Replace bulbs as needed, especially if you notice a decrease in brightness or color consistency. By maintaining your landscape light, you’ll prolong its life and keep your outdoor space well-lit and inviting.

Safety Considerations
Ensuring safety is paramount when working with landscape lighting. Before beginning any installation or maintenance task, always make sure the power is turned off at the circuit breaker or transformer to prevent electric shock. Use a voltage tester to confirm there is no electricity flowing through the wires you will be handling. Wear appropriate personal protective equipment, such as gloves and safety glasses, to protect yourself from sharp objects or electrical components.
When working outdoors, be mindful of your surroundings and work only in suitable weather conditions to avoid any accidents due to slipping or poor visibility. Additionally, inspect all tools and equipment for any signs of wear or damage before use, and avoid using tools that have frayed cords or exposed wires, as they can pose a serious electrical hazard. Implementing these safety measures can help ensure a smooth and accident-free installation process.
Conclusion
Properly installing and maintaining landscape lighting not only enhances the beauty and functionality of your outdoor spaces but also contributes to the safety and security of your home. By following the detailed steps from wiring inspection to fixture maintenance, you ensure the longevity and effectiveness of your lighting system.
Selecting the right fixtures, ensuring secure electrical connections, and adhering to safety precautions are all essential practices that lead to successful installation and operation. Thanks for reading, and we hope this has given you some inspiration on how to replace a landscape light!

