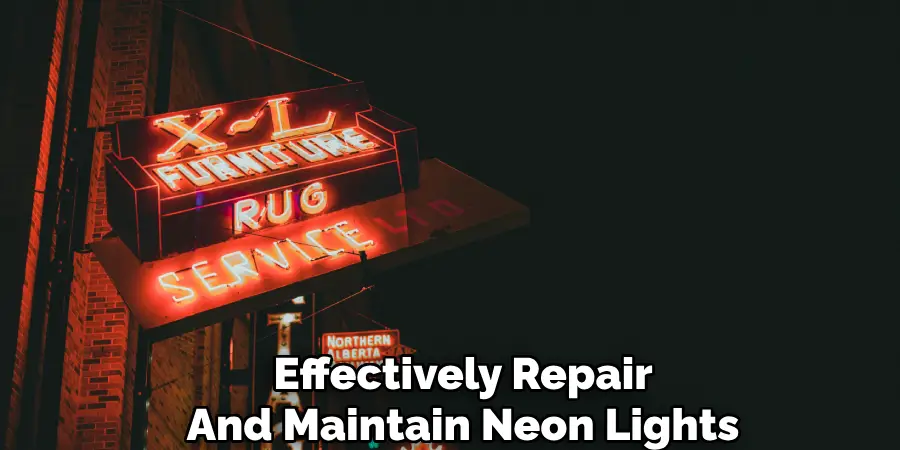
Neon lights, with their vibrant glow and eye-catching brilliance, have long been a staple in signage and decor. Whether they’re illuminating a storefront or adding a colorful touch to home interiors, these lights offer more than mere illumination–they create ambiance and draw attention. However, neon lights can occasionally encounter issues such as flickering, dimming, or complete failure, often due to damaged tubes, faulty transformers, or poor wiring.
Proper maintenance and timely repairs can extend the life of neon lights, ensuring they continue to brighten spaces effectively. This guide provides step-by-step instructions on how to repair neon lights, helping you restore their colorful functionality.

Why Neon Lights May Need Repair
Neon lights may require repair for several common reasons, each impacting their performance and visual appeal. One prevalent issue is damaged glass tubes, which can occur due to physical impact or natural wear over time. These tubes house the gases that enable the vibrant glow associated with neon lights, and any breakage or cracking can lead to gas leakage, causing them to flicker or dim.
Faulty transformers are another frequent culprit; as they convert electrical current to the high voltage needed to energize the neon gas, any malfunction can prevent the lights from working properly or failing to light up altogether. Poor wiring is also a concern, especially in older installations where insulation may deteriorate, leading to shorts or inconsistent operation. Moreover, environmental factors, such as excessive moisture or extreme temperatures, can accelerate these issues, highlighting the need for regular inspection and prompt repairs to maintain optimal functionality and safety.
Understanding Neon Lights
To effectively repair and maintain neon lights, it’s crucial to understand how they work and what makes them unique. Neon lights operate using the principle of gas discharge, where electricity passes through a tube filled with neon gas, causing it to glow brightly. The color of the light depends not only on the type of gas used but also on the color of the glass tube. While neon gas itself produces a distinct reddish-orange hue, other gases like argon, krypton, and xenon are often used in combination with various fluorescent coatings to achieve a wide spectrum of colors.
The heart of a neon light system is the transformer, which elevates the standard electrical current to the high voltage necessary to excite the gas within the tubes. Understanding these components and their interactions is key to diagnosing problems and ensuring effective repairs, ultimately prolonging the lifespan of neon lights and preserving their aesthetic and functional integrity.

10 Methods How to Repair Neon Lights
1. Check for Power Supply Issues
One of the first steps in repairing a neon light is to check the power supply. Neon lights require a transformer to convert standard voltage into the higher voltage needed to light up the gas inside the tubes. If the light isn’t turning on, the transformer might be faulty. Begin by inspecting the transformer for any signs of physical damage or overheating. Use a multimeter to check if the transformer is providing the correct voltage. If the transformer is malfunctioning, replacing it is often necessary. A functioning power supply is critical for any neon light system, and addressing this issue early on can save time and effort in diagnosing other potential problems.
2. Inspect the Tubes for Breakage or Cracks
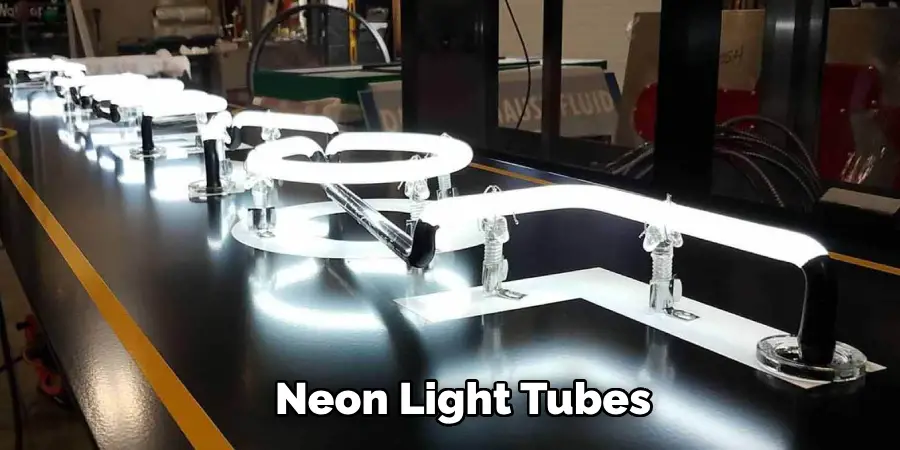
Neon light tubes are made of glass and can be quite fragile. Over time, they can crack or break due to accidents, environmental factors, or stress on the glass. If your neon light is flickering or not lighting up at all, carefully inspect the tubes for any visible damage. Even small hairline cracks can cause the light to malfunction. If a break is detected, the damaged section of the tube must be replaced. Neon tubes are custom-made to fit specific shapes and designs, so it’s important to consult a neon light specialist or manufacturer to get the right replacement.

3. Check for Gas Leaks
Neon lights work by exciting gas (neon, argon, or a mixture of gases) inside the tubes, which produces the characteristic glow. Over time, the gas inside the tubes can leak out, particularly if the tubes have small cracks or were poorly sealed during manufacturing. If you suspect a gas leak (e.g., if the light is dim or non-functional), it’s important to bring the neon light to a professional for repair. The affected tube will need to be evacuated, resealed, and refilled with gas. This method is intricate and requires specialized equipment, so it’s not a DIY solution.
4. Test and Replace Electrodes
The electrodes at the ends of the neon tube are responsible for conducting electricity into the gas-filled tube, exciting the gas, and producing light. If the neon light flickers or has trouble starting, the electrodes may be worn out or malfunctioning. Using a neon tester, you can check the electrodes to see if they are functioning properly. If they are faulty, replacing them may be necessary. Neon light specialists can replace electrodes, but some skilled DIYers may also attempt this with the right tools.
5. Check for Broken or Loose Wires
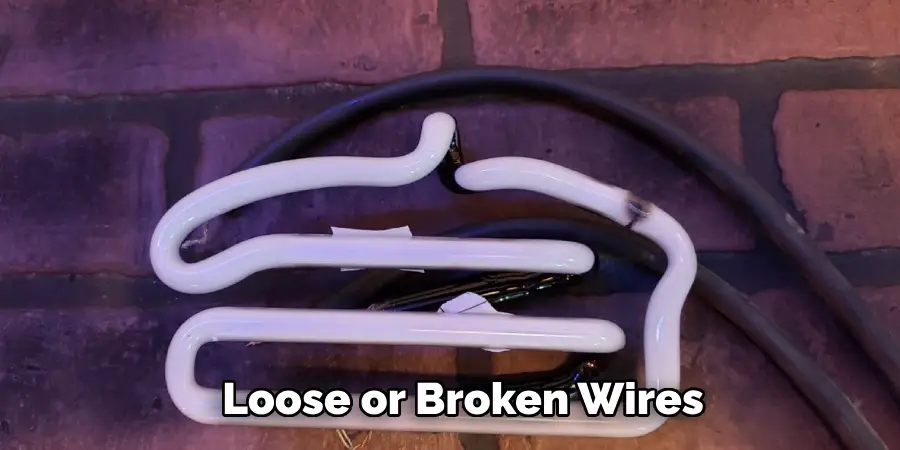
Loose or broken wires are a common cause of neon light issues. Over time, wires may become disconnected due to vibration, movement, or wear. Carefully inspect the wiring around the transformer, power supply, and electrodes to ensure that everything is properly connected. If you find any loose or damaged wires, carefully reconnect or replace them. It’s important to use the correct wire type for neon lights, as they require wires that can handle high voltage. This is a relatively simple repair that can restore power to the light, making it glow once again.

6. Address Flickering Neon Lights
If your neon light flickers intermittently, it could be due to a variety of issues. One common cause is a loose connection between the transformer and the neon tube. Check the connections and make sure everything is securely in place. Flickering can also occur if the electrodes are nearing the end of their life or if there is a problem with the transformer. In some cases, flickering is due to a faulty dimmer switch or power fluctuations. Testing the components with a neon light tester or multimeter can help diagnose the issue. Repairing the cause of flickering is important to prevent further damage to the neon light system.
7. Replace a Faulty Transformer
If the neon light’s transformer is found to be faulty, replacing it is often the best solution. Transformers are critical to the operation of neon lights, as they provide the high voltage needed to excite the gas within the tubes. If the transformer is buzzing loudly, overheating, or failing to provide the necessary voltage, it’s time for a replacement. Always use a transformer that matches the voltage and current requirements of your neon light. Installing the wrong type of transformer can cause additional damage to the light, so careful attention to compatibility is essential during this repair.
8. Clean the Neon Tubes
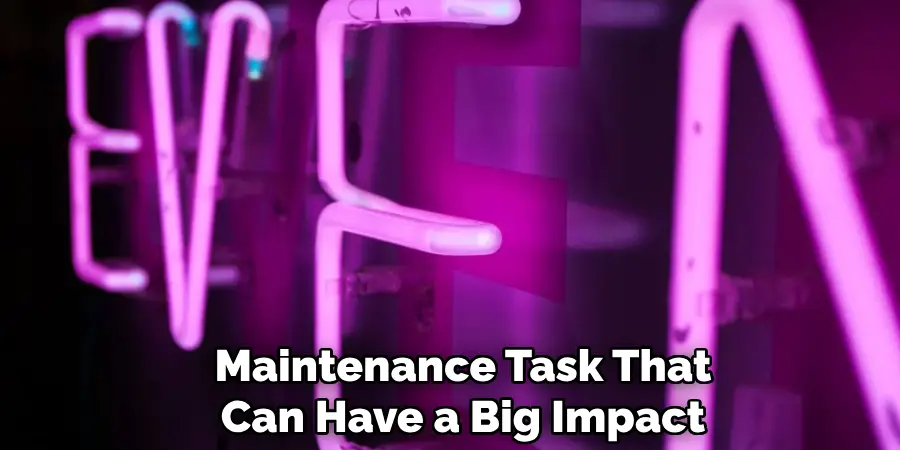
Sometimes, the appearance of a dim or non-functioning neon light is simply due to dirt, dust, or other contaminants on the surface of the tubes. Cleaning the neon tubes can help restore their glow. Use a soft cloth and a mild cleaning solution to gently wipe down the tubes. Avoid harsh chemicals that could damage the glass or the gas inside. Regular cleaning not only improves the brightness of the light but also prolongs its life by preventing dirt from causing overheating or stress on the glass. This is an easy maintenance task that can have a big impact on the performance of the light.

9. Check for Grounding Issues
Neon lights need proper grounding to function safely and effectively. If the neon light isn’t grounded correctly, it may not work at all or could pose a safety risk due to electrical shock or short-circuits. Inspect the grounding connections in the neon light system, ensuring that all components are securely connected to a proper ground. If grounding is faulty, adjust the connections and make sure everything is in compliance with local electrical codes. This method is essential for ensuring both the safety and longevity of your neon light system.
10. Consult a Neon Light Specialist
Some neon light issues are too complex for DIY repairs. If the light requires tube replacement, gas refilling, or extensive rewiring, it’s best to consult a professional neon light repair technician. Neon lights are intricate and require specialized tools and knowledge to repair properly. By taking your neon light to a specialist, you can ensure that the repairs are done correctly and safely. Professional repair services also offer guarantees on their work, providing peace of mind that your neon light will be restored to working condition.
Conclusion
In conclusion, maintaining and repairing neon lights involves a variety of steps that require precision and expertise. Whether it’s checking for gas leaks, testing electrodes, or addressing wiring issues, each task plays a crucial role in ensuring the optimal performance and longevity of neon lights. While some maintenance tasks can be tackled by skilled individuals, others necessitate professional intervention due to the complexity and safety risks involved. Thanks for reading, and we hope this has given you some inspiration on how to repair neon lights!

