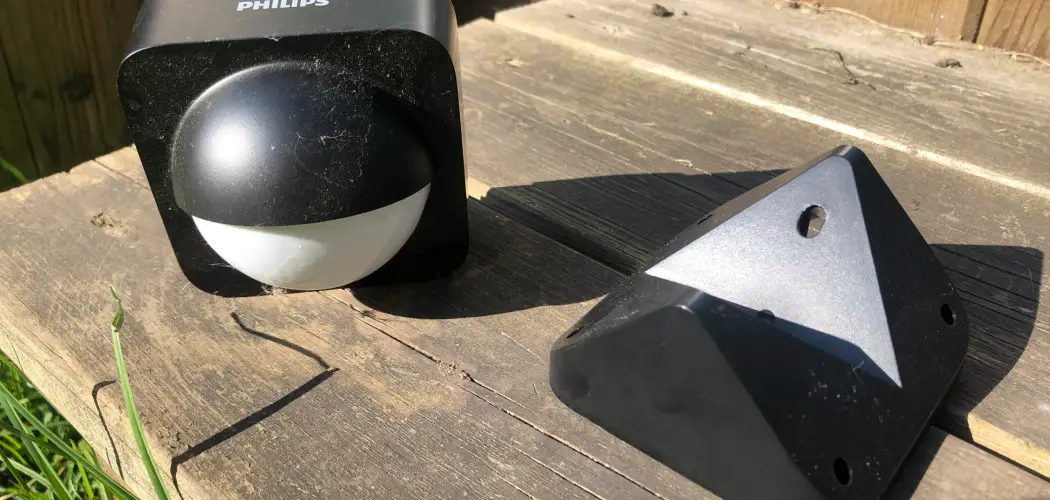
Are you struggling with your motion sensor light? Don’t worry, you’re not alone. Motion sensor lights can be a great addition to your home security system, but they can also be frustrating when they stop working properly.
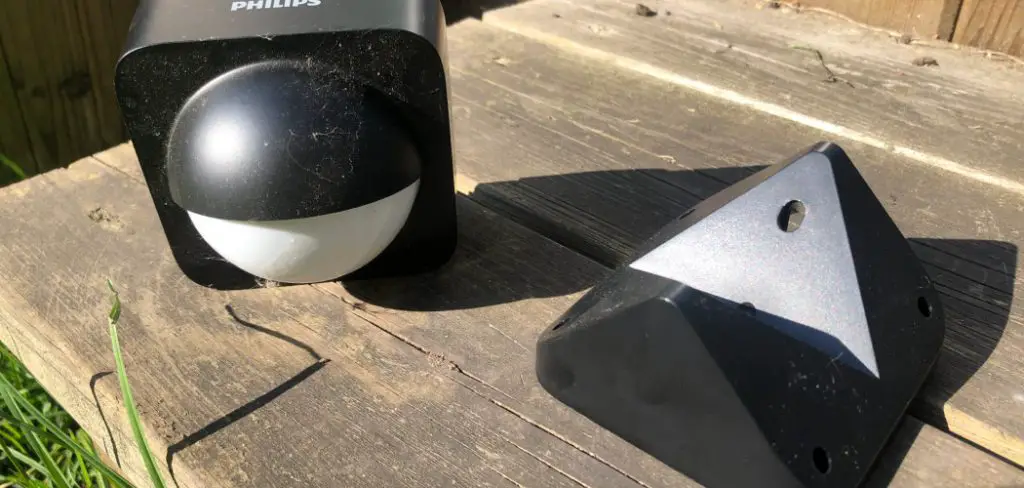
How to repair motion sensor light can seem daunting at first, but with the proper guidance and tools, it becomes a manageable task. These lights are crucial in enhancing home security and energy efficiency by automatically turning on when they detect movement.
However, like any other home appliance, they can occasionally malfunction, which can be due to wiring issues, sensor misalignment, or bulb problems, among other causes.
In the following sections, we will explore a step-by-step approach to identifying and fixing common problems with motion sensor lights, ensuring they function smoothly and reliably to keep your home safe and well-lit.
What Will You Need?
Before starting the repair process, gathering all the tools and materials required is essential. Having everything in one place will save you time and frustration later on. Here are some of the things that you may need:
- Screwdriver
- Wire stripper
- Electrical tape
- Replacement bulbs (if required)
- Ladder or step stool (if the light is mounted high)
Once you have all these items ready, you can move on to troubleshooting and repairing your motion sensor light.
10 Easy Steps on How to Repair Motion Sensor Light
Step 1. Turn Off Power:
Turning off the power is a critical first step to ensure your safety and prevent any electrical accidents while repairing your motion sensor light.
First, locate your home’s circuit breaker panel, which is often found in basements, utility rooms, or garages. Identify the specific circuit breaker that controls the power to the area where your motion sensor light is installed.
It’s typically labeled, making it easier to find. Once identified, switch the breaker to the “off” position. To verify that the power is off, turn on the light using the manual switch if available.
If the light does not turn on, proceeding with your repair work is safe. Ensure the power is completely off before touching any electrical components to prevent shock or injury.
Step 2. Inspect the Bulb:
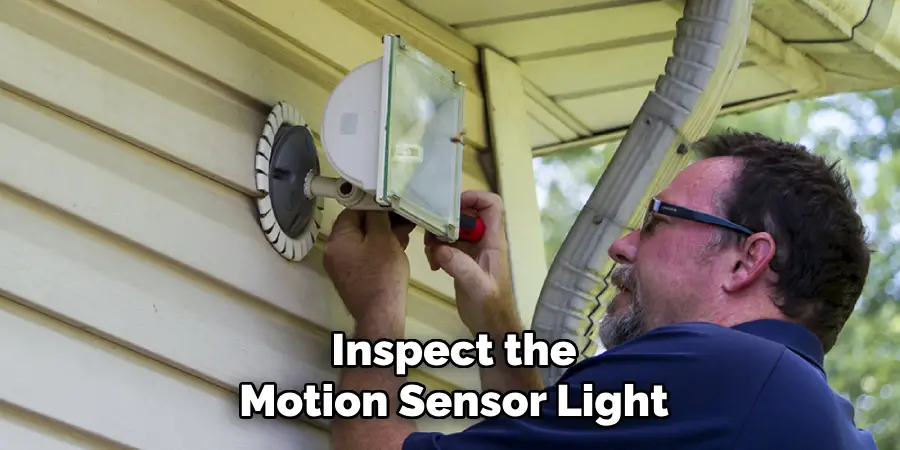
Once you have ensured that the power is off, the next step is to inspect the bulb. A faulty or burnt-out bulb can be a simple reason why your motion sensor light is not functioning. First, carefully remove the bulb from the socket.
Examine the bulb for any visible signs of damage, such as a broken filament in incandescent bulbs or blackening at the base in LED or CFL bulbs. If the bulb appears damaged or burned out, replace it with a new one.
Using a bulb with the same wattage and type as the manufacturer recommends is a good practice. After replacing, leave the bulb out and continue the inspection process to ensure no additional underlying issues.
Step 3. Check the Sensor Alignment:
With the power still off, examine the alignment of the motion sensor. Misalignment of the sensor can prevent it from detecting movement properly. The sensor should be angled correctly towards the area you want to monitor.
To adjust, gently loosen the screws securing the sensor, reposition it to face the desired direction, and then tighten the screws back in place. Ensure the sensor isn’t obstructed by objects or facing significant light sources, which could affect its performance.
Proper alignment ensures the sensor can effectively capture motion and trigger the light as intended.
Step 4. Examine the Wiring:
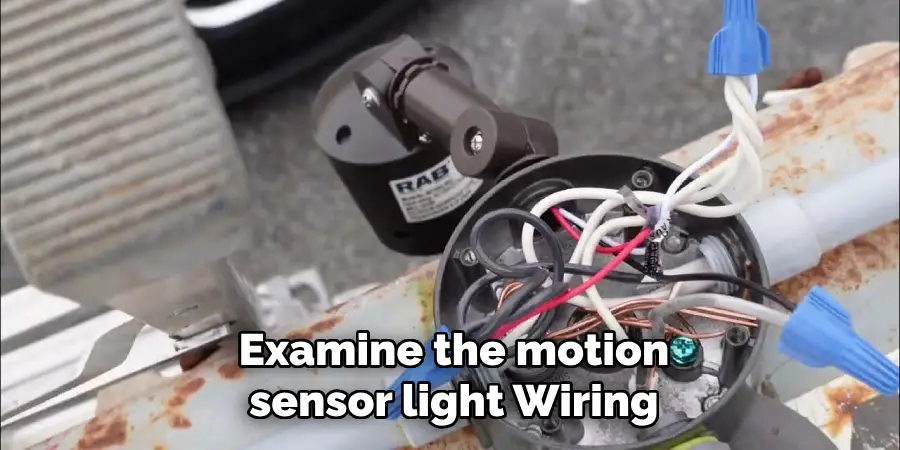
With the sensor aligned, the next step is to check the wiring of the motion sensor light. Faulty or loose connections can cause the light to malfunction. Carefully open the housing of the light fixture where the wiring is located.
Inspect the wires for any signs of damage, such as frayed or broken wires. Use a screwdriver to check that all connections are tight and secure gently.
If you notice any damaged wiring, use a wire stripper to remove the damaged portion and reconnect it correctly using electrical tape or wire connectors.
Ensuring good connections helps maintain a consistent power supply, allowing your motion sensor light to function optimally. Always double-check that the power is off while handling any electrical components to avoid injury.
Step 5. Clean the Sensor Lens:
Over time, dirt, dust, or debris can accumulate on the sensor lens, hindering the sensor’s ability to detect motion. To clean the sensor lens, use a soft or microfiber cloth to gently wipe away any dirt without scratching the surface.
You may dampen the cloth with a bit of water if needed but avoid using any harsh chemicals or abrasive materials that could damage the lens.
A clean sensor lens will ensure maximum sensitivity and improve the overall performance of the motion sensor light, allowing it to detect motion effectively and trigger the light as intended.
Step 6. Test the Day/Night Setting:
Many motion sensor lights have a built-in feature that allows them to operate only during nighttime or low-light conditions. Locate the day/night setting switch or dial on your motion sensor light with the power still off.
It is typically a tiny toggle or knob found on the sensor unit. Ensure it is set correctly to the desired mode – usually “night” or “dusk-to-dawn” mode. If you’ve been experiencing issues with your light not turning on at night, it could be due to this setting being accidentally adjusted.
After setting it correctly, check the manufacturer’s instructions for any additional settings related to light sensitivity that need to be fine-tuned.
Step 7. Adjust the Sensitivity Control:
If your motion sensor light turns on too frequently or doesn’t detect motion as effectively as it should, adjusting the sensitivity control might be necessary. Locate the sensitivity adjustment, usually a tiny dial or switch on the sensor unit.
It controls how sensitive the sensor is to movement. Reduce the sensitivity of lights that turn on too often due to minor disturbances like wind-blown leaves. Conversely, increase it if the light isn’t detecting motion adequately.
Gradually adjust the sensitivity and test the light’s response to ensure it performs optimally in detecting desired movements without excessive activation. Adjustments should be made while considering the specific needs of the monitored area.
Step 8. Finalize and Secure the Fixture:
Once you have made all necessary adjustments and tested the functionality of your motion sensor light, the final step is to fasten all components of the fixture securely.
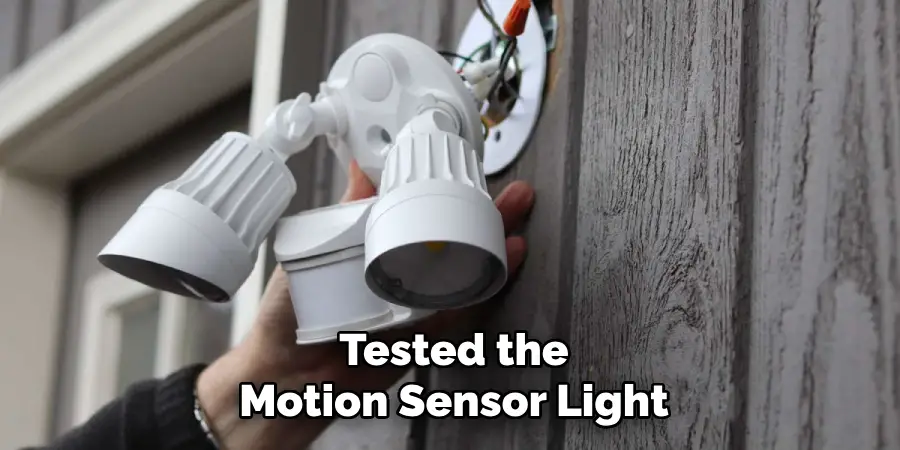
Begin by ensuring that all wires and connections are neatly contained within the housing. Carefully replace any covers or protective cases, securing them with screws or latches as needed.
Ensure any exterior components, such as the lens or bulb, are also tightly in place to prevent moisture entry or dislodgement. Double-check that the fixture is firmly attached to its mounting surface to prevent any instability.
After ensuring everything is secure, restore power to the circuit by switching the breaker back to the “on” position. Test the light again to confirm that all adjustments have been successful and that the light operates efficiently.
Step 9. Regular Maintenance:
Establish a routine maintenance schedule to ensure the longevity and optimal performance of your motion sensor light. Periodically check the fixture for any wear, corrosion, or damage, especially after severe weather conditions.
Inspect the sensor lens to ensure it remains clean and free of obstructions. Reassess the alignment and sensitivity settings to confirm they are still suitable for your environment. Additionally, test the functionality of the light and settings every few months to ensure it’s in good working order.
Regular upkeep will prolong the life of your motion sensor light and guarantee dependable performance, enhancing safety and convenience around your property.
Step 10. Troubleshoot Common Issues:
Despite regular maintenance, motion sensor lights may occasionally encounter problems. One common issue is the light flickering or needing to stay on. This can often be attributed to loose wiring connections or faulty bulbs.
Begin troubleshooting by inspecting the wiring to ensure all connections are secure and replace any malfunctioning bulbs as necessary. Another frequent issue is the sensor not detecting motion accurately, which may be resolved by rechecking the alignment or cleaning the sensor lens again.
Additionally, verify the day/night settings to ensure they are correctly configured. If these steps don’t resolve the issue, consult the manufacturer’s instructions for advanced troubleshooting tips or consider contacting a professional for further assistance.
By are you now well-equipped with the knowledge and skills to install, adjust, and maintain your motion sensor light effectively.
Conclusion
In conclusion, how to repair motion sensor light involves a systematic and thorough approach to ensuring its components are functioning correctly.
By carefully following the outlined steps—checking the power, cleaning the sensor lens, adjusting settings, and conducting regular maintenance—you can extend the life of your motion sensor light and maintain its efficiency.
Troubleshooting common issues promptly can prevent minor problems from escalating into more significant concerns. Ultimately, understanding the basics of its operation and upkeep supports optimal performance and enhances security and convenience in your home or outdoor space.
With these strategies in place, you are well-prepared to confidently address any issues that arise and achieve long-lasting results.

