LED light strings are a versatile and widely used decoration, perfect for adding a festive or ambient touch to holidays and parties and for repairing LED light strings effectively on special occasions. Their energy efficiency, durability, and vibrant illumination make them a preferred choice for both indoor and outdoor use.
However, like any electrical device, LED light strings are not immune to wear and tear over time. Common issues include non-working bulbs, broken wires, or entire sections failing to light up properly. Such problems can be frustrating, especially when replacing the whole string seems wasteful or expensive.
This article aims to address these concerns by providing a comprehensive, step-by-step guide on how to repair led light string defects. With the right tools and techniques, you can diagnose and fix these common problems, saving both time and money while extending the lifespan of your LED light strings.
Understanding the Anatomy of an LED Light String
Structure of an LED Light String
An LED light string consists of several interconnected components that work together to emit vibrant and energy-efficient light. The primary components include LED bulbs, wiring, resistors, and the power plug. The bulbs are tiny light-emitting diodes that produce light when electrical current flows through them.
Wiring serves as the pathway for electricity, connecting each bulb to the circuit. Resistors are integrated to control the current flow, ensuring that the LEDs are not overloaded. The power plug connects the entire string to the power source.
Electrical current flows through the string either in a series or a parallel circuit. Series circuits connect the LEDs in a single loop, meaning if one bulb fails, it may disrupt the entire string. Parallel circuits, on the other hand, allow each bulb to operate independently to minimize disruptions.
Common Issues in LED Strings
LED light strings can encounter several problems over time. Faulty connections or issues with the wiring often cause non-working sections. Flickering lights can indicate unstable connections or worn-out resistors.
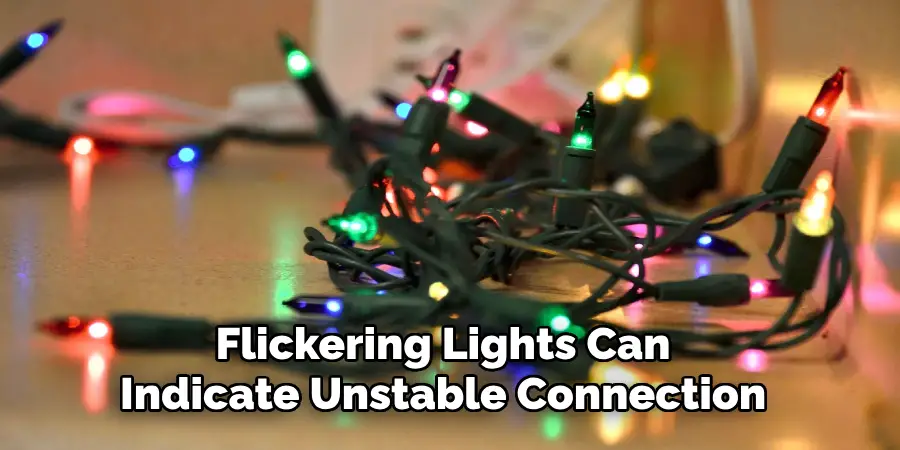
Broken or burnt-out bulbs are standard, especially in older strings. Damaged wiring or defective plugs can also malfunction, disrupting the string or rendering it completely inoperable. Understanding these issues is essential for effective troubleshooting.
Safety Precautions Before Starting Repairs
Safety should always be the top priority when working on LED light strings. Before beginning any repairs, unplug the light string from the power source to eliminate the risk of electric shock. Always use insulated tools to handle wires and components, providing an additional barrier against electrical hazards.
It is equally crucial to avoid working on wet surfaces, as moisture significantly increases the likelihood of electrical accidents. Wearing gloves is strongly recommended to protect your hands from any sharp wires, broken bulbs, or loose components. Once the repairs are completed, it is important to test the light string in a safe and controlled environment.
This ensures that the wiring and components function correctly before the string is returned to normal use. Following these precautions, you can repair your LED light string while minimizing potential risks.
Tools and Materials Needed
Having the right tools and materials is essential to repair LED light strings effectively. Below is a list of essential items and their purposes:
- Multimeter: Used to measure voltage, current, and continuity, making it invaluable for diagnosing faulty wires or burnt-out components.
- Wire Cutters: Necessary for trimming damaged sections of wires or stripping insulation to make new connections.
- Electrical Tape: Ideal for insulating spliced wires or securing components after repairs.
- Replacement LED Bulbs: A must-have for swapping out defective bulbs to restore functionality.
- Small Screwdriver: Useful for opening cases or unscrewing components to access internal wiring.
Optional tools include a soldering iron for creating stronger and more permanent wire connections, heat shrink tubing to provide professional-grade insulation for repaired wires, and zip ties to organize and secure wires in place. These tools streamline the repair process, ensuring precise and lasting results.
Diagnosing the Problem
Proper diagnosis is the first step to effectively repairing your LED string lights. Follow these steps carefully to identify the issue:
Step 1: Check the Power Source
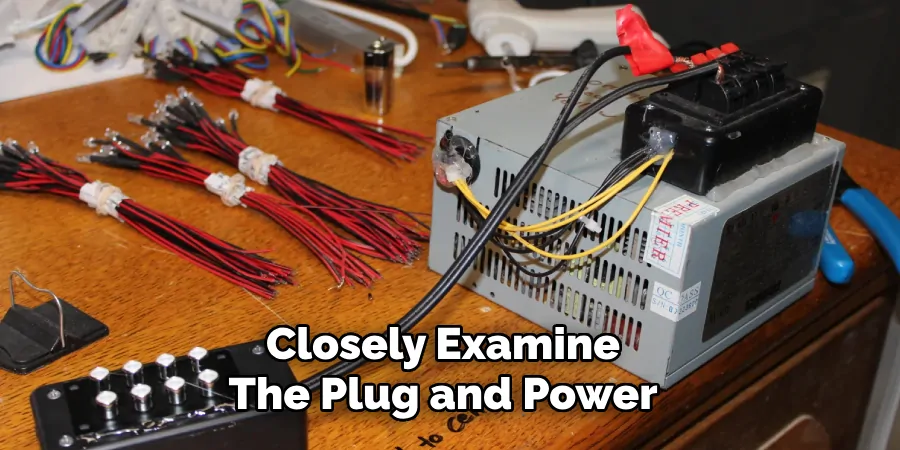
Test the outlet with another device, such as a phone charger or lamp, to confirm it delivers power. If the outlet is functioning, closely examine the plug and power adapter for any visible signs of wear or damage, like bent prongs or scorch marks. A faulty power source can often be the simplest problem to fix.
Step 2: Inspect the LED String
Carefully examine the string of lights for visible issues. Look for frayed wires, broken or missing bulbs, and loose connections that might disrupt the circuit. Gently untangle and straighten the string to reveal any hidden problem areas. Always handle the lights carefully to prevent further damage during this inspection.
Step 3: Use a Multimeter
A multimeter is invaluable for diagnosing electrical issues in LED string lights. Use it to test the continuity of the wiring, which helps detect broken or damaged sections.
Additionally, measure the voltage across different string parts to ensure consistent current flow. Identifying faults at this stage allows for targeted and efficient repairs, saving both time and effort.
How to Repair LED Light String: Repairing Common LED String Issues
While durable and energy-efficient, LED string lights are not immune to common issues that can arise during their use, below are detailed steps for fixing some of the most frequent problems encountered with LED string lights.
Fixing Broken Bulbs
A single faulty bulb can disrupt the operation of an entire section of LED string lights. To identify the non-working bulb, use a bulb tester or methodically replace each bulb in the problematic area with a known working one.
Once the defective bulb is located, replace it with a new bulb of the same type and specifications. Be certain that the replacement bulb is securely and properly seated in its socket to ensure continuity in the circuit. This simple yet effective repair often restores functionality to your lights.
Repairing Damaged Wires
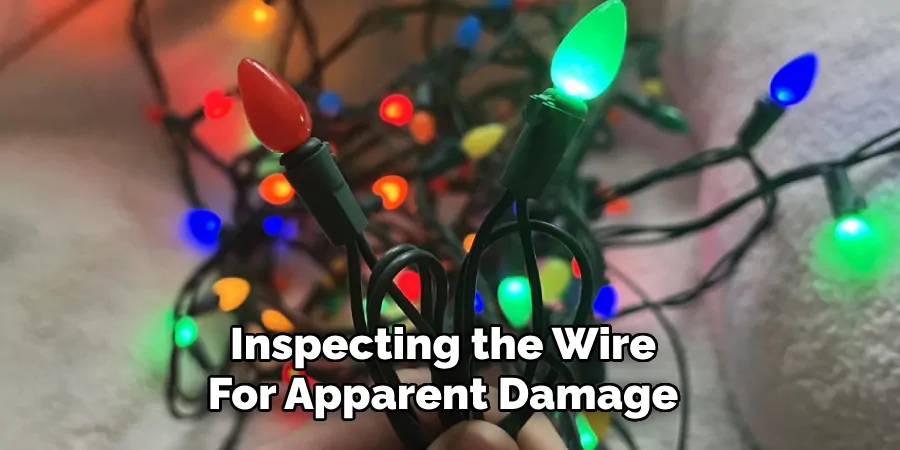
Damaged wiring can cause intermittent functionality or even render a section of your lights completely inoperable. Begin by visually inspecting the wire for apparent damage or use a multimeter to locate breaks in the circuit. Once a damaged section is identified, cut out the broken area using wire cutters.
Splice the two ends of the wire together by twisting them securely, ensuring that the connection is tight and stable. Protect this repair by wrapping it thoroughly with electrical tape or use heat shrink tubing for a more professional and durable solution. This step prevents further fraying and ensures the durability of your repair.
Fixing Non-Working Sections
If a section of your LED string lights fails to light up, it may be due to loose connections, faulty resistors, or blown fuses. Start by checking all connections in the affected section to ensure they are secure. If this does not resolve the issue, use a multimeter to test the resistors and replace any faulty components as needed.
Similarly, check the fuse located in the power plug or inline fuse holder. If the fuse has blown, replace it with one of the same rating to restore functionality. Performing these checks and replacements systematically will help isolate and resolve the problem.
Repairing the Power Plug
A damaged power plug can sometimes be the culprit behind non-functional string lights. Inspect the plug for any frayed wires, bent prongs, or signs of overheating. If the plug is defective, it must be replaced immediately.
When attaching a new plug, ensure proper wiring connections by following the manufacturer’s guidelines. Double-check that the wiring is secure and insulated to prevent potential electrical hazards. A well-repaired plug ensures both safety and reliable power delivery to your lights.
By addressing these common issues with care and precision, you can extend the lifespan of your LED string lights, keeping them functional and vibrant for many seasons to come.
Preventative Maintenance for LED Light Strings
Proper Storage
To ensure the longevity of your LED light strings, store them in a cool, dry place, away from moisture and humidity that could cause damage. Utilizing reels or storage organizers helps prevent tangling and reduces the risk of wire damage during storage.
Gentle Handling
Handle your light strings with care by avoiding excessive pulling, twisting, or bending of the wires. Delicate handling minimizes physical stress on the components, preserving their integrity and performance over time.
Regular Inspection
Inspect your LED light strings after each use, looking for any signs of wear and tear, such as damaged wires or loose connections. Address minor issues promptly by repairing them before they worsen, ensuring the lights remain safe and functional for future use.
By implementing these preventative maintenance tips, you can enjoy beautifully illuminated LED light strings for years to come.
Troubleshooting Tips for Persistent Issues
Even with proper maintenance, issues with LED light strings can occasionally arise. Here are some troubleshooting tips to address persistent problems:
Replacing Fuses
Check the plug’s fuse compartment if your LED light string won’t turn on. Replace any blown fuses with ones of the correct rating to restore functionality.
Testing with a New Power Source
Plug the light string into a different outlet or adapter to determine if the issue stems from the power source. This quick step rules out external electrical problems.
Identifying Circuit Issues
Test each section individually for strings with multiple circuits to identify the problematic area. This approach helps isolate faults, making repairs more manageable.
When to Replace the String
If repairs are no longer cost-effective or the string poses safety risks, it’s time to replace it. Always opt for high-quality replacements to ensure safety and durability.
Conclusion
Repairing LED light strings offers numerous benefits, including significant cost savings and a positive environmental impact by reducing waste. By learning how to repair LED light string, you can restore functionality and extend their lifespan, avoiding unnecessary replacements.
Following the detailed safety precautions and step-by-step instructions this guide outlines ensures safe, effective repairs. Maintaining your lights through DIY efforts while contributing to sustainability is a true sense of satisfaction and accomplishment. With proper care and vigilance, your LED light strings can brighten your spaces for many more seasons.

