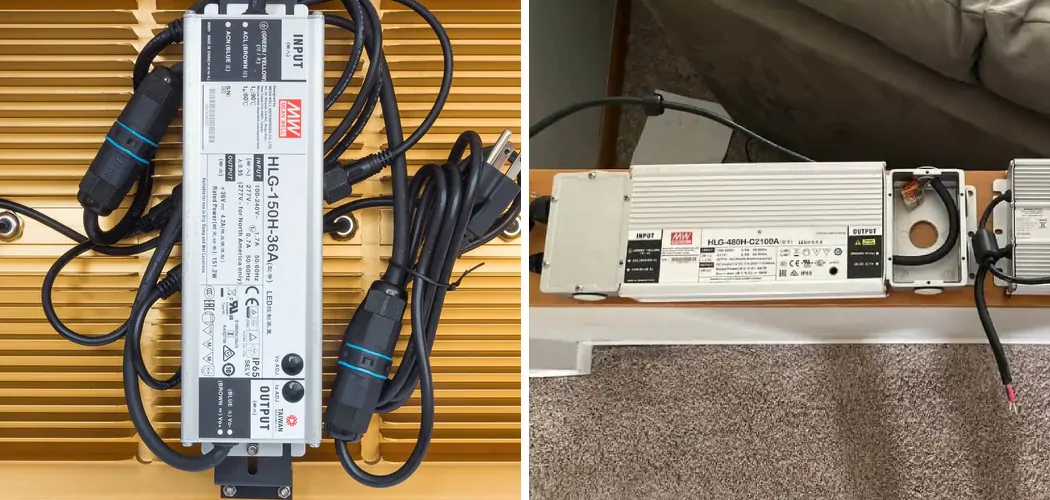
LED grow lights have become increasingly popular in recent years, due to their energy efficiency and ability to provide specific light wavelengths for optimized plant growth. However, just like any other piece of equipment, LED grow lights can sometimes develop problems and stop working properly.
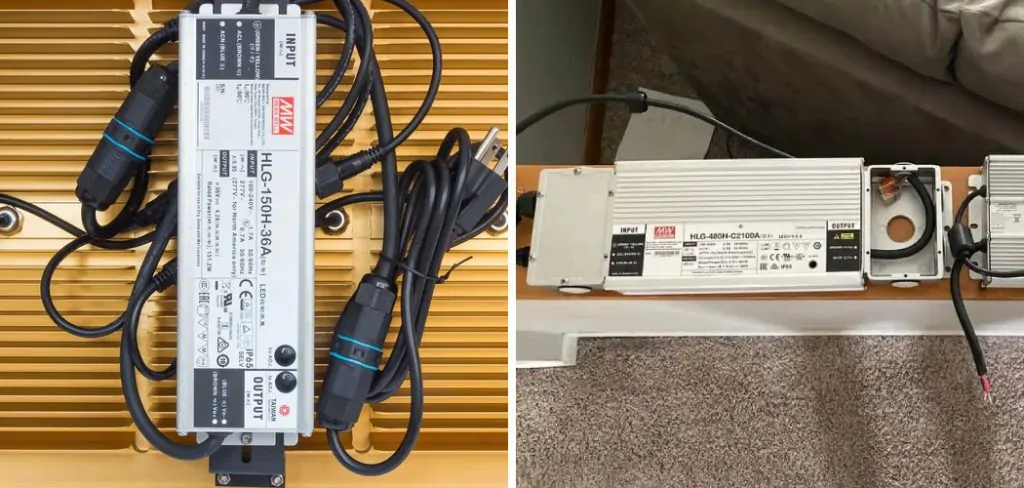
The main advantage of knowing how to repair LED grow light is that it saves you money and time. Instead of buying a new one, you can fix the issue yourself without having to spend extra money on a replacement.
Additionally, if your LED grow light stops working in the middle of a growth cycle, repairing it quickly can prevent any damage to your plants. You can find step-by-step instructions on how to repair led grow light half stopped working in this blog article.
Identifying Signs of Half-working Led Grow Lights
Led grow lights are increasingly becoming popular in indoor gardening. With the help of these innovative lighting solutions, you can easily grow a variety of plants and crops inside your home or any other enclosed space. However, not all led grow lights are created equal. Some may work efficiently while others may only provide half the expected results.
1. Light Output
The most obvious sign of a half-working led grow light is a decrease in its light output. Led grow lights usually come with a specific wattage and PAR (photosynthetically active radiation) value, which determines how much light it can produce.
If you notice a decrease in the brightness of your led grow lights, then it’s an indication that they are not functioning properly. This could be due to a faulty LED chip or any other component within the light fixture.
2. Uneven Plant Growth
Another sign that your led grow lights may not be working at their best is the uneven growth of your plants. Led grow lights are designed to provide an even distribution of light, which is essential for ensuring healthy and uniform plant growth. If you notice that some parts of your plants are growing faster than others or if they are growing in a distorted manner, then your led grow lights may not be working efficiently.
3. Discoloration
Healthy plants should have a vibrant and consistent color. If you notice that your plants are losing their color or have a pale appearance, then it could be an indication of insufficient light.
Led grow lights provide the necessary spectrum of light for plant growth, including red and blue wavelengths that are crucial for photosynthesis. A decrease in these wavelengths can result in discoloration and stunted growth.
4. Heat Output
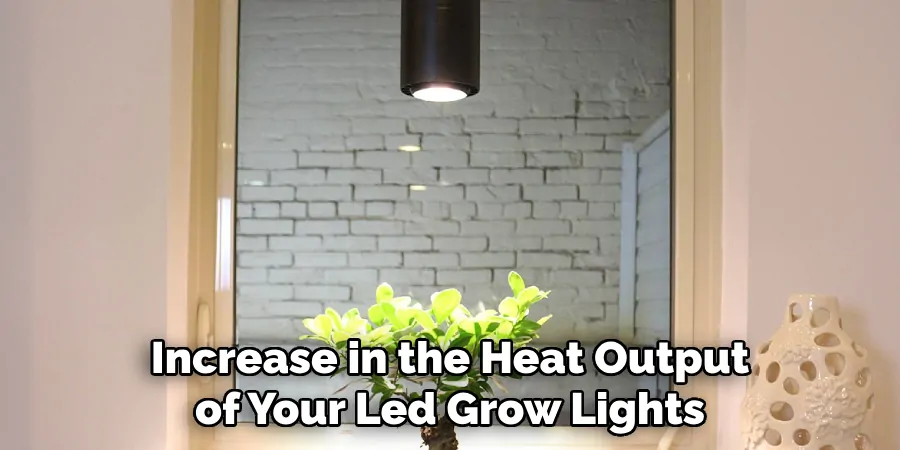
Led grow lights are known for their energy efficiency and produce less heat compared to traditional lighting solutions. However, if you notice an increase in the heat output of your led grow lights, then it could be a sign that they are not working efficiently. This can also be due to faulty components within the light fixture or inadequate ventilation.
5. Increased Electricity Bills
Lastly, if you have been noticing a spike in your electricity bills, then it could be an indication that your led grow lights are only half-working. As mentioned earlier, led grow lights are energy-efficient and consume less electricity compared to other lighting solutions. A significant increase in your energy bills can mean that your led grow lights are not functioning at their optimum capacity.
Led grow lights are an excellent investment for indoor gardening, but it’s essential to make sure that they are working efficiently. If you notice any of the signs mentioned above, then it’s time to inspect your led grow lights and determine the cause of their half-working state.
Regular maintenance and timely replacements can help ensure that your led grow lights provide optimal performance for your plants’ growth and well-being.
Step-by-step Instructions for How to Repair Led Grow Light Half Stopped Working
Step 1: Inspect the Power Cable
The first step in repairing a LED grow light that has stopped working is to inspect the power cable. Make sure it is properly connected and there are no damages or cuts on the cable. If there are any visible damages, it is recommended to replace the power cable before proceeding further.
Step 2: Check the Power Source
Next, check if the power source is working properly. Plug in another electronic device to the same power socket to see if it turns on. If the power source is not functioning, try plugging the LED grow light into a different outlet. Dust and dirt can accumulate on the LED chips, reducing their efficiency and causing them to stop working. Use a soft cloth or a brush to gently wipe away any dust or debris from the light.
Step 3: Inspect the LED Chips
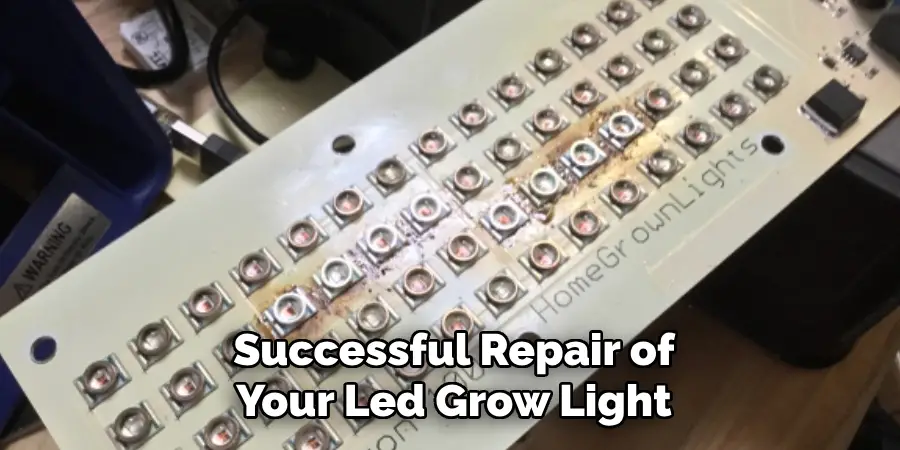
If cleaning the light did not solve the issue, inspect the LED chips for any damages. Look for burnt out chips or loose connections. If you find any damaged LEDs, they will need to be replaced in order for the light to function properly again.
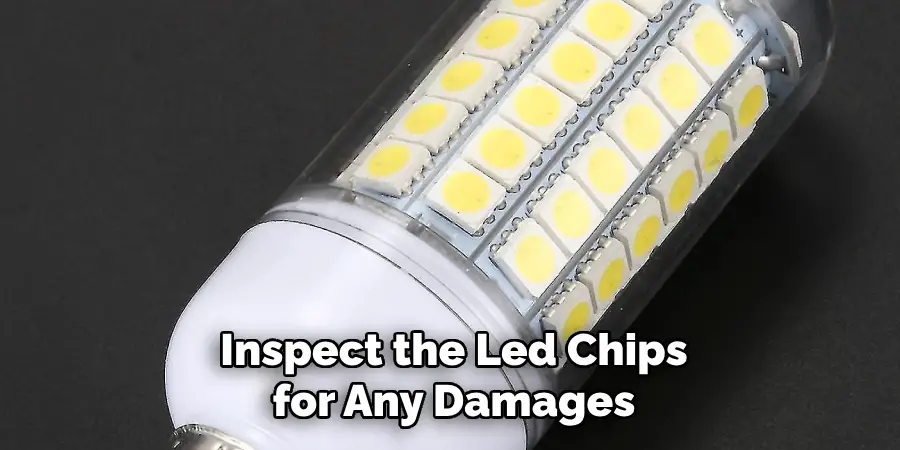
To replace the damaged LED chips, you will need to carefully desolder them from the light board and solder in new ones. Make sure to use a low-wattage soldering iron and follow proper safety precautions.
Step 4: Check the Driver Circuit
The driver circuit is responsible for regulating the voltage and current going into the LEDs. If this circuit is faulty, it can cause the LEDs to stop working. Use a multimeter to check the voltage and current readings of the driver circuit.
If the driver circuit is not functioning properly, it will need to be replaced. You can purchase a new driver circuit from a hardware store or contact the manufacturer for a replacement.
Step 5: Test the Connections
Make sure all connections between the LED chips, driver circuit, and power source are secure. Loose connections can cause the light to half-stop working. Use a screwdriver to tighten any loose screws or connectors.
LED grow lights can overheat if they are left on for extended periods of time or if they are not properly ventilated. Check for any signs of overheating such as discoloration on the light or a burning smell. If you find any, make sure to properly ventilate the area and take breaks between use.
Step 6: Seek Professional Help
If none of the above steps solve the issue, it is recommended to seek professional help. Contact the manufacturer or a professional electrician to diagnose and repair the LED grow light. Attempting to fix complex electrical issues without proper knowledge and experience can be dangerous.
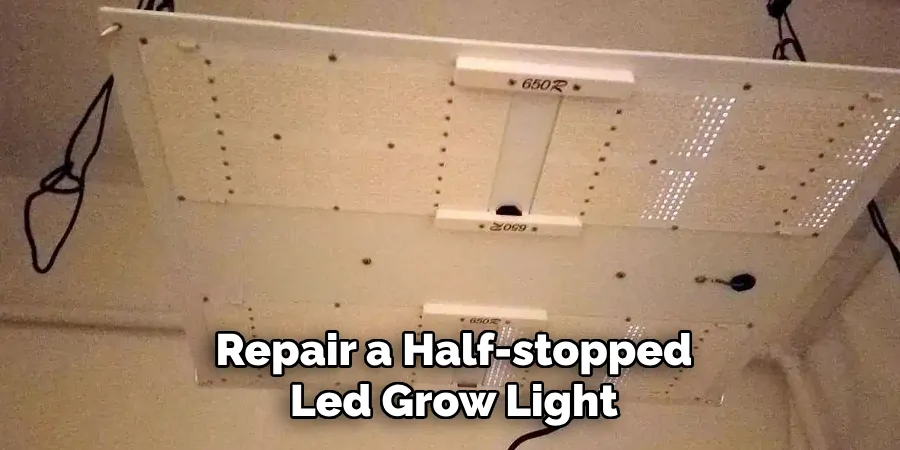
By following these simple steps, you can easily repair a half-stopped LED grow light and get your plants back to thriving. Remember to always prioritize safety and consult professionals when needed. With proper maintenance and care, your LED grow light will continue to provide optimal lighting for your plants.
Safety Tips for How to Repair Led Grow Light Half Stopped Working
- Always disconnect the power source before attempting any repairs on your LED grow light.
- Wear appropriate protective gear, such as gloves and safety glasses, when handling electrical components.
- Use a low-wattage soldering iron and follow proper safety precautions when replacing LED chips or other electronic parts.
- Make sure the area is well-ventilated to prevent overheating of the LED grow light.
- Take breaks between use to prevent overworking the LED grow light and causing it to overheat.
- If you are unsure or uncomfortable with repairing electrical components, seek professional help.
- Regularly inspect and clean your LED grow light to prevent dust and debris buildup, which can affect its performance.
By following these safety tips, you can ensure a safe and successful repair of your LED grow light. Remember to always prioritize safety when dealing with electricity and complex electronic components. So, it is important to have proper knowledge and experience before attempting any repairs on your own.
Performing a Test Run After Repairing Led Grow Light Half Stopped Working
After completing the repair process, it is important to perform a test run before fully using the LED grow light. This will help ensure that all components are functioning properly and that the light is providing optimal lighting for your plants.
To perform a test run, connect the LED grow light to a power source and turn it on. Observe the light for any abnormalities such as flickering, dimness, or strange noises. If any issues arise, refer back to the steps above to troubleshoot and fix them.
It is also recommended to let the LED grow light run for at least a few hours before using it on your plants. This will help identify any potential issues that may arise after extended use.
By performing a test run, you can ensure that your LED grow light is in proper working condition and ready to provide optimal lighting for your plants. Remember to regularly inspect and maintain your LED grow light to prevent any future issues. Happy growing! So, it is important to have regular maintenance as well.
Preventive Maintenance Tips After Repairing Led Grow Light Half Stopped Working
After repairing a half-stopped LED grow light, it is important to ensure that you take proper care of your lights to prevent any further issues. A well-maintained LED grow light not only ensures optimal plant growth but also reduces the need for frequent repairs and replacements.
In this guide, we will discuss some preventive maintenance tips that can help you prolong the lifespan of your LED grow lights and avoid any future problems.
1. Clean the Light Regularly
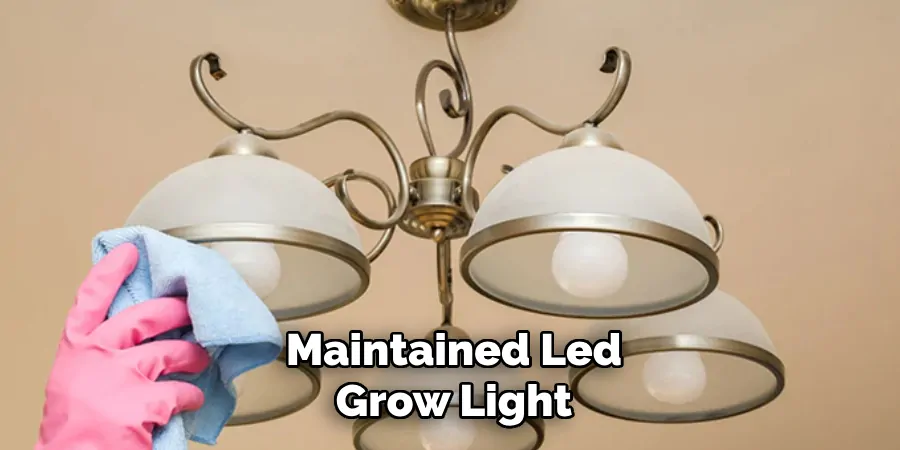
Dust and debris buildup on LED grow lights can reduce their efficiency and cause them to overheat, potentially damaging the circuitry. Therefore, it is crucial to regularly clean your LED lights to prevent any accumulation of dirt or grime. You can use a soft cloth or a gentle cleaning solution to wipe the light’s surface and remove any buildup.
2. Check for Loose Connections
After repairing your LED grow light, it is essential to check all the connections and make sure they are secure. Loose or faulty connections can cause power fluctuations and damage the light’s internal components. Regularly inspecting the connections can help prevent any potential electrical issues.
3. Keep an Eye on the Temperature
LED grow lights can generate a significant amount of heat, which can affect their performance and lifespan. It is important to monitor the temperature of your grow space and make sure that it does not exceed the recommended range for your LED light. Investing in a thermometer or using a smart control system can help you keep an eye on the temperature and prevent any overheating.
4. Replace faulty components promptly
If you notice any issues with your LED grow light, such as flickering or dimming, it is important to address them immediately. Ignoring these problems can lead to further damage and potentially cause the light to stop working completely. Make sure to replace any faulty components promptly to avoid any disruptions in your plant’s growth.
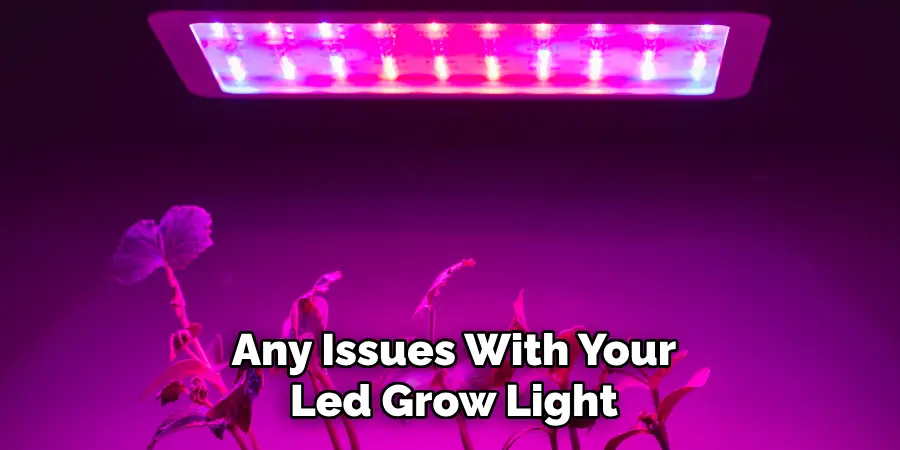
Proper maintenance is essential for the longevity and performance of your LED grow lights. By following these simple preventive maintenance tips, you can ensure that your lights continue to function efficiently while avoiding any costly repairs or replacements. Remember to regularly clean your lights, check for loose connections, monitor the temperature, and promptly address any issues that arise.
Seeking Professional Assistance for Complex Issues
While regular maintenance can help prevent most problems with LED grow lights, some complex issues may require professional assistance. If you encounter any problems that you are unable to fix on your own, it is best to seek help from a certified technician or the manufacturer of your LED grow light.
They have the knowledge and expertise to diagnose and fix any complex issues effectively while ensuring the safety of your light and plants.
Moreover, seeking professional assistance can also help you avoid voiding the warranty of your LED grow light. Most manufacturers have specific guidelines for repairs and replacements covered under the product’s warranty, and attempting to fix these issues on your own may result in the warranty being voided.
Moreover, proper maintenance is crucial for maintaining the optimal performance of your LED grow lights. While simple issues can be addressed through regular cleaning and maintenance, seeking professional assistance for complex problems can help you avoid further damage and ensure the longevity of your LED lights.
Frequently Asked Questions About Repairing LED Grow Lights
This FAQ guide provides answers to some of the most common questions about repairing LED grow lights. Whether you are an experienced indoor gardener or just starting out, it’s important to know how to troubleshoot and fix any issues with your grow lights. Let’s dive in!
Q: What Are the Most Common Problems With Led Grow Lights?
A: The most common problems with LED grow lights include burnt out diodes, loose connections, faulty power supply and damage to the circuit board.
Q: How Can You Tell If a Diode is Burnt Out?
A: A burnt out diode will appear as a dark spot or completely black on the LED panel. You may also notice a decrease in the overall brightness of your grow light.
Q: Can You Replace a Burnt Out Diode Yourself?
A: Yes, you can replace a burnt out diode yourself if you have experience with electronics and soldering. However, it is always recommended to consult a professional for any repairs to ensure safety and proper functioning.
Q: How do You Fix Loose Connections in Your LED Grow Light?
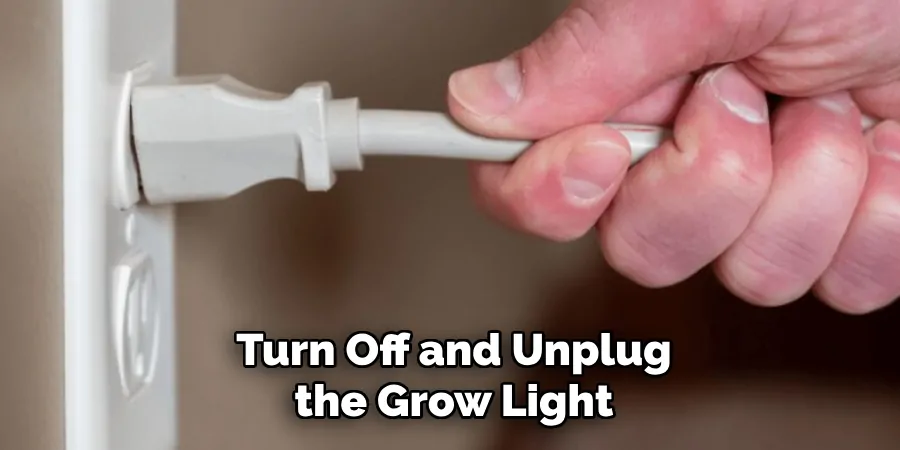
A: First, make sure to turn off and unplug the grow light before attempting any repairs. Then, check all connections and tighten any loose ones. If the problem persists, it may be necessary to replace the faulty wiring.
Q: What Should You do If the Power Supply is Faulty?
A: If you suspect that the power supply is faulty, it’s best to replace it with a new one. Do not attempt to repair the power supply yourself as it can be dangerous and may void any warranty.
Q: How do You Fix Damage to the Circuit Board?
A: Damage to the circuit board can be caused by various factors such as water exposure, overheating or physical impact. In most cases, the entire circuit board will need to be replaced by a professional.
Q: Can You Prevent Your LED Grow Lights from Getting Damaged?
A: Yes, you can take preventive measures such as avoiding water exposure and regularly cleaning and maintaining your grow lights. It’s also important to use compatible accessories and follow manufacturer’s guidelines for usage.
Q: Is It Worth Repairing an LED Grow Light or Should I Just Buy a New One?
A: It ultimately depends on the extent of the damage and the cost of repair versus purchasing a new grow light. In some cases, it may be more cost-effective to repair, while in others it may be better to invest in a new one. Consider consulting with a professional for their opinion.
Conclusion
In conclusion, learning how to repair LED grow lights when they stop working can save you time and money in the long run. While there are certain disadvantages that come with repairing these lights yourself, such as potential damage or voiding warranties, the benefits outweigh them.
By understanding the common issues that may cause your LED grow light to half-stop working and following the steps outlined in this guide, you can easily troubleshoot and fix the problem yourself.
Furthermore, by regularly maintaining your LED grow light, you can prevent these issues from occurring in the first place. I hope reading this post has helped you learn how to repair led grow light half stopped working. Make sure the safety precautions are carried out in the order listed.

