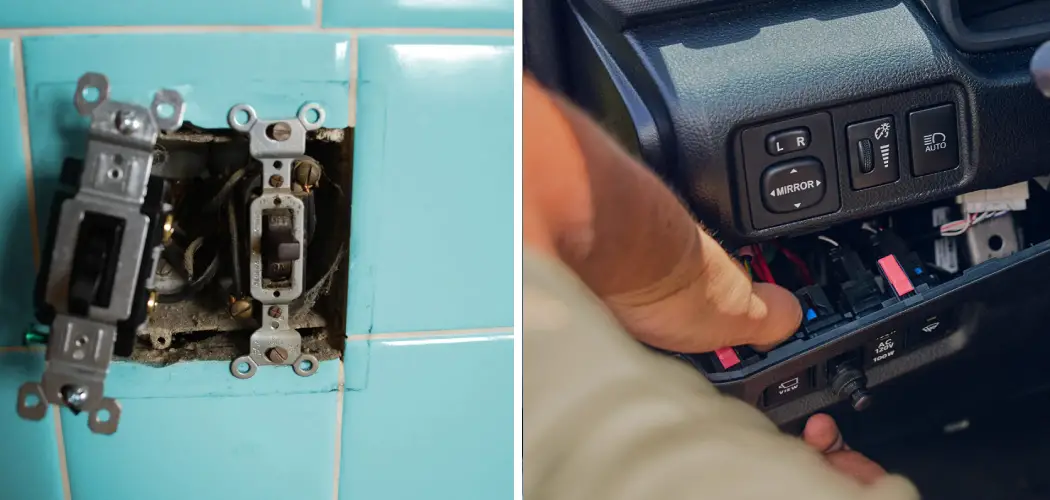
Are you encountering issues with your KC light switch? Do you want to know how to repair it without calling a professional electrician? Look no further!
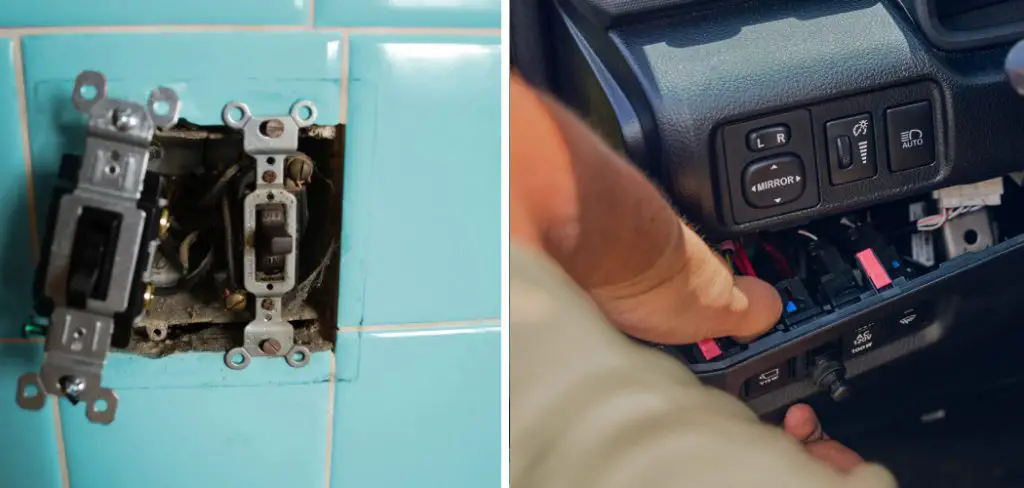
When it comes to off-road illumination, KC lights are a popular choice for many enthusiasts. However, even the sturdiest of components can encounter issues, and a faulty light switch can leave you in the dark at the worst possible time.
Repairing a KC light switch requires a methodical approach. Ensuring safety and functionality are paramount. In this guide, we’ll walk through the steps needed on how to repair KC light switch.
Whether you’re dealing with wear and tear, a loose connection, or a more complex electrical problem, we’ll provide the insight necessary to shed some light on the situation, getting you back on the trail with confidence.
What are the Use Cases of KC Light Switches?
KC light switches are used in a variety of scenarios, from off-roading adventures to everyday driving situations. They come in handy when you want to customize the lighting on your vehicle, allowing you to switch between different setups depending on your needs.
For example, if you’re off-roading at night and need more powerful lights for better visibility, the KC light switch makes it easy to turn on your additional lights. Likewise, if you’re driving in a well-lit city area and don’t need as much lighting, the switch allows you to turn off the extra lights to save power.
KC light switches can also be used for auxiliary lighting, such as fog or rock lights. This versatility makes them a popular choice among off-road enthusiasts as well as regular drivers who want more control over their vehicle’s lighting.
What Will You Need?
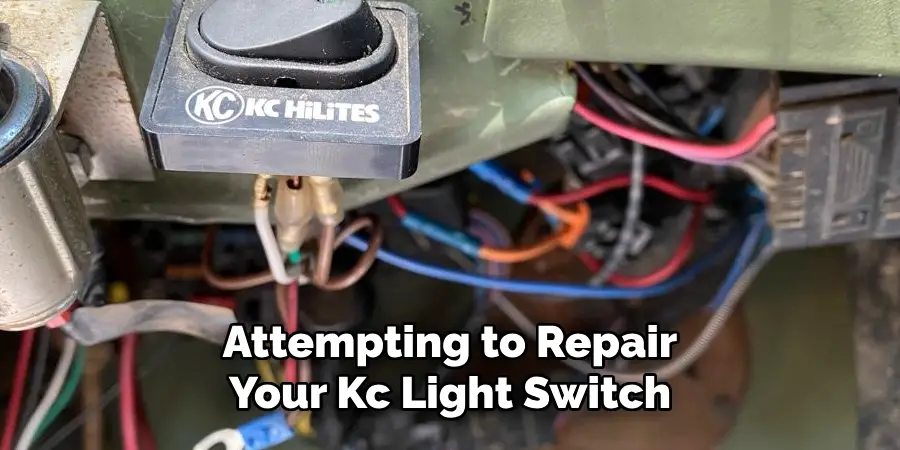
Before attempting to repair your KC light switch, it’s important to gather all the necessary tools and materials. Here’s a list of what you’ll need:
- Flathead screwdriver
- Phillips head screwdriver
- Wire strippers
- Electrical tape
- Replacement switch (if needed)
Once you have everything on hand, you can begin the repair process.
10 Easy Steps on How to Repair KC Light Switch
Step 1. Disconnect the Battery:
Before you start working on any electrical component of your vehicle, safety comes first. Locate your vehicle’s battery and disconnect the negative terminal to prevent any electrical shorts or shocks while repairing the KC light switch. If your battery is not easily accessible, remove the KC light switch fuse from the box instead.
Step 2. Access the Switch:
Gently pry off the dashboard panel or switch housing using the flathead screwdriver to access the KC light switch. Take care not to damage the dashboard or housing as you remove it. Once the panel is off, observe how the switch is mounted; this will assist you in the reinstallation process later on.
Step 3. Inspect the Connections:
Carefully examine the wiring leading to the KC light switch for any signs of wear, fraying, or loose connections. If you find any damaged wires, use the wire strippers to cut away the damaged portion and strip the ends of the wire for a fresh connection.
If the links are loose, tighten them securely with the Phillips head screwdriver. Ensure all wires are correctly connected and have a solid connection to ensure proper functionality.
Step 4. Test the Switch:
Connect the battery’s negative terminal again and test the functionality of the KC light switch. If the lights do not turn on, continue troubleshooting by testing the switch itself.
You can use a multimeter to test for continuity; if there is no continuity, the switch may need to be replaced. If the lights do work, the problem may have been a loose connection, which you have now fixed. Disconnect the negative terminal of the battery again before proceeding.
Step 5. Replace the Switch (if necessary):
If, after testing, you find that your KC light switch is, in fact defective, you will need to replace it with a new one. To do this, disconnect the switch from the wiring harness.
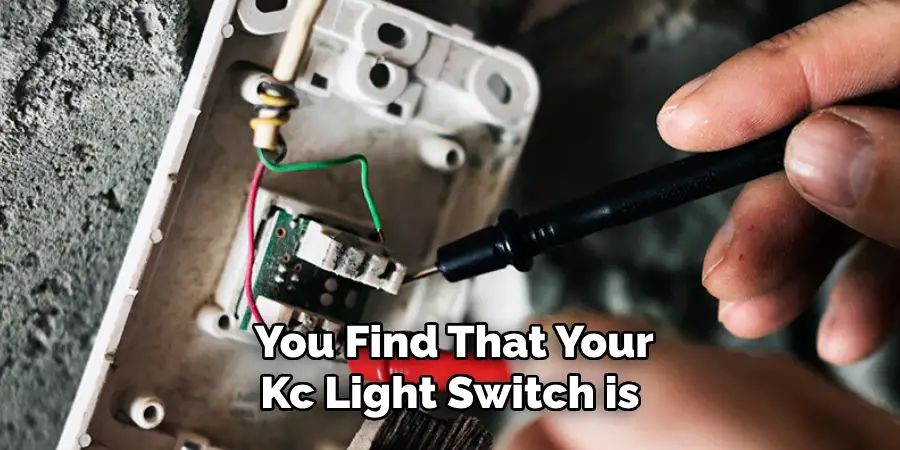
Take note or snap a photo of the wire connections to ensure you can reconnect them correctly. Remove the old switch from its mounting bracket and place the new one in position. Reattach the wires to the corresponding terminals on the new controller, consulting the photo you took earlier to ensure accuracy.
Step 6. Secure the New Switch:
Once the new switch is connected, make sure it’s properly secured in the mounting bracket. Depending on the design, you may need to use a Phillips head screwdriver to tighten it in place.
Ensure the switch is stable and does not move or wiggle, as a firm fit is necessary for reliable operation. After securing the switch, it’s vital to organize any loose wires and ensure they are not pinched or in a position where they might rub against sharp edges and get damaged.
Step 7. Reassemble the Dashboard or Switch Housing:
Carefully place the dashboard panel or switch housing back into position. If it was secured with screws, use the appropriate screwdriver to fasten it back into place.
Be gentle to avoid stripping the screws or damaging the panel. Once reassembled, ensure that the switch operates smoothly and that the panel aligns correctly, with no gaps or loose sections. This step helps to preserve the aesthetic integrity of your vehicle’s interior and prevents any future issues related to loose components.
Step 8. Test the Lights After Reassembly:
After the dashboard or switch housing is back in place, reconnect the battery’s negative terminal to restore power to the vehicle’s electrical system. Now, testing the lights with the newly installed or repaired KC light switch is crucial to ensure everything is working correctly.
Turn the switch to various positions and confirm that all light functions are operational. Pay close attention to any dimming or flickering, as this may indicate a loose connection or a problem with the lights themselves. If everything is functioning correctly, you’ve successfully repaired or replaced your KC light switch.
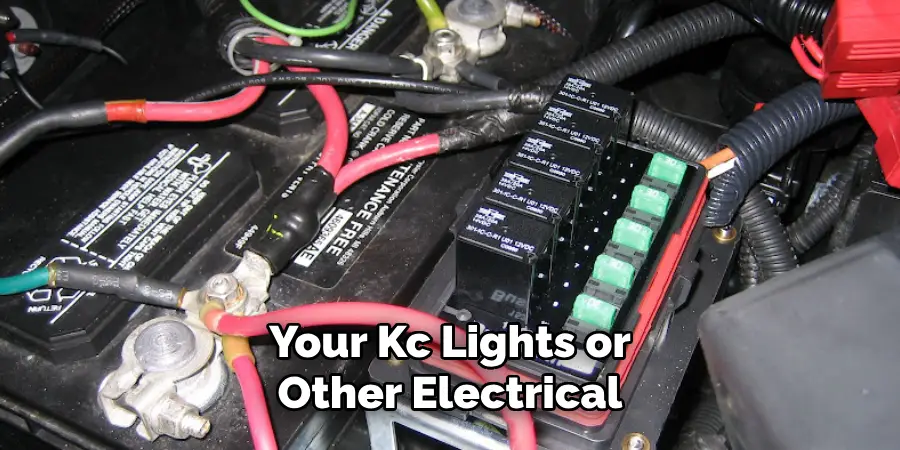
Step 9. Secure the Battery Connection:
After the functionality test is positive, ensure you secure the battery connection. Tighten the negative terminal back onto the battery with appropriate tools, usually a wrench, and ensure it is firm to avoid any power disruptions or loose connections. This step helps prevent any unexpected loss of power to your KC lights or other electrical systems in your vehicle.
Step 10. Conduct a Final Inspection:
Perform a final inspection of the vehicle to ensure that all tools and materials are removed from the work area and that your workspace is clean. Double-check that all the dashboard panels, switch housings, and other components are correctly installed and that there are no spare parts left.
Additionally, verify the functionality of the KC lights once more during different times of the day or in darker conditions to ensure consistent operation. This last step confirms that your repair or replacement job is complete and your KC lights are ready for your next adventure.
By following these steps, you can quickly repair or replace your KC light switch and keep your vehicle’s lighting system in perfect working condition. Regular maintenance and inspections are essential to ensure the safety and reliable operation of any electrical components in your vehicle.
5 Additional Tips and Tricks
- Double-Check Wiring Connections: Ensure that all wiring connections to the KC light switch are secure. Loose wires can lead to intermittent functionality or complete failure. Disconnect and reconnect each wire, making sure that each is adequately fastened and insulated to prevent short circuits.
- Test with a Multimeter: A multimeter can be invaluable in diagnosing issues. Use it to check for continuity in the switch. If the switch is defective, the multimeter will show no continuity when you toggle the switch.
- Consider Environmental Factors: Moisture and dirt can cause switches to malfunction. If your KC light switch is exposed to the elements, check for any signs of corrosion or buildup and clean it thoroughly.
- Examine the Switch Mechanism: Mechanical wear can cause the switch to fail. Open the switch housing (if possible) and examine the internal mechanism for any signs of damage or excessive wear.
- Upgrade if Necessary: If your KC light switch is consistently problematic and repairs are a temporary solution, it may be time to upgrade to a higher quality or more durable control that can withstand the demands of your vehicle’s usage.
With these additional tips and tricks, you can ensure your KC light switch functions properly and reliably.
6 Things You Should Avoid
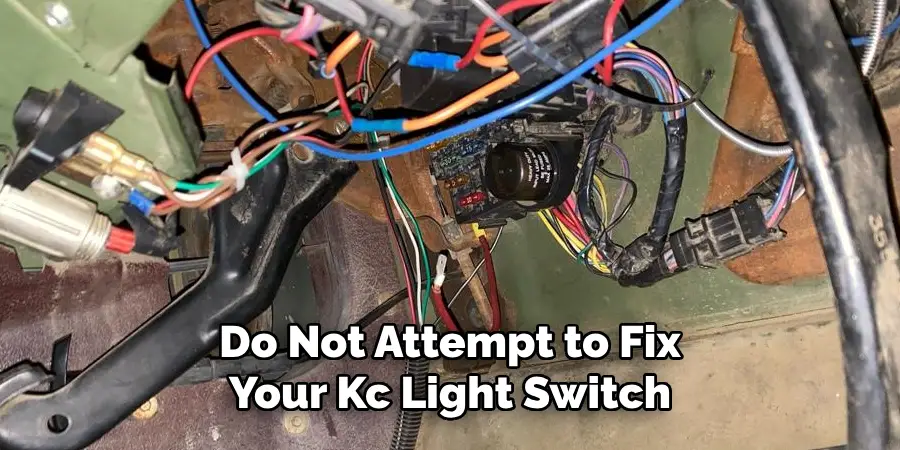
- Avoid Guesswork: Do not attempt to fix your KC light switch based on guesswork. Incorrect assumptions can lead to further damage or even personal injury. Always diagnose the problem carefully before attempting a repair.
- Never Ignore Safety Precautions: Electricity can be dangerous. Always disconnect the battery before starting any repair work to avoid electric shocks. Use the proper tools and protective equipment to ensure your safety.
- Don’t Overlook Manufacturer’s Guidelines: Disregarding the manufacturer’s instructions can lead to improper repairs and void warranties. Always follow the recommended repair procedures specific to your KC light switch model.
- Resist the Urge to Force Components: Forcing or applying too much pressure on any part of the switch can break delicate components. Treat each part with care to avoid causing more damage while attempting your repair.
- Steer Clear of Cheap Replacement Parts: Using low-quality or incorrect replacement parts can lead to more frequent failures. Invest in genuine or high-quality aftermarket parts to ensure your repairs’ longevity and proper functionality.
- Avoid Ignoring Warning Signs: If you notice any warning signs of a failing KC light switch, such as flickering lights or failure to turn on, do not ignore them. Address the issue promptly to prevent further damage or safety hazards.
By avoiding these common mistakes, you can effectively repair your KC light switch and ensure its proper functioning for an extended period.
Some Frequently Asked Questions
1. What Causes a Dead Switch?
A dead switch is often caused by a combination of factors, including faulty connections, mechanical wear and tear, environmental damage, or internal component failure. It can also be the result of improper installation or use of incorrect replacement parts. Understanding the root cause of a dead switch can help you prevent future issues and properly diagnose and repair the problem.
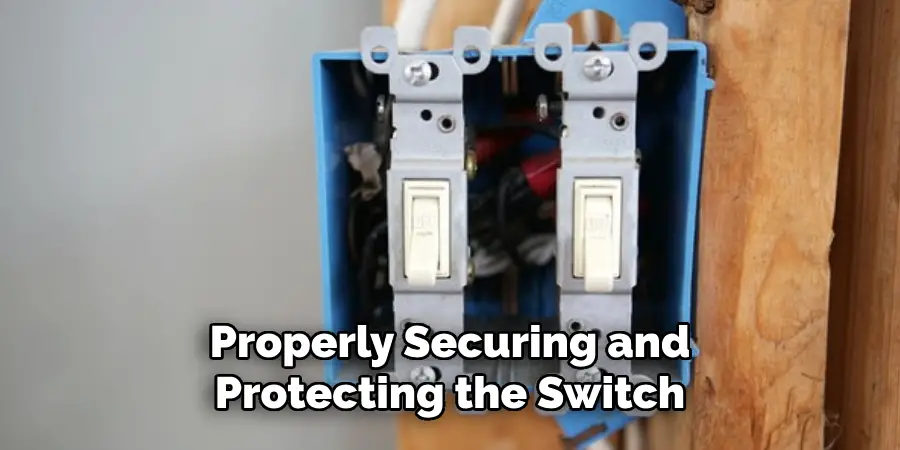
Another common cause of a dead switch is physical damage, such as impact or exposure to extreme temperatures. Properly securing and protecting the switch, especially in off-road environments, can help prevent these types of issues.
Overall, a dead switch is typically the result of neglect or wear and tear over time. By regularly maintaining and monitoring your KC light switch, you can prevent it from becoming completely inoperable.
2. How Can You Convert Kc Lights to Led?
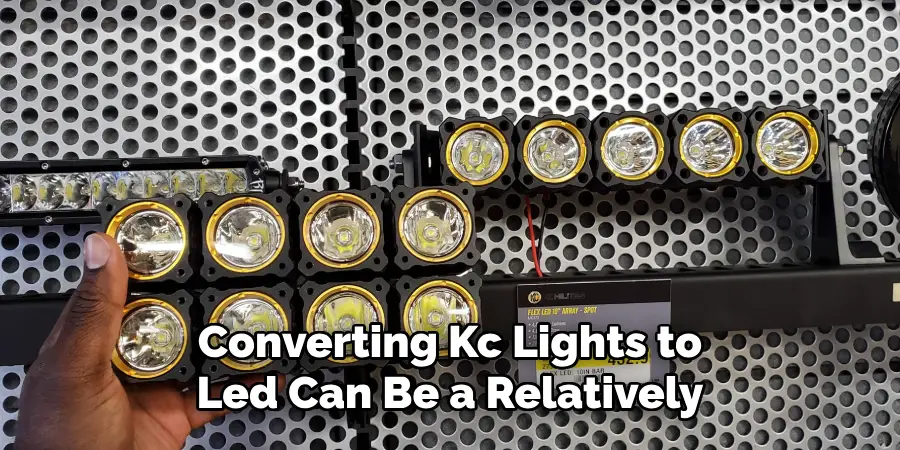
Converting KC lights to LED is a popular upgrade for many off-road enthusiasts. There are a few different methods for converting your KC lights, depending on the specific model and type of light you have. Here are some common steps to convert your KC lights to LED:
- Choose an LED Conversion Kit: The first step is to select an LED conversion kit that is compatible with your KC lights. These can often be found at automotive or off-road specialty stores.
- Remove the Existing Bulbs: Remove the old bulbs from your KC lights by twisting them out of their sockets.
- Install LED Bulbs: Insert the new LED bulbs into the light sockets and secure them.
- Replace Any Necessary Components: Depending on the KC light type, you may need to replace any additional components, such as reflectors or lenses, to fit the new LED bulbs properly.
- Test and Adjust: Once all components are installed, test your lights to ensure proper functionality. Make any necessary adjustments to the angle or alignment of the lights for optimal performance.
Converting KC lights to LED can provide a brighter and more efficient lighting solution for your vehicle. However, following proper installation instructions and using compatible components is vital to avoid any potential issues or damage.
Always consult the manufacturer’s guidelines before modifying your KC lights. Converting KC lights to LED can be a relatively simple and effective upgrade for your off-road adventures.
3. What are the Advantages and Disadvantages of Using KC Lights?
Advantages:
- Provide brighter and more focused lighting compared to traditional headlights.
- Can be easily mounted on various parts of the vehicle for versatile use.
- Durable and able to withstand harsh off-road conditions.
- Offer a broader range of visibility, enhancing safety while driving at night or in low visibility environments.
Disadvantages:
- Can be expensive to purchase and install.
- May cause glare for other drivers on the road.
- Draw significant power, which can drain the vehicle’s battery.
- Require regular maintenance and replacement of bulbs. Overall, KC lights offer numerous benefits for off-road enthusiasts but also come with some drawbacks. It is essential to consider your specific needs and usage before deciding if KC lights are the right choice for your vehicle. Lastly, regular maintenance and proper use can mitigate any potential disadvantages and ensure optimal functionality of your KC lights.
4. Can You Install Kc Lights on Any Vehicle?
Yes, KC lights can be installed on any vehicle with the proper installation techniques and compatibility with the specific light model. However, it is crucial to consult the manufacturer’s guidelines and ensure that your vehicle’s electrical system can support the added power draw from the lights.
Additionally, some modifications or custom mounting may be necessary depending on the type of vehicle and location of installation. Consult a professional or refer to online resources for guidance on adequately installing KC lights on your vehicle.

With proper installation and maintenance, KC lights can provide enhanced visibility and safety for various vehicles, including cars, trucks, SUVs, and even motorcycles. However, always follow the guidelines provided by KC Lights and use caution when making any modifications to your vehicle. Overall, KC lights can be a valuable addition to any off-road vehicle and enhance your driving experience in low light or rugged environments.
Conclusion
In conclusion, repairing a KC light switch requires a methodical approach that begins with diagnosing the problem and ends with a meticulous installation of new components if necessary.
Throughout the process, prioritizing safety and adherence to the manufacturer’s instructions is paramount. Avoid common pitfalls such as ignoring warning signs, which could lead to further damage or compromise safety. Regular maintenance and understanding the function and limitations of your vehicle’s electrical system can help prevent the need for future repairs.
Armed with the knowledge and steps outlined in this guide, even individuals with primary mechanical expertise can confidently tackle the repair of a KC light switch. Above all, remember that the longevity and performance of your KC lights heavily depend on the care and attention to detail during the repair process.
Hopefully, this guide on how to repair KC light switch has provided valuable insights and resources to help you successfully repair your KC light switch and get back on the road or trail with reliable and efficient lighting. Happy off-roading!

