High bay lights are commonly used in industrial and commercial spaces due to their ability to provide bright, uniform lighting over large areas. These lights are typically mounted at a height of 20 feet or higher, making them difficult to access for maintenance and repairs. However, with the right tools and techniques, you can easily repair high bay lights yourself instead of calling in a professional.
In this guide, we will walk you through the steps on how to repair high bay lights and ensure they continue to function efficiently. If you follow these steps carefully, you can save time and money on hiring an electrician or purchasing new lights.
Understanding High Bay Lights
Before we dive into the repair process, it is important to understand how high bay lights work. These lights are designed to provide bright and directional light for large spaces, making them ideal for warehouses, factories, gyms, and other commercial buildings. High bay lights come in various types such as metal halide, LED, fluorescent, and induction lighting.
Each type of high bay light has its unique components and wiring, so it is important to identify the type of light you have before attempting any repairs. Additionally, understanding the different parts of a high bay light will help you troubleshoot any issues that may arise.
Tools and Materials You Will Need to Repair High Bay Lights
- A ladder or scaffolding to reach the lights
- Screwdrivers (flathead and Phillips)
- Wire strippers
- Electrical tape
- Replacement bulbs or LED tubes (if needed)
- Safety glasses and gloves for protection
- Voltage tester or multimeter to check for live wires
Step-by-step Guidelines on How to Repair High Bay Lights
Step 1: Identify the Issue
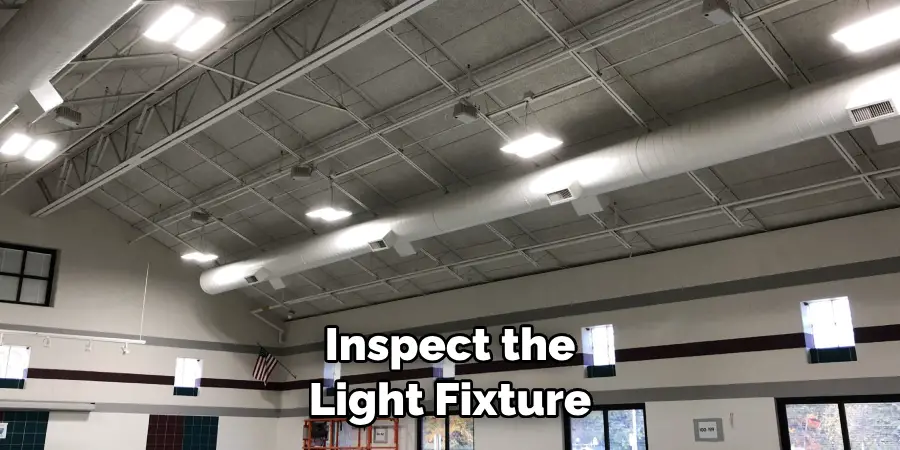
The first step in repairing high bay lights is to identify the problem. This could be a burnt-out bulb, loose connection, or faulty ballast. Inspect the light fixture and look for any visible damage or signs of wear and tear. This will help you determine the cause of the issue and what needs to be repaired or replaced. If you are unsure, use a voltage tester to check for live wires. Identifying the issue will also help you determine the tools and materials needed for the repair.
Step 2: Turn off the Power
Before starting any repairs, it is crucial to turn off the power supply to the high bay lights. This will prevent any accidents or injuries from occurring. Make sure to turn off the circuit breaker or switch that controls the lights before proceeding. Turning off the power also helps protect the lights from further damage during the repair process. This step cannot be emphasized enough for your safety.
Step 3: Replace the Bulbs or LED Tubes
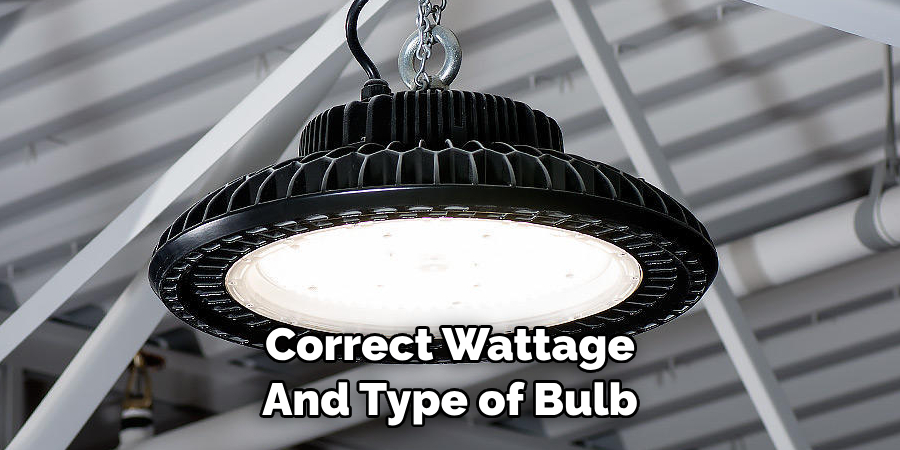
If the issue is a burnt-out bulb, simply replace it with a new one. Make sure to use the correct wattage and type of bulb for your high bay light. If you have an LED high bay light, check if any of the tubes are malfunctioning and replace them as needed. If the entire fixture is not working, it may be a problem with the ballast or wiring. While replacing the bulbs, be careful not to touch them with your bare hands as oils from your skin can cause damage and decrease their lifespan.
Step 4: Check and Tighten Connections
Loose connections are a common issue in high bay lights due to their constant vibrations. Use a screwdriver to tighten any loose screws or connections. Make sure all wires are securely connected and there are no exposed wires that could cause a short circuit. If you notice any damaged wires, replace them with new ones.
Step 5: Replace the Ballast (if needed)
The ballast is responsible for regulating the electrical current of the light bulbs. If it is faulty, it can cause the lights to flicker or not turn on at all. Use a multimeter to test the ballast and see if it is functioning properly. If not, replace it with a new one. While doing so, make sure to follow the manufacturer’s instructions and safety precautions.
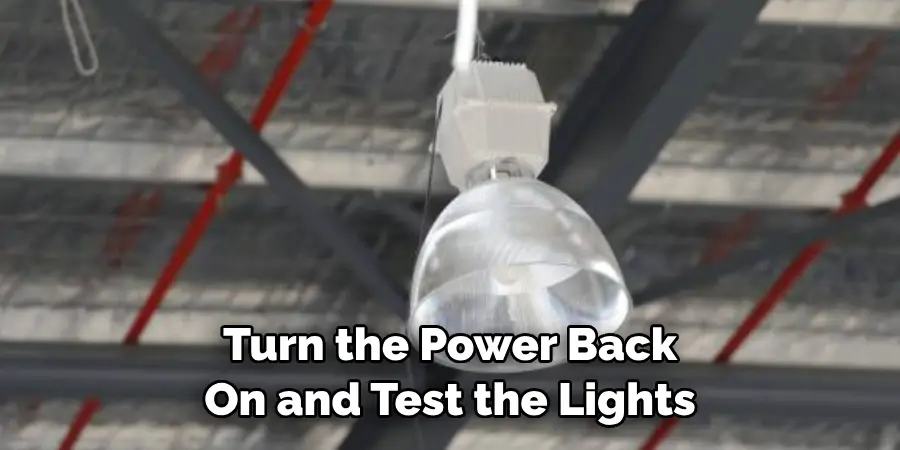
Step 6: Turn on the Power
After completing all the necessary repairs, turn the power back on and test the lights. If they are not working properly, double-check your connections and see if there is any loose wire or connection that needs to be fixed. Once everything is functioning correctly, you can turn the power back off and clean up your work area. Make sure to dispose of any old or damaged parts properly.
Step 7: Test and Maintain Regularly
Once your high bay lights are back up and running, it is important to test them regularly to ensure they continue to function efficiently. This will help you catch any issues early on and prevent more significant problems in the future. Additionally, make sure to clean the lights and surrounding area regularly to maintain their performance.
Following these step-by-step guidelines on how to repair high bay lights will help you save time and money while ensuring proper lighting for your industrial or commercial space. Remember, safety should always be your top priority when working with electricity, so if you are unsure about any repairs, it is best to call in a professional. Regular maintenance and timely repairs will extend the lifespan of your high bay lights and keep your workspace well-lit for years to come. So, don’t let a minor issue with your high bay lights hinder the productivity of your business – get to repairing them today!
Additional Tips and Tricks to Repair High Bay Lights
1. If you are using LED high bay lights, check for any loose connections or damaged wiring that may cause flickering or dimness. Tighten any loose connections and replace any damaged wiring to ensure the proper functioning of the lights.
2. Keep a record of maintenance and repair schedules for your high bay lights. Regularly cleaning light fixtures and replacing old bulbs can help prevent major repairs in the future.
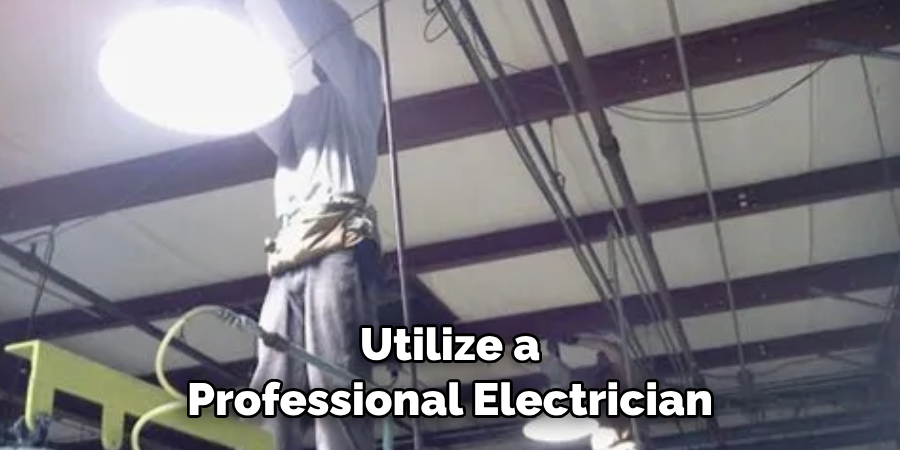
3. Utilize a professional electrician to perform any repairs or replacements if you are not confident in your abilities. Working with electricity can be dangerous and it is important to prioritize safety.
4. Consider investing in high-quality, energy-efficient high bay lights to reduce the need for frequent repairs and replacements.
5. Check the warranty on your high bay lights before attempting any repairs. Attempting to fix the lights yourself may void the warranty and leave you responsible for the cost of replacements or repairs.
6. Keep spare bulbs on hand in case of any sudden failures. This will ensure that your workspace remains well-lit, even if a bulb unexpectedly burns out.
7. Regularly check for signs of wear and tear, such as discoloration or rust, on your high bay lights. These can be indicators of potential issues that should be addressed promptly.
8. If you are repairing a fluorescent high bay light, make sure to properly dispose of the old bulbs and ballasts according to local regulations. These contain toxic materials and should not be thrown in the regular trash.
9. Consider installing motion sensors or timers on your high bay lights to help conserve energy and reduce the need for frequent repairs.
10. Keep the area around your high bay lights clear of any debris or obstructions that may affect their performance. This will also make it easier to spot any potential high-quality issues during routine inspections.
Following these tips and tricks can help keep your high bay lights functioning properly and save you time and money on frequent repairs. It is also important to regularly inspect your lights and address any issues promptly to prevent further damage or safety hazards. By taking care of your high bay lights, you can ensure a well-lit and safe working environment for yourself and your employees. Remember to always prioritize safety and consult a professional if you are unsure about any repairs or replacements. So, keeping in mind all these tips can help you maintain your high bay lights efficiently and effectively! Happy repairing!
Things You Should Consider to Repair High Bay Lights
1. The first thing you should consider is the type of high bay light you have. There are different types such as metal halide, fluorescent, and LED lights. Each type requires a different approach to repair.
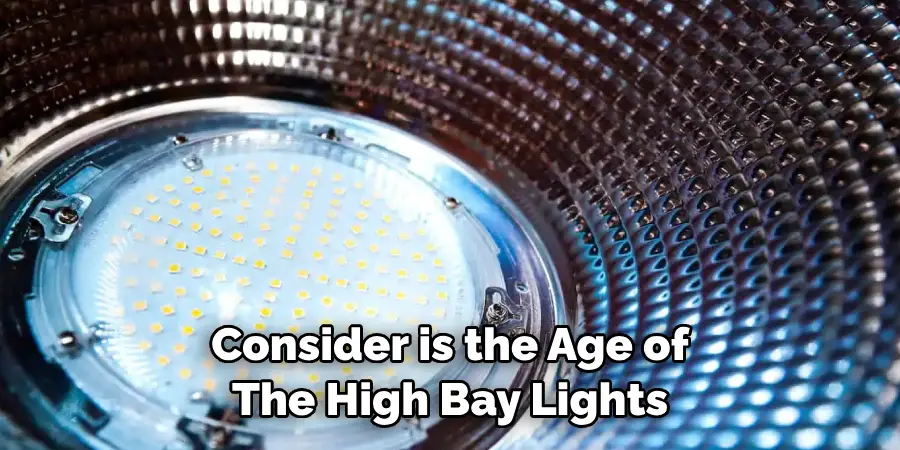
2. Another important factor to consider is the age of the high bay lights. Older lights may have different components and wiring systems compared to newer ones, which can affect the repair process.
3. Before attempting any repairs, make sure to turn off the power supply to the lights. This is crucial for your safety and to prevent further damage to the lights.
4. Inspect all components of the high bay lights carefully. Look for any visible signs of damage or wear and tear that may have caused the issue.
5. If you’re dealing with metal halide lights, check the ballast and replace it if necessary. This component is responsible for regulating the voltage and current of the light bulbs.
6. For fluorescent lights, you may need to replace faulty starters or ballasts. These components can wear out over time and cause flickering or dimming of the lights.
7. LED lights are generally easier to repair as they have a longer lifespan and fewer components. However, if you notice any damaged or burnt-out LED chips, those will need to be replaced.
8. It’s always best to refer to the manufacturer’s manual or contact a professional for specific instructions on how to repair your high bay lights.
9. In addition to repairing any damaged components, it’s also important to clean the lights and ensure they are free of dust, dirt, and debris. This can improve their performance and longevity.
10. Lastly, consider upgrading to more energy-efficient high bay lights if your current ones are outdated or constantly experiencing issues. This can save you money in the long run and provide better lighting for your space.
Following these considerations can help you effectively repair your high bay lights and ensure they are functioning properly. Remember to always prioritize safety and consult a professional if you have any concerns or difficulties with the repair process. With proper maintenance and care, your high bay lights can provide bright and efficient lighting for years to come. Keep in mind the type of light, age, power supply, components, and cleaning as key factors when repairing high bay lights. Don’t hesitate to reach out for assistance or advice when needed. Happy repairing!
Troubleshooting Common Issues to Repair High Bay Lights
1. Flickering or dimming lights can indicate an issue with the power supply, ballast, or bulbs. Check these components and replace them if needed.
2. If your high bay lights are not turning on at all, it could be due to a faulty switch or wiring. Inspect these areas carefully and make any necessary repairs.
3. Buzzing noises coming from the lights may be caused by loose or damaged components. Tighten any loose screws and replace damaged parts.
4. Excessive heat can also be a common issue with high bay lights, especially with metal halide and fluorescent types. Consider installing proper ventilation or upgrading to LED lights that produce less heat.
5. Inconsistent lighting levels across the space can be a result of unevenly spaced lights or incorrect positioning. Adjust the placement of the lights to achieve balanced lighting.
6. If your high bay lights have been exposed to water or moisture, they may short-circuit and stop functioning. In this case, it’s best to replace the lights completely for safety reasons.
7. Regular maintenance is key in preventing and troubleshooting common issues with high bay lights. Make sure to regularly inspect and clean the lights to keep them in good condition.
By being aware of these common issues and knowing how to troubleshoot them, you can effectively repair your high bay lights and keep them functioning optimally. However, if you encounter more complex or severe issues, it’s best to seek professional help for proper diagnosis and repair. With regular maintenance and timely repairs, your high bay lights can continue to provide efficient and reliable lighting for your space. Keep these troubleshooting tips in mind to ensure the longevity of your high bay lights and avoid any potential safety hazards. Happy repairing!
Precautions Need to Be Followed for Repairing High Bay Lights
1. First and foremost, it is essential to wear appropriate protective gear such as gloves, protective eyewear, and a dust mask before starting the repair process. This will ensure that you are protected from potential hazards such as broken glass or electrical shocks.
2. Before attempting any repairs on high bay lights, make sure to turn off the power supply to the light fixture. This can be done by switching off the circuit breaker or unplugging the light from the power source. It is important to double-check that there is no electricity running to the fixture before starting any repairs.
3. If you are repairing a fluorescent high bay light, allow it to cool down for at least 15 minutes before handling it. Fluorescent lights can become very hot during operation and can cause severe burns if touched.
4. When replacing a burnt-out bulb, make sure to use the correct wattage and type of bulb recommended by the manufacturer. Using the wrong type of bulb can not only shorten its lifespan but also cause damage to the light fixture.
5. Inspect all wires and connections for any signs of damage or wear before attempting repairs. If there are any exposed wires or loose connections, it is best to call a professional electrician for assistance.
6. If the high bay light has a ballast, make sure to handle it with care as it contains hazardous materials. Dispose of the old ballast properly according to local regulations and replace it with a new one recommended by the manufacturer.
7. When replacing any components such as bulbs or ballasts, make sure to follow the manufacturer’s instructions carefully. Improper installation can not only damage the light fixture but also cause safety hazards.
8. Clean the interior and exterior of the light fixture regularly to prevent dust buildup and ensure proper functioning. Use a damp cloth and mild cleaning solution to wipe down the fixture, making sure not to get any water inside the electrical components.
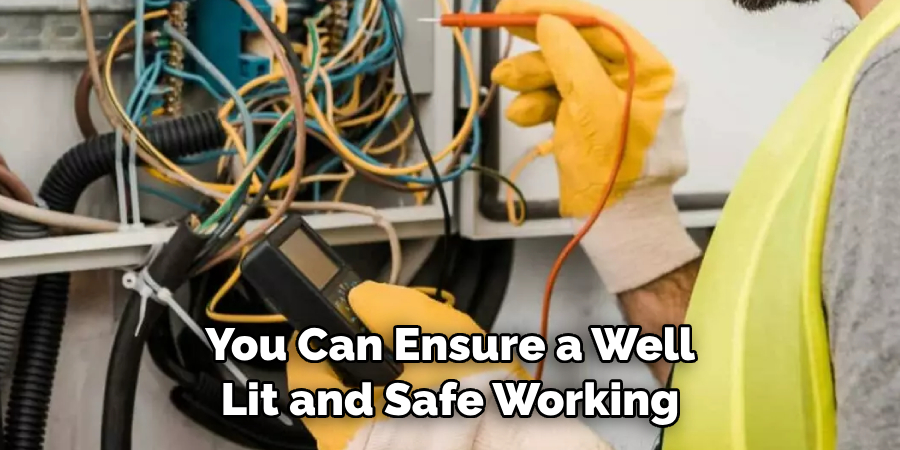
Following these precautions will help ensure your safety and the proper functioning of high bay lights. It is always recommended to consult a professional electrician for any major repairs or replacements to avoid any potential risks. Maintaining high bay lights regularly can also prolong their lifespan and save you from frequent repairs and replacements in the future. Remember, safety should always be the top priority when working with electrical equipment and taking the necessary precautions can prevent accidents and other hazards. So, it is always important to follow proper safety measures and precautions when handling high bay lights. Happy repairing!
Conclusion
Now you know how to repair high bay lights and keep them functioning optimally! Remember to always follow safety precautions when working with electricity and to consult a professional if you are unsure of how to proceed. Regular maintenance and timely repairs can greatly extend the lifespan of your high bay lights, saving you time, money, and hassle in the long run. With proper care and attention, your high bay lights will continue to provide bright and efficient lighting for all your industrial or commercial needs. Don’t forget to also properly dispose of any old or damaged lights to reduce environmental impact. Keep shining bright with well-maintained high bay lights!

