Removing an under-cabinet light cover may seem like a small task, but doing it correctly can save you time and effort while protecting the fixture from damage. Whether you’re replacing a bulb, cleaning, or performing maintenance, understanding the proper steps to safely remove the cover is essential. This guide will walk you through the process of how to remove under cabinet light cover with success.
Why You Might Need to Remove the Cover
There are several reasons you might need to remove the cover from your under-cabinet light fixture. One of the most common reasons is to replace a burnt-out bulb, ensuring your workspace remains well-lit and functional.
Additionally, over time, dust, grease, and grime can accumulate on the cover, diminishing the light’s brightness and requiring cleaning to restore its effectiveness. Another reason could be to inspect or repair wiring, particularly if the light is flickering or not turning on at all. Some homeowners may also want to replace the cover entirely, either due to damage or as part of an aesthetic upgrade. Regardless of the reason, knowing how to safely and effectively remove the cover is key to maintaining the longevity of your under-cabinet lighting.
Safety First: Precautions Before Starting
Before attempting to remove the cover from your under-cabinet light fixture, it’s crucial to prioritize safety. Start by turning off the power to the fixture to avoid the risk of electric shock. If the light is plugged into an outlet, simply unplug it; for hardwired fixtures, switch off the respective circuit breaker.
Ensure the light has been off for a while to allow the bulb and cover to cool down, as they can become hot during use. Use a sturdy step stool or ladder if the fixture is positioned high or in a hard-to-reach area, and make sure it’s on a stable surface. Finally, gather any necessary tools, such as a screwdriver or gloves for added grip, to prevent accidents during the removal process. Taking these precautions will help you complete the task safely and efficiently.
10 Methods How to Remove under Cabinet Light Cover
1. Sliding the Cover Off
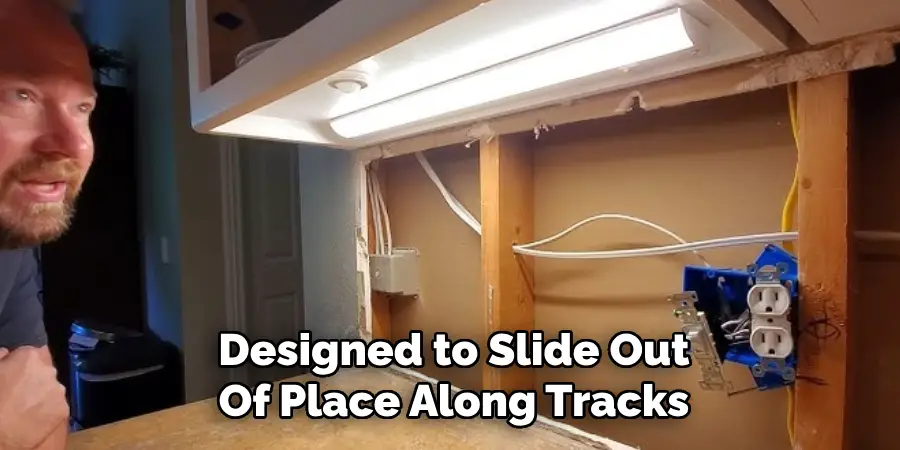
Many under-cabinet light covers are designed to slide out of place along tracks or grooves. This mechanism is commonly used in modern fluorescent or LED fixtures. Start by turning off the power supply to avoid electrical hazards. Locate the grooves at the edge of the cover, usually on one or both sides. Gently apply pressure with your fingers or a plastic tool and slide the cover in the indicated direction. If the cover is stuck due to dirt or grime, use a damp cloth to clean the tracks before attempting again. Avoid using excessive force as it may crack the cover.
2. Twisting the Cover
Cylindrical or round under-cabinet light covers often use a twist-lock mechanism. These covers need to be rotated slightly to disengage from the fixture. Begin by turning off the power to the light and wearing gloves to improve grip. Hold the cover firmly and twist counterclockwise to loosen it.
In some cases, the fixture may have arrows indicating the direction to turn. Once loosened, gently pull the cover away. If the cover doesn’t budge, inspect it for additional locking clips that may need to be pressed simultaneously.
3. Releasing Spring Clips
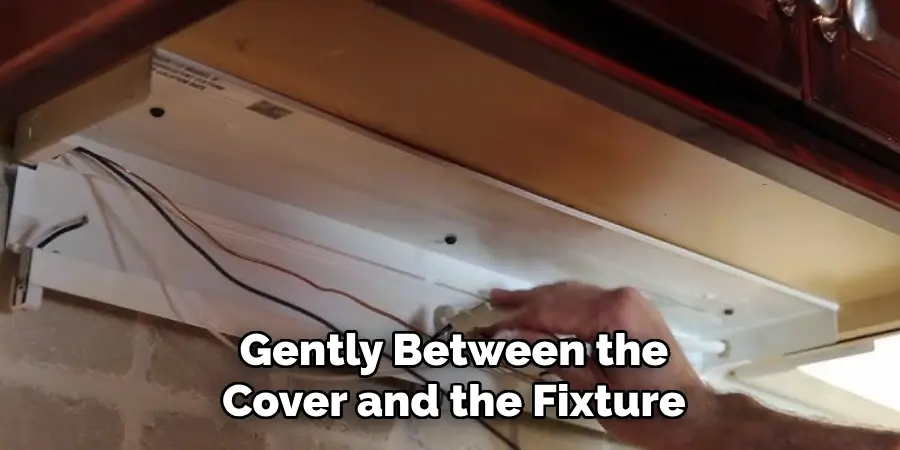
Some light covers are secured with internal spring clips. These are common in recessed or flush-mounted under-cabinet lights. To remove such covers, locate the edges where the spring clips hold the cover in place. Insert a flathead screwdriver or a similar tool gently between the cover and the fixture to create a small gap. Press inward to release the spring tension, and the cover should pop out. Work slowly and evenly around the perimeter to avoid damaging the cover or the fixture.
4. Pressing Retaining Tabs
Under-cabinet light covers with retaining tabs require careful manipulation to release. Look for small tabs around the edges or sides of the fixture. These tabs need to be pressed inward to free the cover. Use a small tool like a flathead screwdriver or your fingertips if the tabs are easy to access. Once the tabs are disengaged, gently pull the cover down or away from the fixture. Be cautious, as excessive force can break the tabs, making it difficult to reinstall the cover.
5. Removing Screws
In older or more secure lighting designs, screws may hold the light cover in place. Examine the fixture for visible screws, usually located along the edges of the cover or on mounting brackets. Use the appropriate screwdriver, such as a Phillips or flathead, to unscrew them. Place the screws in a safe spot to avoid losing them. Once the screws are removed, carefully lift or slide off the cover. If the cover remains stuck, check for additional hidden screws or adhesive strips securing it.
6. Popping Off a Snap-On Cover
Snap-on covers are designed for easy installation and removal, often found in LED strip lights. To remove this type of cover, identify the small notches or gaps along the edges of the fixture. Insert a thin, flat tool like a plastic spudger or a flathead screwdriver into the gap and gently pry the cover upward. Work your way around the perimeter, popping off each section gradually. Ensure you don’t apply too much pressure in one spot, as this could crack the cover or damage the fixture.
7. Releasing Magnetic Covers
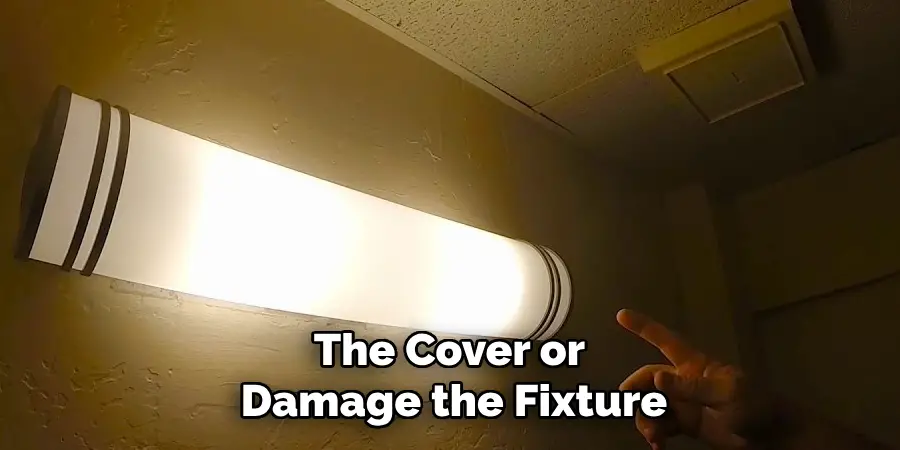
Magnetic covers are increasingly popular due to their seamless appearance and ease of removal. If your under-cabinet light cover uses magnets, simply grasp the cover and pull it away from the fixture. These covers often have a snug fit, so you may need to wiggle it slightly to release the magnetic hold. If you’re unsure whether your cover is magnetic, gently tug on it to see if it moves easily. Always handle the cover with care to avoid damaging the magnets or scratching the surface.
8. Sliding Open a Glass Panel
For under-cabinet lights with glass panels, the covers often slide open along tracks or grooves. Begin by identifying the direction in which the panel is designed to move. Clean any dirt or debris from the tracks to ensure smooth movement. Grip the glass panel firmly and slide it to one side. In some designs, the panel may need to be lifted slightly before sliding. Use caution when handling glass to prevent breakage and wear gloves for added safety.
9. Accessing Hinged Covers
Hinged covers provide easy access to the lightbulb or components without requiring full removal. To open a hinged cover, look for the hinge mechanism on one side of the fixture. Use your hand or a small tool to gently pry the cover open along the opposite edge. The hinge should allow the cover to swing open like a door. Be mindful of the hinge’s range of motion to avoid forcing it beyond its limit. Once opened, support the cover to prevent it from snapping shut unexpectedly.
10. Disengaging Clips with a Suction Cup
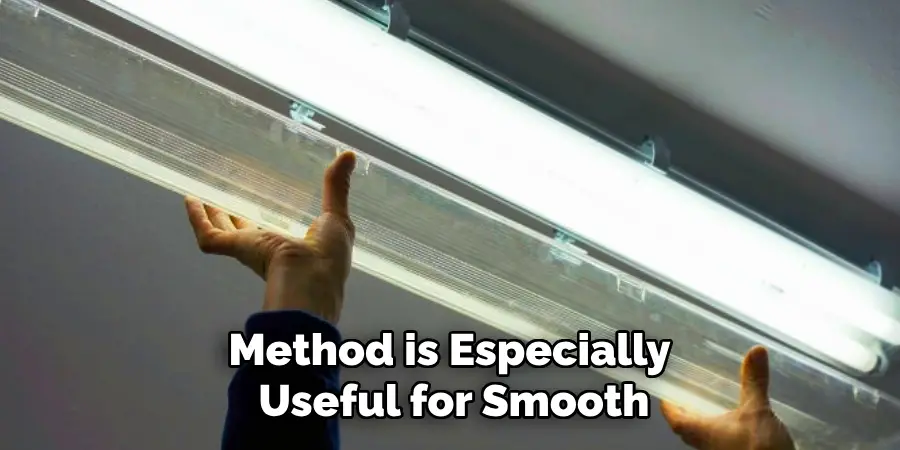
Some under-cabinet light covers, particularly those on recessed fixtures, may require a suction cup for removal. This method is especially useful for smooth, flat covers with no visible grips or tabs. Attach a strong suction cup to the center of the cover, ensuring a secure hold. Gently pull downward or outward, depending on the design, to disengage the cover from the fixture. If the cover is particularly tight, slightly twist the suction cup while pulling to release it more easily.
Things to Consider When Removing Under-Cabinet Light Covers
Turn Off the Power
Safety should always be a priority when working with light fixtures. Ensure you turn off the power supply to the lights before attempting to remove the cover. This minimizes the risk of electric shock or injury.
Use Proper Tools
Make sure you have the right tools for the job, such as screwdrivers, suction cups, or plastic spudgers. Using appropriate tools prevents damage to the cover or fixture and ensures a smoother removal process.
Check the Cover Type
Different fixtures require different removal techniques. Take the time to identify whether the cover is secured by screws, magnets, clips, or other mechanisms. This will help you choose the correct method and avoid applying unnecessary force.
Handle with Care
Under-cabinet light covers are often made of fragile materials like glass or thin plastic. Handle them gently to prevent cracks, scratches, or breakage. Wearing gloves can improve grip and provide additional protection.
Inspect for Dirt or Debris
Accumulated dust, dirt, or grime can make light covers harder to remove. Cleaning around the fixture and its edges beforehand can make the process smoother and help prevent damage.
Work Slowly and Evenly
Rushed movements or uneven pressure can break or permanently warp light covers. Take your time and, if necessary, apply pressure evenly around the edges to avoid causing damage to the fixture or cover.
Conclusion
Successfully removing an under-cabinet light cover requires patience, the proper tools, and an understanding of the specific type of fixture you’re working with. Whether it’s secured with screws, magnets, clips, or other mechanisms, following the appropriate removal method will help you avoid damage to the cover or fixture. Thanks for reading our blog post on how to remove under cabinet light cover! We hope you found it helpful and informative.

