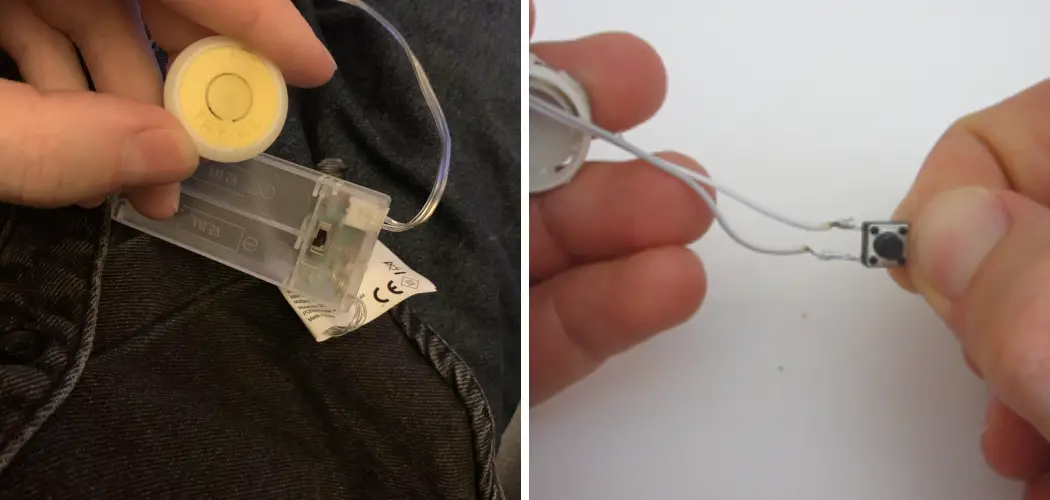
Removing the “Try Me” button from lights can be a simple yet crucial task for those seeking uninterrupted illumination. Often found on battery-operated or novelty lights, these buttons allow users to test the product’s functionality before purchase. However, once acquired, the persistent flashing or intermittent operation of the “Try Me” mode can become bothersome.
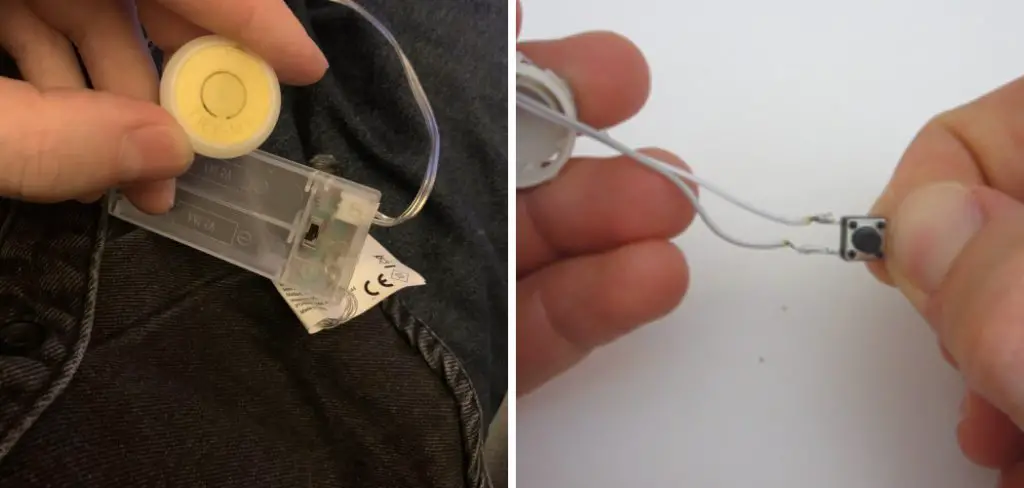
Fortunately, removing this button is typically straightforward, requiring basic tools and minimal technical expertise. In this guide, we’ll explore how to remove try me button from lights. Whether for decorative string lights, children’s toys, or novelty gadgets, mastering the art of removing the “Try Me” button ensures a hassle-free lighting experience tailored to your preferences.
Explanation of “Try Me” Buttons on Lights
“Try Me” buttons are a common feature found on various battery-operated lights, designed primarily to enhance the shopping experience. By pressing this button, potential customers can quickly demonstrate a product’s features without the need to unpack or install it.
This is especially useful in retail environments where showcasing the functionality of an item, like the brightness level, color changes, or special effects, can significantly influence a purchase decision.
However, once the product is bought and brought home, the “Try Me” functionality, which often limits the product to a demo mode showcasing only a fraction of its capabilities, can become unnecessary or intrusive. Understanding their purpose is the first step in effectively removing or disabling these buttons to enjoy the full range of features your lights offer.
Why “Try Me” Buttons Needed to Be Removed
“Try Me” buttons, while valuable in a retail setup, can detract from the complete user experience once the product is taken home. Primarily, these buttons restrict the item to a demonstration mode, often only allowing access to a subset of the features and functionalities the product has to offer.
Consequently, users are unable to explore the full potential and versatility of their lights, leading to a compromised experience. Additionally, the constant activation of this demo mode can result in unnecessary battery drain, reducing the operational lifespan of the product and leading to frequent replacements or recharges. Removing the “Try Me” button not only unlocks the full capabilities of the light but also ensures more sustainable and enjoyable usage.
Purpose and Functionality
The primary purpose of removing the “Try Me” button is to transition the light from a limited demonstration mode into its full operational state. By disabling or removing this feature, users can access all of the light’s functions and features, as intended by the manufacturer.
This includes varying levels of brightness, color changes, modes of operation (such as steady, flash, and fade), and more, which are often restricted in the demo mode to conserve battery life and simplify the in-store testing experience. The functionality of lights post-removal is significantly enhanced, offering a more personalized and uninterrupted experience.

Whether for home décor, personal use, or special events, having complete control over the light’s features allows for a more efficient and tailored use, maximizing the product’s potential and the satisfaction derived from it.
Types of Lights with “Try Me” Buttons
“Try Me” buttons are predominantly found on a diverse range of lighting products, each with its unique appeal and functionality. One common type is decorative string lights, often used for holiday decorations or to add a cosy ambiance to indoor and outdoor spaces.
These might feature different lighting modes that can be previewed with the “Try Me” function. Children’s night lights and interactive toys that illuminate also frequently come with this feature, allowing kids and parents alike to test the light effects before making a purchase.
Additionally, novelty gadgets, such as lit-up pens or keychains, and emergency lights that highlight their brightness or flashing capabilities in a retail setting, are equipped with “Try Me” buttons to attract consumer attention. Understanding the variety of products that include this feature can help in identifying and addressing the need for its removal to enhance user experience.
Potential Issues with “Try Me” Buttons
While “Try Me” buttons serve a beneficial purpose in a retail context, they are not without their drawbacks once the product is brought into a home or office environment. One significant issue is that these buttons can inadvertently initiate the demo mode, leading to disruptions and annoyances, especially if the product is used in a quiet setting such as a bedroom.
Furthermore, the limited functionality offered in demo mode prevents users from experiencing the full range of capabilities and customizations available, potentially leading to dissatisfaction with the product. Additionally, lights stuck in “Try Me” mode can consume batteries at an accelerated rate, leading to the hassle and expense of frequent replacements.
For products that don’t offer an easy way to disable or remove the “Try Me” feature, users may feel they’re not getting the full value from their purchase, which can be especially frustrating for items intended as gifts or for special occasions. Addressing these issues, therefore, becomes essential for ensuring an optimal user experience.
Importance of Removing “Try Me” Buttons
Removing “Try Me” buttons transcends mere convenience; it is a crucial step toward elevating the overall functionality and enjoyment derived from lighting products. By disabling this feature, users can unlock the full spectrum of capabilities that the manufacturers intended, from diverse lighting modes to adjustable brightness and color variances.

This not only enriches the user experience but also aligns with sustainable usage practices by conserving battery life and reducing waste. Furthermore, eliminating the potential frustration of navigating unwanted demo modes enhances user satisfaction, ensuring that the product serves its purpose effectively, be it for ambiance, utility, or entertainment.
In essence, the removal of “Try Me” buttons is fundamental to transforming a simple lighting device into a versatile tool that fully caters to the user’s needs and preferences.
10 Methods How to Remove Try Me Button from Lights
1. Disassembly and Removal:
Begin by carefully disassembling the light fixture or gadget to access the internal components, including the “Try Me” button. Use appropriate tools such as screwdrivers or prying tools to open the casing without causing damage.

Once inside, locate the “Try Me” button and disconnect it from the circuitry. This may involve desoldering wires or removing connectors. Once detached, reassemble the device without the “Try Me” button, ensuring all components fit securely in place.
Once the “Try Me” button has been removed, it is important to properly dispose of it. The button may contain hazardous materials such as batteries or electronic components. Check with your local authorities for proper disposal methods and guidelines.
2. Cutting the Circuit:
If disassembly is not feasible or preferred, cutting the circuit connected to the “Try Me” button is an alternative method. Identify the wires or traces leading to the “Try Me” button on the circuit board. Carefully cut these connections using wire cutters or a sharp knife, effectively disabling the button’s functionality.
Ensure the cut is clean and does not damage surrounding components or circuitry. Test the light or gadget to confirm that the “Try Me” feature has been successfully removed.
This method is useful for those who are not confident in their ability to disassemble and reassemble electronic devices. It also avoids the risk of damaging or losing small components during disassembly. However, it is important to note that cutting the circuit permanently disables the “Try Me” feature, so this method should only be used if you have no desire to use it again in the future.
3. Covering the Button:
For lights or gadgets where removal of the “Try Me” button is not practical, covering the button can serve as a temporary solution. Use adhesive tape, epoxy resin, or a small piece of plastic to cover the button and prevent accidental activation. Ensure the covering is secure and does not interfere with other functions or buttons. While this method does not eliminate the “Try Me” feature entirely, it can effectively prevent unintentional activation and provide a cleaner appearance.
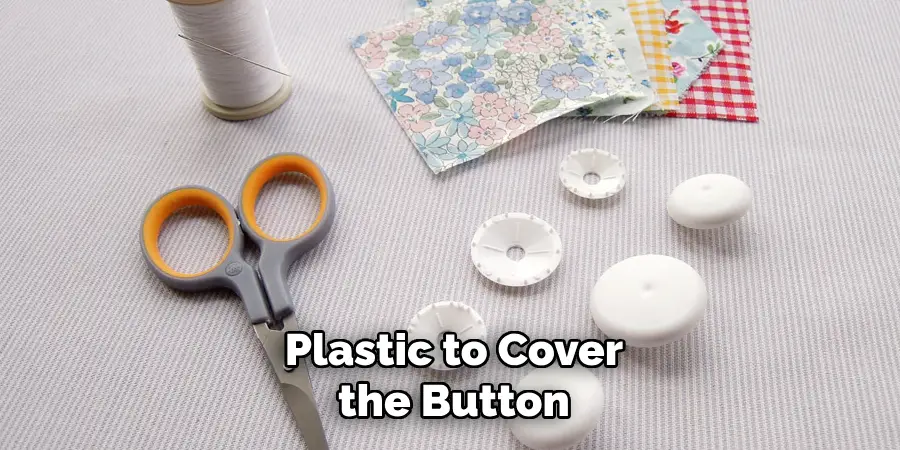
It is important to note that covering the button should only be considered as a temporary solution. If possible, it is recommended to remove the button completely for safety and convenience purposes.
Another option to consider is using tamper-proof covers specifically designed for “Try Me” buttons. These covers are typically made of durable plastic or metal and have a locking mechanism to prevent accidental activation. This is a more permanent solution and can also add another layer of security for products that contain sensitive or valuable components.
4. Bypassing the Button:
Bypassing the “Try Me” button involves rerouting the circuitry to bypass the button’s functionality altogether. Identify the connections leading to and from the button on the circuit board. Using jumper wires or soldering techniques, create a new connection that effectively bypasses the “Try Me” button.
This allows the device to operate as if the button were never present. Exercise caution to ensure proper connections and avoid short circuits or damage to other components. However, this method may not be feasible for all devices as some buttons are necessary for the proper functioning of the device.
Additional methods to bypass a button include using specialized tools such as a logic analyzer or an oscilloscope. These tools can help analyze and capture the signals passing through the button circuitry, allowing for more precise identification and manipulation of connections. This method requires technical expertise and specialized equipment, making it less accessible for the average user.
5. Modifying the Circuit:
Modifying the circuitry of the light or gadget can permanently disable the “Try Me” feature. Identify the components associated with the button, such as resistors, capacitors, or integrated circuits. Remove or replace these components to alter the behavior of the circuit and eliminate the “Try Me” functionality.
This method requires knowledge of electronics and soldering skills to ensure proper modification without damaging the device. Test the modified circuit to ensure desired functionality is achieved. However, it is important to note that modifying the circuit may void any warranty or safety certifications on the device.
6. Upgrading the Controller:
In some cases, upgrading the controller or firmware of the light or gadget may provide an option to disable the “Try Me” feature. Check the manufacturer’s website or contact customer support to inquire about available updates or modifications.
Follow the provided instructions to install the upgraded controller or firmware, which may include options to customize or disable specific features such as the “Try Me” mode. This method ensures compatibility and may offer additional functionality beyond disabling the “Try Me” button.
Additionally, keep in mind that some controllers or gadgets may not have the option to disable the “Try Me” feature. In this case, consider using alternative control methods such as voice commands or remote controls to prevent unintended activation of the “Try Me” mode.
7. Adding a Switch:
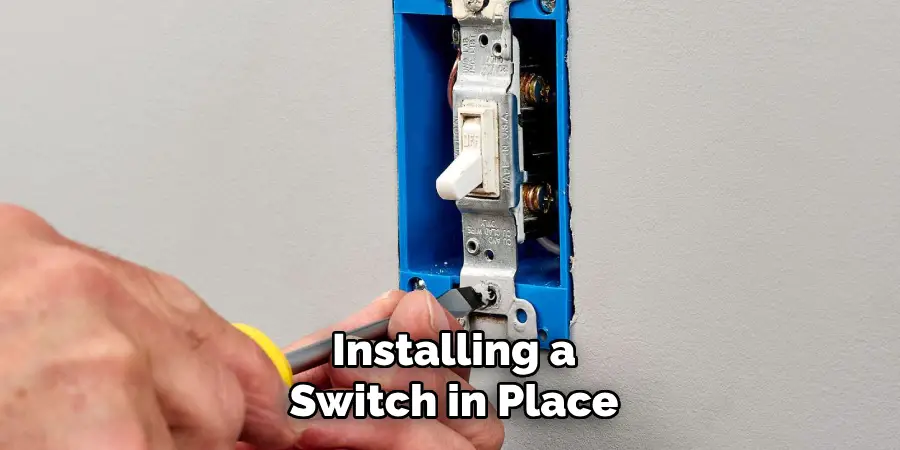
Installing a switch in place of the “Try Me” button allows for convenient control over the device’s operation while effectively disabling the “Try Me” feature. Choose a switch compatible with the device’s voltage and current requirements. Locate a suitable location on the device’s casing to mount the switch, ensuring easy access and visibility.
Connect the switch to the circuitry in place of the “Try Me” button, following wiring diagrams or instructions provided by the manufacturer. Test the switch to ensure proper functionality and disable the “Try Me” feature as desired.
The use of switches is not limited to just disabling “Try Me” features. Switches can also be used for a variety of other purposes, such as controlling power flow, changing modes or settings, and activating different functions. They are essential components in many electronic devices, providing users with control and convenience.
8. Utilizing External Controls:
For lights or gadgets with remote control capabilities, utilizing external controls can effectively disable the “Try Me” feature. Pair the device with a compatible remote control that allows for convenient operation without the need for physical buttons.
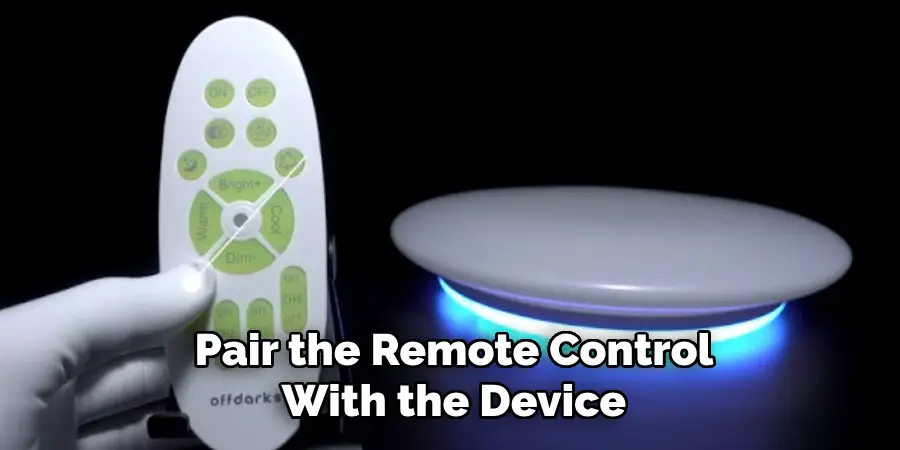
Follow the manufacturer’s instructions to set up and pair the remote control with the device. Once paired, use the remote control to operate the device, bypassing the “Try Me” button entirely. This method provides flexibility and convenience while eliminating the need for physical modification.
Additionally, for devices with external controls such as lights or gadgets that have a designated “Try Me” button, there may be options to adjust the settings to disable this feature. Check the user manual or contact the manufacturer for more information on how to access and change these settings.
9. Replacing the Button:
In cases where the “Try Me” button is integral to the device’s design or functionality, replacing the button with a non-functional alternative can serve as a viable solution. Remove the original button and replace it with a similar-sized button or placeholder that does not activate any functions.
Secure the replacement button in place using adhesive or mounting hardware to ensure stability. While this method does not eliminate the physical presence of the button, it effectively renders it non-functional, preventing accidental activation of the “Try Me” mode.
This solution is particularly useful for devices that are intended to be displayed in a store or exhibit setting, where constant handling by curious individuals can lead to excessive wear and tear on the “Try Me” button.
When choosing a replacement button or placeholder, consider the overall design and aesthetics of the device. A simple cap or cover may not blend in seamlessly with the rest of the product, so it may be necessary to use a similarly styled button that does not activate any functions. Additionally, ensure that the new button is securely attached and cannot be easily removed or manipulated by individuals trying to access the “Try Me” mode.

10. Professional Modification:
If other methods prove challenging or if the device’s design is particularly complex, seeking professional assistance for modification may be necessary. Contact electronics repair technicians or specialists experienced in circuit modification and customization. Provide detailed information about the device and the desired modification, including disabling the “Try Me” feature.
Professional modification ensures accurate and reliable results while minimizing the risk of damage to the device. Be sure to inquire about costs, turnaround time, and warranty coverage before proceeding with professional modification. Additionally, ask for recommendations or certifications to ensure the technician’s expertise and credibility.
After modification, be sure to test the device thoroughly before use. This includes checking all functions and ensuring that the “Try Me” feature has been successfully disabled. If there are any issues or concerns, contact the professional who performed the modification for further assistance.
Conclusion
In conclusion, removing the “Try Me” button from lights is a straightforward yet important process that enhances safety and aesthetics while preventing unintended activations. By understanding the functionality and potential issues associated with these buttons, individuals can confidently employ various methods to remove them effectively.
Whether it involves disabling the button mechanism, modifying circuitry, or utilizing external covers, careful attention to detail and adherence to safety precautions are paramount. Following the step-by-step removal process ensures proper handling of tools and equipment while minimizing risks associated with electrical work.
Additionally, testing and verification post-removal help ensure the light fixture operates as intended. Hopefully, this article gave you some helpful tips about how to remove try me button from lights successfully, so now that you have the proper knowledge on how to get the job done, why not give it a try today?

