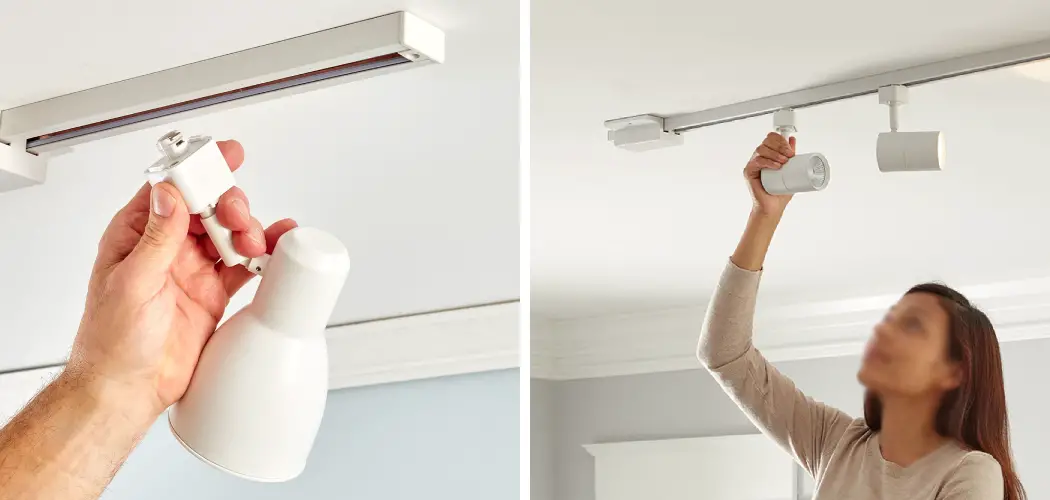
Are you tired of your home’s outdated or unattractive look of track lighting? Follow these easy steps to remove it and update your space with a new lighting solution.
Removing track lighting can be a straightforward DIY project that transforms the ambiance of any room. Whether updating your home’s lighting fixtures, decluttering the ceiling, or preparing for a more extensive renovation, understanding the correct procedures is crucial for a safe and efficient removal process. Before you start, it’s essential to gather your tools, ensure power is safely turned off, and familiarize yourself with the track lighting components.
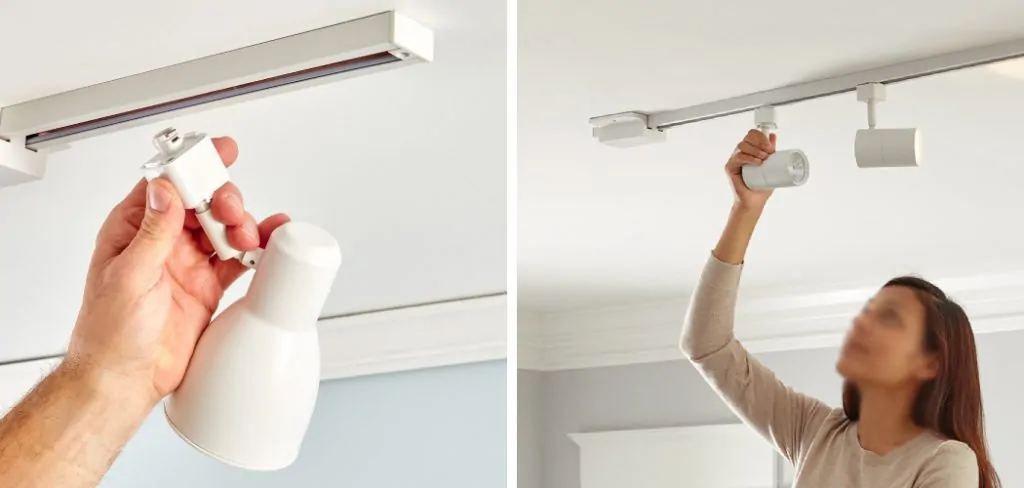
This guide on how to remove track lighting will walk you through each step, providing tips to avoid common pitfalls and ensure a smooth transition to your new lighting setup.
What are the Use Cases for Removing Track Lighting?
Before we dive into the removal process, it’s essential to understand why you might want to remove track lighting in the first place.
- Outdated Design: Many homeowners opt for track lighting as a modern and contemporary solution, but tastes and trends change over time. If your home’s track lighting no longer fits your aesthetic or looks outdated, it may be time for an update.
- Inefficient Lighting: Track lighting is known for its versatility and ability to direct light in multiple directions. However, this can also lead to shadows and uneven lighting if not correctly positioned or if the track lights are not adjustable. If your track lighting isn’t providing adequate or evenly distributed light, it might be time to switch to a different lighting solution.
- Electrical Issues: If you’re experiencing flickering or other electrical issues with your track lighting, it’s crucial to address them promptly. These problems can indicate faulty wiring or connections and pose a fire hazard if left unattended.
These are just a few everyday use cases for removing track lighting, but other reasons may be unique to your situation. Regardless of the reason, this guide will help you safely and effectively remove your track lighting.
Types of Track Lighting
There are two main types of track lighting: H-style and J-style. The removal process for each type is similar, but it’s essential to note their differences.
- H-Style: This style features a three-wire system with one neutral, ground, and hot wire. H-style track lighting comes in various lengths and can be connected together for longer runs.
- J-Style: J-style track lighting has two wires, one neutral and one hot, making it less complicated than H-style. The track is also curved instead of straight, giving it a “J” shape.
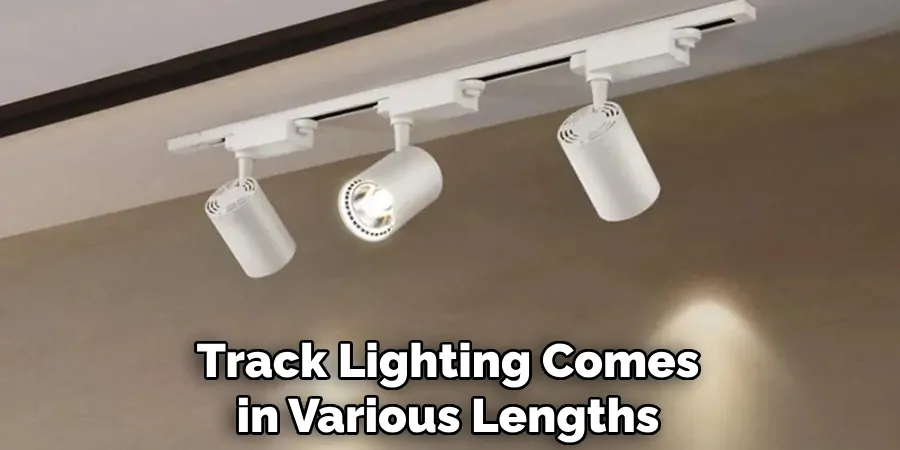
These are the most common track lighting styles, but variations or different mounting methods for specific models may exist. It’s always best to consult the manufacturer’s instructions before removing any lighting fixture.
Materials You’ll Need
Before you start removing the track lighting, gather the following tools and materials:
- Ladder or step stool
- Screwdriver (flathead and Phillips head)
- Wire cutters or wire strippers (depending on the type of track lighting)
- Electrical tape
Once you have everything you need, it’s time to begin the removal process.
10 Easy Steps on How to Remove Track Lighting
Step 1: Turn Off the Power
Before you start working with any electrical components, turn off the power at the circuit breaker or fuse box. This step is crucial for your safety and prevents damage to your home’s wiring. Be careful not to turn off your home’s main power supply.
Step 2: Remove the Lighting Bulbs and Shades
Unscrew and remove any bulbs or shades from the track lighting fixtures. This will make it easier to handle the track lighting without worrying about breaking any delicate pieces. It’s advisable to use a ladder or step stool to reach the fixtures safely and gently twist the bulbs counter-clockwise to remove them. Once the bulbs are removed, carefully detach any shades or covers.
Step 3: Unscrew the Track Lighting Heads
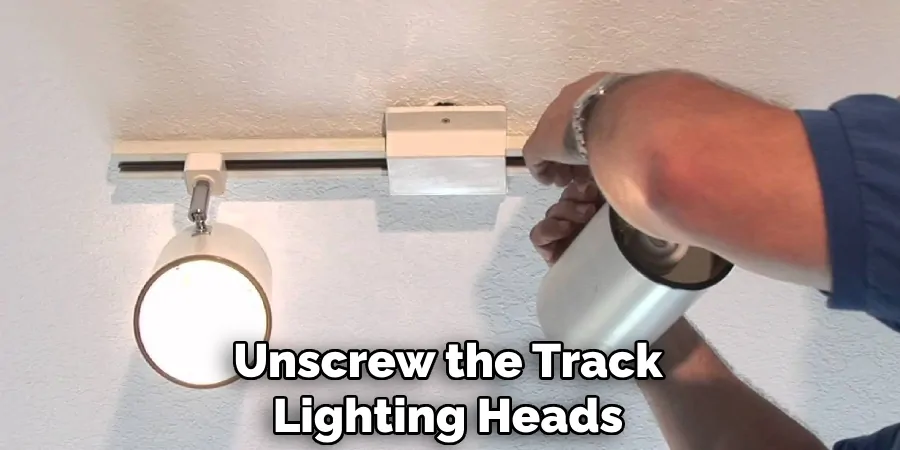
Using a screwdriver, unscrew the track lighting heads from their position on the track. Most track lighting heads are designed to be easily removed by loosening a screw or turning the head counter-clockwise until it detaches from the track. Ensure that you hold the head securely as you unscrew it to prevent it from falling and potentially causing injury or damage.
Step 4: Detach the Track from the Ceiling
Once the lighting heads are removed, locate the screws or bolts holding the track to the ceiling. These are typically visible along the length of the track and may be covered by decorative caps. Use a screwdriver to carefully remove these fasteners, ensuring you support the track with one hand as you work. If the track is long, you may need an extra pair of hands to help hold it as you remove the screws to prevent it from falling.
Step 5: Disconnect the Electrical Wires
After the track is detached from the ceiling, carefully lower it to reveal the electrical connections. There will be a junction box where the track connects to the ceiling wiring. Remove the cover plate of the junction box, if present, to access the wire nuts or connectors holding the wires together. Then, using wire cutters or wire strippers, carefully disconnect the wires while making sure to note which wires were connected to ensure proper reinstallation of new lighting. Always cap each wire with a wire nut or secure it with electrical tape for safety.
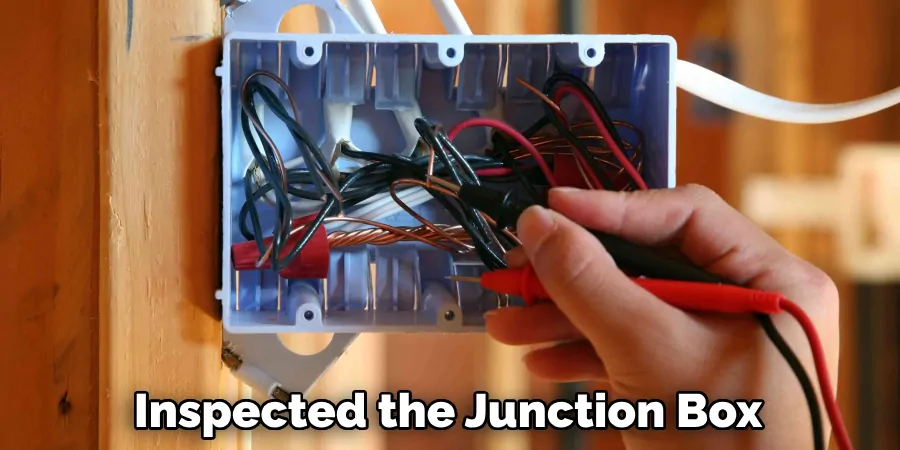
Step 6: Inspect the Ceiling Junction Box
Before patting or painting the ceiling, inspect the junction box to ensure it’s not damaged. If you find any signs of wear or the box is loose, take the time to make the necessary repairs or replacements. This is an important safety measure to avoid problems when installing the new light fixture. Ensure the box is firmly anchored and all wires are safely tucked away and not exposed.
Step 7: Repair and Prepare the Ceiling Surface
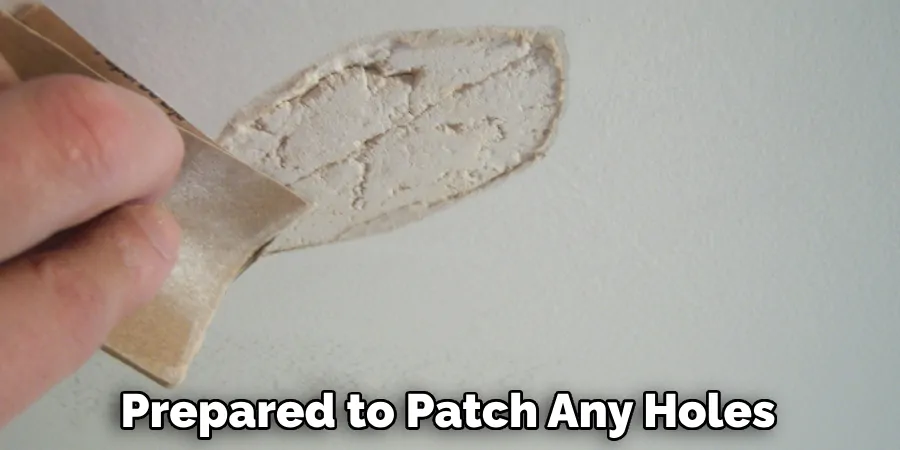
Once you’ve removed the track lighting and inspected the junction box, prepare the ceiling for repairs. If there are holes or marks where the track was mounted, you will need to patch them with a spackle. Apply the spackle smoothly and allow it to dry according to the manufacturer’s instructions. Sand the area lightly for a smooth finish, and wipe it down to remove any dust. If you plan to install a new lighting fixture, ensure the surface is clean and ready for the next step. If you still need to, you may proceed to paint the area to match the rest of your ceiling.
Step 8: Paint the Ceiling
It’s time to paint after the spackle has dried and the surface is sanded smooth. Choose paint that matches the existing ceiling color for seamless integration. When painting, start from the edges and work your way toward the center, using a roller for larger areas and a brush for corners and edges. Allow the paint to dry according to the manufacturer’s instructions before installing new lighting.
Step 9: Install New Lighting Fixture
If you’re updating your lighting design, now is the time to install your new fixture. Begin by reading the installation instructions specific to your new lighting. Carefully connect the electrical wires, ensuring that you match the wire colors as they were with the old fixture: black to black (hot), white to white (neutral), and green or copper wire to the ground screw.
Secure the connections with wire nuts and ensure they’re tight and covered with electrical tape if needed. Mount the base or the track of your new fixture to the ceiling using screws and anchors appropriate for your ceiling type. Once the base is secure, attach and adjust the lighting heads to your desired positions and screw in the appropriate bulbs. Before turning the power back on, double-check all connections and the sturdiness of the fixture to ensure safety.
Step 10: Restore Power and Test Your Work
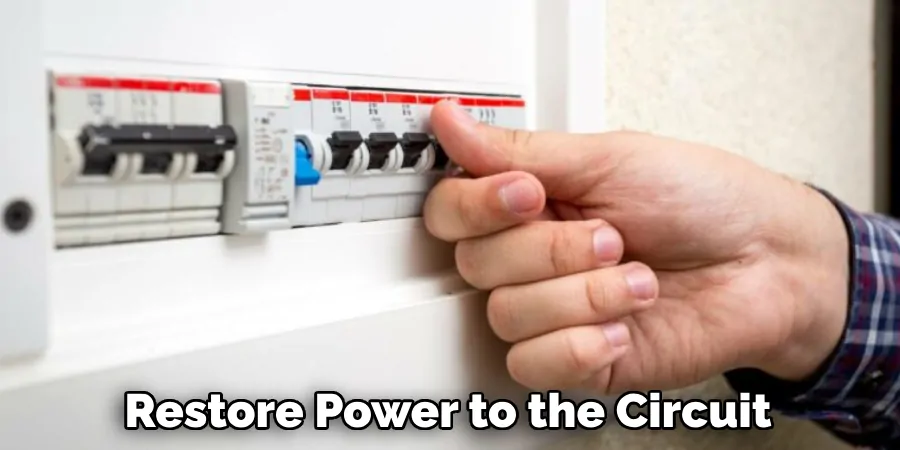
After ensuring everything has been installed correctly, it’s time to restore power to the circuit. Head back to your circuit breaker or fuse box and turn on the power for the lighting circuit. Then, return to your new lighting fixture and flip the switch to test its operation if the spout lights up, congratulations! You’ve successfully completed the installation. Suppose it does not turn off the power again, and double-check all wire connections and the installation steps to troubleshoot the issue. Always prioritize safety and consult a professional electrician if you encounter any complications.
Following these steps, you can quickly and safely remove track lighting to update your home’s design or replace a malfunctioning fixture.
5 Additional Tips and Tricks
- Ensure Power Safety: Before attempting to remove track lighting, it is critical to ensure that power to the circuit is completely turned off. This can typically be done at the main circuit breaker panel. After switching off the power, always test the lighting track with a non-contact voltage tester to confirm that electricity is no longer flowing to prevent potential electric shock.
- Check for Additional Support: If the track lighting system is lengthy or heavy, it might be supported by extra fasteners or support systems beyond the basic mounting hardware. Carefully inspect the entirety of the track to locate any additional supports before attempting to remove it to avoid damaging the ceiling or the light fixture.
- Label the Components: As you disassemble the track lighting, take the time to label wires and components. This will be highly beneficial if you plan to reinstall the track lighting or use it as a reference for installing a new fixture. You can use colored tape or stickers for easy identification later on.
- Use the Right Tools: Use proper tools, such as a screwdriver and pliers that fit correctly to the hardware of the lighting track. Tools that do not fit properly can strip screws and make the job more difficult. If the track is stubborn, devices like a pry bar can be used carefully to help remove it.
- Patch and Paint: After removing the track lighting, holes or discoloration may be left on the ceiling. Be prepared to patch any holes with spackling compound and to touch up or completely repaint the ceiling to ensure a clean, finished look. Having these supplies on hand before starting the project will make the final steps go more smoothly.
With these additional tips and tricks, you should feel more confident in removing track lighting safely and effectively.
5 Things You Should Avoid When Removing Track Lighting
- Ignoring Electrical Safety: Only begin removing the track lighting after first confirming that the power is off. Working with live wires can be incredibly dangerous and should be avoided at all costs. Never assume the circuit is safe without testing for the presence of voltage.
- Forcing the Fixture: Do not use excessive force when removing lighting components. Forcing parts can cause damage to the ceiling of the light fixture or even create a potential hazard if electrical components are damaged.
- Using Improper Tools: Avoid using tools that aren’t suited for the job — incorrect tool sizes can strip screws, making them more challenging to remove and possibly damaging your tools or the light fixture.
- Leaving Wires Exposed: After removing the lighting track, ensure not to expose the electrical wires. Cap off any wire ends before turning the power back on to prevent short circuits and potential fire hazards.
- Skipping the Clean-Up: Don’t leave the ceiling with holes, marks, or discoloration. Avoiding repairs and painting can lead to a shoddy appearance and possibly reduce the value of your property. Ensure you complete the project by cleaning, patching, and painting as needed.
By avoiding these missteps, you can successfully remove track lighting without any major issues or accidents.
What Can You Replace Track Lighting With?
If you have decided to remove your track lighting, several options for replacement can provide an updated look and improved functionality in your space. Here are a few ideas to consider:
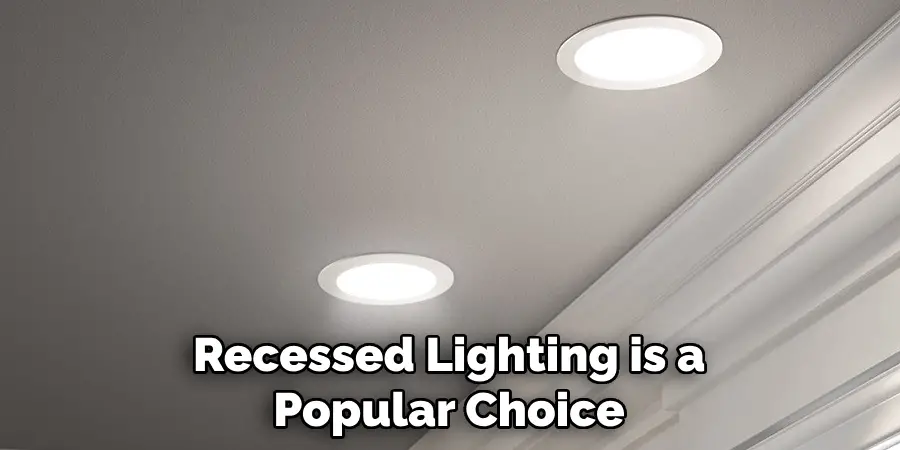
- Recessed Lighting: Recessed lighting is a popular choice for replacing track lighting, as it provides a clean and modern look. It also allows for more control over the direction of light, as individual fixtures can be adjusted.
- Pendant Lights: If you want to add a touch of style and personality to your space, consider replacing track lighting with pendant lights. These hanging fixtures come in a variety of designs and can provide focused task lighting or ambient illumination.
- Chandeliers: Chandeliers can be a great alternative to track lighting for a more dramatic statement. They come in various styles and sizes, making it easy to find one that fits your space.
- Wall Sconces: If you want to mix things up, consider installing wall sconces instead of track lighting. These fixtures can add a decorative touch while also providing directed light.
- Track Lighting Revamp: Keep in mind that you don’t necessarily have to altogether remove track lighting. You can also update the look by replacing the fixtures with newer, more modern ones or adding additional components, such as diffusers or shades, to change up the style.
Overall, there are many options for replacement when it comes to removing track lighting. Just be sure to choose a solution that fits your specific needs and complements the overall design aesthetic of your space.
Does Track Lighting Go Bad?
It is possible for track lighting to go bad over time, especially if it needs to be correctly maintained or installed. Some signs that your track lighting may need to be replaced include flickering lights, burnt out bulbs that cannot be replaced, or malfunctioning components such as the track itself or the electrical connections.
In addition, outdated and worn-out designs can make track lighting appear obsolete and out of place in a modern space. If your track lighting no longer provides the desired functionality or aesthetic, consider replacing it.
Keep Your Lighting in Good Condition:
To prevent your track lighting from going bad, there are a few maintenance tips to keep in mind:
- Regularly clean the fixtures and track to remove dust and debris affecting the lighting performance.
- Replace burnt out bulbs promptly to prevent strain on other components and maintain consistent lighting.
- Regularly check and tighten loose connections to ensure proper functioning and prevent potential hazards.
- Consider updating older track lighting with newer, more energy efficient options for better performance and cost savings.
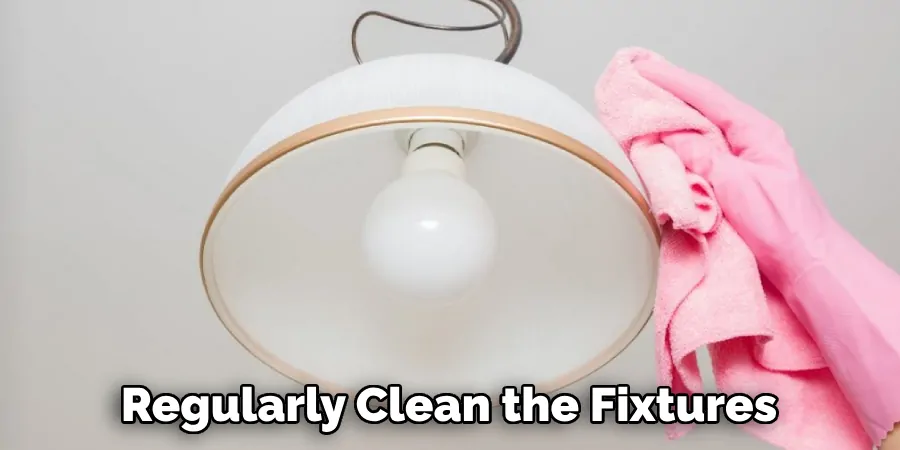
By following these tips, you can help prolong the lifespan of your track lighting and prevent it from going bad. But if you encounter issues, replace them with newer, more suitable options for your space.
Conclusion
How to remove track lighting can be a straightforward task if you approach it with preparation and caution. From ensuring electrical safety to performing the cleanup, each step you take should be deliberate and informed by best practices to avoid common pitfalls.
Whether you’re updating the fixtures for a fresh look or replacing the system altogether, the process offers an opportunity to enhance the functionality and aesthetics of your space. Always remember that safety is paramount, and consult a professional electrician when in doubt.
By following the guidelines outlined in this document, you are well-equipped to successfully handle the removal of your track lighting.

