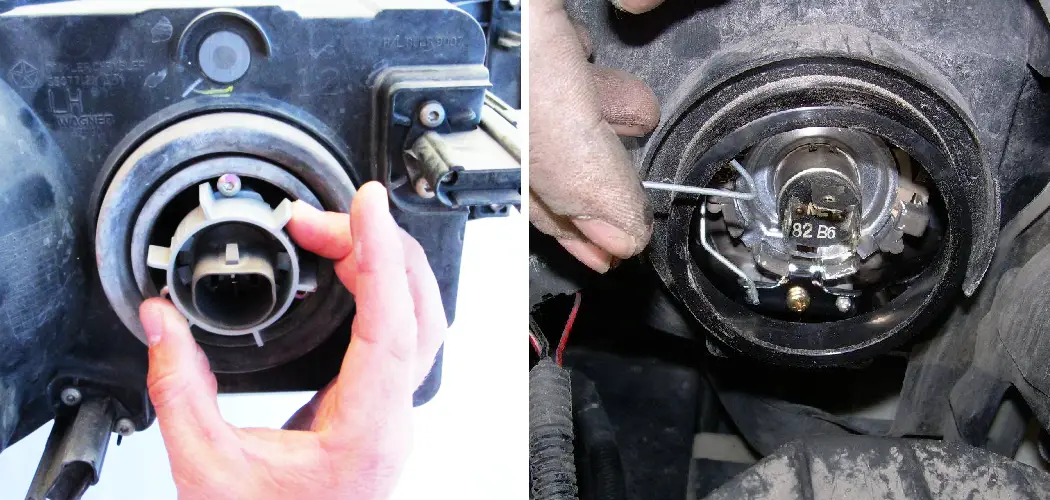
Are you having trouble with your car’s headlights? If you’ve ever found yourself in a situation where the headlight in your car has burned out and you are unable to remove the bulb from its socket, then you know how frustrating it can be. A common issue many car owners experience is a stuck headlight bulb in the socket, leading to dim or non-existent lighting.
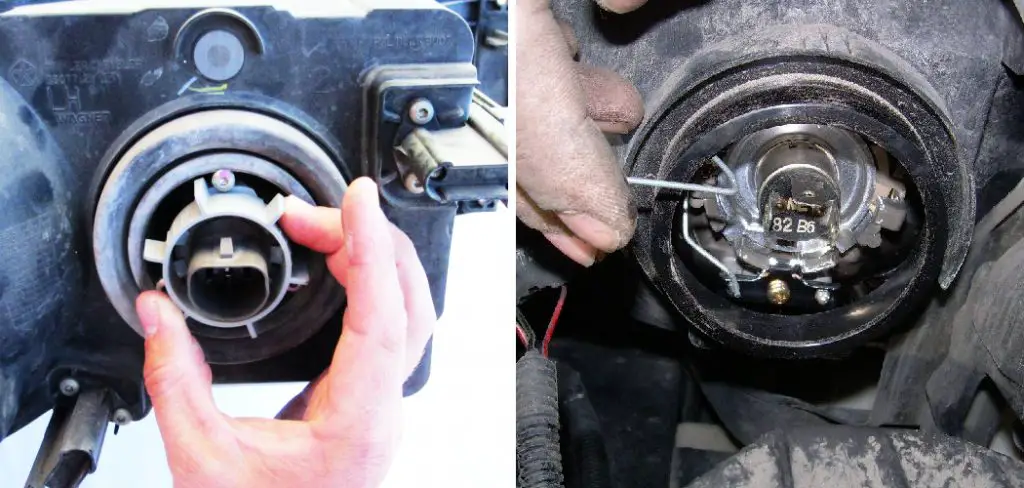
The good news is that with some basic knowledge and a few simple tools, removing stuck headlight bulbs is usually an easy task to accomplish. In this blog post, we will discuss the steps necessary to safely remove even a stubborn headlight bulb from its socket. Read on for more information about how to remove stuck headlight bulb from socket and fix that pesky problem once and for all!
Why Does Headlight Bulb Stuck in the Socket?
There are several potential causes for a headlight bulb to become stuck in the socket, such as dirt or corrosion. It is also possible for a bulb to seize due to aging, although this is not as common with today’s longer-lasting bulbs.
Regardless of the cause, you will need to properly remove the stuck headlight before you can install a new one. So, let’s get started on the process of removing a stuck headlight bulb from its socket.
Required Items
Before you get started, it is important to make sure that you have all the necessary items on hand. You will need the following:
- Screwdriver
- Gloves
- A piece of cloth or rag
- Pliers (if needed)
10 Instructions on How to Remove Stuck Headlight Bulb From Socket
1. Turn Off the Engine
Turn off the car’s engine and ensure that all lights, including the headlight in question, are turned off. It will also help to open the hood for easier accessibility. Also, make sure you are wearing gloves to protect your hands from the heat of the light bulb.
2. Disconnect the Power Source
Locate the power source that provides electricity to the headlight and disconnect it. In some cases, this will require removing a few screws before it can be accessed. While disconnecting the power source, make sure that no part of your body is in contact with any metal parts.

3. Gently Pry the Bulb Out
Take a cloth or rag and gently wrap it around the headlight bulb to protect it from scratches and damage. Then, use a flat-head screwdriver to carefully pry out the stuck bulb from the socket.
4. Clean Out the Socket and Bulb
Once the headlight bulb is removed, use a cloth to clean out any dirt or debris that may have accumulated in the socket over time. Do not insert anything sharp into the socket as this could cause damage. Then, wipe off the headlight bulb before putting it aside.
5. Check for Corrosion
If the socket appears to have any corrosion, you may need to use a wire brush or sandpaper to remove it from the surface. This will help ensure that your new headlight bulb is securely in place and functioning properly.
6. Re-Insert New Bulb
Once the socket has been properly cleaned and any corrosion is removed, you can insert a new headlight bulb into the socket. Make sure that the bulb is firmly in place before reconnecting the power source.
7. Reconnect Power Source & Test Bulb
Reconnect the power source to the headlight and turn on the engine to test the new bulb. If it is working properly, you have now successfully removed a stuck headlight bulb from the socket.
8. Replace the Dust Cover
It is important to replace any dust cover that was removed when disconnecting the power source. This will help protect the new headlight bulb from dirt and other debris in the future.
9. Securely Tighten Screws
Finally, check the screws to make sure they are firmly in place and securely tightened. This will ensure that your new headlight bulb is safe and secure for many years to come. The screwdriver can be used to do this.
10. Double-Check Your Work
Before closing up the hood, double-check all of the components and make sure everything is properly connected. This will help ensure that you did not miss any steps during the headlight bulb removal process.
And there you have it! You’ve now successfully removed a stuck headlight bulb from the socket and replaced it with a new one. Don’t forget to regularly inspect your headlight bulbs for any signs of damage or wear and tear. This will help ensure that your headlights are always in top condition and performing optimally on the roads.
8 Safety Measures to Take
1. Make sure that the engine of your car is off and the battery is disconnected before attempting to remove a stuck headlight bulb from its socket. Engine will be on or battery connected, electricity can be generated through the headlight assembly and cause a hazard.
2. To protect your eyes from dust and debris, wear safety glasses or goggles when working around the headlight assembly.
3. To protect your hands, wear a pair of rubber or latex gloves to prevent oil from the engine from coming in contact with your skin. It will also provide extra protection against sharp objects.
4. To prevent electric shocks, use an insulated screwdriver when working on the headlight assembly. The shocks could cause severe injuries. The injuries can range from mild shock to complete electrocution.
5. To protect the vehicle’s body, use an appropriate tool to remove the stuck headlight bulb from its socket. The wrong tool may damage the car’s body. The vehicle’s body may become scratched and dented and could require costly repairs.
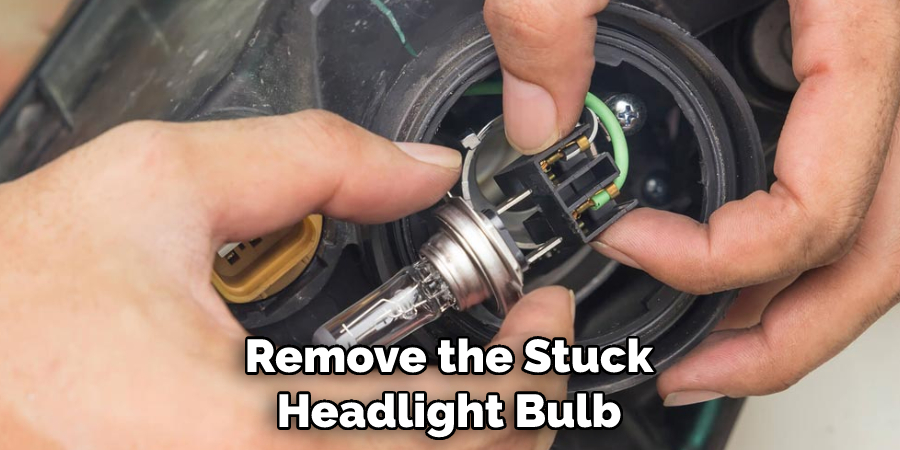
6. Make sure to disconnect the headlight wires from their power source before attempting to remove a stuck headlight bulb from its socket. This may help prevent electric shocks and reduce the risks of electrocution.
7. To spare yourself from any harm, keep all tools away from the headlight assembly when it is connected to a power source. The tools may become electrified and cause injury if they come in contact with the wires.
8. Don’t forget to wear protective gear such as gloves, goggles, and suitable clothes for complete safety when working on your car’s headlight assembly. This includes long-sleeve shirts, long pants, and closed-toe shoes. Doing so will help keep you safe from potential hazards.
Taking these safety precautions is important to prevent any harm and injury when attempting to remove a stuck headlight bulb from its socket. These steps will also ensure that the job is done correctly with minimum risk of damage to the car’s body.
Following these steps is essential for any repair work on a car, especially so when dealing with high-voltage components like headlights. Taking these extra precautions will help ensure that your car’s headlight assembly is removed properly and safely.
Frequently Asked Questions
How Long Will It Take to Finish the Project?
It depends on the complexity of the project and your level of experience. Generally, it can take anywhere from 30 minutes to an hour to remove a stuck headlight bulb from the socket. It will also take some additional time if you need to replace the bulb or clean the socket. Also, if you are experienced in auto repairs, the time may be shorter.
What Should I Do If the Bulb Is Seized?
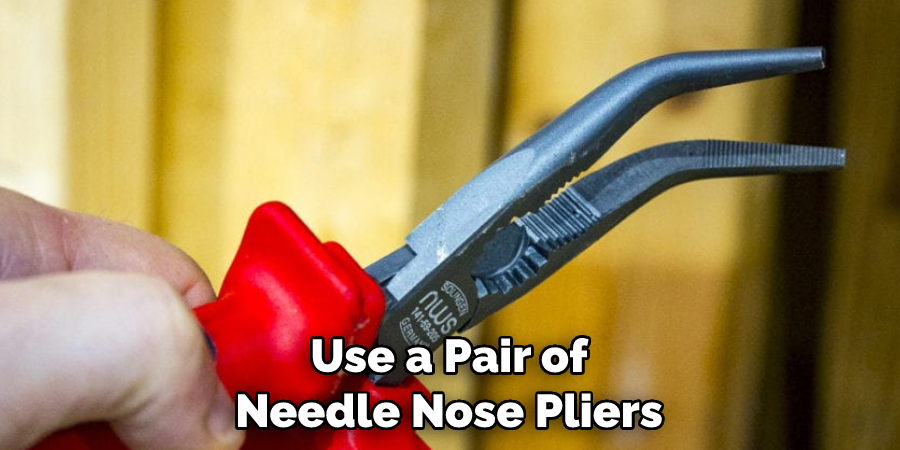
If the headlight bulb is seized in place, it is best to use some lubricant on the socket and then wiggle and twist the bulb gently until it starts to move. If that doesn’t work, then you may need to use a pair of needle nose pliers or a socket wrench. If all else fails, it may be necessary to replace the headlight bulb and socket entirely.
How Can I Avoid Damage to the Vehicle’s Body?
To avoid damage to the vehicle’s body, use an appropriate tool when removing a stuck headlight bulb from its socket. The wrong tool may damage the car’s body, resulting in scratches and dents that could require costly repairs. Additionally, make sure to protect the car’s body with a drop cloth or tarp before starting work on the headlight assembly. This will help keep dirt and debris from getting into the car’s engine.
Conclusion
Removing a stuck headlight bulb from the socket can be tricky, but with a few simple steps, you can do it like a pro! Take note that you should not use any metallic tools to avoid accidental short circuits. Instead, get as close as possible to the socket and wiggle out the bulb using plastic or rubber items. This should do the trick without causing further damage to your headlight bulb.
You should also take the time to inspect your bulbs on a regular basis and replace them when they show signs of wear and tear. Overall, it’s easier said than done, but taking preventative measures and having patience is essential in order to fix even the most difficult issues with ease.
So keep this guide on how to remove stuck headlight bulb from socket in mind and tackle any headlight bulb problems with confidence!

