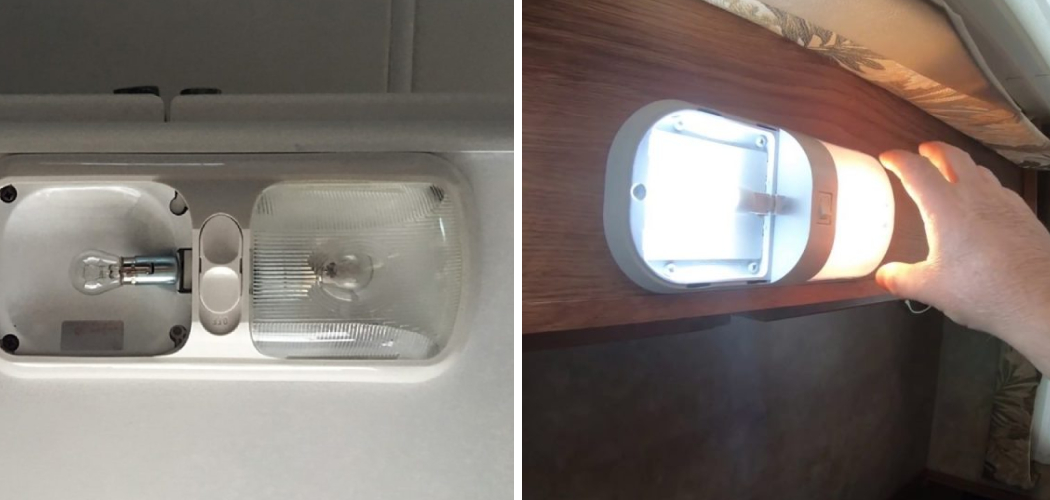
Are you tired of struggling to remove the puck light covers in your RV? Well, you’re not alone. Many RV owners struggle with this task, but fear not! This guide will show you how to remove rv interior puck light covers.
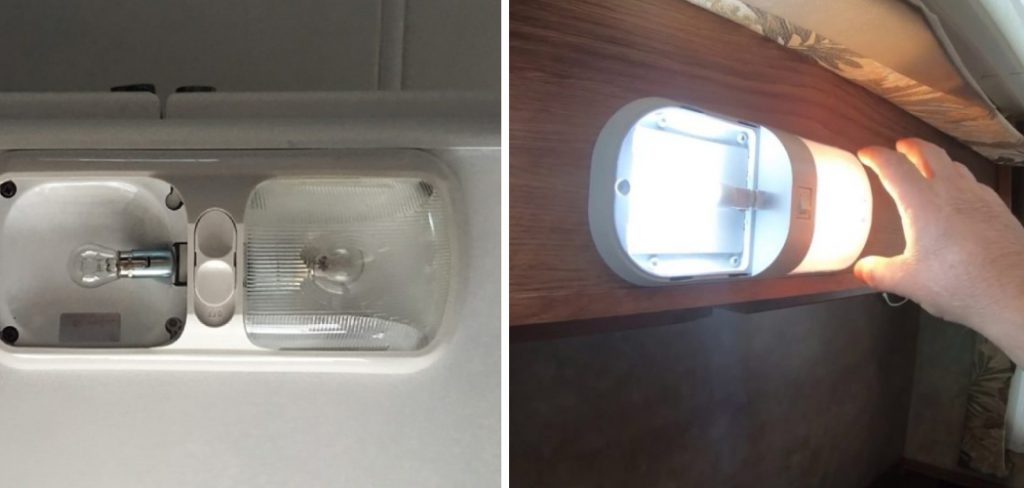
Living in a recreational vehicle offers a unique opportunity to experience life on the open road while also providing all the comforts of home. But, like any house, your RV’s interior will require regular upkeep and maintenance. One important task that needs to be done is removing and replacing puck lights – also known as dome lights – covers so you can access their bulbs for replacement or repair when they need it.
While this feat might seem daunting at first, we’ll walk you through the easy steps needed so you can make sure your RV’s lighting stays up-to-date without any hiccups.
What Will You Need?
Before we begin, make sure you have the following items on hand:
- A ladder or step stool (depending on the height of your RV)
- A screwdriver (flathead or Phillips head, depending on your light’s screws)
- A clean cloth or rag
- Optional: gloves (to protect your hands)
Once you have these items, you are ready to get started!
10 Easy Steps on How to Remove RV Interior Puck Light Covers
Step 1: Locate the Light Covers
First, you need to locate the puck lights in your RV. These are usually found on the ceiling and can be identified by their circular shape. If you need help finding them, turn on all the interior lights and look for any that are not illuminated.
Step 2: Ascend Safely
The puck lights are usually installed higher up, so you may require a ladder or step stool to reach them. Ensure your ladder or stool is secure and stable before climbing up. We recommend having another person present to hold the ladder or spot you as a safety precaution.
Once up there, use your clean cloth to gently wipe off any dust or dirt from the light cover before proceeding to the next step. This prevents any debris from falling into your eyes during the removal process.
Step 3: Unscrew the Light Cover
Most RV puck light covers are held in place by screws. Carefully use your screwdriver to unscrew these. Depending on the type of light cover, the screws may be located on the side or at the front.
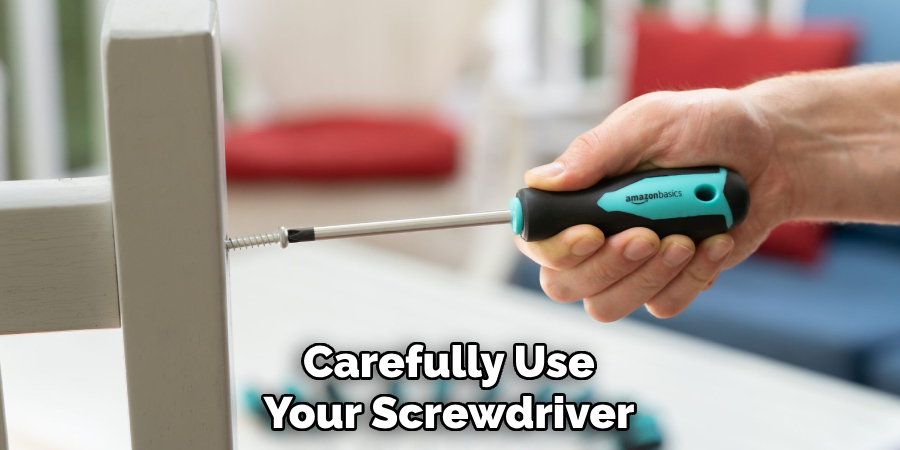
Always turn the screwdriver counterclockwise to unscrew. Make sure to keep all screws safe so they don’t get lost. If your light cover doesn’t have screws, it might be a snap-on cover. For these types, gently twist the cover counterclockwise until it comes loose.
Step 4: Remove the Light Cover
After you have unscrewed or loosened the light cover, it’s time to remove it. Gently grip the edges of the light cover with your hands. If you’re wearing gloves, this can help prevent any accidental scratches or damage to the cover. Once you have a firm grip, carefully lift or slide the cover off the light fixture.
Be sure to do this slowly to avoid damaging the bulb or fixture. If the cover is tight or stuck, try gently wiggling it back and forth until it comes loose. Remember, if you feel any resistance, do not force it. Instead, check again for any missed screws or clips that might still be holding the cover in place. Once the cover is off, place it safely to prevent it from getting lost or damaged.
Step 5: Inspect the Bulb
Now that the cover is off, take a moment to inspect the bulb and its fixture. This is a good opportunity to check for any damage, dirt, or signs of wear that might require attention. If the bulb looks dark or discolored, it may need replacing. If you notice any dirt, dust, or cobwebs, use your clean cloth to carefully wipe these away. Ensure the light is switched off before touching the bulb to avoid the risk of burns.
Step 6: Replace or Clean the Bulb
If the bulb is in good condition, you can simply clean it with a soft, dry cloth. If it needs replacing, first ensure the light is switched off, then gently twist the bulb counterclockwise to remove it from its socket. Once it’s out, take the bulb with you to a home improvement or RV supply store to ensure you get the correct replacement. Once you have the new bulb, screw it into the socket by twisting clockwise until it is secure.
Step 7: Reinstall the Light Cover
Now that your bulb is clean or replaced, it’s time to reinstall the light cover. Hold the cover in your hands and align it with the light fixture. Ensure the holes for the screws or the clips (if it’s a snap-on cover) align correctly. Gently place the cover back onto the light fixture.
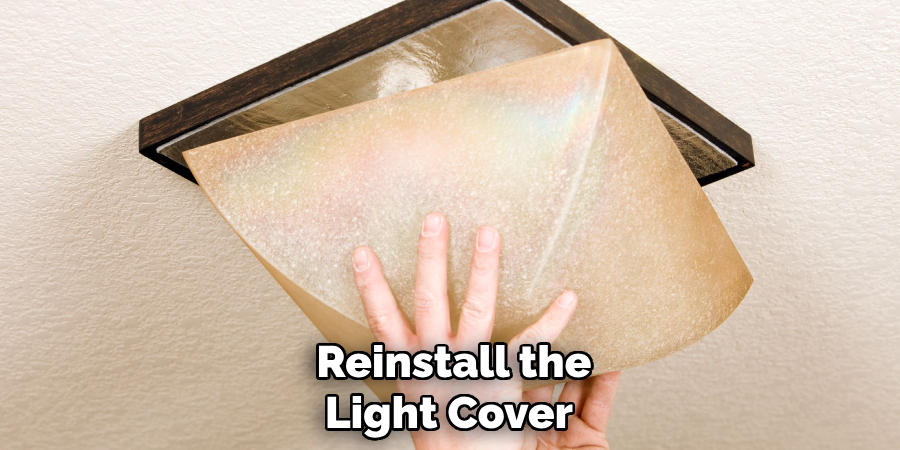
If your cover has screws, use your screwdriver to screw them back in place, turning clockwise this time. If it’s a snap-on cover, gently twist the cover clockwise until it securely snaps back into place. As always, do not force it. If the cover is not fitting easily, check to ensure it’s correctly aligned.
Step 8: Test the Light
Once the light cover is securely back in place, it’s time to test the light. Turn the switch on to illuminate the bulb. You should see a clear, bright light if the bulb is functioning correctly.
If the light is dim or fails to turn on, you might have a faulty bulb or a problem with your RV’s electrical system. In such cases, it might be best to consult with a professional. If everything looks good, congratulations! You’ve successfully removed and reinstalled your RV interior puck light cover.
Step 9: Cleanup and Storage
After testing the light, it’s time to clean up and put your tools away. Collect all unused or old bulbs, screws, or other small parts and dispose of them properly. Do not leave them in your RV as they could become a safety hazard while driving. Wipe down your ladder or step stool before storing it away. Remember to store your tools in a safe and easily accessible place for the next time you need them.
Step 10: Regular Maintenance
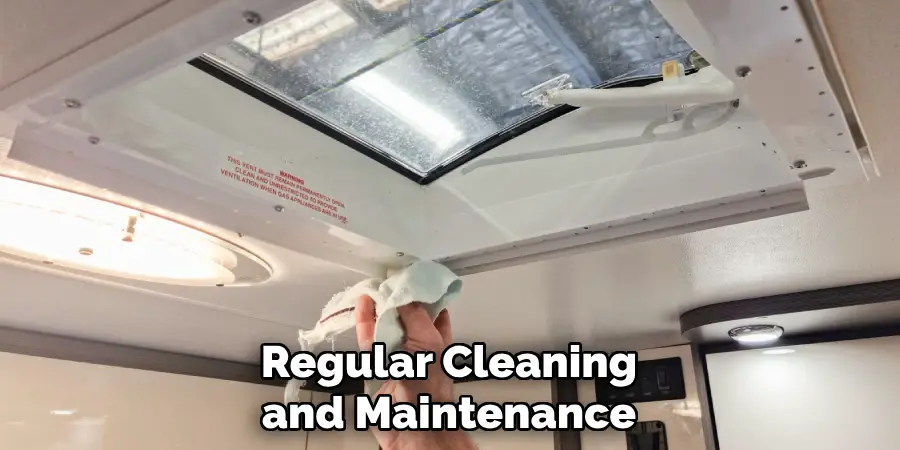
Regular maintenance is key to ensuring the longevity of your RV interior puck lights. Make it a habit to inspect the bulbs and covers during your routine RV checks. This allows you to spot any potential issues early and address them promptly, preventing more severe problems down the line. Regular cleaning of the covers will also help to maintain the quality of light and overall ambiance of your RV interior.
By following these steps, you can confidently remove and reinstall your RV interior puck light covers whenever needed. Remember always to prioritize safety and have the necessary tools on hand before starting any maintenance tasks.
5 Additional Tips and Tricks
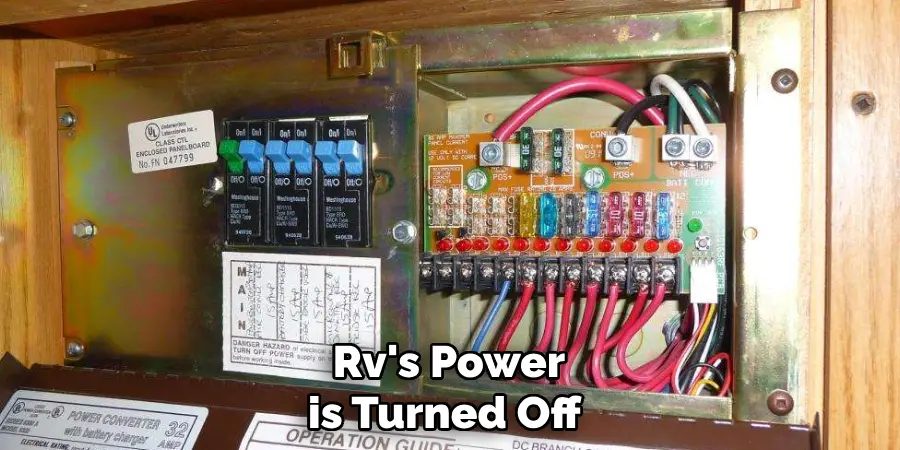
- Turn Off the Power: Ensure the RV’s power is turned off before starting. This is a basic safety measure that can prevent possible electrical shock.
- Use a Flathead Screwdriver: To remove the light cover, gently insert a flathead screwdriver between the soft cover and the base. Carefully pry the cover off, but do not scratch or damage the surrounding areas.
- Handle with Care: The covers of RV interior puck lights can be fragile. Handle them with care to avoid cracking or breaking them during removal.
- Clean Regularly: Regular cleaning can prevent the build-up of dust and grime that can make removal harder in the future. A simple wipe-down with a clean cloth can suffice.
- Replace if Necessary: If the light cover is cracked, faded, or discolored, consider replacing it for optimal lighting in your RV. Always check the model or size of your existing light before purchasing a new one to ensure a perfect fit.
Once you’ve successfully removed the RV interior puck light covers, cleaning and maintaining them regularly is a good idea to prolong their lifespan and keep your RV looking bright and well-lit.
5 Things You Should Avoid
- Avoid Using Excessive Force: Avoid applying too much pressure when removing the light cover, as this could lead to damage. Use a gentle prying motion and gradually work your way around the cover.
- Don’t Neglect Maintenance: Ignoring regular cleaning and maintenance of your RV interior puck light covers can lead to grime buildup, making them difficult to remove in the future.
- Don’t Ignore Cracks or Damage: If you notice any cracks or damage on the light cover during removal, don’t ignore it. It’s best to replace damaged covers to prevent further issues.
- Avoid Using the Wrong Tools: Using tools other than a flathead screwdriver can lead to damage. Avoid sharp or overly large tools that scratch or break the light cover.
- Don’t Rush the Process: Removing the light cover is delicate. Rushing it can lead to mistakes and potential damage. Take your time and move delicately to remove the light covers successfully.
By avoiding these common mistakes, you can safely and efficiently remove the RV interior puck light covers without causing any damage or issues.
Conclusion
To conclude, now that you know how to remove rv interior puck light covers, the next step is to take action and upgrade or replace them. You’ll be impressed at the big difference a simple change can make in updating the look of your RV! Additionally, remember safety first when dealing with electricity.
Ensure you properly cut off the power before beginning any repairs or replacements. If you feel overwhelmed or need more clarification about completing this task, contact a professional for assistance. Whether you choose to do it yourself or hire help, swapping out those old lights will give your RV a beautiful new shine – possibly even giving back some of her lost glory.
So don’t wait any longer; remove those puck light covers today and enjoy the newfound aesthetics of your recreational vehicle!

