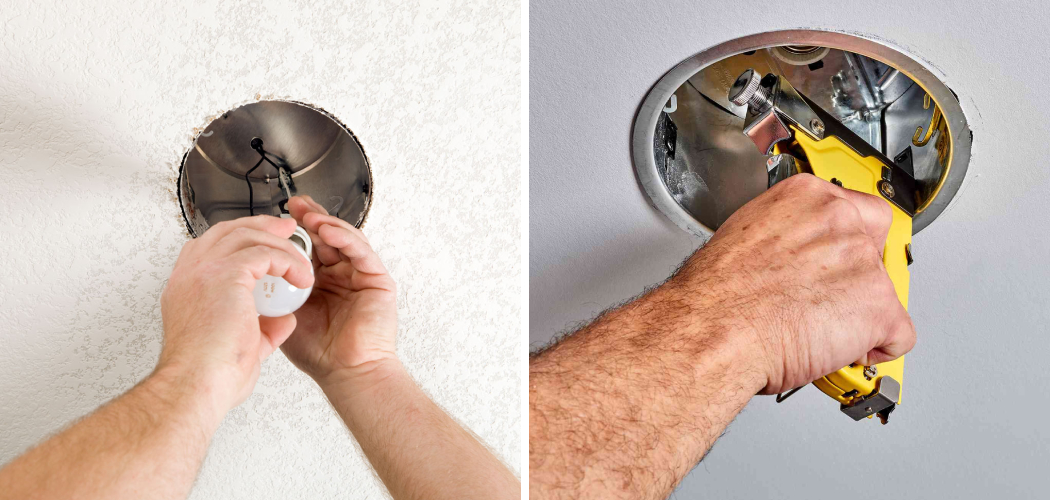
Removing recessed lighting housing can be a daunting task for many homeowners, but it’s a necessary skill to have when it comes to maintenance, upgrades, or changing the style of your lighting fixtures. Recessed lighting not only provides a clean and modern look but also offers effective illumination in various spaces.
However, when it’s time to replace a bulb, upgrade to energy-efficient LED lights, or address any electrical issues, know how to remove recessed lighting housing.
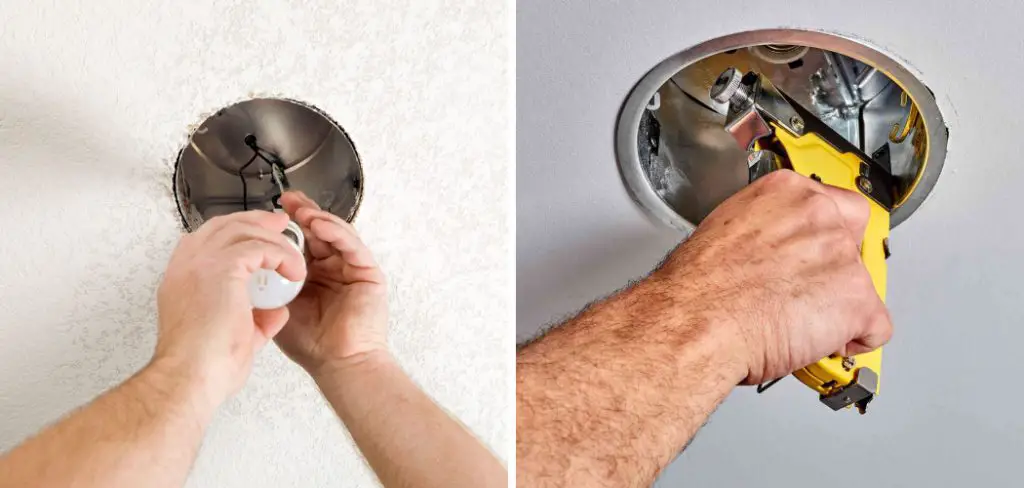
In this article, we will guide you through the steps and techniques to safely and efficiently remove recessed lighting housing.
Whether you’re a seasoned DIY enthusiast or a novice looking to take on a home improvement project, our comprehensive instructions and tips will help you tackle this task with confidence, ensuring that your lighting fixtures are not only functional but also aesthetically pleasing.
What is Recessed Lighting Housing?
Recessed lighting housing is a type of lighting fixture that is installed in the ceiling or wall. It is typically used to provide general illumination or accent lighting in areas such as kitchens, bathrooms, and living rooms. The housing unit contains the electrical components needed to connect the light fixture to an external power source.
When recessed lighting needs to be removed or replaced, the housing needs to be taken down or disassembled. This is a fairly straightforward process and can be done with minimal tools. In some cases, it may require cutting away part of the ceiling or wall around the fixture in order to gain access.
When removing recessed light housing from the ceiling, you should first shut off power at the circuit breaker box so that you can work safely. Next, locate the junction box in the ceiling and unscrew the face plate to access the wiring. You will need to disconnect all of the wiring from the fixture before proceeding.
Once all of the wiring is disconnected, you can remove the mounting screws that hold the housing to the ceiling joists. Carefully pull down the assembly and remove it from the ceiling.
Now that the housing is removed, you can safely discard it and begin installing the replacement fixture. When choosing a replacement recessed light housing, make sure that it is compatible with your existing wiring setup. This ensures that all of the connections will be secure and reliable. Additionally, check to see if the manufacturer recommends any additional insulation or ventilation in the ceiling.
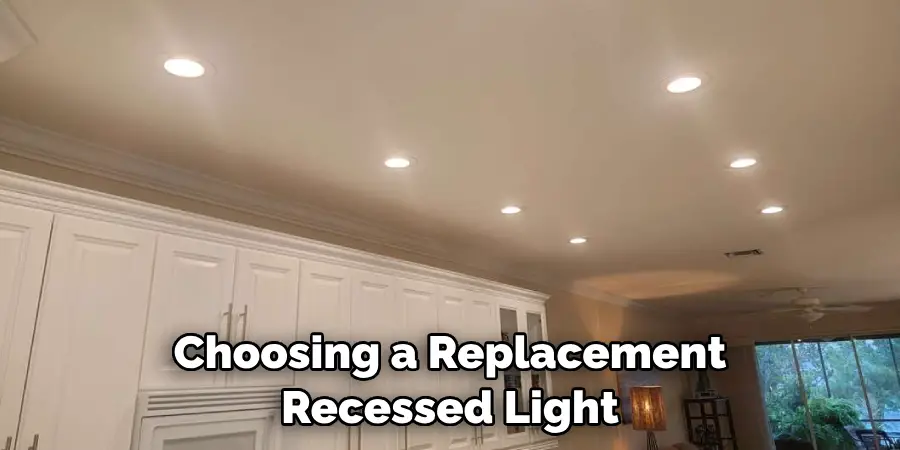
Reasons for Removing Recessed Lighting Housing
There are many reasons why you may need to remove a recessed lighting housing. Perhaps the light is no longer working and needs to be replaced, or you want to upgrade to a newer model that’s more energy efficient.
It could also be that you’re remodeling your home and need to install larger fixtures in place of the existing ones. Whatever the reason, removing recessed lighting housing safely requires a few steps.
Before you begin, make sure to shut off power to the light at your electrical panel and cover any exposed wires with electrical tape. This is done for safety reasons as you’ll be working directly with electricity.
Next, use a screwdriver to remove the screws that attach the trim ring to the ceiling. Depending on how old your fixture is, it may have clips instead of screws. If that’s the case, use a flathead screwdriver to gently pry them open and then remove them from the housing.
Once you have removed all screws or clips, carefully remove the trim ring from around the fixture. This will expose the recessed light housing. If you’re replacing the trim ring with a new one, make sure to buy one that fits the existing cutout in your ceiling.
Next, use a screwdriver or an adjustable wrench to loosen and remove the screws that secure the light fixture to the housing. Once these are removed, carefully pull down on the fixture until it’s free from the housing.
10 Steps How to Remove Recessed Lighting Housing
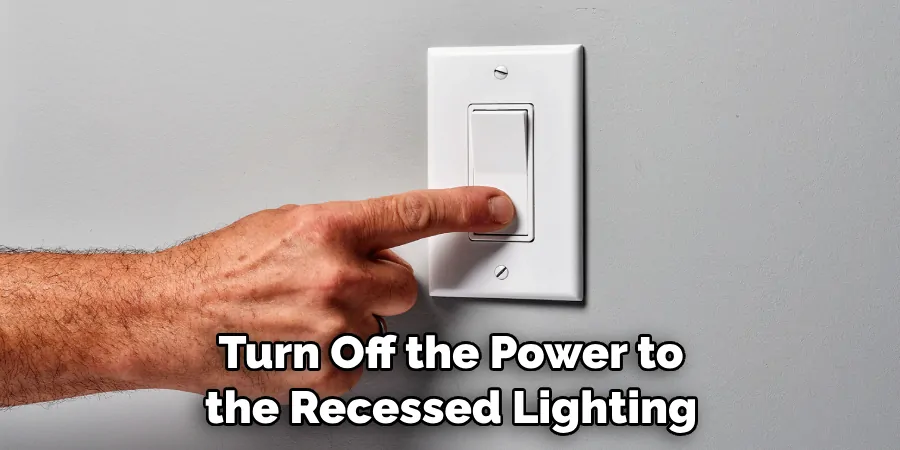
1. Turn Off the Power:
Before beginning any electrical work, it is important to turn off the power to the recessed lighting housing. This can be done by turning off the breaker switch in your home’s circuit breaker box.
2. Remove Trim:
Once the power has been turned off, you will need to remove the trim from around the recessed lighting housing. This can be done by unscrewing the screws that hold it in place and gently pulling it away from the ceiling. Be sure to set aside all screws and other hardware for re-installation later.
3. Disconnect Wiring:
The next step is to disconnect any wiring connected to the recessed lighting housing. This includes removing any wire nuts and disconnecting any wires from their terminals on the light fixture itself. Be sure to label each wire before disconnecting them so you know which one goes where when you are ready to re-install them later on.
4. Remove Light Bulb:
Once all of the wiring has been disconnected, you will need to remove any light bulbs that may be present in order to gain access to the mounting bracket for removal. To do this, simply twist it counterclockwise until it comes loose from its socket and then set aside for safekeeping until after the installation is complete.
5. Remove Mounting Bracket:
Now that all of the necessary components have been removed, you can begin removing the mounting bracket from the inside of the recessed lighting housing itself. To do this, locate and loosen any screws or bolts that are holding it in place and then pull it out of its hole in order to access the housing cavity itself.
6. Clean Out Housing Cavity:
After removing all of these components, you will need to clean out any debris or dust that may have accumulated within the housing cavity itself over time with a vacuum cleaner or damp cloth before proceeding further with installation steps if desired or needed due to age or condition of existing unit(s).
7. Install New Recessed Lighting Housing:
After cleaning out all debris and dust, you can now install your new recessed lighting housing by carefully placing it into position within its hole and securing it with appropriate hardware, such as screws or bolts, depending on your particular model type being installed at this time (consult manufacturer instructions).
8. Connect Wiring:
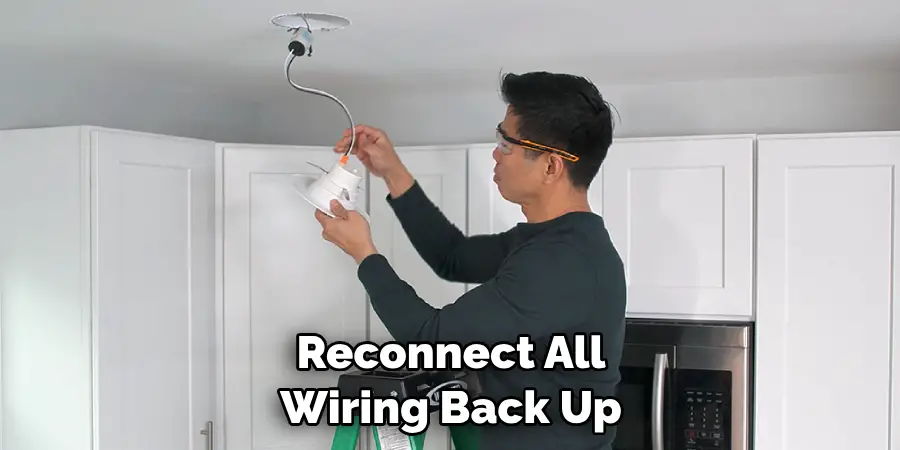
Once your new recessed lighting housing is securely installed in place, you can now reconnect all wiring back up using appropriate wire nuts (or other connectors) as necessary while also ensuring proper polarity is maintained throughout each connection made during this process (consult manufacturer instructions).
9. Replace Light Bulb & Trim:
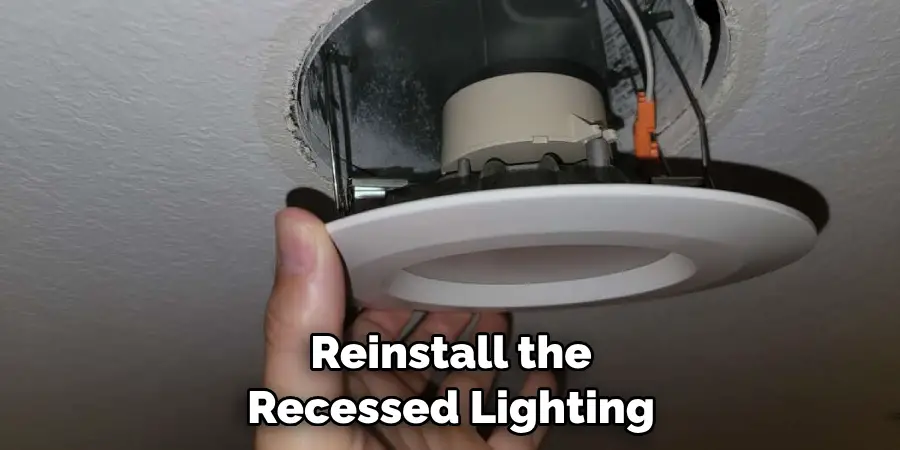
After completing all wiring connections successfully, replace the light bulb(s) into their respective sockets, followed by reinstalling trim around the edges of the unit as originally done prior for a finished look once again at this stage in the installation process if applicable per specific model type being used currently (consult manufacturer instructions).
10 .Turn On Power & Test Lights:
Finally, turn the power back on at the circuit breaker panel followed by testing lights for proper operation before officially declaring the job complete at this point if successful upon initial inspection/testing phase conducted just now (if not successful consult manufacturer troubleshooting guide first before proceeding further).
Things to Consider When Removing Recessed Lighting Housing
- Make sure to turn off the power source before beginning any work. It is important to be safe and not risk electrocution or starting a fire.
- Try using a ladder if the recessed lighting housing is located in an area that is too high for you to reach comfortably. Always make sure to secure the ladder in place so it does not slip and cause any accidents.
- Wear protective gear such as goggles and gloves to protect yourself from any dust or debris that can be stirred up during the removal process.
- If there are any wires connected to the recessed lighting housing, make sure to check what type of wiring it is before disconnecting it. Different types of wiring require different methods for disconnection.
- Make sure to store the removed pieces in a safe and secure location so that you can easily find them when attempting to reinstall the recessed lighting housing.
- If there are any parts of the recessed lighting housing that have chips or cracks, it is best to replace those components before installation.
Conclusion
In conclusion, learning how to remove recessed light housing is not difficult. With a few simple steps and the right tools, you can successfully remove your existing fixture and replace it with a fresh, new one.
As you work on changing out your old lighting fixtures for the new ones, keep in mind that safety should always be your top concern. Make sure that you shut off power before starting any electrical work and ensure that all wiring is properly installed.
After ensuring these safety measures are in place, tackle the project with confidence! And if at any point you feel uncomfortable or unsure about how to proceed with how to remove recessed lighting housing, don’t hesitate to get help from an electrician or handyman who can help guide you through the process. Good luck and have fun adding a touch of modern illumination into your home!

