Are you considering changing out your existing LED lights in your home but worried about the damage it may cause to your painted walls? Removing LED lighting from an area can be a tedious process if not done properly, so it’s essential to know how to accomplish this without damaging or peeling paint. In this blog post, we’ll discuss the steps on how to remove led lights without peeling paint and the materials needed to safely remove LED lights.
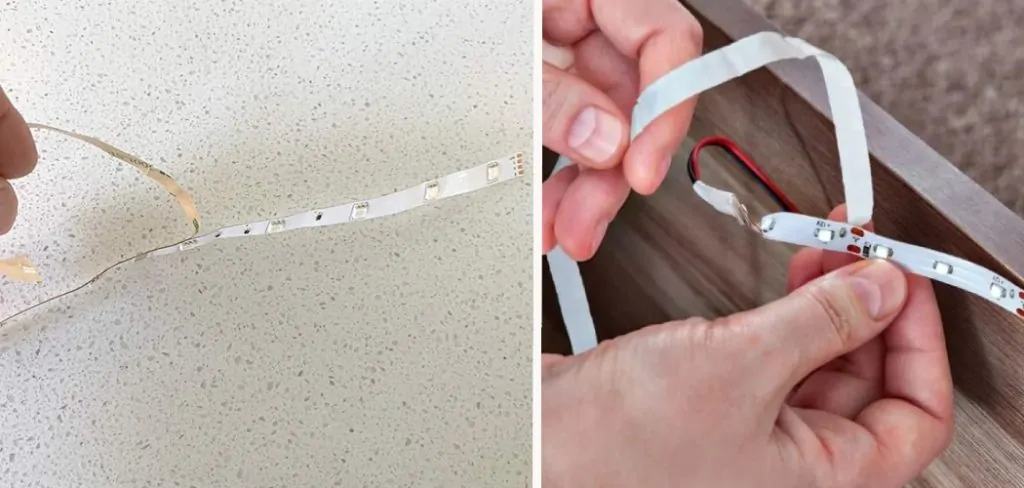
With a few simple tools and safety precautions, you can avoid disaster when trying to take down these powerful light fixtures! Read on for more information on how you can successfully remove LED lights with no harm coming to your interior walls or décor!
Does Led Strip Lights Peel off Paint?
No, led strip lights do not typically peel off paint. Led strip lights have an adhesive backing that can be applied to most surfaces without causing damage. This means that they are safe to use on walls and other painted surfaces without fear of it peeling away the paint or leaving behind any residue.
Additionally, since led strip lights require very little energy, they won’t cause any additional heat buildup, which could potentially damage or discolor the surface. So if you’re looking for a reliable and efficient way to light up your home without having to worry about peeling paint, then led strip lighting is a perfect choice!
Aside from using adhesive to attach led strips, there are also several methods for removing them without peeling paint. These include using a razor blade or fine-grit sandpaper to carefully scrape away the strips and adhesive, as well as using commercial products designed specifically for removing led strip lights without damaging the surface underneath. If you’re unsure which method is right for your situation, it’s best to consult with a professional who can advise you on the best course of action.
No matter what technique you choose, it’s important to exercise caution when handling led strip lights so that you don’t accidentally damage any surrounding surfaces in the process. With proper care and attention, you should have no problem safely removing led strip lights without peeling paint!
9 Effective Methods How to Remove Led Lights without Peeling Paint
1. Use a Hairdryer
One of the easiest ways to remove LED lights without peeling paint is to use a hairdryer. Begin by setting the hairdryer on a medium heat setting and aiming it directly at the LED lights. Heat up the adhesive for about 10 seconds until it becomes soft and pliable.
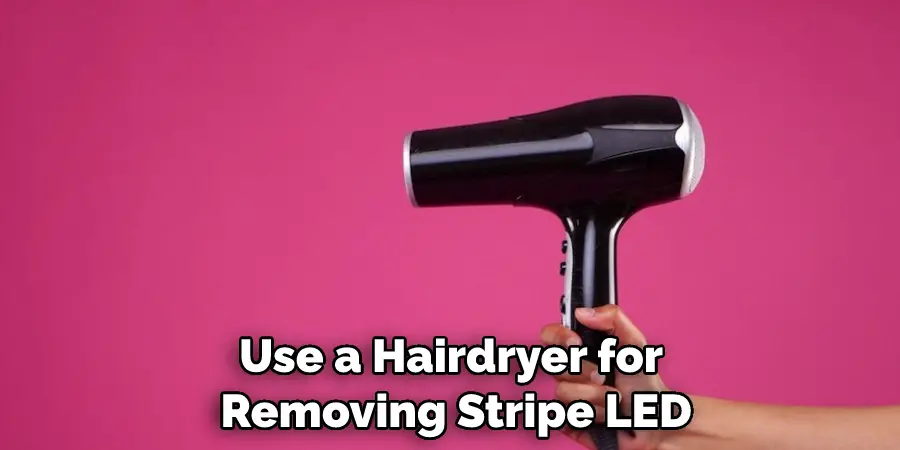
While the adhesive is still warm, gently pull the LED lights away from the surface. To make sure the adhesive does not stick back to the surface, use a putty knife or other scraping tool. Continue heating and gently pulling until the LED lights are removed.
2. Use a Heat Gun
If you have a heat gun, you can use it to remove LED lights without damaging the paint. Heat guns are used to melt plastic and other materials, so they can be very effective in loosening the adhesive bond between the LED lights and the paint. When using a heat gun, it’s important to keep the flame moving so that you don’t damage the paint.
Move the heat gun back and forth over the LED lights in a circular motion until the adhesive bond weakens. Once this happens, you should be able to easily remove the LED lights from the surface. If you’re not sure how to use a heat gun, consult the manufacturer’s instructions for safe operation.
3. Use Boiling Water
Another method that you can try is to boil some water and then pour it over the light. The heat can help loosen the bond between the light and the paint. Make sure to use a pot that is large enough for the bulb and that only enough water is used to cover the light. Do not submerge the light in the boiling water, as this could cause a fire or electric shock.
Allow the light to sit in hot water for a few minutes before attempting to remove it. Use caution when doing this procedure, as boiling water can cause serious burns. Once the bulb has been allowed to cool, it should be much easier to remove without any damage to the paint.
4. Use a Putty Knife
If the previous methods don’t work, you can try using a putty knife to remove the light. Putty knives are sharp tools that can be used to gently scrape away the light from the surface. Make sure you use a wide, flat putty knife, as this will give you more control and reduce the chances of accidentally peeling off any paint from the surface.
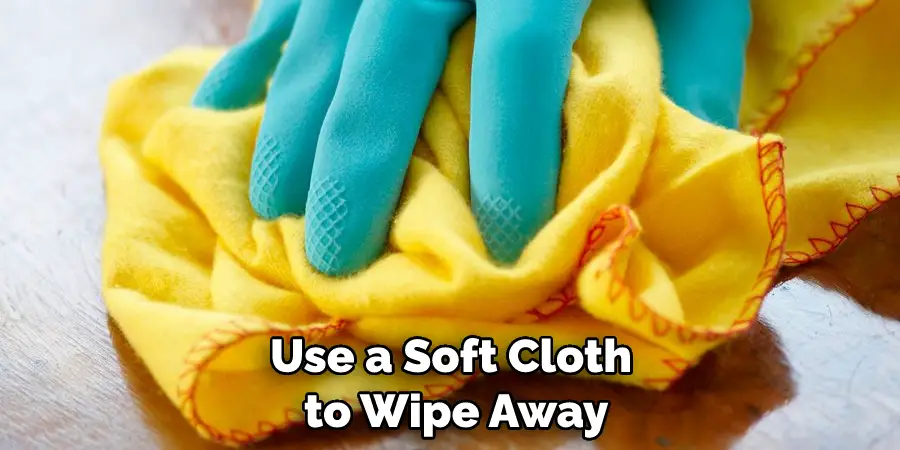
Scrape away at the light, being careful to not apply too much pressure. When the light is fully removed, use a soft cloth to wipe away any residue or debris that may have been left behind.
5. Use Dental Floss
Dental floss can also be used to remove LED lights without damaging the paint. Run the floss between the body of the LED light and the painted surface. Move it back and forth gently until the adhesive has been weakened enough to remove the light. A paper clip or thin wire can also be used in place of dental floss.
Be sure to use a material that won’t damage the paint, as too much pressure can peel the finish. If necessary, use a blow dryer to heat up the adhesive before removal. This will make it easier to remove the light without damaging the paint. Once the LED lights have been removed, use a warm soapy water solution to wipe away any remaining adhesive. Allow the area to dry before applying a new LED light.
6. Use WD-40
WD-40 is another product that can be used to remove LED lights without damaging the paint. To use WD-40 to remove LED lights, spray a generous amount of the product onto the lights and wait for several minutes until it soaks in.
Then, use a cloth to gently scrub the lights in a circular motion until the LED light comes off the surface. Once you’ve removed the LED light, wipe down the area with a damp cloth to remove any excess residue.
Make sure to wear protective gloves and eye protection when handling WD-40. While WD-40 is a safe and effective way to remove LED lights, it may not work for all types of paint. It’s best to test the product on a small inconspicuous area first before using it over the entire surface.

7. Use Goo Gone
Goo Gone is a product that is specifically designed to remove adhesive residue. It is a great choice for removing led lights, as it does not damage the paint underneath. Apply a small amount of Goo Gone to a cloth and gently rub the adhesive until it loosens from the wall. Be sure to clean off any residue afterward with warm soapy water, and then allow the area to fully dry before hanging new lights.
For particularly stubborn adhesives, you may need to use a stiff-bristled brush or putty knife in conjunction with Goo Gone. Again, be sure to clean off any residue afterward to prevent damage to the wall. Following these steps should ensure that removing led lights doesn’t cause any harm to your walls!
8. Use Nail Polish Remover
Nail polish remover can also be used to remove LED lights without damaging the paint. Simply apply the nail polish remover to a cotton swab and rub it onto the LED light. This will break down the adhesive holding it in place and allow you to easily peel it off without damaging the paint.
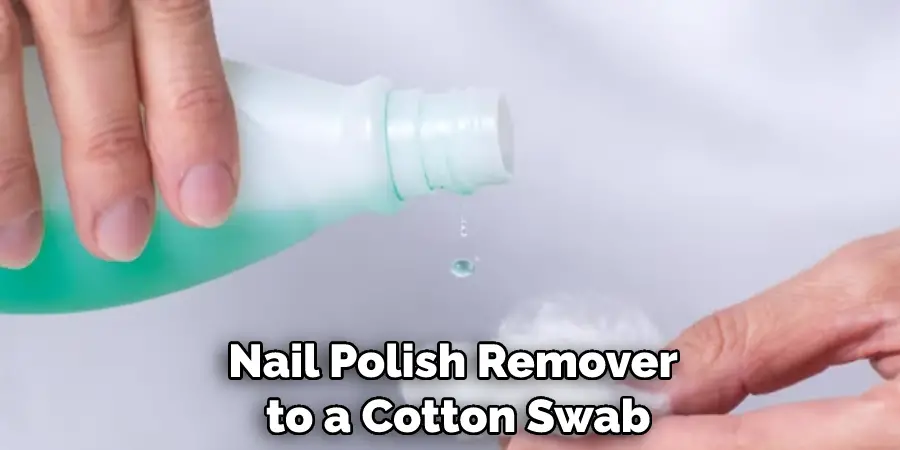
Be sure to thoroughly cleanse the area of nail polish remover residue afterward with water and soap, as this could damage the paint if left on for too long. After the LED light has been removed, you will be able to use new lights with a fresh adhesive strip.
9. Use Rubbing Alcohol
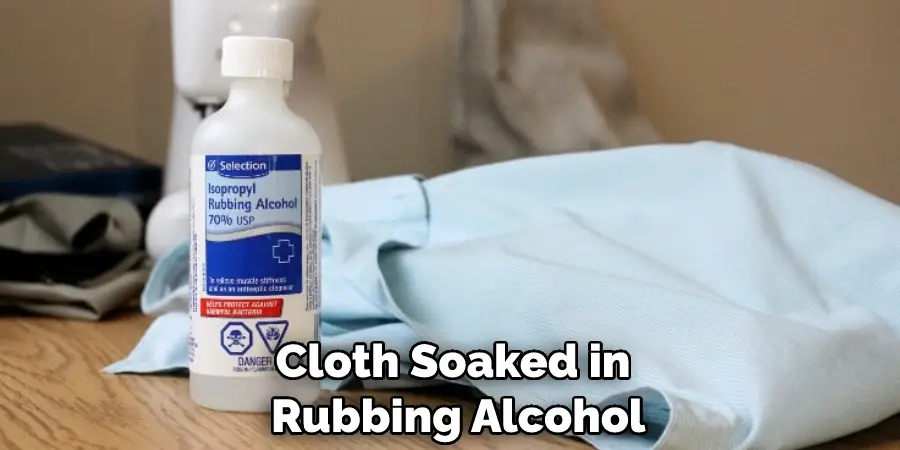
Rubbing alcohol can also be used to remove LED lights without damaging paintwork. Start by blotting the area with a soft cloth soaked in rubbing alcohol. You may need to apply gentle pressure or rub lightly to help remove the residue from the LED light.
Once all of the residues have been removed, rinse any remaining rubbing alcohol off of the surface with clean water and dry thoroughly before applying a fresh coat of paint. When using rubbing alcohol, make sure to wear protective gloves and safety glasses.
Things to Consider When Removing Led Lights without Peeling Paint
When removing LED lights without peeling paint, it is important to take certain things into consideration.
1. Protect Your Painted Surfaces:
When removing LEDs, make sure to lay down cloth or a barrier of some kind between the light and the painted surface. This will help prevent any scraping or peeling of the paint, as well as minimize any accidental damage to the surface.
2. Prepare the Area:
Make sure that you have all of the necessary tools and supplies on hand before beginning. This will save time and make it easier to get your project done quickly and correctly. Also, ensure that the area is well-ventilated and that you are wearing protective clothing and eyewear.
3. Know Your Light Fixture:
Before attempting to remove an LED light, take a look at the type of fixture it is connected to. This will help you determine what kind of tools and techniques will be necessary for removal. Some fixtures may require special tools or techniques, so make sure you are familiar with the type of light fixture before beginning.
By following these tips and taking the necessary precautions, you can successfully remove LED lights without damaging your painted surfaces in the process. With a little bit of preparation and patience, you can easily complete this task on your own without the help of a professional. Good luck!
Can Led Light Damage Paint?
Yes, LED lights can potentially damage paint. The type of paint and the material of the underlying surface are important factors to consider when installing LED lights near painted surfaces. When mounting a fixture to any painted surface, there is a risk that over time, vibration or temperature changes could cause chipping or cracking to occur in the paint. Additionally, the adhesive used to mount LED fixtures may cause discoloration, fading or peeling of the paint depending on its composition. Therefore, it is important to take precautions when installing LED lights near painted surfaces.
It is best to choose mounting hardware that will distribute weight evenly, such as screws with washers and anchors. If possible, use non-metallic mounting hardware to reduce corrosion and rusting. Additionally, use a silicone-based adhesive sealant around the mount points to provide additional protection against moisture and heat transfer from the fixture.
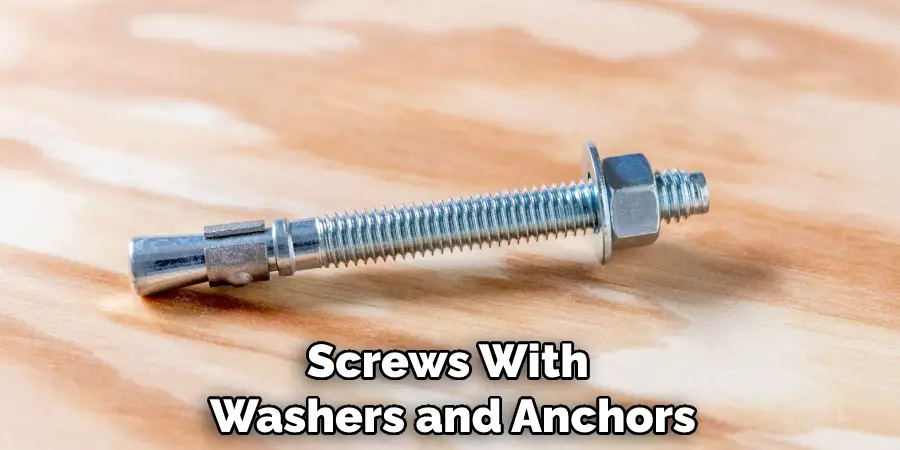
When removing LED lights that have been installed near painted surfaces, it is important to take extra precautions to avoid causing damage or stripping paint from walls or other surfaces. When unscrewing the lights, use a soft cloth under the head of the screw to avoid scratching or prying the paint away.
Conclusion
Well, there you have it – a complete guide to safely removing wall-mounted LED lights without peeling the paint. The important thing for those taking on such a task is being patient and careful when following these steps.
As long as all the safety protocols are followed, and the tools used for removal are appropriate for the job, then nothing should stand in your way of getting the job done safely. A little extra effort has its rewards; you’ll not only be saving precious time but also keeping your walls intact with no damage caused by incorrect or careless removal techniques.
So why not take some time to test out our recommendations and see how handy having safe LED light removal tips can be? How to Remove Led Lights without Peeling Paint – get going!

