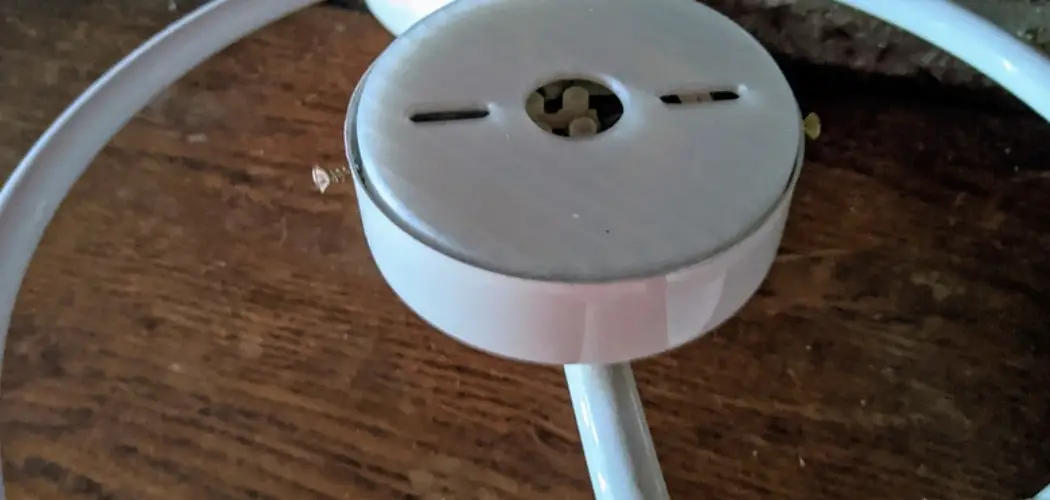
Removing a ceiling junction box may seem like a daunting task, but with the right guidance, it can be a manageable DIY project. Whether you’re updating your lighting fixtures, making repairs, or renovating your space, understanding how to safely and effectively remove a ceiling junction box is crucial. These boxes serve as the connection point for electrical wiring in your ceiling, so proper removal is essential to ensure safety and compliance with electrical codes.
In this comprehensive guide, we’ll walk you through the step-by-step process of how to remove ceiling junction box, covering everything from assessing the type of box you have to disconnecting the wiring and safely removing the box itself. By the end of this article, you’ll have the knowledge and confidence to tackle this task with ease, allowing you to proceed with your home improvement projects smoothly and securely.
Understanding Ceiling Junction Boxes
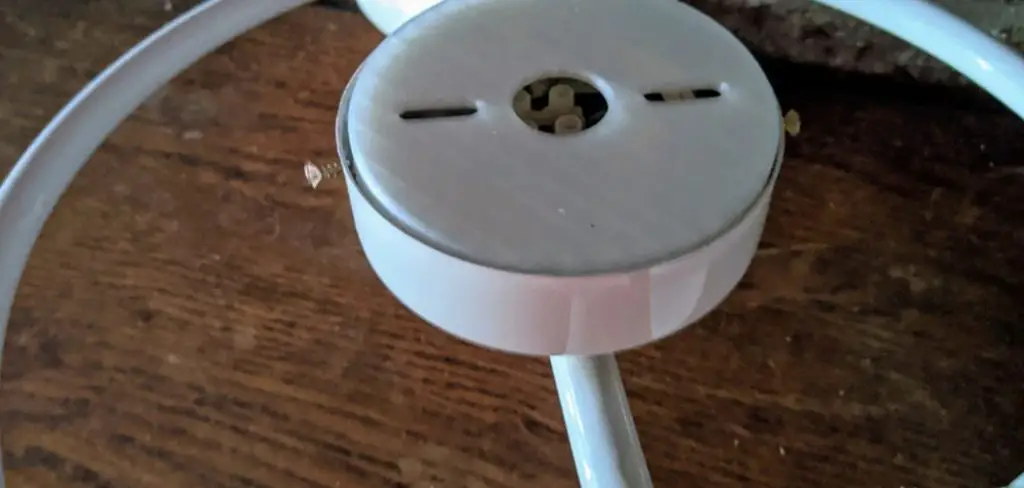
Before you venture into removing a ceiling junction box, it’s important to understand what these devices are and the crucial role they play in your home’s electrical system. Ceiling junction boxes, often simply referred to as electrical boxes, are protective enclosures that house the connections of electrical wires. These boxes can be found not only in ceilings but also in walls and floors, serving as a safe node for wiring intersections, light fixtures, and other electrical devices.
There are several types of ceiling junction boxes, each designed for specific applications and load capacities. They vary in shapes and sizes, with the most common being round, octagonal, or square. The choice of a junction box depends on its intended use, whether for supporting a ceiling fan, anchoring a heavy light fixture, or simply connecting wires. Understanding the specific type of junction box you are dealing with is essential for both compliance with electrical codes and ensuring the safety and efficiency of your electrical system.
What Is a Ceiling Junction Box
A ceiling junction box is a fundamental component in a home’s electrical system, designed to securely contain and protect the connections of various electrical wires. Mounted within walls, ceilings, or sometimes floors, these boxes act as a central hub for electrical wiring, ensuring safe and organized distribution of power throughout the property. They are made from durable materials such as metal or hard plastic, providing a fire-resistant barrier to prevent electrical fires.
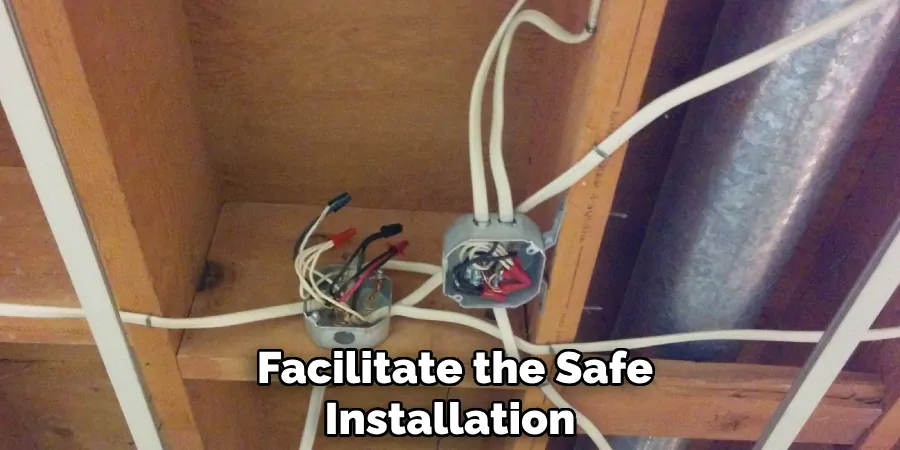
Ceiling junction boxes also facilitate the safe installation of lighting fixtures, ceiling fans, and other electrical devices by offering a solid anchor point. Additionally, these boxes are pivotal in maintaining the integrity of a building’s electrical system, adhering to safety standards and electrical codes. The correct selection and installation of a ceiling junction box are crucial for preventing circuit overload, electrical shocks, and fire hazards, promoting a safe environment in residential or commercial spaces.
Common Types of Ceiling Junction Boxes
When planning to remove a ceiling junction box, recognizing the specific type you’re dealing with is crucial for ensuring the appropriate removal method and for future installations. Below are some of the most common types of ceiling junction boxes found in homes:
- Standard Round or Octagonal Boxes: These are typically used for light fixtures and are among the most common. They can support relatively light fixtures and are available in various sizes to accommodate different wiring configurations.
- Fan-Rated Boxes: Specifically designed to support the weight and movement of ceiling fans, these boxes are reinforced to handle heavier loads. They are essential for safety and compliance when installing a ceiling fan.
- Pancake Boxes: These are shallow boxes used when there is limited space between the ceiling and the material above it, such as in a renovation. Despite their slim profile, they can securely hold light fixtures.
- Bar Hanger Boxes: These boxes are affixed to an adjustable bar or braces that can span across ceiling joists, allowing for flexible placement away from a joist. They are useful in situations where the electrical box needs to be centered in a specific location.
- New-Construction Boxes: Designed to be installed in open spaces before the ceiling is closed up, usually attached directly to ceiling joists or framing members. They offer robust support for various fixtures and are hidden once the ceiling is finished.
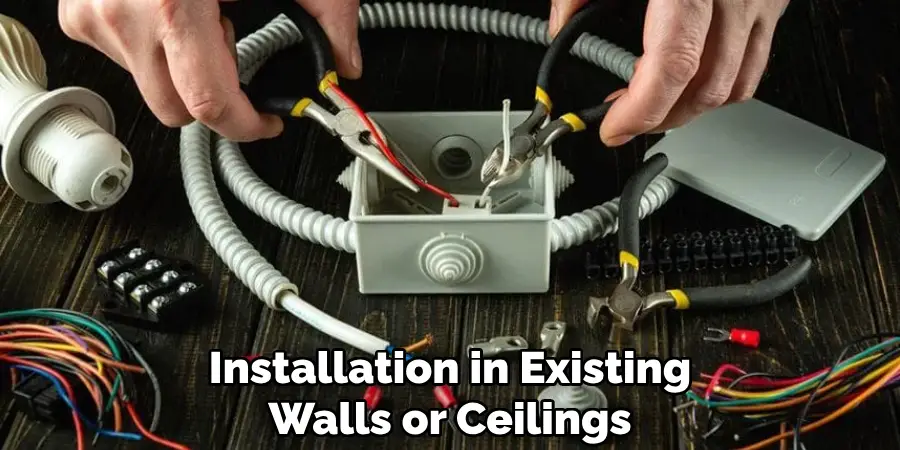
- Old-Work Boxes: Also known as retrofit boxes, these are intended for installation in existing walls or ceilings. They feature clamps or wings that secure the box to the surface without needing access to the framing members, making them ideal for renovation or upgrade projects.
Identifying the type of junction box you have is the first step towards a successful removal. Each type has its unique installation nuances and may require specific tools and approaches for safe and efficient removal.
Typical Uses for Ceiling Junction Boxes
Ceiling junction boxes serve a multitude of purposes in both residential and commercial settings, emphasizing their versatility and importance in electrical installations. Below are some of the typical uses for ceiling junction boxes:
- Lighting Fixtures: One of the most common applications is to house the electrical connections for ceiling-mounted lighting fixtures, such as chandeliers, pendant lights, or recessed lights. The box provides a secure anchor for the fixture and protects the wire connections.
- Ceiling Fans: Ceiling junction boxes that are rated for fans are designed to support the weight and dynamic loads of ceiling fans. These specialized boxes ensure that the fan is securely mounted to prevent wobbling or falling, posing a risk to safety.
- Smoke Detectors: In many modern homes, smoke detectors are wired directly into the home’s electrical system and often mounted on the ceiling. A junction box provides a safe and secure connection point for the smoke detector’s wiring.
- Home Security Cameras: For those installing wired home security systems, ceiling junction boxes offer an inconspicuous and secure way to manage the connections and wiring for ceiling-mounted cameras.
- Speakers: In home theater systems or whole-house audio systems, ceiling junction boxes can be used to neatly and safely house the wiring connections for ceiling-mounted speakers, ensuring an organized and aesthetically pleasing setup.
- Emergency Lights: In commercial buildings, ceiling junction boxes are often used to install emergency lighting systems. These systems need to be reliably powered and securely mounted, making a properly installed junction box essential.
By understanding the typical uses of ceiling junction boxes, homeowners and professionals alike can ensure that their electrical systems are both safe and functional, catering to the various needs of a modern property.

Reasons for Removing Ceiling Junction Boxes
There are several reasons why one might need to remove a ceiling junction box. Some of the most common motivations include:
- Upgrading Electrical Systems: As technology advances, so too does the demand for modern electrical systems in homes and businesses. Removing old junction boxes can be a necessary step in updating wiring to accommodate new technologies, enhance capacity, or improve safety standards.
- Remodeling and Renovation: Structural changes or aesthetic updates in a property may require the removal of ceiling junction boxes. Whether it’s changing the layout of a room, raising ceiling heights, or installing new types of lighting fixtures, remodeling efforts can necessitate the removal and relocation of these boxes.
- Repairing Damage: Water leaks, pest infestations, or accidental physical damage can compromise the integrity of a ceiling junction box. In such cases, removal is essential for repairing or replacing the damaged box to ensure the electrical system’s safety and functionality.
- Compliance with Electrical Codes: Building codes and electrical standards evolve over time. What was once considered safe and compliant may no longer meet current safety requirements. Removing outdated or non-compliant junction boxes is crucial for adhering to these codes, thereby avoiding potential legal and safety issues.
- Improving Home Aesthetics: The presence of unused or unsightly junction boxes can detract from a home’s overall appearance. For aesthetic improvement, homeowners may choose to remove these elements, especially in cases where fixtures are being eliminated or the design theme of a room is changing.
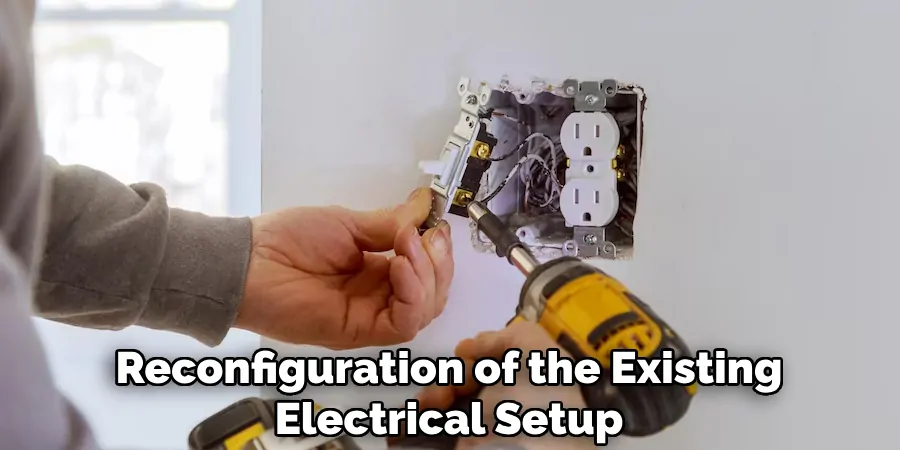
- Converting or Repurposing Spaces: Changing the purpose of a room might require different electrical needs, leading to the removal of existing junction boxes. For instance, converting a bedroom into an office might necessitate different lighting options or the addition of more power outlets, requiring a reconfiguration of the existing electrical setup.
Understanding the reasons for removing ceiling junction boxes can help property owners make informed decisions about their electrical systems and ensure that any changes are made safely and effectively, meeting both their needs and regulatory standards.
10 Methods How to Remove Ceiling Junction Box
Method 1: Turn Off Power Supply and Assess Safety Precautions
Before attempting to remove a ceiling junction box, ensure safety by turning off the power supply to the circuit. Locate the circuit breaker corresponding to the junction box and switch it off. Use a voltage tester to verify that the power is indeed off before proceeding. Additionally, wear appropriate safety gear, including gloves and safety goggles, to protect against electrical hazards and falling debris.
Method 2: Gather Necessary Tools and Equipment
To effectively remove a ceiling junction box, gather the necessary tools and equipment beforehand. This may include a screwdriver (Phillips or flat-head), wire strippers, wire nuts, pliers, a utility knife, and a ladder or step stool to access the ceiling safely. Having the right tools on hand will streamline the removal process and ensure that you can address any unexpected challenges that may arise.
Method 3: Disconnect Electrical Connections
Once safety precautions are in place and you have the required tools, begin by disconnecting the electrical connections inside the junction box. Carefully remove the cover plate or fixture attached to the junction box to access the wiring connections. Use wire nuts to disconnect the wires, ensuring that each wire is properly labeled for reconnection later. Take note of the wiring configuration to facilitate reinstallation or troubleshooting.
Method 4: Loosen and Remove Mounting Screws or Bolts
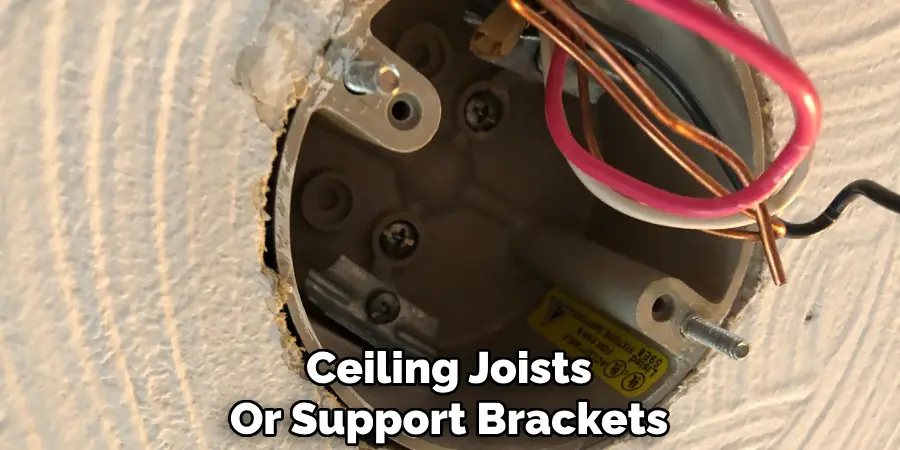
With the electrical connections disconnected, proceed to loosen and remove the mounting screws or bolts securing the junction box to the ceiling. Depending on the type of junction box and installation method, you may encounter screws or bolts securing the box to the ceiling joists or support brackets. Use a screwdriver or wrench as needed to remove these fasteners, taking care not to damage the surrounding ceiling materials.
Method 5: Detach the Junction Box from the Ceiling
Once the mounting screws or bolts are removed, carefully detach the junction box from the ceiling. Depending on the construction and attachment method, you may need to gently pry the box away from the ceiling using a flat-head screwdriver or pull it down by hand. Exercise caution to avoid damaging the ceiling or surrounding fixtures during this step. If the junction box is sealed or glued to the ceiling, take extra care to avoid causing unnecessary damage.
Method 6: Inspect Wiring and Address Any Issues
With the junction box removed, take the opportunity to inspect the wiring for any signs of damage, wear, or improper connections. Look for frayed wires, loose connections, or evidence of overheating, which may indicate underlying issues that need to be addressed. If necessary, make repairs or replacements to ensure the safety and functionality of the electrical system before proceeding with further installation or maintenance tasks.
Method 7: Dispose of the Junction Box Properly
Once the junction box is removed and any necessary repairs or replacements are completed, dispose of the junction box properly. If the box is in good condition and reusable, consider keeping it for future projects or donate it to a local hardware reuse center. If the box is damaged or no longer needed, dispose of it according to local regulations and guidelines for electronic waste recycling.
Method 8: Patch and Repair Ceiling as Needed
After removing the junction box, assess the condition of the ceiling and surrounding area. If any damage or holes were created during the removal process, take the necessary steps to patch and repair the ceiling. Use drywall patching compound or ceiling texture to fill in any holes or gaps, and sand the area smooth once the patching material has dried. Repaint the ceiling as needed to blend the repaired area with the surrounding surface.
Method 9: Plan for Reinstallation or Replacement
If you removed the junction box as part of a renovation or fixture upgrade project, plan for its reinstallation or replacement as needed. Determine the appropriate location for the new junction box based on the wiring layout and fixture requirements. Ensure that the new junction box is compatible with the electrical system and meets building code requirements for the intended application.
Method 10: Seek Professional Assistance if Needed
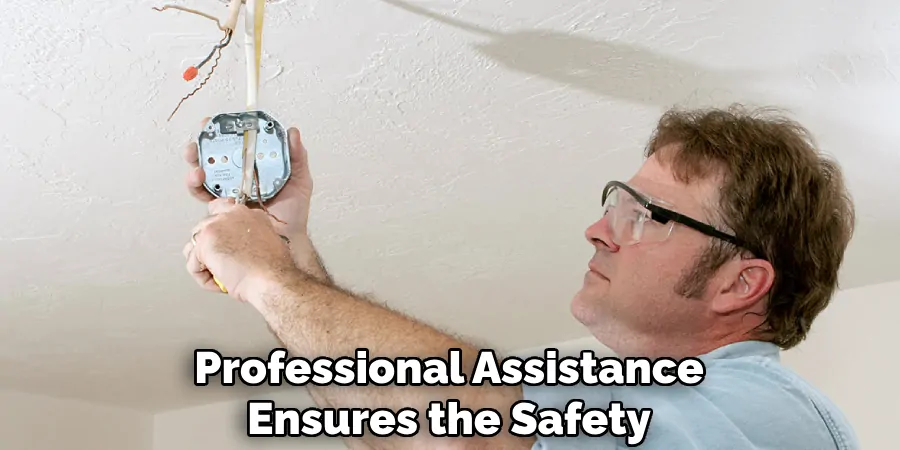
While removing a ceiling junction box is a manageable task for many DIY enthusiasts, certain situations may warrant professional assistance. If you encounter unexpected complications, are unsure about the wiring or electrical connections, or feel uncomfortable with the removal process, don’t hesitate to seek help from a qualified electrician. Professional assistance ensures the safety and integrity of your electrical system and provides peace of mind during complex projects.
Tips for Success and Safety
When undertaking the removal of a ceiling junction box, adhering to safety measures and best practices ensures a successful and safe project completion. Here are essential tips to consider:
- Double-Check Power Off: Always verify multiple times that the power is completely turned off at the breaker before starting your work. It’s better to be overly cautious than to face electrical hazards.
- Wear Personal Protective Equipment (PPE): Apart from gloves and safety goggles, consider wearing a hard hat if you’re working under a potentially unstable ceiling or near heavy fixtures.
- Keep a Clean Work Area: Minimize the risk of accidents by keeping your work area free of clutter. Ensure ladders are stable and tools are not scattered around to prevent tripping hazards.
- Use Quality Tools: Employing the right, high-quality tools not only makes the job easier but also safer. Faulty or incorrect tools can lead to accidents or damage to the electrical system.
- Label Everything: Before disconnecting any wires, label them thoroughly. This not only aids in the reconnection process but also helps anyone who might work on the electrical system in the future.
- Take Photos for Reference: Before removing anything, take detailed photos of the wiring and connections. These images can serve as a valuable reference during reinstallation or troubleshooting.
- Consult Building Codes: Ensure your plans align with local building codes and regulations. Adherence to these standards is crucial for safety and may impact future renovations or the sale of your property.
Conclusion
Successfully removing a ceiling junction box requires attention to detail and a cautious approach to electrical work. By following the steps outlined in this guide, you’ve equipped yourself with the knowledge and skills necessary to tackle this task confidently.
Remember, safety should always be your top priority when working with electrical systems, so never hesitate to seek professional assistance if you’re unsure. With the junction box removed, you now have the freedom to proceed with your lighting fixture installation, repairs, or renovations, knowing that you’ve completed this crucial step correctly. Thanks for reading, and we hope this has given you some inspiration on how to remove ceiling junction box!

