Dealing with a stuck recessed light bulb can be one of the most frustrating home maintenance challenges. Whether it’s seized in the socket due to heat, corrosion, or overtightening, knowing how to remove a recessed light bulb that is stuck can save you time, money, and prevent damage to your ceiling fixture. This common household problem affects millions of homeowners, especially in older homes where bulbs have been in place for extended periods.

The good news is that most stuck recessed bulbs can be safely removed using the right techniques and tools. You don’t need to call an electrician or replace the entire fixture. With patience and proper safety precautions, you can tackle this problem yourself and restore proper lighting to your home. This comprehensive guide provides proven methods that work for different types of stuck bulbs, from standard incandescent to modern LED fixtures.
Why Removing Stuck Recessed Light Bulbs Matters
Stuck recessed light bulbs present more than just an inconvenience—they can create safety hazards and energy inefficiencies that impact your daily life. When a bulb becomes seized in its socket, homeowners often resort to excessive force, which can damage the fixture housing, crack the bulb, or even cause electrical shorts that require expensive repairs.
From a safety perspective, leaving burned-out stuck bulbs in place reduces overall room illumination, creating potential hazards in high-traffic areas like kitchens, hallways, and staircases. Poor lighting increases the risk of accidents and makes daily tasks more difficult and dangerous, particularly for elderly family members or those with vision challenges.
Energy efficiency also becomes a concern when stuck bulbs prevent you from upgrading to modern LED alternatives. Today’s LED recessed bulbs use up to 80% less energy than traditional incandescent options while lasting 25 times longer. The inability to replace old, inefficient bulbs due to stuck sockets translates directly into higher electricity bills and missed opportunities for environmental conservation.
Additionally, property value considerations make bulb replacement important. Functioning lights are basic expectations during home inspections, and non-working fixtures can raise red flags about overall maintenance quality. Learning proper removal techniques ensures your home’s lighting system remains in optimal condition.
9 Step-by-Step Guide: How to Remove a Recessed Light Bulb That Is Stuck
Step 1: Turn Off Power and Allow Cooling Time
Safety must be your first priority when dealing with any electrical fixture. Locate the circuit breaker that controls your recessed lights and switch it to the off position. If you’re unsure which breaker controls the lights, turn off the wall switch and test the fixture with a non-contact voltage tester to ensure no power is flowing through the system.
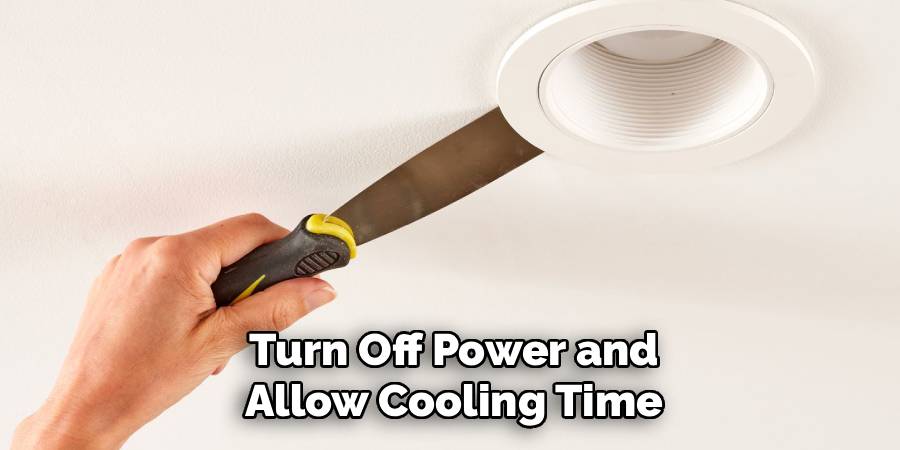
Allow the stuck bulb to cool completely before attempting removal. Hot bulbs can cause severe burns and are more likely to shatter during removal attempts. Most bulbs need at least 15-30 minutes to reach a safe temperature, depending on how long they were operating. Use this waiting period to gather your tools and plan your approach for the removal process.
Step 2: Assess the Bulb Type and Condition
Examine the stuck bulb carefully to determine its type and condition before selecting your removal method. Different bulb styles require different approaches—standard screw-in bulbs, twist-lock GU10 bulbs, and pin-base options each have unique removal techniques. Look for visible cracks, loose glass, or signs that the bulb might break during removal attempts.
Take note of how much of the bulb protrudes from the fixture housing, as this determines which tools will be most effective. If the bulb sits flush with the housing or recedes into it, you’ll need specialized tools like suction cups or socket grips. Document the bulb’s wattage and type so you can purchase an appropriate replacement before completing the removal process.
Step 3: Try the Basic Hand Removal Technique
Begin with the simplest approach by attempting to remove the bulb by hand. Put on rubber gloves for better grip and protection, then grasp the bulb firmly and turn counterclockwise for standard screw-in types. Apply steady, even pressure without forcing the bulb, as excessive pressure can cause it to shatter in your hand.
For twist-lock bulbs, press gently inward while turning counterclockwise about a quarter turn. If you feel any movement, continue slowly until the bulb releases. Sometimes stuck bulbs just need a bit more force than usual, but stop immediately if you encounter significant resistance. The hand method works for about 30% of stuck bulb situations, making it worth attempting before moving to more complex solutions.
Step 4: Apply the Rubber Glove Grip Method
When basic hand removal fails, rubber dishwashing gloves can provide the extra grip needed to remove stubborn bulbs. Clean, dry rubber gloves create excellent friction against smooth glass surfaces, allowing you to apply more torque without slipping. This method works particularly well for bulbs that are stuck due to heat expansion or minor corrosion.
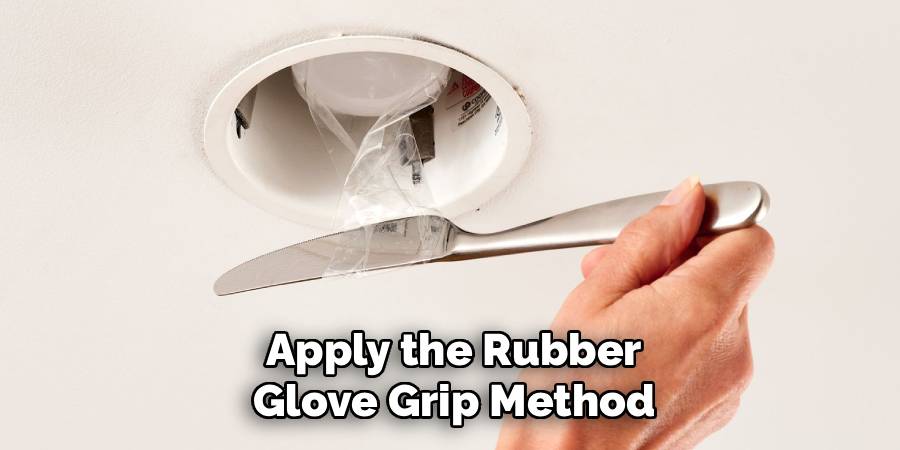
Put on thick rubber gloves and firmly grasp the bulb with both hands if space allows. Turn slowly and steadily counterclockwise, maintaining consistent pressure throughout the rotation. The key is patience—rushed attempts often result in broken bulbs and potentially dangerous situations. If the glove method doesn’t work within two or three attempts, move to specialized tools rather than risking injury.
Step 5: Use a Suction Cup Tool for Flush-Mounted Bulbs
Suction cup tools are invaluable for removing stuck recessed bulbs that sit flush with or below the fixture housing surface. These specialized tools create a secure grip on smooth glass surfaces, allowing you to apply rotational force without direct hand contact. Purchase a heavy-duty suction cup designed for glass handling, not lightweight versions intended for other uses.
Press the suction cup firmly against the center of the bulb face, ensuring a complete seal around the edges. Test the grip by gently pulling before attempting rotation. Once secure, apply steady counterclockwise pressure while maintaining the suction seal. This method works especially well for LED retrofit bulbs and other modern fixtures designed to sit flush with ceiling surfaces for a clean appearance.
Step 6: Try the Socket Grip Plier Technique
Socket grip pliers provide another excellent option for stuck bulbs that resist other removal methods. These specialized pliers have rubber-lined jaws that grip cylindrical objects without crushing them. Choose pliers with smooth, non-serrated jaws to avoid creating pressure points that could crack the bulb glass during removal attempts.
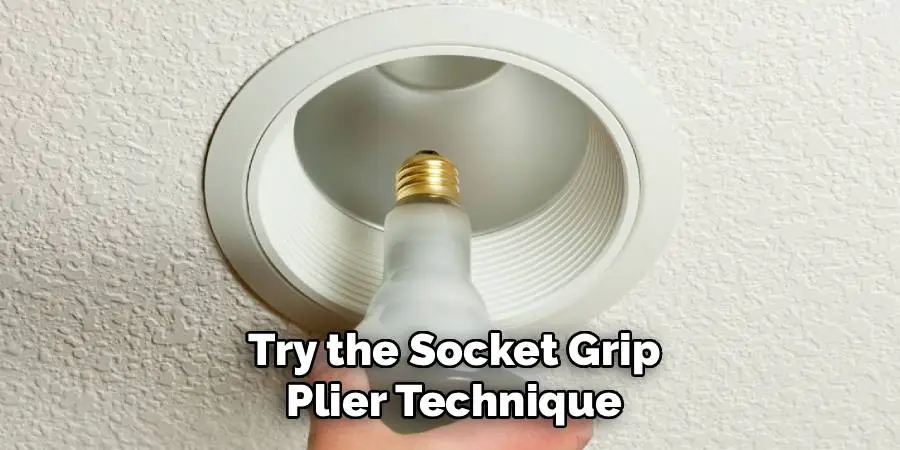
Position the pliers around the bulb’s widest diameter, adjusting the jaw opening to provide firm contact without excessive pressure. Turn counterclockwise slowly and steadily, allowing the pliers to do the work rather than forcing the motion. This technique works particularly well for older bulbs where the glass has become slightly rough or textured, providing better grip surfaces for the plier jaws.
Step 7: Apply Heat to Expand the Socket
Sometimes thermal expansion can help free stuck bulbs that are seized due to corrosion or debris in the socket threads. Use a hair dryer set to medium heat and direct warm air around the socket area for 2-3 minutes. The goal is to warm the metal socket slightly more than the bulb, creating expansion that may loosen the connection.
Be extremely careful not to overheat the area, as excessive heat can damage plastic fixture components or create fire hazards. Keep the hair dryer moving and maintain a safe distance from the fixture. After heating, allow a brief cooling period before attempting removal with your chosen grip method. This technique works best when combined with other methods rather than as a standalone solution.
Step 8: Use Penetrating Oil for Corroded Threads
For bulbs that have been in place for years, thread corrosion often causes the sticking problem. Apply a small amount of penetrating oil or spray lubricant around the visible threads where the bulb meets the socket. Use products designed for electrical applications to ensure safety around wiring and fixtures.
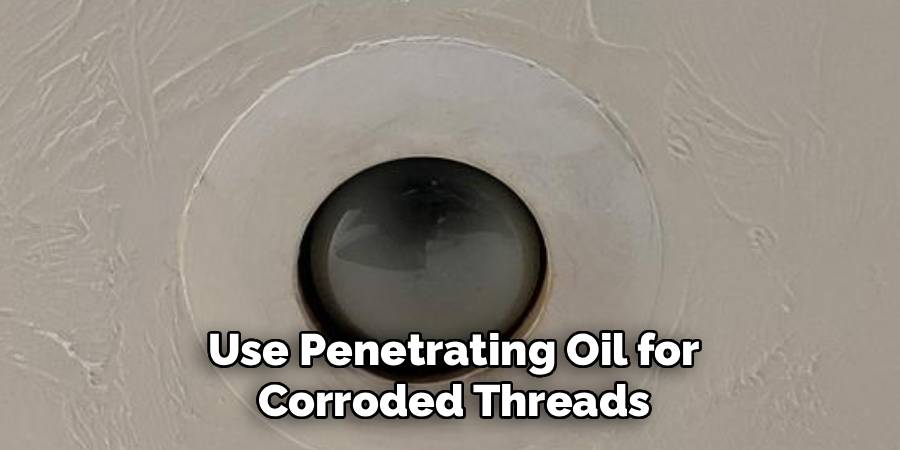
Allow the penetrating oil to work for 10-15 minutes before attempting removal. The lubricant needs time to work into the threaded connection and break down corrosion or debris that’s causing the seizure. After the waiting period, try removal using your preferred grip method. Wipe away excess oil to prevent dripping and ensure a clean installation surface for the replacement bulb.
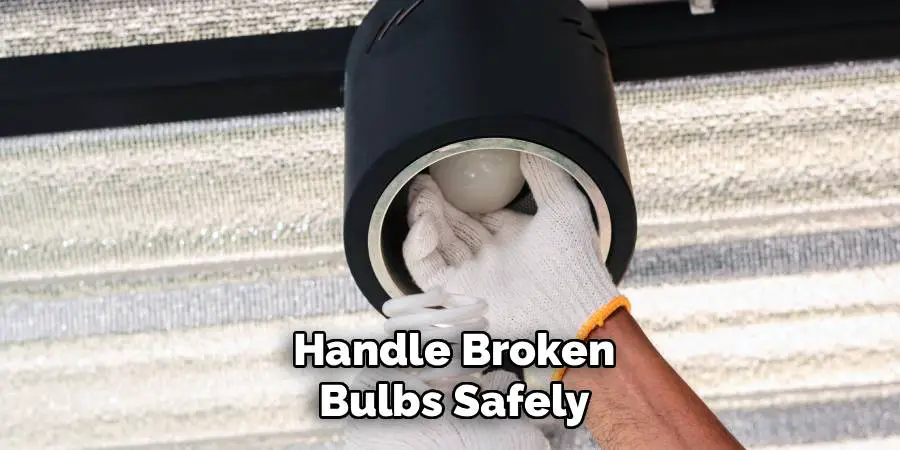
Step 9: Handle Broken Bulbs Safely
If the bulb breaks during removal attempts, don’t panic. Turn off power at the circuit breaker immediately and assess the situation carefully. Most of the time, only the glass portion breaks while the metal base remains in the socket. Use needle-nose pliers to grip the metal base threads and turn counterclockwise for removal.
For complete glass breakage, ensure all fragments are cleaned up before proceeding. Wear safety glasses and work gloves to protect against cuts. Sometimes the metal base becomes easier to remove once the glass is gone, as you can access the threads more directly. Take your time and work methodically to avoid leaving any metal pieces in the socket that could cause electrical problems.
Frequently Asked Questions (FAQs)
What Should I Do If The Bulb Breaks During Removal?
Turn off power immediately and wear safety glasses and gloves. Use needle-nose pliers to grip the metal base threads and turn counterclockwise. Clean up all glass fragments before installing a replacement. If the metal base is severely stuck, consider calling an electrician rather than risking damage to the fixture.
Can I Use WD-40 Or Other Lubricants On Light Fixtures?
Only use penetrating oils specifically designed for electrical applications. Avoid petroleum-based products that could create fire hazards or damage fixture components. Apply lubricants sparingly and allow proper drying time before energizing the circuit.
Why Do Recessed Bulbs Get Stuck More Often Than Regular Bulbs?
Recessed fixtures trap more heat, causing greater thermal expansion and contraction cycles. This repeated stress, combined with limited air circulation, creates conditions that promote corrosion and thread seizing. Regular replacement helps prevent severe sticking problems.
Should I Replace The Entire Fixture If The Bulb Won’t Come Out?
Complete fixture replacement is rarely necessary for stuck bulbs. Most situations can be resolved with proper tools and techniques. However, if the socket threads are severely damaged or corroded, replacing just the socket assembly might be more cost-effective than continued removal attempts.
How Can I Prevent Bulbs From Getting Stuck In The Future?
Replace bulbs regularly before they burn out completely. Apply a thin coating of dielectric grease to the threads during installation. Avoid overtightening bulbs—they only need to be snug, not extremely tight. Consider upgrading to LED bulbs, which last much longer and generate less heat.
Conclusion
Successfully learning how to remove a recessed light bulb that is stuck empowers you to handle one of the most common household lighting problems with confidence and safety. The techniques outlined in this guide provide multiple approaches for different situations, ensuring you have options regardless of your specific circumstances.
Remember that patience and the right tools solve most stuck bulb problems without requiring professional help. Keep suction cups, rubber gloves, and needle-nose pliers in your toolkit for future lighting maintenance needs. Regular bulb replacement and proper installation techniques prevent most sticking problems from developing in the first place. With these skills in your home maintenance arsenal, you’ll never have to live with burned-out recessed lights or pay unnecessary service calls for simple bulb removal tasks.

