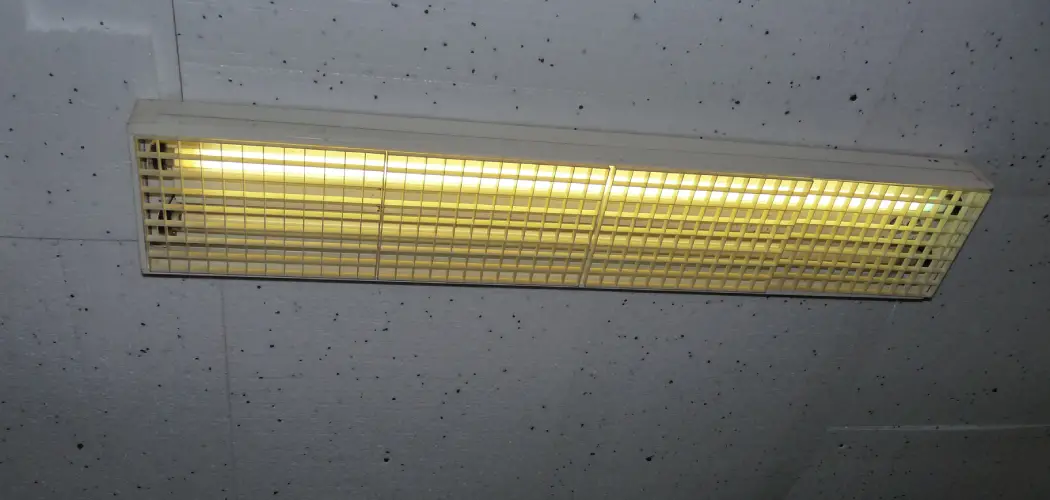
Removing a fluorescent light cover might seem daunting, but it is a straightforward process if you follow the correct steps on how to remove a fluorescent light cover.
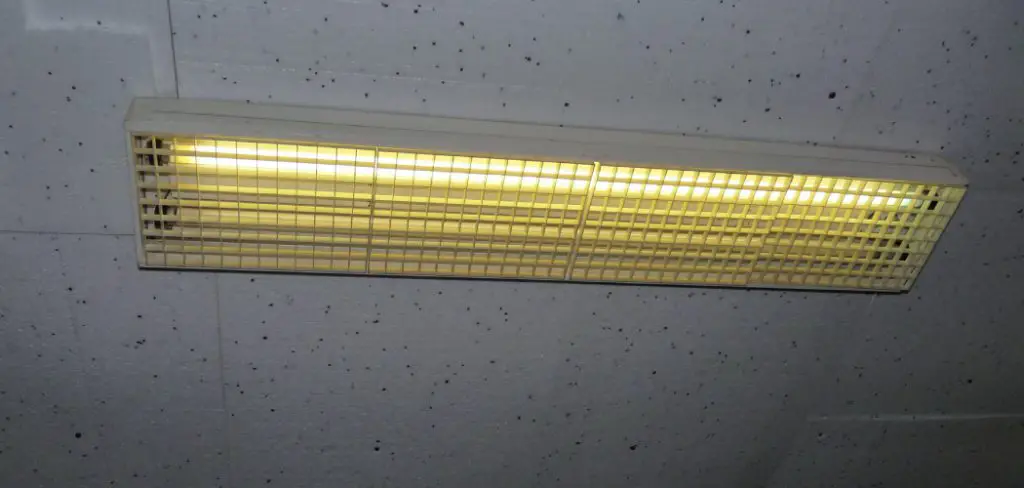
These covers, often found in both residential and commercial settings, can vary in design, typically featuring either a prismatic or wrap-around style. Ensuring that you safely and effectively remove the cover without damaging the fixture or the bulbs inside requires patience and a little know-how.
By understanding the type of cover you have and taking the necessary precautions, you can tackle this task with ease, making way for maintenance or bulb replacement.
Safety First
Before you begin the process of removing a fluorescent light cover, it is crucial to implement proper safety measures. Start by turning off the power to the light fixture from the main electrical panel to prevent any risk of electrical shock.
If your fixture is at a height, ensure you have a sturdy ladder or step stool, and never overreach while working. Wearing safety goggles and gloves can protect your eyes from dust and debris and your hands from sharp edges or unexpected breakage.
Taking the time to set up these precautions ensures that you complete the task without injury and with peace of mind.
Tools and Materials Needed
To remove a fluorescent light cover, you will need a few tools and materials. These include:
- Ladder or Step Stool
- Safety Goggles
- Gloves
- Screwdriver (Flathead or Phillips)
- Optional: Replacement Bulbs
8 Simple Step-by-step Guidelines on How to Remove a Fluorescent Light Cover
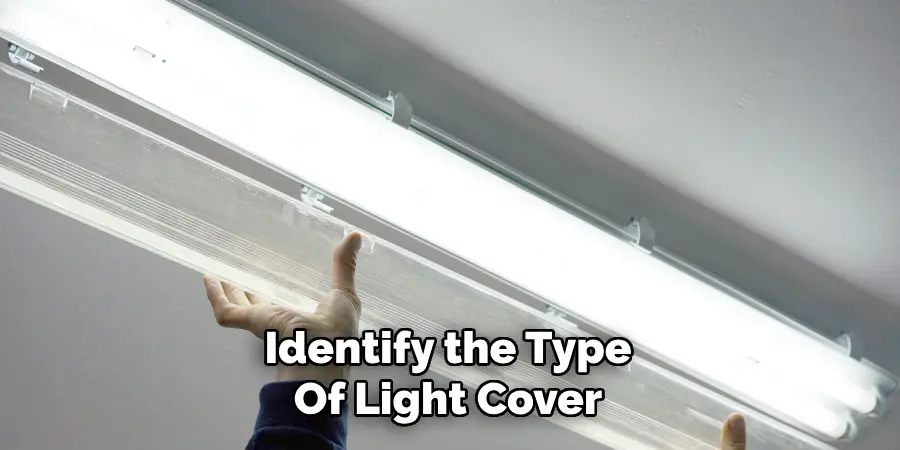
Step 1: Identify the Type of Light Cover
Begin by identifying the type of fluorescent light cover you have, which is crucial for determining the correct removal method. There are generally two common types of covers: prismatic and wrap-around.
Prismatic covers, often made from a translucent plastic material, are typically flat and rest within the framework of the light fixture.
Wrap-around covers envelop the fixture and may require you to maneuver them to slide off. Take a moment to visually inspect your light cover and reference the manufacturer’s documentation, if available, which may provide specific details or instructions related to your fixture model.
Identifying the cover type accurately is the first step in ensuring a smooth and successful removal process.
Step 2: Locate the Metal Clips or Screws
Once you have identified the type of fluorescent light cover, the next step is to locate any metal clips or screws that secure the cover to the fixture.
These fixtures often use clips or screws to hold the cover in place, ensuring it remains stable and secure. For prismatic covers, you may find several clips around the perimeter, which need to be gently released.
For wrap-around covers, screws at the ends or sides might need to be removed or loosened. Carefully examine the cover’s attachment points, using a screwdriver to remove any screws if necessary. Take care not to strip the screws or bend the clips, as this may complicate reassembly.
Step 3: Wear Gloves and Gently Remove the Cover
With the securing clips or screws now released, it’s time to wear your gloves to protect your hands from potentially sharp edges or breakable components.
Once your gloves are on, gently grip the light cover at its most secure points. For prismatic covers, you may need to lift it out from the frame, applying even pressure to prevent cracks.
For wrap-around covers, begin by carefully sliding the cover in the direction that frees it from any remaining grip of the fixture. Proceed slowly and carefully, holding the cover securely until it is fully detached from the fixture. If the cover feels stuck, double-check for any missed screws or clips before applying extra force.
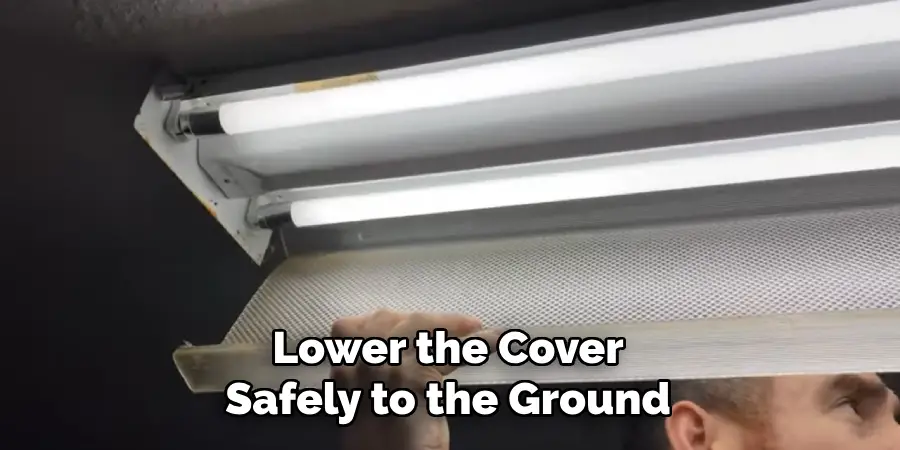
Step 4: Lower the Cover Safely to the Ground
As you remove the light cover, ensure that it remains stable by holding on to it securely. If you are working on a ladder or step stool, lower the cover carefully to the ground and place it out of harm’s way. Be mindful of any remaining clips or screws that may fall during this process.
The cover’s removal at this point will reveal the bulbs inside, which can now be replaced if needed or cleaned for maintenance.
Step 5: Clean the Cover and Remove Any Debris
Before reattaching the cover, take a moment to clean it using a mild soap and water. This step ensures that any dust or debris buildup is removed, allowing the maximum amount of light to shine through. Gently dry the cover with a soft cloth before proceeding.
Next, inspect the fixture for any remaining dust or debris. Use a vacuum or a damp cloth to remove any accumulated particles on both the interior and exterior of the fixture.
Step 6: Replace Bulbs (If Necessary)
If your goal is to replace bulbs, this would be an ideal time to do so while you have easy access. Refer to the manufacturer’s documentation for the type of bulbs required, and follow proper guidelines for replacement.
The process may vary depending on the type of bulbs, so follow specific instructions if applicable. Once the new bulbs are in place, you can proceed with reattaching the light cover.
Step 7: Reattach the Cover
Using reverse steps from earlier, gently slide the wrap-around cover or lower a prismatic cover back into place. Make sure to line up any metal clips or screws correctly before applying pressure.
Proceed slowly and carefully as you reattach and secure the cover back in its original position. The light fixture should now be fully functional, and you can turn the power back on to test the bulbs.
Step 8: Dispose of Old Bulbs Properly
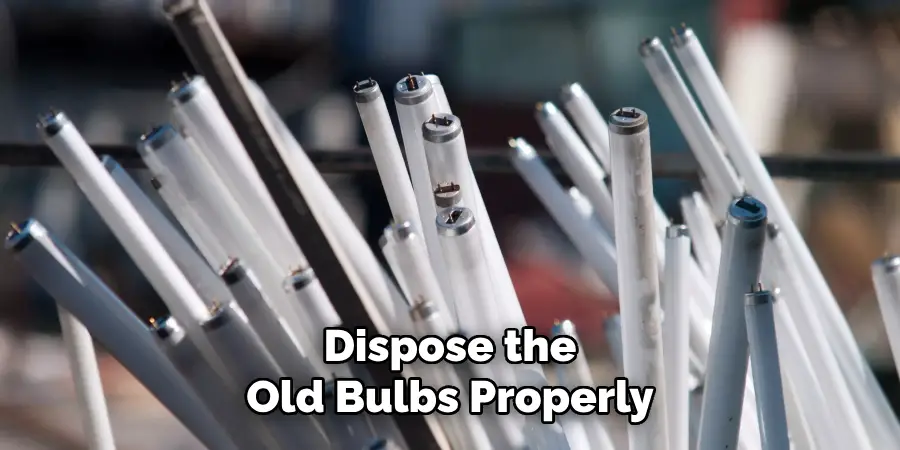
If you have replaced old bulbs with new ones, ensure that you dispose of them properly. Fluorescent bulbs contain small amounts of mercury, which can be harmful if not disposed of correctly.
Check your local waste management guidelines for safe and proper disposal methods. Following these simple step-by-step guidelines on how to remove a fluorescent light cover will allow you to remove a fluorescent light cover safely and easily.
Remember to always prioritize safety precautions and double-check your work before completing the task. Happy DIY-ing!
Additional Tips
Work in Adequate Lighting:
Ensure that you have enough lighting in the area where you are working. This can prevent accidents and help you see the components more clearly as you remove or replace them.
Use Proper Tools:
Having the right tools for the job can make a significant difference in how smoothly and safely you can remove the light cover. Make sure to use appropriate screwdrivers, gloves, and other protective gear as needed.
Clean Regularly:
To prevent dust and debris buildup on your fluorescent light covers, make it a habit to clean them regularly. This will not only improve the appearance of your fixtures but also ensure that they function at their best.
Consider Upgrading to LED Bulbs:
LED bulbs are becoming increasingly popular due to their energy efficiency and longer lifespan. If you’re looking to replace your fluorescent bulbs, consider upgrading to LED for a more cost-effective and environmentally friendly option.
Consult a Professional if Unsure:
If you’re unsure about how to safely remove your fluorescent light cover, it’s always best to consult a professional for assistance. This will ensure that the task is done correctly and without any potential risks.
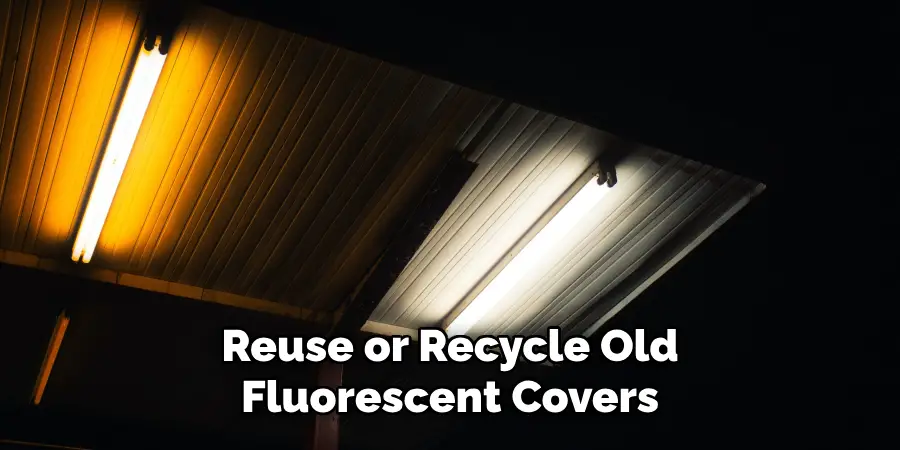
Reuse or Recycle Old Covers:
Instead of disposing of old covers, consider reusing them for other purposes such as DIY projects or donating them to organizations in need. If they are damaged and cannot be reused, make sure to recycle them properly to reduce waste.
Be Mindful of Electricity:
Before removing a fluorescent light cover, always turn off the power to the fixture to avoid any potential electrical hazards. If possible, use a voltage tester to ensure that there is no electricity running through the wires. Safety should always be a top priority when dealing with electrical components.
Read Manufacturer’s Documentation:
Make sure to read and follow the manufacturer’s instructions and guidelines for your specific fluorescent light cover before attempting to remove it. This will ensure that you do not damage any components or void any warranties.
Frequently Asked Questions
Q: Can I Use Any Type of Screwdriver to Remove a Fluorescent Light Cover?
A: Yes, as long as the screwdriver fits correctly and allows you to loosen or remove any screws without damaging them. It’s essential to use the correct tool for the job to prevent any potential damage or injuries.
Q: Is It Necessary to Wear Gloves During This Process?
A: While wearing gloves is not mandatory, it is highly recommended to protect your hands from potentially sharp edges or breakable components. Safety should always be a priority when handling any electrical fixtures.
Q: Are There Any Additional Precations I Should Take Before Removing the Light Cover?
A: Yes, before starting the removal process, ensure that the power to the light fixture is turned off. This will prevent any potential electric shock or accidents. Additionally, have a stable ladder or step stool ready if you need to reach high spaces.
With these precautions on how to remove a fluorescent light cover in mind, you can safely and easily remove a fluorescent light cover for maintenance or replacement purposes.
Conclusion
Removing and maintaining a fluorescent light cover can seem daunting at first, but with careful attention to each step and proper safety measures, the task becomes straightforward and manageable.
By ensuring that you have the right tools and follow the instructions on how to remove a fluorescent light cover, you can keep your fixtures in optimal condition, providing consistent illumination for your space.
Remember, safety is paramount; always disconnect the power and handle delicate components with care. Whether you’re replacing bulbs or simply cleaning the cover, these steps will guide you to achieve efficient and safe results. Happy DIY-ing!

