Removing a ceiling fan light fixture may seem like a daunting task, but with the right tools and instructions, it can be completed safely and efficiently. Whether you’re replacing the fixture, upgrading your fan, or performing maintenance, understanding the steps involved is crucial.
This guide on how to remove a ceiling fan light fixture will walk you through the process step by step while ensuring safety and ease throughout the project.
Why Remove a Ceiling Fan Light Fixture?
Before we dive into the steps, it’s important to understand why you might need to remove a ceiling fan light fixture. Some common reasons include:
- Upgrading to a new and more modern fan/light fixture.
- Replacing a damaged or malfunctioning fixture.
- Performing maintenance on the fan.
Regardless of the reason, removing a ceiling fan light fixture is usually a necessary first step before making any changes to your ceiling fan setup.
Tools and Materials Needed
To successfully remove a ceiling fan light fixture, you will need the following tools and materials:
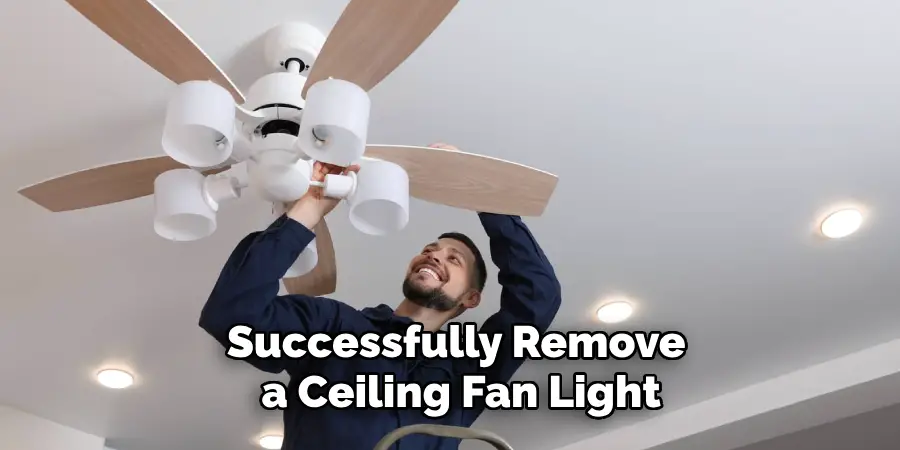
- Ladder or Stepladder for Reaching the Ceiling Fan.
- Screwdriver (Either Flathead or Phillips, Depending on the Type of Screws Used).
- Wire Cutters/strippers.
- Electrical Tape.
- Replacement Light Fixture (if Applicable).
- Optional: Gloves and Safety Glasses for Added Protection.
10 Step-by-step Guides on How to Remove a Ceiling Fan Light Fixture
Step 1: Turn Off the Power to the Ceiling Fan
Safety should always be the top priority when working with electrical fixtures. Start by turning off the power to the ceiling fan at the circuit breaker. Locate the appropriate breaker for the room where the fan is installed, and switch it off completely.
To ensure that the power is off, try flipping the fan’s wall switch or attempting to turn it on using the fan’s pull chain. If nothing happens, you can proceed knowing the fan is safely disconnected from the power source.
Step 2: Remove the Ceiling Fan Blades (If Applicable)
Some ceiling fan designs may require the removal of the blades to access the light fixture or make the process more manageable. To remove the blades, locate and unscrew the screws that secure each blade to the fan motor. Use a screwdriver to loosen and remove these screws carefully, ensuring that you hold the blades to prevent them from falling.
Place the removed blades and screws in a safe spot to avoid any damage or loss. While this step may not be necessary for all ceiling fans, it can provide more working space for the following steps if needed.
Step 3: Remove the Light Bulbs and Shades
Before removing any wiring or fixtures, you should remove the light bulbs and shades to prevent them from breaking during the process. Carefully unscrew each bulb in a counterclockwise direction until they are all removed. If your ceiling fan has glass shades covering the bulbs, gently remove them by unscrewing or releasing any clips holding them in place.
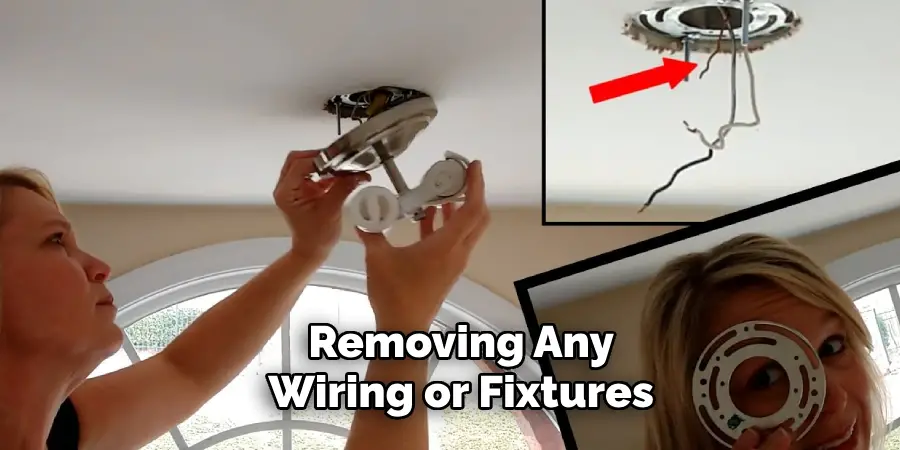
Place these items aside in a safe spot where they won’t get damaged before reinstallation.
Step 4: Disconnect Any Wires
Firstly, locate and disconnect the wires connecting the light fixture to the ceiling fan. These wires are usually connected with wire connectors (also known as wire nuts). Start by gently twisting the connectors in a counterclockwise direction to loosen and remove them. Once disconnected, carefully separate the wires and set them aside.
You may also need to remove any additional electrical components or wiring if there are multiple light fixtures on the fan. If so, make sure to take note of where each wire is connected for reinstallation later.
Step 5: Uninstall the Light Fixture Housing
With the wires disconnected, you can now proceed to remove the light fixture housing from the fan. Depending on your ceiling fan design, this may require unscrewing or releasing clips that hold it in place.
For screw-in housings, use a screwdriver to loosen and remove all screws carefully. For clip-on housings, gently pull them down until they release from their clips and can be removed entirely.
Step 6: Disconnect Any Additional Light Fixture Components
If your ceiling fan has additional components like a mounting bracket or crossbar connected to the light fixture, detach them at this time. Once these components are disconnected, you should be able to remove the fixture completely from the fan.
You may need to take note of how these components are connected for reinstallation, especially if you’re replacing the fixture with a new one.
Step 7: Remove Any Excess Hardware
After removing the light fixture, inspect the fan for any additional hardware that may be attached to it. These could include screws or mounting brackets that were used to secure the light fixture in place. Carefully remove them and set them aside.
It’s also a good idea to take this time to clean any dust or debris from the fan before reinstallation.
Step 8: Prepare for Reinstallation (If Applicable)
At this point, you may need to prepare your new light fixture for installation. If you’re replacing the old fixture with a new one, make sure to read the manufacturer’s instructions and follow any necessary steps before proceeding.
You may also need to trim or strip the wires on the new fixture before connecting them to the fan. This step is crucial for ensuring proper electrical connections and preventing potential hazards.
Step 9: Install the New Light Fixture
Once everything is prepared, it’s time to install your new light fixture. Start by following the manufacturer’s instructions for proper installation. Make sure to connect any wires, components, and hardware carefully and securely.
If you’re reusing your old fixture, make sure to clean it before reinstallation to prevent any dust or debris from entering your electrical connections.
Step 10: Turn on Power and Test
After completing all necessary steps, flip the circuit breaker back on to restore power to your ceiling fan. Test the new light fixture by turning on the wall switch or pulling the chain. If everything is working correctly, congratulations – you have successfully removed and replaced your ceiling fan light fixture!
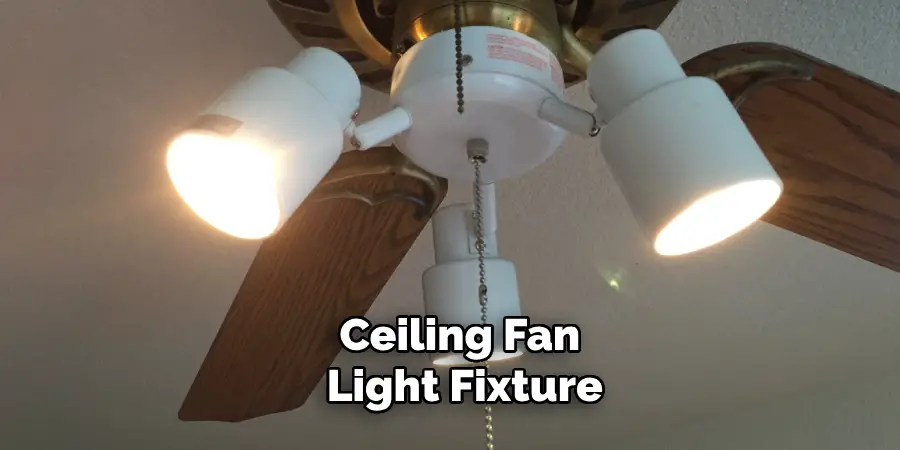
Following these step-by-step guides on how to remove a ceiling fan light fixture can help you remove a ceiling fan light fixture safely and effectively. Remember to always prioritize safety by turning off the power and taking necessary precautions before working with electrical fixtures. Happy DIY-ing!
Conclusion
Removing a ceiling fan light fixture may seem like a daunting task, but with the right tools and knowledge, it can be done quickly and safely. By following these steps on how to remove a ceiling fan light fixture, you can easily remove your old light fixture and install a new one to update the look of your ceiling fan or fix any issues.
Just remember to always prioritize safety and consult a professional if you’re unsure about any step in the process. With that, we wish you all the best in your DIY endeavors! Happy repairing!

