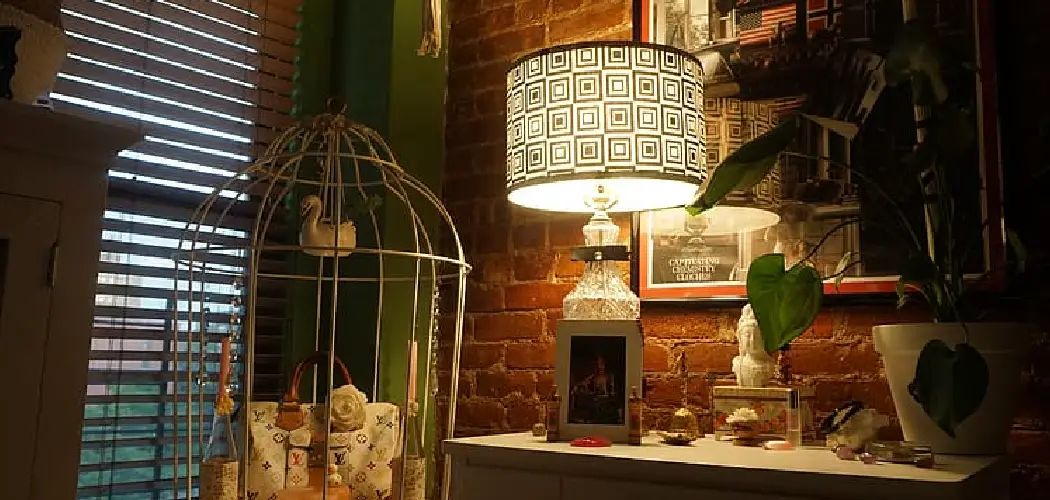
Redoing a lampshade is a fun and creative way to breathe new life into an old or worn-out piece of décor. Whether you want to match a new interior design theme, update the style, or simply give it a personal touch, redoing a lampshade is an easy and cost-effective project.
With just a few materials and some basic tools, you can transform your lampshade into a unique and eye-catching decorative element that perfectly complements your space. In this blog post, we’ll walk you through the steps on how to redo lampshade so that you can get back to using it in no time! So grab your tools, and let’s get started!
What It Means to Redo a Lampshade
Redoing a lampshade means taking an existing, often plain or outdated, lampshade and giving it a fresh new look with creative modifications. This can involve anything from changing the fabric or adding decorative trims to painting or embellishing the surface. The goal is to breathe new life into the lampshade, either to suit a specific aesthetic or to express your personal style.
By revamping a lampshade, you can easily customize it to match your décor while also repurposing an old item, which is environmentally friendly and cost-efficient. It’s a rewarding DIY project that combines functionality with artistry, allowing your creativity to shine.
Tools and Materials You Might Need
To start your lampshade revamping project, gather the following tools and materials based on your chosen design:
- Fabric or Paper: For re-covering the lampshade with a fresh look.
- Paints: Acrylic or fabric paints for adding patterns or solid colors.
- Paintbrushes or Sponges: To apply paint or other finishes.
- Decorative Trims: Such as ribbons, lace, or fringe for added detail.
- Glue Gun or Fabric Glue: For attaching decorative elements securely.
- Scissors: To cut fabric, paper, or trims to the perfect size.
- Measuring Tape: Ensures accurate measurements for a snug fit.
- Sandpaper: If you need to smooth out surfaces before painting.
- Stencils: Helps in creating consistent patterns or designs.
- Pins and Clips: To hold fabric in place while working.
Having these materials on hand will streamline your process and help bring your creative vision to life!
10 Methods How to Redo Lampshade
1. Assess the Condition and Structure of the Lampshade
Before diving into the creative process, begin by carefully examining the existing lampshade. Consider the shape—drum, bell, empire, square—and check the integrity of its frame. Look for any dents, warping, or rusted metal, as these issues will affect how well your new material can be applied.
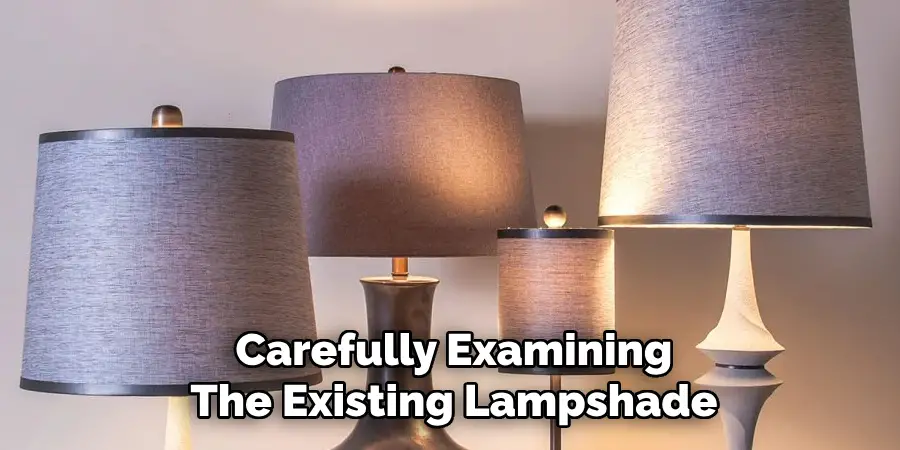
If the lampshade is structurally sound, you’re ready to proceed with refinishing it. If not, it might be worth replacing the frame or straightening out minor bends before redoing the cover. Knowing your starting point will guide your design choices and material selection.
2. Choose a New Fabric or Covering Material
Selecting the right material is one of the most enjoyable—and critical—parts of the project. Lightweight cotton, linen, or even silk can provide a smooth, polished look. For more texture or personality, consider burlap, wallpaper, decorative paper, or even old scarves. Take into account how much light you want to pass through; sheer fabrics glow beautifully, while darker or heavily patterned materials will mute light. Always cut your chosen material with a few extra inches on each edge to ensure full coverage and easier alignment during application.
3. Remove the Old Fabric or Paper
To give your new covering a clean surface to adhere to, carefully strip away the original fabric or paper. Use a craft knife or small scissors to cut along seams, then gently peel away the old material. Take care not to damage the metal frame or rip away necessary components like vertical supports or the top and bottom rings. Any residual glue or stuck fabric can be lightly sanded off or removed with warm soapy water. This process may take time, but starting fresh ensures better adhesion and a more professional finish.
4. Measure and Cut the New Material Precisely
With the old material removed, it’s time to measure your new fabric. Roll the lampshade across the backside of your material while tracing its path with a pencil to create an accurate template. Add an extra half-inch along each edge for folding and gluing purposes.
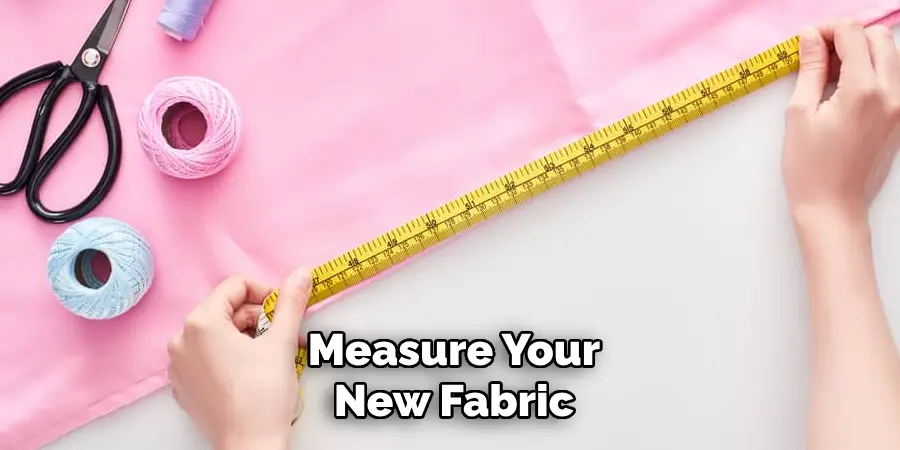
Carefully cut your new fabric using sharp scissors or a rotary cutter for clean edges. This custom-fitted piece will wrap neatly around your lampshade without excess bulk or awkward gaps, ensuring a tailored, seamless look once applied.
5. Use Spray Adhesive or Fabric Glue for Attachment
To affix your new material, spray adhesive is often the best tool for the job, especially on smooth, fabric-friendly surfaces. Lay your cut fabric face down, apply the adhesive evenly across the backside and the lampshade frame, and then carefully roll the shade across the fabric, smoothing it as you go. Work slowly to prevent wrinkles or bubbles. For thick materials like burlap or canvas, a fabric glue applied in sections may work better, allowing stronger grip and more time to adjust. Use clothespins or clips to hold the material in place if needed while it sets.
6. Fold and Glue the Edges for a Clean Finish
After the main body is attached, address the top and bottom edges. Fold the excess fabric inward over the edge of the frame and glue it securely using a hot glue gun or fabric glue. Work in small sections and hold each part in place for a few seconds to ensure proper bonding. If your lampshade frame had metal trim rings or inner bands, tuck the fabric underneath them for an even neater finish. For decorative contrast, you may opt to leave some raw edge visible and trim it with ribbon, lace, or cording.
7. Add Decorative Trim or Embellishments
This is your chance to add a personal flair to the lampshade. Ribbon trims, tassels, pom-pom fringe, or braided cording can be glued around the top and bottom rims to add a polished or playful touch. Metallic trim brings elegance, while rustic twine or jute fits farmhouse or vintage styles.
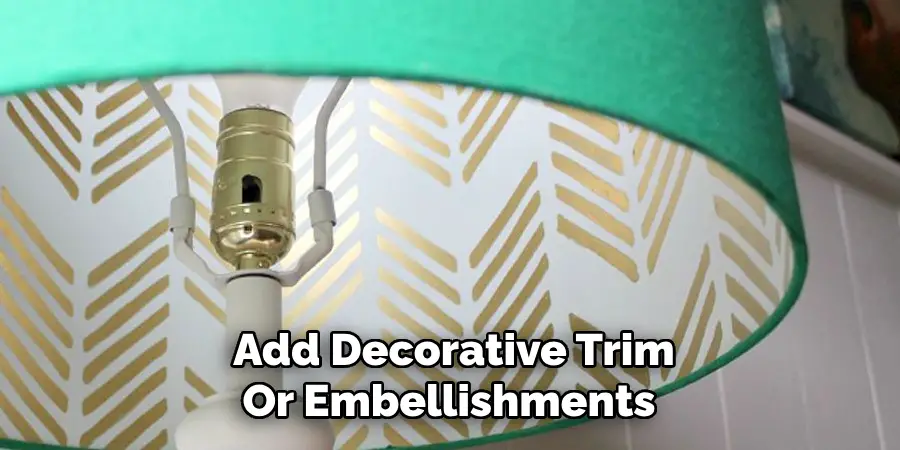
Be sure the embellishments are securely attached with fabric glue or hot glue, and match the style of the room where the lamp will be used. Embellishments can also help cover seams or imperfections from the re-covering process.
8. Consider Painting or Dyeing the Lampshade Instead
If you like the shape and structure of your lampshade but want a completely new look without fabric, consider using paint or dye. Fabric dye can give an ombré or solid color transformation, especially for cotton or linen shades. For more artistic expression, use fabric paint, stencils, or even watercolor techniques to create patterns, floral motifs, or abstract art. Acrylic paint mixed with fabric medium will adhere well and remain flexible. Just make sure to paint evenly and allow it to dry completely before placing it back on the lamp.
9. Line the Inside of the Shade for Extra Flair
While the outside transformation is most noticeable, adding a liner to the inside of the shade can elevate the design. Metallic liners (gold, silver, or copper) reflect light beautifully and add warmth to the glow. You can also use patterned wallpaper, decorative paper, or coordinating fabric to add depth and character. Cut your liner material to size and glue it carefully on the inside, ensuring it adheres without bubbling or peeling. This additional touch can turn a simple lampshade redo into a truly unique décor element.
10. Reassemble the Lampshade and Enjoy Your Creation
After everything is dry and set, it’s time to reassemble the shade onto your lamp base. Check the fit and make sure the bulb sits safely without touching any fabric. Turn on the lamp and inspect how the light filters through your new shade. If needed, make minor adjustments to the positioning or trim.
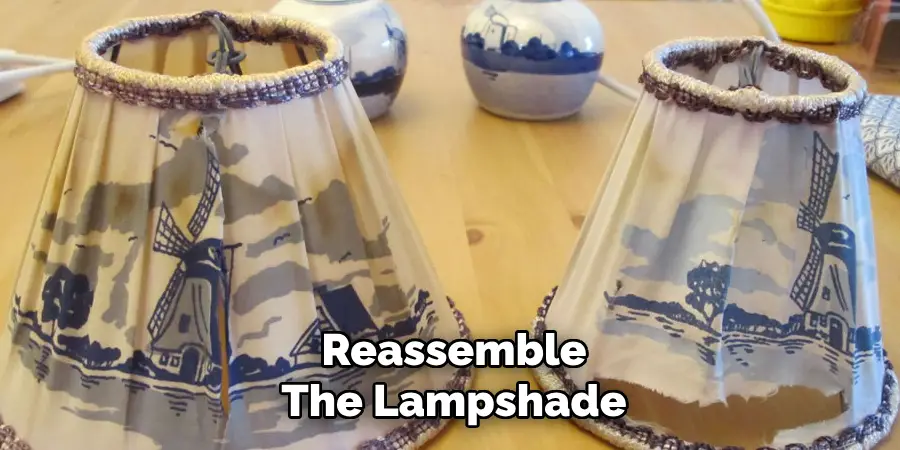
Your redone lampshade now stands as a reflection of your creativity and care, offering both functional lighting and visual interest. Take pride in the fact that you’ve not only upcycled something old but also infused your space with a handcrafted, personal touch.
Things to Consider When Redoing a Lampshade
Material Selection
Choose a material that is both heat-resistant and durable. Avoid fabrics or papers that are too thin, as they may not hold their shape or could pose a fire hazard when exposed to the heat of the bulb.
Lamp Compatibility
Ensure the new shade matches the size and style of your lamp base. The shade should fit securely and proportionately to create a cohesive and balanced look.
Lighting Effect
Consider how the material and color of the shade will impact the light. Darker materials may create a cozy, diffused glow, while lighter or translucent options will allow for brighter illumination.
Safety Measures
Maintain sufficient space around the bulb to prevent overheating. Always use bulbs with wattage that complies with your lamp’s specifications to ensure safe operation.
Conclusion
Choosing the right lampshade involves balancing functionality, safety, and personal style. By considering factors such as light diffusion, proper bulb wattage, and aesthetics, you can enhance both the practicality and visual appeal of your space. A thoughtfully selected lampshade can transform a simple lamp into a striking feature, adding warmth and character to your home. So, there you have it – a quick and easy guide on how to redo lampshade.

