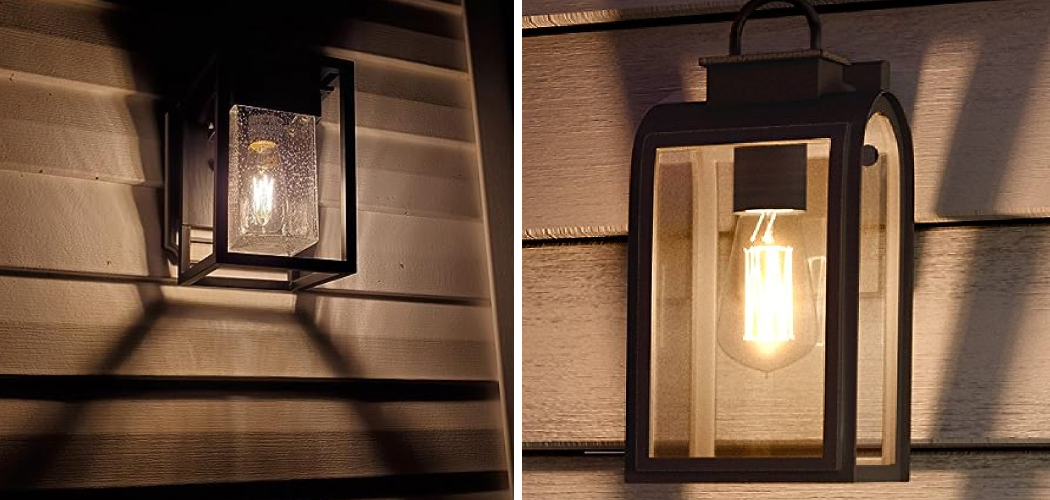
Welcome to the DIY world! Whether you’re a beginner or an experienced handyman, learning how to put porch lights on a timer is one of the most essential tools for saving energy and money. With just a few simple steps, you can make sure your outdoor lighting turns off after dark and stays off until it’s time for guests to arrive.
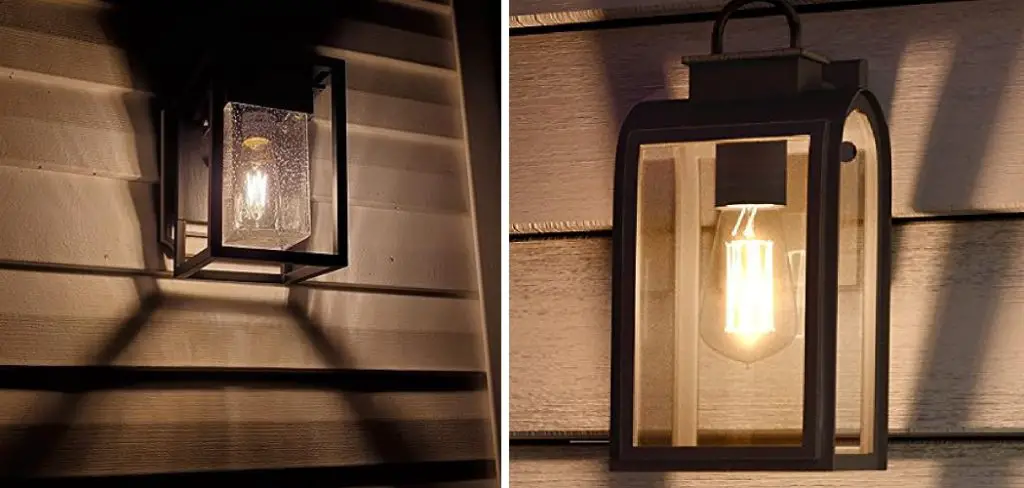
In this blog post, we’ll go over everything from finding the right timer switch and correctly wiring your new system into existing light fixtures – providing you with all the information needed for successful installation. So if you’re ready to get started on saving energy around your home while keeping nighttime deterring intruders at bay, read on!
Tools and Materials You Will Need to Put Porch Lights on a Timer
- Outdoor timer switch
- Voltage tester
- Wire strippers
- Circuit breaker and box
- Wires and connectors
- Screwdriver
- A ladder
Step-by-step Guidelines on How to Put Porch Lights on a Timer
Step 1: Choose the Right Outdoor Timer Switch
When it comes to outdoor lighting, you want to make sure you choose the right timer switch for your needs. There are various types available on the market, designed for different applications and voltage levels – so be sure to do your research before buying one. For example, some timers are specifically made for lights while other varieties can control motors or even appliances.
Step 2: Test Your Power Source
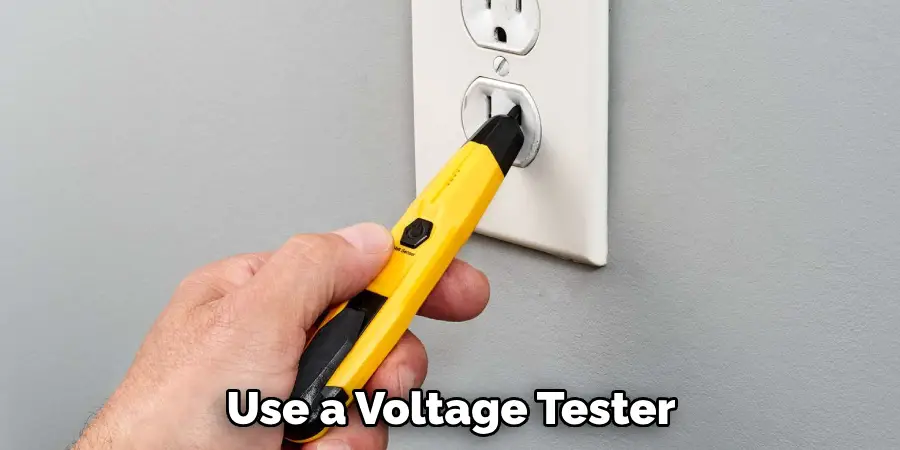
Once you’ve chosen the right timer switch for your needs, it’s time to check your power source. Use a voltage tester to make sure that there’s no electricity running through the wires – an important step to take before making any modifications. You need to ensure that the power source is disconnected before you begin working on your system.
Step 3: Wire Your Timer Switch
Now it’s time to start wiring your timer switch. Using a wire stripper, remove about 6 inches of insulation from both ends of the wire leading to each light fixture. Then connect one end of the timer switch to the black wire in the circuit breaker box. You will need to connect one hot and one neutral line, depending on your timer switch.
Step 4: Install Your Timer
Once all of your wiring is complete, it’s time to install your timer switch. Attach it securely in place using a screwdriver or other tool to ensure that it will stay in place. After installation is complete, turn the power back on and test your timer switch by setting it for a specific daily light cycle or manually turning on/off your lights at any given time.
Step 5: Enjoy the Benefits of Your Timer Switch
Now that your porch lights are connected to a timer, you can reap the benefits of this simple yet effective energy-saving tool. Enjoy automatic lighting at exactly the time you set it for, as well as peace of mind knowing that your lights will be off during the night – helping to deter intruders and save you money on your electricity bills.
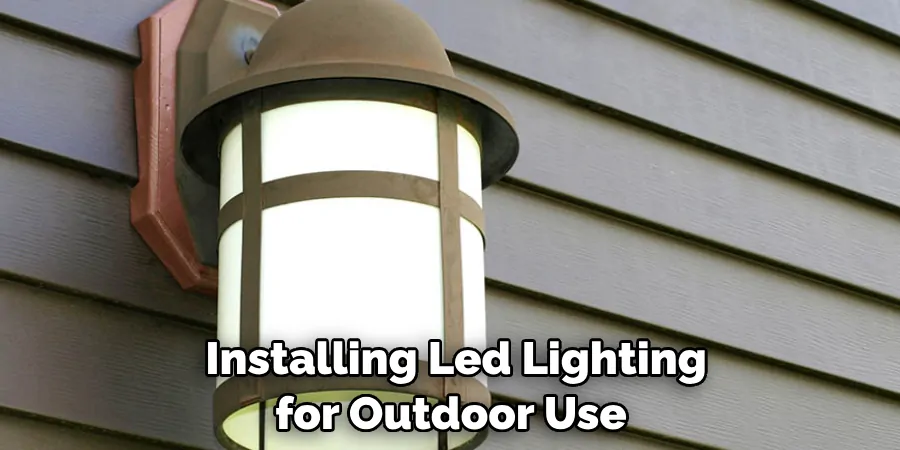
Now that you know how to put porch lights on a timer, why not take this knowledge further and start exploring other ways to save energy and money around your home? Installing LED lighting for outdoor use or upgrading older appliances are just two of many ways to get started. With the right knowledge, tools, and materials, you’ll be well on your way to becoming a DIY energy saver!
Additional Tips and Tricks to Put Porch Lights on a Timer
1. If you have a hardwired porch light, make sure to turn the power off before attempting any installation.
2. Carefully inspect all wiring for damage or signs of wear before connecting your timer. Remove any dirt or dust from the wires using a soft brush as this will help ensure safe and effective connections.
3. Make sure that any outdoor plugs are properly sealed and protected from weather. This will help prevent any moisture or water from entering the wiring, which could cause serious damage to your home’s electrical system.
4. If you are dealing with multiple porch lights, it may be best to purchase a timer that has multiple channels so that you can control each light individually.
5. Don’t forget to test your timer before you leave the property. This will help ensure that your porch lights are on when you want them to be and off when they shouldn’t be.
6. Finally, remember to check the timer periodically for any loose connections or corrosion. Keeping your timer working properly is an important part of keeping your home safe and secure.
With these tips in mind, you should have no problem installing and setting a timer for your porch lights. Doing so will make sure that your home is illuminated exactly when it needs to be, while also helping you save energy and money in the long run.
Things You Should Consider to Put Porch Lights on a Timer
- Choose a timer that is compatible with your porch lights. Not all timers are suitable for all types of lighting fixtures, so make sure you buy the right one.
- Read the instructions carefully so you can understand exactly how to install and use your timer.
- Make sure you have the necessary tools and materials before beginning: electrical tape, wire cutters, wire strippers, and so on.
- Turn off the power to the porch lights before you begin working.
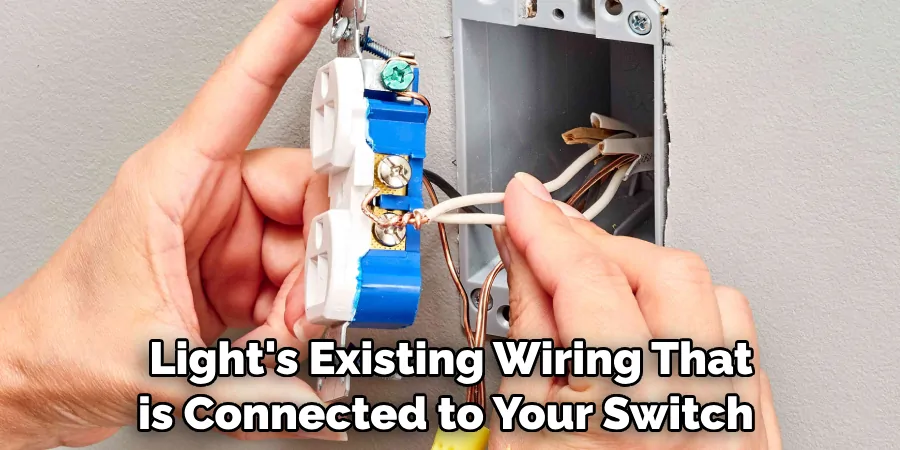
- Cut the end of the light’s existing wiring that is connected to your switch and strip about an inch of insulation from it with a wire stripper or knife.
- Connect the timer according to its instructions, making sure any connections are secure and insulated with electrical tape.
- Plug the timer into an outlet nearby, or hardwire it directly to your porch light’s wiring.
- Turn the power back on and test the timer by turning the switch on and off to make sure everything is connected correctly and works properly.
- Adjust the settings of your timer according to its instructions so you can control when the porch lights will turn on and off.
- Finally, check your connections for safety and verify that everything is working correctly before leaving the area.
Following these considerations can help ensure your porch lights are safely and properly set up on a timer. Taking the time to do it right can save you time and energy in the long run! As an added benefit, porch lights that turn on and off at designated times can provide added security for your home. Be sure to check out our variety of timers to find one that fits your needs!
Frequently Asked Questions
What Type of Timer Should I Use?
A timer compatible with CFL or LED bulbs is recommended for outdoor lighting, as many other types may not be rated for use outdoors. Look for a timer that is waterproof and designed for outdoor use.
How Many Lights Can I Have on a Timer?
The amount of lights that can be connected to a timer will vary depending on the model you have. Ensure that the wattage total doesn’t exceed the timer’s rated capacity. Additionally, check with your local electric codes to ensure that your electrical wiring is suitable for the extra load added by the porch lights.
Is There Any Maintenance Required?
Yes, it is important to perform regular maintenance and safety checks on your timer to ensure that it continues to operate correctly and safely. Make sure the wires are securely connected, check for damage or corrosion in any of the components, and make sure the timer is still waterproof if necessary. If you find any damage, replace the timer immediately.
Are There Any Other Tips for Installing a Timer?
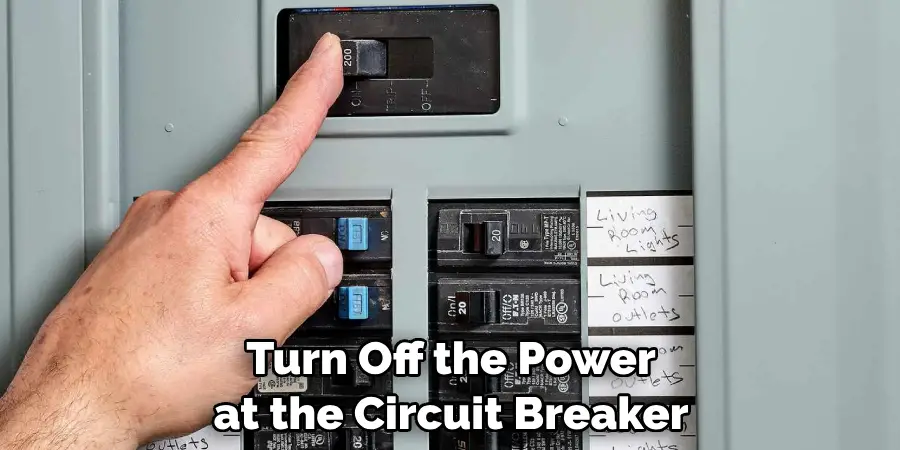
Before installing your timer, read the instructions thoroughly. Make sure to always turn off the power at the circuit breaker before starting work on any electrical project. Wear safety glasses and gloves when working with electrical parts and wiring. Finally, make sure all connections are tight and secure.
What Else Can I Do With a Timer?
Timers can be used for more than just porch lights. You can use them to turn on appliances, aquarium filters, or even holiday decorations. They can also provide extra security to your home by making it look occupied when you are away. With a timer, you will never have to worry about forgetting to turn something on or off again!
Conclusion
Hopefully, with the above outlined, you can easily learn how to put porch lights on a timer. Timers can be used for many other applications, providing both convenience and safety. Remember to always follow the manufacturer’s instructions when installing any electrical device, and consult with an expert if in doubt.
With a timer installed properly, you can enjoy your outdoor lighting worry-free! Happy lighting!

