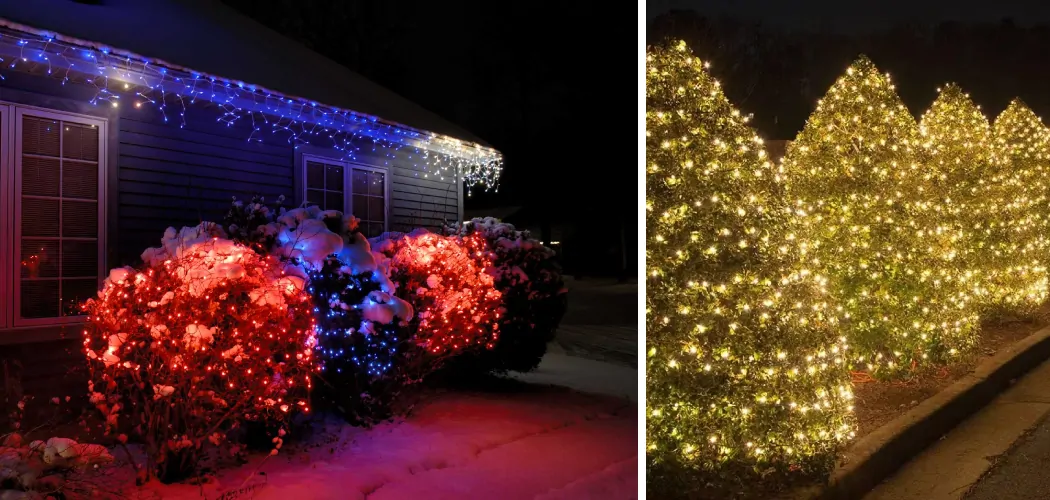
Decorating shrubs with net lights is a popular and convenient method for creating festive outdoor displays during the holiday season. Unlike traditional string lights, which can be cumbersome and time-consuming to arrange, net lights provide a ready-made solution that evenly covers shrubs with minimal effort. This ease of application has made them a favorite among homeowners looking to enhance their outdoor spaces with holiday cheer.
The primary purpose of this article is to offer a comprehensive, step-by-step guide on how to put net lights on shrubs effectively and attractively. By highlighting the benefits of net lights, such as their uniform lighting and simple setup, readers will gain insights into transforming their garden or yard into a dazzling holiday scene. Whether you’re a seasoned decorator or a novice, this guide aims to simplify the process, ensuring stunning results with efficiency and style.
Understanding Net Lights and Their Benefits
What Are Net Lights?
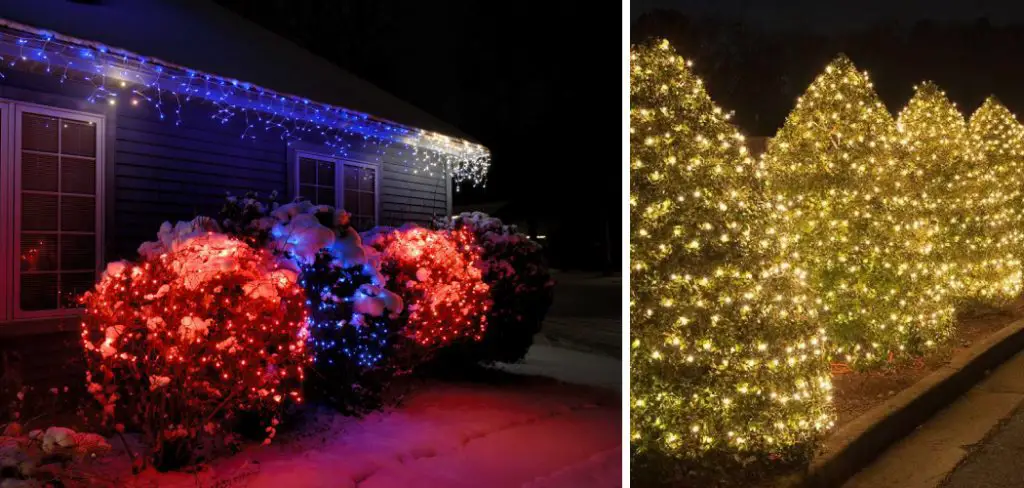
Net lights are a type of decorative lighting where bulbs are arranged in a neat, grid-like pattern, making them ideal for draping over bushes, shrubs, or hedges. This structured layout allows for fast and even coverage, achieving an aesthetically pleasing appearance without the fuss of arranging traditional string lights. Net lights come in various forms, including LED and incandescent options. LEDs are energy-efficient and have a longer lifespan, while incandescent lights offer a warm, classic glow. Additionally, they offer a variety of colors and effects, such as twinkle or static, to suit different decorating preferences.
Benefits of Using Net Lights on Shrubs
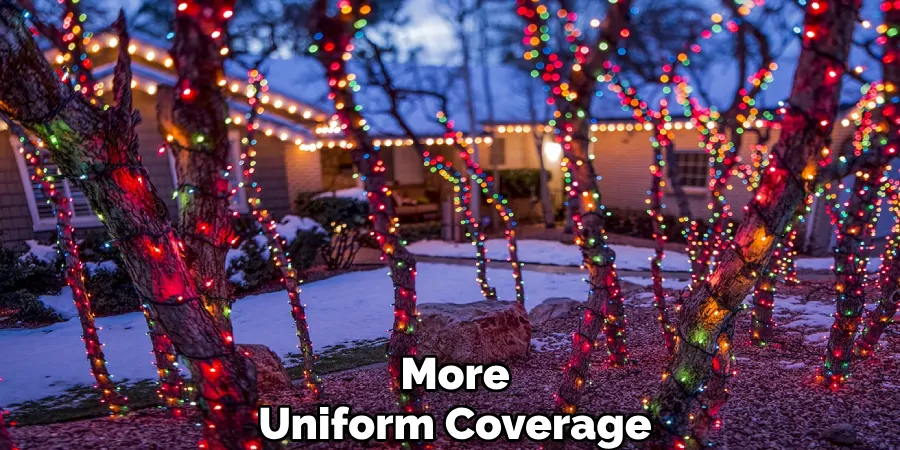
Net lights offer faster and more uniform coverage, resulting in a more polished and professional look for your outdoor decorations. With these lights, the hassle of dealing with tangled wires is significantly reduced, allowing for an effortless setup and removal process. Available in a range of sizes, net lights are adaptable to different shrub dimensions, making them versatile for any garden setup. This versatility, coupled with the ease of application, makes net lights a practical and stylish option for enhancing the visual appeal of your outdoor spaces.
Tools and Materials Needed
Essential Materials:
- Net lights: Choose the appropriate size to fit the shrubs or bushes being decorated. Net lights must be rated for outdoor use to withstand varying weather conditions.
- Extension cords for outdoor use: These are necessary if your power source is not conveniently located near the shrubs. Ensure they are weatherproof to prevent electrical hazards.
- Outdoor light timers: Consider using these optional devices to automatically control your lighting display, aiding in energy efficiency and convenience.
Additional Tools:
- Clips, stakes, or garden twist ties: These tools will help secure the net lights in place, ensuring they remain in position even in windy conditions.
- Measuring tape: Use this to verify the dimensions of your shrubs, ensuring you have the correct size of net lights for a uniform look. Accurate measurements will streamline the decorating process and prevent frustration.
Preparing the Shrubs
Pruning and Shaping the Shrubs
Before applying net lights, it’s essential to prune and shape your shrubs for a more uniform and attractive appearance. Start by trimming any overgrown branches and shaping the shrub to ensure it has a neat, rounded form. This enhances the overall look and allows the lights to drape evenly.
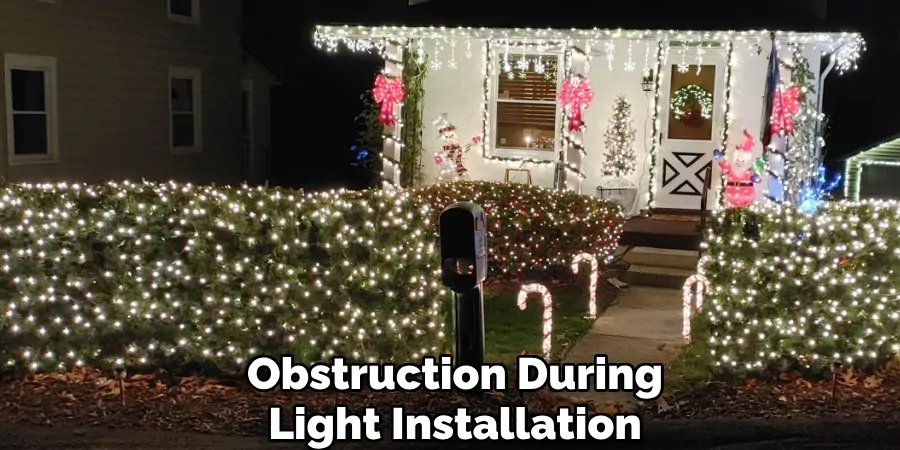
Removing debris, such as fallen leaves and twigs, will make it easier to lay the net lights smoothly. If there’s snow on the shrubs, gently shake or brush it off to prevent any obstruction during light installation. A well-prepared shrub serves as the perfect canvas for displaying holiday lights, maximizing both effectiveness and beauty.
Measuring the Shrubs
Accurate measurement of the shrubs’ width and height is crucial for selecting the appropriate size of net lights. Use a measuring tape to determine these dimensions, ensuring the net lights cover the entire surface without excess or shortage. Too small net lights will fail to cover the shrub completely, resulting in gaps and an uneven lighting pattern. On the other hand, oversized net lights may appear disorganized, with lights drooping or bunching. By matching the size of the lights precisely to your shrubs, you can achieve a clean, consistent look that highlights your outdoor space beautifully.
How to Put Net Lights on Shrubs: Steps for Applying Net Lights on Shrubs
Step 1: Safety First
Before you begin decorating, ensure all lights and extension cords are rated for outdoor use to withstand weather conditions, minimizing electrical hazards. Unplug the lights before arranging them to prevent accidents.
Step 2: Ensure Proper Placement
Identify the best shrubs for decoration, focusing on the most visible ones that will make the biggest impact on your overall display. Make sure your power source is within reach, using extension cords if necessary, to facilitate seamless connectivity.
Step 3: Drape the Net Lights
Start by spreading the net lights over the top of the shrub, letting them naturally fall over the sides. Adjust the alignment so that the grid pattern is even, ensuring a uniform look throughout. This step is crucial for achieving that desirable professional finish.
Step 4: Secure the Lights
Firmly secure the net lights in place using clips, stakes, or garden twist ties. This prevents movement due to wind or snow. Fasten ends and middle sections to maintain the grid pattern and prevent sagging or drooping.
Step 5: Check the Lights
Once secured, plug the net lights into a power source and inspect the display. Look for coverage uniformity and ensure there are no dark spots or gaps. Make necessary adjustments by gently repositioning the net lights for an even brightness.
Step 6: Timer Setup (Optional)
To enhance convenience and energy efficiency, consider integrating outdoor light timers. Set the timer to turn the lights on at dusk and off at your preferred time, maintaining consistent illumination throughout the holiday season.
Testing and Adjusting the Lights
Testing the Lights Before Final Adjustment
Before finalizing the placement of your net lights, it is crucial to test them by plugging them in. This step ensures that all bulbs are functioning properly and highlights any issues, such as uneven illumination or faulty bulbs. A preliminary check allows you to address these problems before they detract from the overall appearance of your lighting display. By observing the light distribution, you can preemptively identify areas needing adjustment, ultimately achieving a more cohesive and polished look.
Adjusting for an Even Look
To ensure consistent and attractive coverage, take the time to carefully adjust the net lights. Look for areas where lights may appear bunched together or excessively sparse, and gently spread the net to alleviate these issues. Consider the height and width of your shrubs, making necessary adjustments to accommodate their unique shapes and sizes. This flexibility allows you to create a balanced visual effect that enhances your outdoor decorations.
Avoiding Overlap
Pay close attention to how the lights are spread across the shrubs to prevent overlapping areas, which could lead to an uneven lighting pattern. Ensuring even distribution promotes a smooth and harmonious display that captures the essence of beautifully illuminated shrubbery without unwanted inconsistencies.
Adding Additional Decorations
Incorporating Other Elements
To enhance the beauty of your decorated shrubs, consider incorporating additional outdoor decorations that complement the net lights. Ornaments, ribbons, or garlands can be artfully placed around the shrub to add layers of visual interest and texture.
These elements can introduce pops of color and create a more festive atmosphere. Additionally, incorporating spotlighting or ground-level lights can help highlight the decorated shrubs, adding depth and dimension to your display. This layered approach emphasizes the illuminated focal points and ties the various outdoor decor elements together, creating a cohesive, professional look.
Using Timers and Remote Controls
For added convenience and energy efficiency, installing outdoor timers to automate when the lights turn on and off is beneficial. This not only simplifies your lighting routine but alssimplifies your lighting routine, ensures ensures consistent illumination throughout the evening and helps save on energy costs.
Furthermore, utilizing smart plugs or remote-controlled lights can offer unparalleled ease of operation, particularly useful in cold weather or when you’re inside. These devices allow you to manage your outdoor lighting with a simple touch or voice command, enhancing convenience without having to step out into the chilly night.
Safety Tips for Outdoor Lighting
Weatherproofing the Setup
Protecting your outdoor lighting setup from the elements is crucial to maintaining a safe and effective display. Use weatherproof extension cords and plugs to guard against rain, snow, and ice, which can cause short circuits or other electrical hazards. Ensure all light connections and bulbs are explicitly rated for outdoor use; this prevents electrical malfunctions and extends the lifespan of your decorations. Proper weatherproofing not only ensures safety but also reliability in harsh conditions.
Avoiding Overloaded Circuits
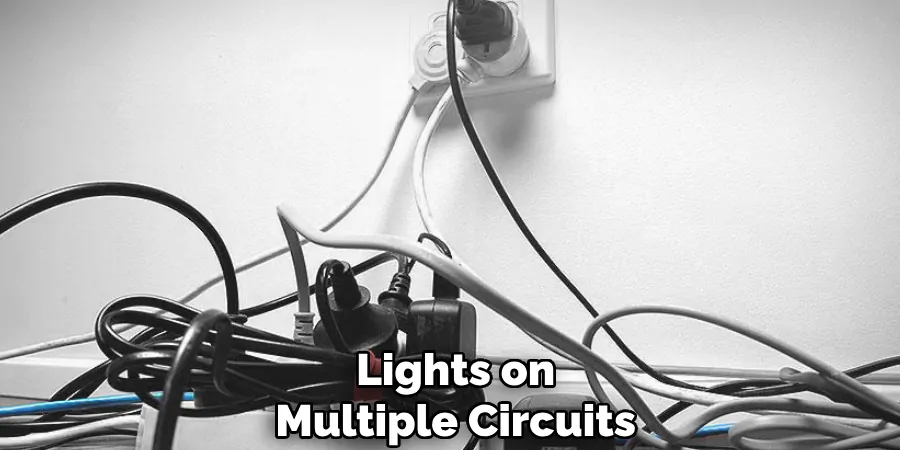
Calculate the total wattage of all connected lights to avoid overloading your circuits. Check your light strings and devices to understand their energy consumption and compare this to the capacity of your circuit. If necessary, subdivide your lights on multiple circuits to prevent tripping breakers or causing electrical issues.
Checking for Frayed Wires
Regular inspections of your lighting setup, especially if it’s a few seasons old, are necessary for identifying potential hazards. Check wires and bulbs for any signs of wear and tear, such as frayed wires or blown bulbs. Early detection and replacement of damaged components will enhance the safety and performance of your outdoor lighting display.
Conclusion
Incorporating net lights into your holiday decor offers many advantages, making it an ideal choice for illuminating shrubs and bushes. One of the primary benefits is their ease of use, allowing homeowners to efficiently set up a uniform lighting scheme with minimal effort. The grid-like structure of net lights ensures an even distribution across foliage, creating a cohesive and aesthetically pleasing display.
As you transform your outdoor space, consider the simplicity and elegance net lights bring, turning your garden into a captivating festive scene. Remember, knowing how to put net lights on shrubs is essential for achieving optimal results. Prioritize safety by using weatherproof materials and check for proper placement to enhance durability and beauty. Embrace net lights for a hassle-free and delightful approach to holiday decorating, ensuring your outdoor spaces bask in seasonal splendor.

