Vanity mirrors are essential accessories for anyone who loves makeup, hair styling, or skin care. They provide the perfect lighting and magnification for a flawless application of makeup or grooming.
However, not all vanity mirrors come with built-in lights. But don’t worry; you can easily add lights to your mirror with just a few simple steps. In this guide, we will show you how to put lights on a vanity mirror and create your very own Hollywood-style makeup station. Let’s get started if you’re ready to elevate your makeup game!
Understanding Vanity Mirror Lighting Options
Before we get into the process of adding lights to your vanity mirror, let’s first understand the different lighting options available. There are three main types of lighting for vanity mirrors:
- Natural Lighting – This is the best type of lighting for applying makeup as it mimics natural sunlight and offers the most accurate color representation.
- LED Lighting – LED lights are energy-efficient and long-lasting, making them a popular choice for vanity mirrors. They come in a variety of colors, including warm white, cool white, and daylight.
- Incandescent Lighting – These lights are similar to traditional bulbs and give a warm glow. However, they consume more energy than LED lights.
Supplies You Will Need to Put Lights on a Vanity Mirror
- Vanity Mirror
- Light Bulbs
- Electrical Cord
- Outlet Strip
- Screwdriver
- Drill (Optional)
- Wire Strippers (Optional)
Step-by-step Guidelines on How to Put Lights on a Vanity Mirror
Step 1: Prepare Your Work Area
Before you begin putting lights on your vanity mirror, it is important to prepare your work area to ensure a safe and efficient process. Clear off any clutter from your workspace, and ensure there is enough room to move around comfortably while working on the mirror.
Lay out all the supplies listed above in an organized manner so they are easily accessible. It is also a good idea to have a towel or cloth nearby in case you need to wipe down the mirror during the process.
Step 2: Choose Your Lighting Setup
The first decision you will need to make when putting lights on your vanity mirror is how you want them to be arranged. You can choose to have lights placed evenly around the perimeter of the mirror, or you can opt for a more statement look by clustering them in one area.
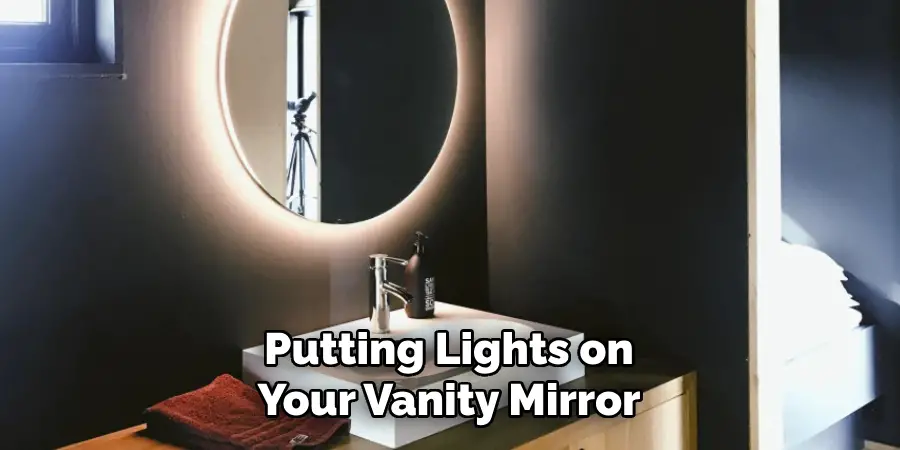
Consider the size and shape of your mirror when making this decision. Choosing a lighting setup that complements the mirror will enhance its overall appearance.
Step 3: Install the Light Bulbs
Once you have decided on your lighting setup, it is time to install the light bulbs. If your vanity mirror does not come with pre-installed holes for light bulbs, use a screwdriver or drill to create holes in even intervals around the perimeter of the mirror. Then, screw in the light bulbs into each hole. If you use LED light bulbs, ensure they are compatible with your electrical cord and outlet strip.
Step 4: Attach the Electrical Cord
Next, you will need to attach the electrical cord to each light bulb. If your chosen lighting setup requires multiple cords, use wire strippers to expose the wires and twist them together securely before covering them with electrical tape. Then, plug the cord into the outlet strip. Make sure to follow safety precautions and turn off the power before working with any electrical components.
Step 5: Mount the Outlet Strip
If your outlets are not located near your vanity mirror, you will need to mount an outlet strip onto the wall behind or next to the mirror. Measure and mark the desired location for the outlet strip, then use a drill to create holes for the screws. Secure the outlet strip onto the wall using the provided screws. Ensure the outlet strip is level to ensure an even and balanced lighting setup.
Step 6: Test Your Setup
Before fully securing the vanity mirror onto your wall, it is important to test your lighting setup. Plug in the outlet strip and turn on the power. Ensure all light bulbs are functioning properly and adjust their placement if necessary. Once you are satisfied with the lighting, turn off the power and proceed to securely mount the vanity mirror onto your wall.
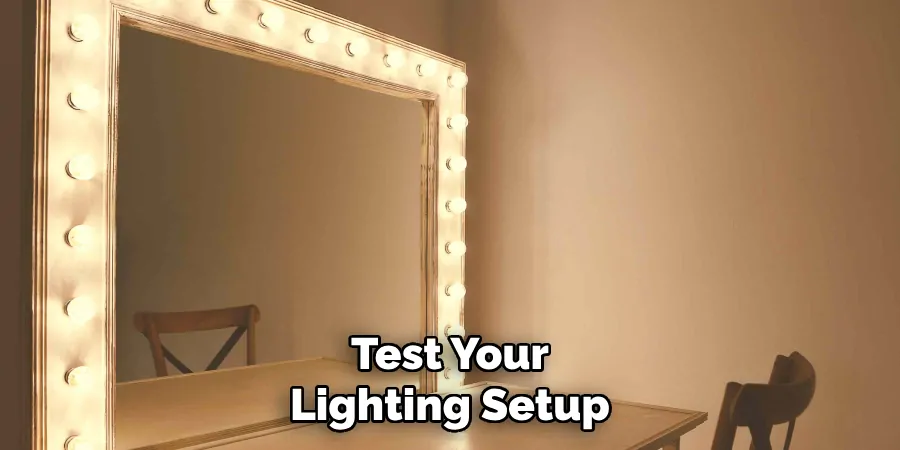
Following these step-by-step guidelines will help you successfully put lights on your vanity mirror. Remember to always prioritize safety and take your time during the process for the best results. With the right supplies and approach, you can transform an ordinary vanity mirror into a beautifully illuminated statement piece in your home. Happy crafting!
Additional Tips and Tricks to Put Lights on a Vanity Mirror
1. If you want to add a touch of glamor to your vanity mirror, consider adding light bulbs with dimmer switches. This will allow you to control the brightness and create different moods depending on your needs.
2. Use LED strip lights for a more modern and energy-efficient option. These can easily be placed around the perimeter of the vanity mirror or even behind it for a backlighting effect.
3. Don’t limit yourself to just one light source. Consider adding multiple lights around the vanity mirror, such as wall sconces or table lamps, for more evenly distributed and flattering lighting.
4. If you have limited space, consider using stick-on lights or battery-operated lights that can be easily attached to your vanity mirror.
5. Make sure to use the right color temperature for your light bulbs. Warm white lights (2700-3000K) are ideal for applying makeup, while cooler daylight bulbs (5000-6500K) work better for hair styling.
6. If you want a more spa-like atmosphere, opt for softer and warmer lighting options, such as candles or string lights, instead of harsh overhead lights.
7. Invest in a quality makeup mirror with built-in lighting for the best results. These mirrors are designed for makeup application and will provide optimal lighting.

8. If your vanity mirror is near a natural light source, make use of it by keeping your blinds or curtains open during the day to let in natural light.
9. If you want to partially replace your existing vanity lights, consider adding a dimmer switch. This will give you more control over the brightness and create a softer ambiance.
10. Remember the bulbs themselves. Make sure to regularly dust or wipe down your light bulbs to prevent any dirt or makeup residue buildup, which can affect their brightness and lifespan.
With these additional tips and tricks, you’ll be able to create the perfect lighting for your vanity mirror, making your makeup routine even more enjoyable and effective.
Experiment with different lighting options to find what works best for you, and don’t be afraid to get creative! Remember, good lighting is key to achieving a flawless look. Happy beautifying!
Things You Should Consider to Put Lights on a Vanity Mirror
1. The first thing you should consider when installing lights on a vanity mirror is the type of lighting that will best suit your needs. Various options are available, such as LED, fluorescent, and incandescent.
2. The next thing to consider is the placement of the lights. You want to make sure that the lighting is evenly distributed across your face, without any harsh shadows. One popular method is to have lights on either side of the mirror or above the mirror at eye level.
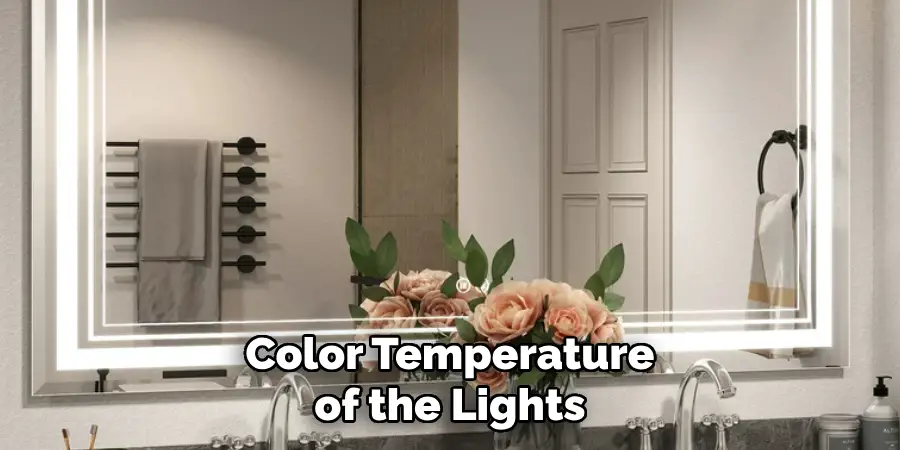
3. Another important factor to consider is the color temperature of the lights. The ideal color temperature for a vanity mirror would be around 4000-5000 Kelvin, as this closely resembles natural daylight and provides the most accurate lighting for makeup application.
4. When it comes to the number of lights to use, less is often more. It’s better to have a few well-placed lights than too many that can create glare or wash out your features. Start with two lights and adjust accordingly based on your needs.
5. Consider adding dimmer switches to your vanity mirror lights. This allows you to adjust the brightness as needed for different tasks and lighting conditions. For example, you may want brighter lights for daytime makeup application and dimmer lights for a more relaxing evening routine.
6. Remember the style of the lights. You want them to complement your vanity mirror and overall décor. Plenty of options are available, from sleek modern LED strips to vintage Hollywood-style bulbs.
7. Safety should also be a consideration when installing lights on your vanity mirror. Make sure to use proper wiring and consult a professional if needed. If using plug-in lights, ensure that the cords are safely tucked away to avoid any accidents.
8. When selecting lights, consider the size of your vanity mirror. Larger mirrors may require more lights for even distribution, while smaller mirrors may only need one or two.
9. Testing the lighting before finalizing your setup is important. This will allow you to make any necessary adjustments and ensure the lighting suits your needs.
10. Lastly, be mindful of your budget when choosing lights for your vanity mirror. While it can be tempting to splurge on fancy lighting options, plenty of budget-friendly options are available that still provide great lighting for makeup application.
Following these considerations will help you achieve the perfect lighting for your vanity mirror, ensuring you have a well-lit and functional space for all your beauty routines. Remember to also regularly clean and maintain your lights for optimal performance and longevity. Happy lighting!
Maintenance Tips for Lights on a Vanity Mirror
1. Clean Regularly:
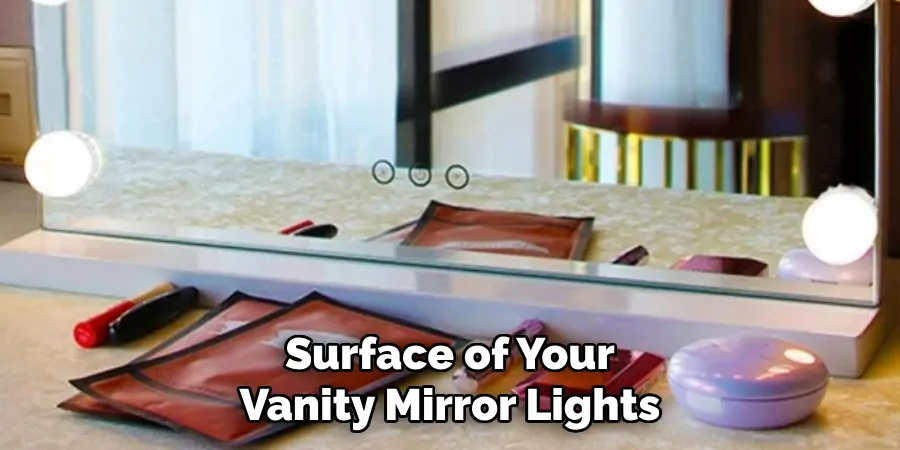
Dust, dirt, and other debris can accumulate on the surface of your vanity mirror lights, hindering their brightness and making them appear dull. It is important to clean your lights regularly to remove any buildup. You can use a soft cloth or a mild cleaning solution to wipe down the surface of the lights. Avoid using harsh chemicals as they can damage the bulbs.
2. Replace Bulbs:
Just like any other light fixture, the bulbs in your vanity mirror lights will eventually burn out and need to be replaced. It is important to keep an eye on the brightness of your lights and replace any burnt-out bulbs as soon as possible.
This will ensure that your lights always provide adequate lighting for your makeup application or grooming routine.
3. Check for Loose Connections:
Over time, the connections and wiring in your vanity mirror lights can become loose or damaged, leading to flickering or dimming of the lights. It is important to regularly check the connections and tighten any loose screws or wires.
If you notice any damage to the wiring, it may be necessary to replace it. It is always best to consult a professional if you need help with how to handle electrical work.
4. Use LED Bulbs:
If your vanity mirror lights allow for it, consider replacing the traditional incandescent bulbs with energy-efficient LED bulbs. Not only do they last longer and use less energy, but they also emit a brighter and more natural light that is ideal for makeup application.
LED bulbs also produce less heat, making them safer to use in close proximity to your face.
5. Consider Dimmer Switches:
Installing dimmer switches for your vanity mirror lights can give you more control over the lighting in your space. This can be especially beneficial if you have various tasks in front of your vanity mirror, such as applying makeup and grooming. Dimmer switches allow you to adjust the brightness of your lights to suit your specific needs.

6. Protect Against Moisture:
Protecting your lights from moisture is important if your vanity mirror is located in a bathroom or other damp area. Make sure that the wiring and connections are properly sealed, and consider using waterproof light fixtures. You can also use a dehumidifier to reduce the amount of moisture in the air.
7. Store Properly:
If you need to store your vanity mirror lights, do so properly. Avoid stacking heavy objects on top of them, and keep them away from extreme heat or cold sources. It is also important to cover them with a cloth or protective covering to prevent dust buildup while in storage.
Following these maintenance tips can help prolong the life of your vanity mirror lights and ensure that they provide optimal lighting for all your grooming needs.
Remember to always handle any electrical work with caution and consult a professional if you need clarification on any maintenance procedures. With proper care, your vanity mirror lights will continue to enhance your daily routine for years to come.
Frequently Asked Questions
What Type of Lights Should I Use for My Vanity Mirror?
There are various types of lights that can be used for a vanity mirror, such as LED bulbs, fluorescent tubes, and incandescent bulbs. It ultimately depends on your preference and the lighting effect you want.
LED bulbs are energy-efficient and provide bright white light, while fluorescent tubes give off a softer, natural-looking light. Incandescent bulbs produce warm light but can be less energy-efficient. Consider experimenting with different types of lights to find what works best for you.
How Many Lights Do I Need for My Vanity Mirror?
The number of lights needed for a vanity mirror depends on the size and shape of the mirror, as well as your personal preference. As a general rule, having at least two light sources on either side of the mirror is recommended to avoid casting harsh shadows on your face.
However, you can also opt for a single light source above the mirror or a combination of both. The key is to have an even and balanced distribution of light.
How Do I Install Lights on My Vanity Mirror?
The installation process may vary depending on the type of lights and the type of mirror you have. However, the basic steps involve measuring and marking where you want your lights to go, drilling holes for the lights, and then securing them in place.

If you need help with how to install the lights, it is best to consult a professional or seek out online tutorials.
Can I Use Battery-Powered Lights for My Vanity Mirror?
Yes, battery-powered lights can be used for a vanity mirror. They offer convenience and flexibility as they do not require any electrical wiring.
However, keep in mind that battery-powered lights may not be as bright and long-lasting as wired lights. It is essential to regularly check and replace the batteries to maintain optimal lighting.
How Do I Keep My Vanity Mirror Lights From Overheating?
To prevent your vanity mirror lights from overheating, make sure to use them within their recommended wattage range. Also, avoid placing them too close to the mirror or any flammable materials.
If you notice that your lights are still overheating, consider switching to LED lights, which produce less heat than incandescent bulbs.
Conclusion
Now you know how to put lights on a vanity mirror and the different factors to consider when doing so. Whether you are looking for a bright and bold makeup look or a soft, natural glow, the right lighting can make all the difference.
Experiment with different types of lights and placement to find what works best for you and your vanity mirror setup. And remember, safety should always be a priority when it comes to electrical installations, so don’t hesitate to seek professional help if needed. Happy lighting!

