Decorating your fence with Christmas lights is a fantastic way to spread holiday cheer and enhance the festive ambiance of your home. Whether you want a simple and elegant look or a bold and colorful display, adding lights to your fence can complement your overall outdoor décor.
With the right tools and techniques, it’s easy to create a stunning lighting arrangement that will impress your neighbors and delight your family throughout the holiday season.
In this article on how to put christmas lights on fence, we’ll provide you with step-by-step instructions and tips to help you create a beautiful display for your fence.
Materials Needed
Before you start putting up the lights, make sure you have all the necessary materials on hand. Here’s what you’ll need:
Christmas Lights (Led or Incandescent):
Make sure to measure the length of your fence beforehand so you can purchase enough lights. LED lights are a popular choice as they tend to last longer, use less energy and come in different colors and styles.
Extension Cords:
Depending on the length of your fence, you may need multiple extension cords to reach all areas.
Zip Ties or Clips:
These will be used to secure the lights on the fence.
Ladder:
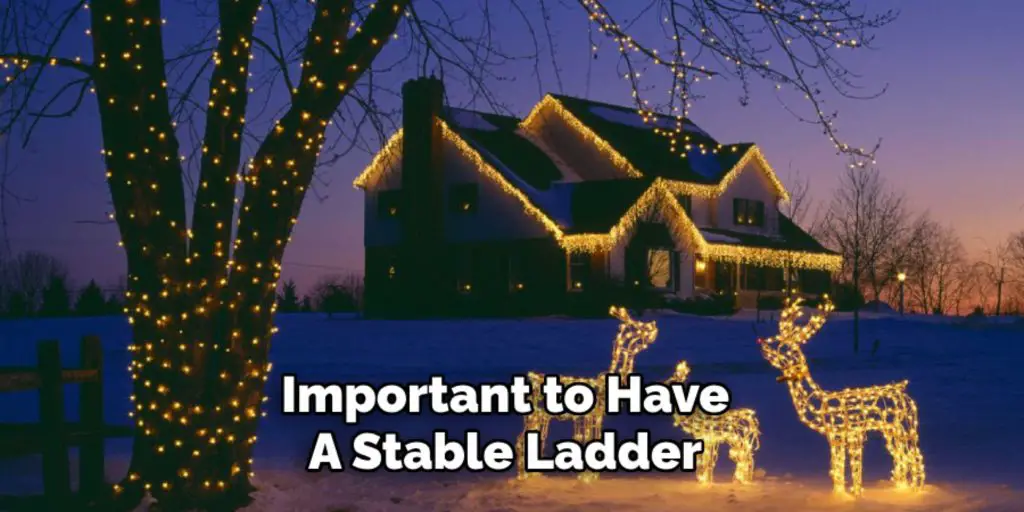
For taller fences, it’s important to have a stable ladder for safety.
8 Step-by-step Guidelines on How to Put Christmas Lights on Fence
Step 1: Plan Your Design
Before you begin, take some time to plan your lighting design. Decide whether you want a uniform arrangement, such as evenly spaced straight lines, or a more dynamic look with zigzags or cascading effects. Consider the color scheme—will you use classic white lights, multicolored strands, or a combination?
Walk along the length of your fence to visualize how the lights will appear and identify potential challenges like corners, gates, or uneven sections. A well-thought-out design will make the setup process smoother and ensure your final display looks polished and intentional.
Step 2: Test the Lights
Before you attach the lights to your fence, plug them in to make sure they are all working properly. Inspect the strands for any burnt-out bulbs, frayed wires, or damage that could pose a safety hazard. If you find any issues, replace the bulbs or the entire strand as needed.
This step is crucial, as it saves you time and effort by ensuring everything is functional before installation. Once you’ve confirmed the lights are in good working condition, unplug them to proceed safely to the next steps.
Step 3: Clean the Fence
To make sure your lights stand out and enhance the beauty of your fence, it’s important to clean it beforehand. Remove any debris, dirt or cobwebs using a pressure washer or a scrub brush with soap and water. A clean surface will help the lights stay in place better and prevent damage to both the lights and your fence.
You could also consider painting your fence a light color like white or pale blue to make the lights pop even more.
Step 4: Start at the Bottom
Begin by attaching the lights to the bottom of your fence, near an electrical outlet, if possible. This will allow you to easily plug in and connect all strands of lights. If there are no outlets nearby, use extension cords to reach one from a safe distance.
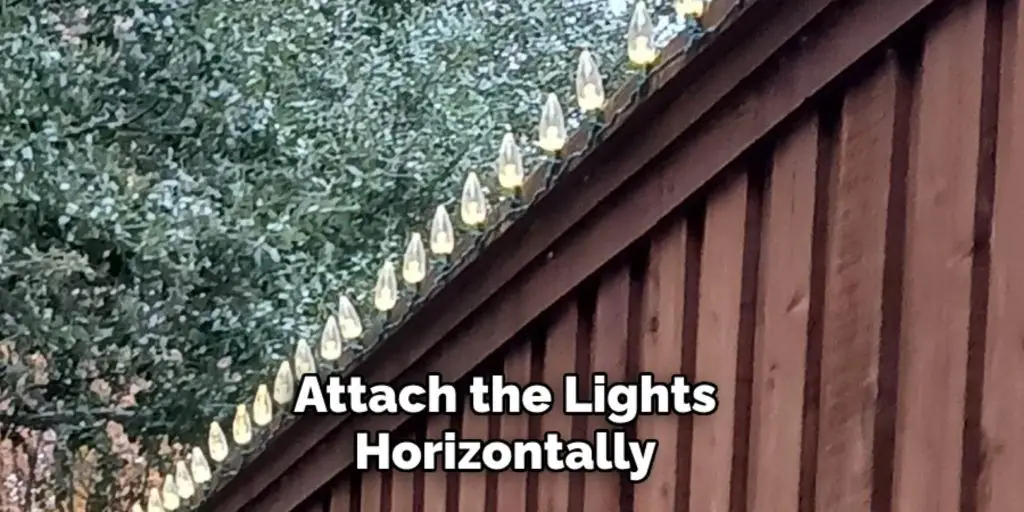
It’s a good idea to use clips or zip ties instead of staples, as they are less likely to damage your fence and can easily be removed after the holiday season. Attach the lights horizontally along the bottom of the fence, securing them every few feet.
Step 5: Work Your Way Up
Once you’ve secured the lights at the bottom, it’s time to work your way up towards the top of your fence. Depending on your design plan, you may want to attach them in straight lines or curves following the contour of your fence. Keep spacing consistent for a professional look.
If you have tall fences or multiple levels, use a ladder and make sure it is positioned safely and securely before climbing.
Step 6: Wrap Posts and Poles
If your fence has posts or poles, consider wrapping them with lights to add more depth and visual interest to your display. Use clips or zip ties to keep the lights in place while wrapping them around the posts. If the post is too large, you can attach a strand of lights vertically along one side for a similar effect.
For added safety, cover any exposed wires with electrical tape to prevent any potential hazards.
Step 7: Add Accents
To make your lighting display even more enchanting, consider adding some accents such as ornaments, bows, or garlands along with the lights. These can be attached using the same clips or zip ties.
You could also hang lighted wreaths or other decorations on your fence to add more dimension and variety to your design.
Step 8: Power Up
Once all the lights and accents are in place, it’s time to plug them in and see your hard work come to life! Double-check that all connections are secure and that there are no exposed wires before turning on the power.
For added convenience, consider using a timer or remote control so you can easily turn the lights on and off without having to physically access the outlets.
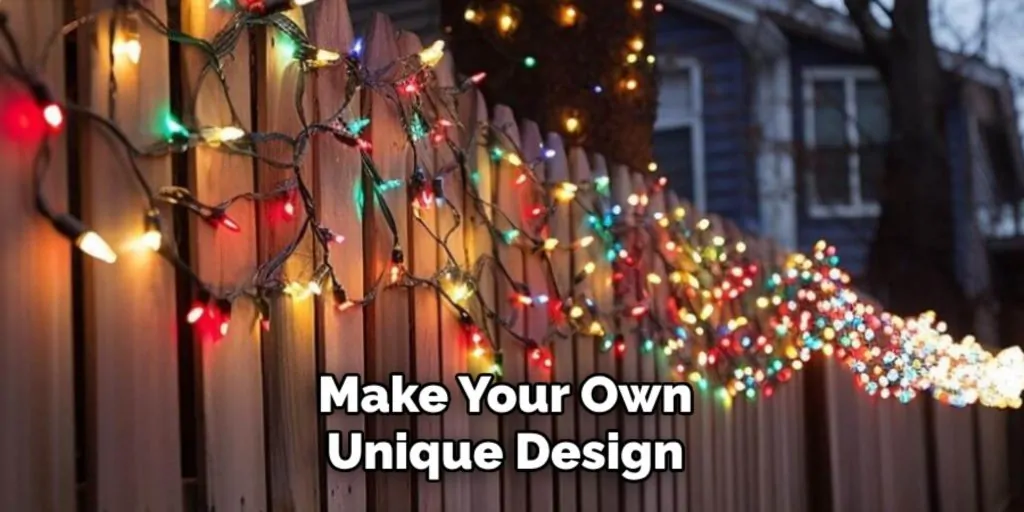
Following these steps on how to put christmas lights on fence, you’ll have a beautifully lit fence that will be the talk of the neighborhood. Get creative and make your own unique design to spread holiday cheer and create a festive atmosphere for all to enjoy. Happy decorating!
Tips for Creating a Stunning Display
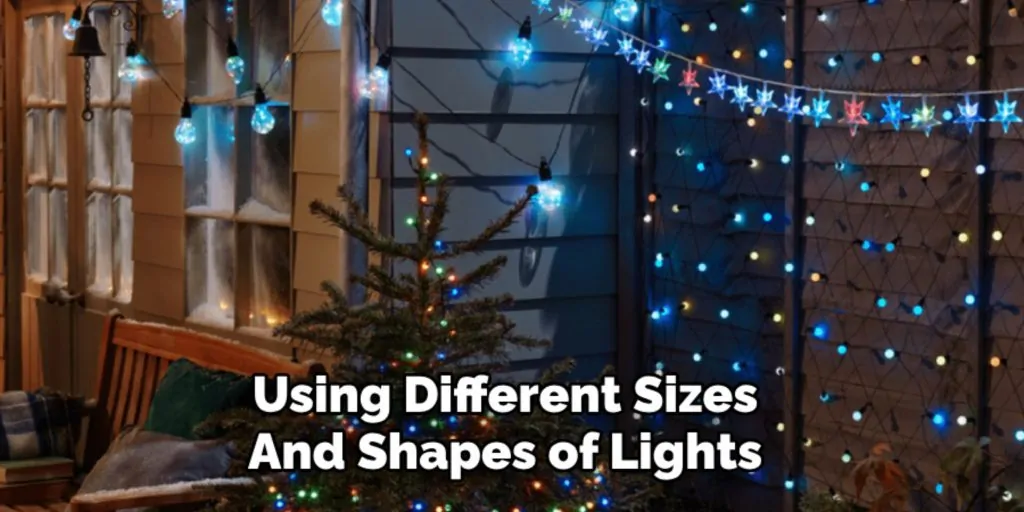
- Use different sizes and shapes of lights for added visual interest.
- Mix white and colored lights for a unique look.
- Use reflective surfaces, such as mirrors or shiny ornaments, to create more sparkle.
- Consider using solar-powered lights as an eco-friendly option.
- Personalize your display by incorporating meaningful elements like family photos or handmade decorations.
- Have fun and be creative! There are endless possibilities when it comes to decorating your fence with lights. So don’t be afraid to try new things and make it your own unique holiday display. Happy decorating!
Safety Precautions
- Always read the manufacturer’s instructions and safety guidelines before installing any electrical decorations.
- Inspect all cords, plugs, and wires for damage before use.
- Turn off all lights when leaving the house or going to bed.
- Do not overload outlets with too many strands of lights.
- Keep extension cords away from water sources and make sure they are rated for outdoor use.
- Use clips or zip ties instead of staples to avoid damaging your fence.
- Never use damaged or frayed lights.
- Be cautious when using a ladder and make sure it is securely positioned before climbing.
- Follow all local laws and guidelines for outdoor decorations.
- Always prioritize safety to ensure a happy and festive holiday season for all.
With these tips and precautions in mind, you can enjoy a beautifully decorated fence that will spread joy and holiday spirit to all who see it. Happy holidays!
Frequently Asked Questions
Q1: Can I Use Indoor Lights for My Outdoor Fence Decoration?
A: Indoor lights are not recommended for outdoor decorations, as they are not designed to withstand harsh weather conditions and can pose a safety hazard. Always use lights that are specifically designated for outdoor use.
Q2: How Do I Secure the Lights to My Fence Without Damaging It?
A: Avoid using staples or nails, as they can damage your fence and potentially cause a fire hazard. Instead, use clips or zip ties that can easily be removed after the holiday season. It’s also a good idea to cover any exposed wires with electrical tape for added safety.
Q3: Can I Leave the Lights on My Fence All Year Round?
A: It is not recommended to leave your lights up all year round, as they can become damaged by weather and may not last as long. Take them down after the holiday season and store them properly for future use.
Q4: How Many Lights Should I Use for My Fence?
A: This will depend on the size and design of your fence, as well as personal preference. As a general guideline, plan for about 100-150 lights per vertical foot of fence. Consider using different sizes and shapes of lights to create a more dynamic display. Overall, have fun and be creative with your lighting design!
Conclusion
Decorating your fence with Christmas lights is a fun and festive way to spread holiday cheer and make your home stand out in the neighborhood.
With these simple steps and tips on how to put christmas lights on fence, you can create a stunning display that will bring joy to all who see it. Remember to prioritize safety and follow precautions to ensure a happy and stress-free holiday season. Happy decorating!

