Do you want to give your room an updated, stylish look? Have you seen how ceiling lights with unique lampshades can turn a boring room into something special? Adding a lampshade to your existing ceiling light is an easy and inexpensive way to quickly update the style of any room in your home.
In this blog post, we’ll cover how to put a lampshade on a ceiling light and shade measurements for choosing the correct size shade, and useful tips for a successful installation. By following these steps, you’ll be able to makeover any living space – whether it’s just one corner of a room or the entire main area! So let’s get started!
Step-by-step Guidelines on How to Put a Lampshade on a Ceiling Light
Step 1: Gather Supplies
Before you begin, make sure to have the following supplies on hand: a lampshade that fits your needs, a ladder (or stepstool if needed), screwdriver and/or Allen wrench, electrical tape as well as scissors or a pair of wire cutters. If you don’t already have these items, they can all be purchased at a local hardware store.
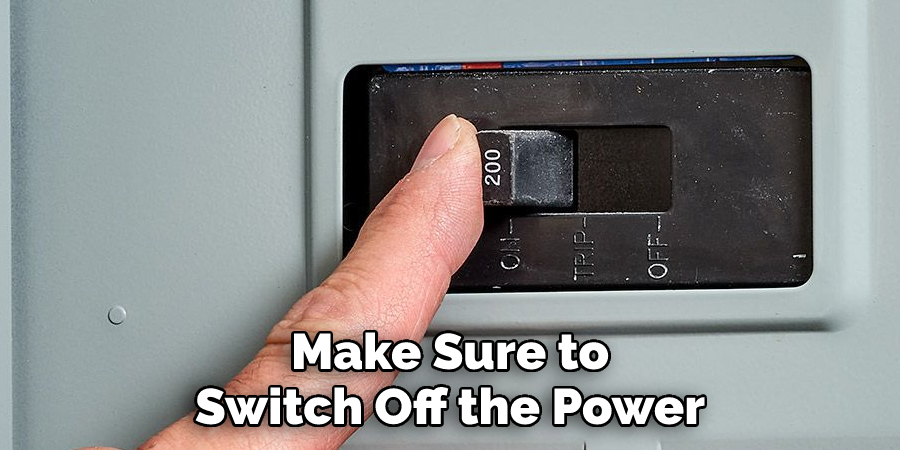
Step 2: Turn Off the Power
Safety first! Make sure to switch off the power at your home’s breaker box before you begin. If you’re uncomfortable working with electricity, consult an electrician for assistance. That said, this project should be simple enough that most people can complete it without the help of a pro. But it’s always better to be safe than sorry!
Step 3: Remove Old Shade and Light Bulb
Carefully remove the old shade from the ceiling light fixture, then unscrew and remove the bulb as well. It’s a good idea to keep a few spare bulbs on hand in case the existing one is too old or damaged. But don’t re-install the bulb until after you’ve finished putting the new lampshade in place. It’s just safer that way!
Step 4: Select the Correct Size Lampshade
Take a close look at your existing light fixture and measure it in order to choose a lampshade that is an appropriate size. Ideally, the shade should be slightly larger than the fixture itself so it can cover it completely. If you’re not sure what size to buy, consult a professional for assistance. Make sure to measure the width, height, and depth of your light fixture so you can find a suitable shade.
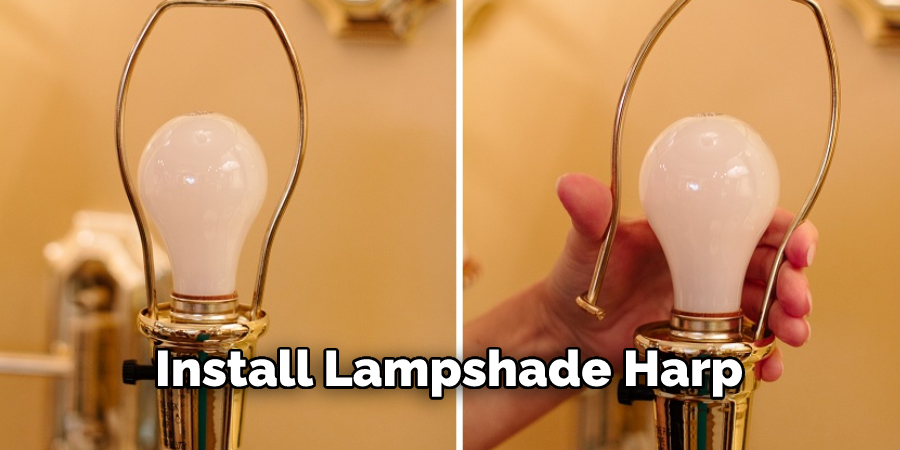
Step 5: Install Lampshade Harp
The harp is a metal frame used to support a lampshade on a lamp or light socket. Place the harp onto the ceiling light fixture and tighten it with a screwdriver or Allen wrench. You may need to use electrical tape if the frame doesn’t fit snugly. But make sure the tape is safely secured and won’t cause a fire hazard.
Step 6: Attach Shade to the Harp
Slide the lampshade over the harp, making sure that it is centered and secure. It should fit snugly onto the frame with no gaps. If you have to force it into place, stop and double-check that you’ve got the correct size shade for your fixture. You may need to adjust the harp if it isn’t fitting correctly.
Step 7: Tighten Shade to Harp
Use your hands to tighten any screws along the top of the shade in order to secure it firmly in place. It should be snug but not too tight. If you’re having difficulty, use a screwdriver to make any necessary adjustments. But be careful not to overtighten the screws, as this could damage the shade. That’s it! You’ve now successfully installed a lampshade on your ceiling light.
Step 8: Connect Light Socket
Reattach the bulb socket and then wire everything back together according to its original configuration. Apply electrical tape to any bare wires as an extra safety measure. It’s also a good idea to check for any signs of wear and tear before reassembling the fixture. But if all looks good, proceed with the next step.
Step 9: Reinstall Bulb
Screw the light bulb back into the socket and make sure it is securely in place. If it feels loose or unstable, don’t attempt to turn the power back on. Instead, double-check that you have securely tightened the bulb before attempting to turn the power on. That’s it, you’ve successfully put a lampshade on your ceiling light!
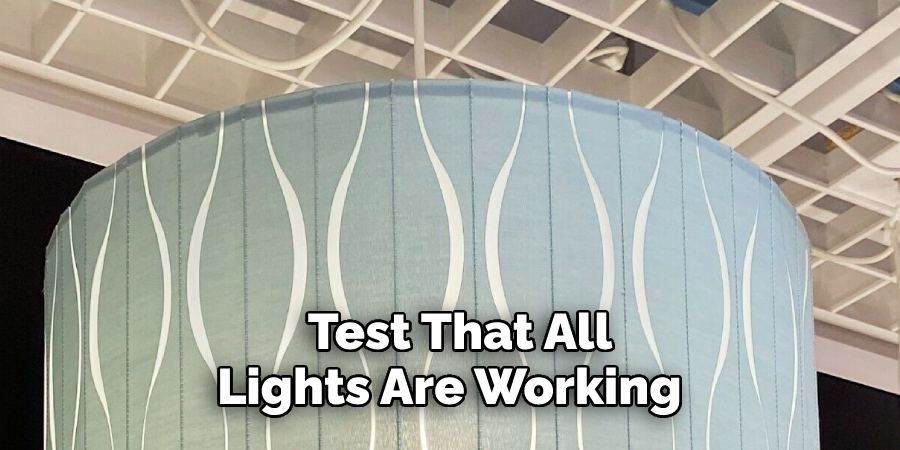
Step 10: Test Lights
Turn on the power at your home’s breaker box and test that all lights are working properly. Make sure to turn off the power again before continuing. It’s also a good idea to wear safety glasses when working with electricity and light fixtures. But if all goes well, you can now enjoy the lovely new lampshade on your ceiling light! Remember to use caution when working with electricity and always consult a qualified electrician if you’re not sure what you are doing.
Step 11: Add Finishing Touches
Add any decorative elements you may have purchased such as a finial or tassels for an extra stylish touch. That’s it, you’re all done! Now you can relax and enjoy the beautiful new lampshade on your ceiling light. It’s an easy way to update the look of any room without having to completely replace your light fixture.
Step 12: Admire Your Work!
Once everything has been installed correctly, stand back and admire your work – you’ve just successfully put up a lampshade on a ceiling light! Give yourself a pat on the back and enjoy your newly updated space. Always remember to use caution when working with electrical fixtures and devices. With a little bit of patience and know-how, you can easily put up a lampshade on your ceiling light.
By following these simple steps on how to put a lampshade on a ceiling light, you’ll be able to quickly and easily update the look of any room in your home with a new lampshade on a ceiling light. Once you’ve mastered this skill, why not try out some other projects? You could also try hanging pendant lights or other wall fixtures for a completely different look.
Do You Need to Use Professionals?
While it is possible to put a lampshade on your ceiling light without professional help, it’s important to remember that electricity is dangerous and can cause serious injury if not handled properly.
If you are uncertain of any of the steps outlined above, or if you don’t feel comfortable working with electricity, it’s best to hire a qualified electrician for the job. They will be able to safely and properly install your lampshade on the ceiling light, ensuring your safety and peace of mind.

Frequently Asked Questions
Q: What Type of Lampshade Should I Choose for My Ceiling Light?
A: The best way to pick out a lampshade for your ceiling light is to look at the size and shape of the fixture itself. Make sure that the lampshade is compatible with the type of ceiling light you have, and that it is the correct size. Make sure to measure your fixture before picking out a lampshade to ensure a perfect fit.
Q: How Do I Secure My Lampshade to the Harp?
A: Once you’ve got the lampshade in place, use your screwdriver to tighten the screws on the harp. Be sure not to overtighten, as this could damage the shade. Once it is securely in place, your lampshade should stay firmly attached to your ceiling light fixture.
Q: Are There Any Safety Precautions I Should Take When Installing a Lampshade?
A: Always remember to turn off the power at your home’s breaker box before attempting any electrical work. When wiring your ceiling light fixture, be sure to use electrical tape on all exposed wires and contacts for extra safety. Wear safety glasses when working with electricity and light fixtures, and always consult a qualified electrician if you’re not sure what you are doing.
Q: What Other Tips Should I Know for Installing a Lampshade?
A: When installing your lampshade, be sure to use a screwdriver that is the correct size for your fixture. It’s also important to make sure that all of the wires are properly connected before turning on the power – if they aren’t, your lampshade won’t work properly. Lastly, be sure to use the appropriate tools and safety precautions when working with electricity and light fixtures.
Conclusion
After reading this article on how to put a lampshade on a ceiling light and with the right materials and equipment, you can successfully put a lampshade on your ceiling light. Start by identifying the type of material from which your lampshade is made, and make sure it is compatible with the light fixture to which it will be attached.
Once you have the proper adapter for any recessed lighting fixtures, you can assemble all pieces together until secure. If possible use a strapping tool or a heavy-duty stapler to attach the lampshade lining directly to the lampshade frame instead of using glue.
Last but not least, once everything is in place make sure that the wiring connections are safe and complete so your new lampshade is ready to be used!
Taking just a few minutes to carefully work through these steps, your home can easily become stylish and well-lit.

