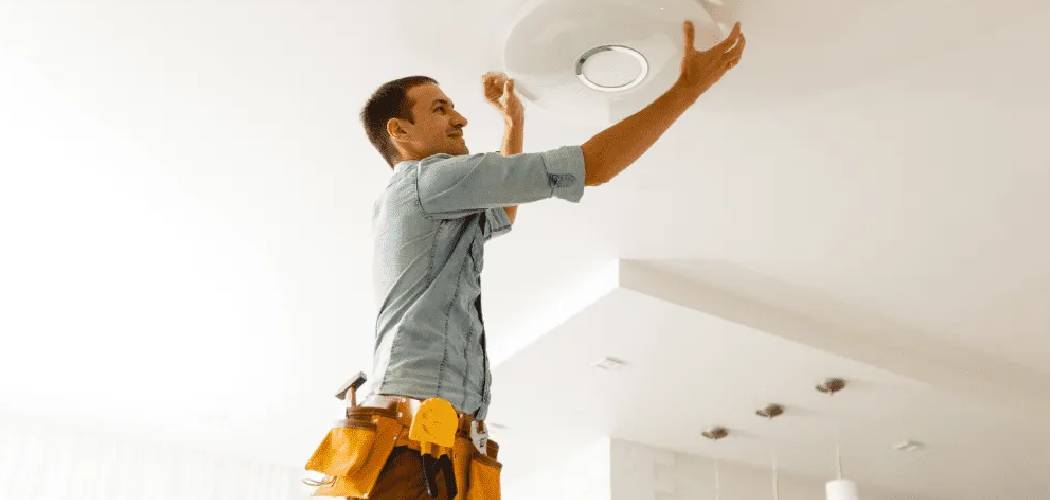
Nothing is more frustrating than installing a new light bulb only to have it shatter in your hands or burn out prematurely due to preventable issues. Understanding how to prevent light bulbs from breaking can save you money, time, and the hassle of constantly replacing damaged bulbs. Whether you’re dealing with fragile incandescent bulbs, energy-efficient LEDs, or specialty lighting, proper handling and installation techniques make all the difference.

Light bulb breakage isn’t just an inconvenience—it can create safety hazards from sharp glass fragments and expose you to electrical risks. Many homeowners unknowingly contribute to bulb failure through improper installation, incompatible fixtures, or neglecting basic maintenance practices. The good news is that most bulb breakage is entirely preventable with the right knowledge and approach.
This comprehensive guide will walk you through proven strategies to protect your light bulbs from common causes of damage, ensuring longer-lasting illumination and safer lighting in your home.
Why Preventing Light Bulb Breakage Matters
Light bulb breakage represents more than just a minor household annoyance. The financial impact adds up quickly when you consider that frequent replacements can cost hundreds of dollars annually for the average household. Premium LED bulbs, while more durable, still represent a significant investment that deserves protection through proper care and installation.
Safety concerns make bulb protection even more critical. Broken glass creates immediate hazards, especially in areas where children or pets spend time. Sharp fragments can cause cuts, while electrical components exposed during bulb failure pose shock risks. Additionally, improper bulb installation or compatibility issues can lead to overheating, potentially causing fixture damage or fire hazards.
8 Step-by-Step Guide: How to Prevent Light Bulbs from Breaking
Step 1: Choose the Right Bulb Type for Your Needs
Selecting appropriate bulb types for your specific applications represents the foundation of breakage prevention. Shatter-resistant bulbs offer superior protection in high-traffic areas, children’s rooms, or locations where bulbs might experience vibration or impact. These specially designed bulbs feature reinforced glass or protective coatings that prevent dangerous shattering even when damaged.
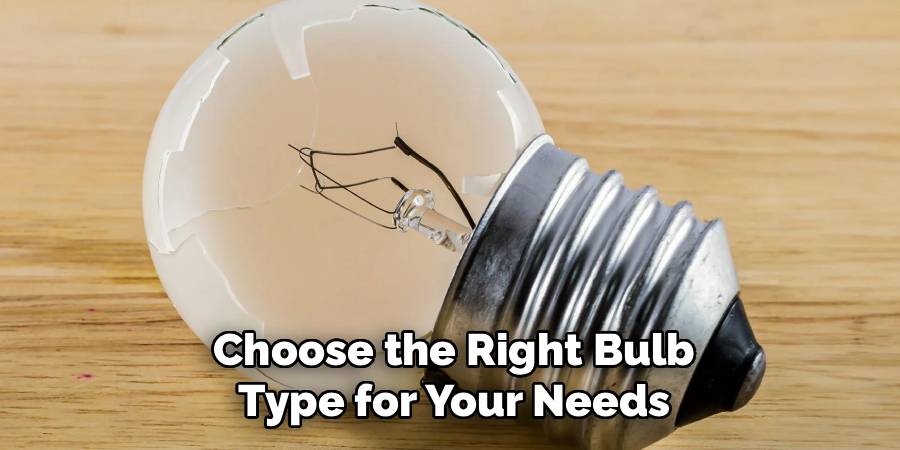
Consider LED bulbs for their exceptional durability and longevity compared to traditional incandescent options. LEDs generate less heat, resist vibration better, and typically last 25 times longer than incandescent bulbs. Their solid-state construction eliminates fragile filaments that commonly fail in traditional bulbs. For outdoor applications, choose bulbs specifically rated for weather resistance and temperature extremes.
Step 2: Ensure Proper Voltage Compatibility
Voltage compatibility forms a critical but often overlooked aspect of bulb longevity. Using bulbs with incorrect voltage ratings causes immediate failure, shortened lifespan, or dangerous overheating conditions. Always verify that your bulb’s voltage rating matches your fixture’s electrical supply exactly. Standard household fixtures in North America operate at 120 volts, while some specialty applications may require different voltages.
Check fixture labels or consult manufacturer specifications if you’re uncertain about voltage requirements. Low-voltage systems, common in landscape lighting or track lighting, typically operate at 12 or 24 volts and require specifically designed bulbs. Using standard 120-volt bulbs in low-voltage systems results in dim operation and premature failure, while using low-voltage bulbs in standard fixtures causes immediate burnout.
Step 3: Install Bulbs with Proper Technique
Proper installation technique prevents mechanical stress that commonly causes bulb failure. Always ensure power is completely turned off at the wall switch before beginning any bulb installation or removal. Allow hot bulbs to cool completely before handling, as thermal shock from temperature differences can cause glass to crack or shatter unexpectedly.
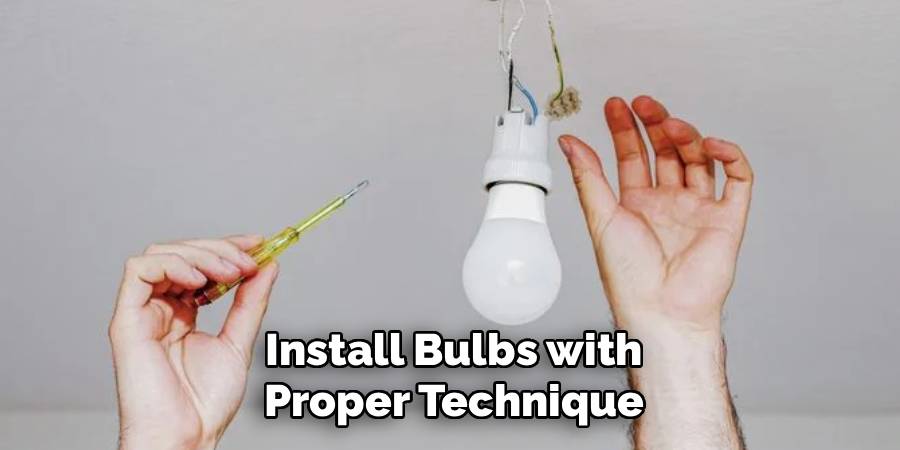
Handle bulbs by their base rather than the glass envelope whenever possible. The metal base provides a secure grip point while protecting the fragile glass from oils, pressure, and potential impact. For larger bulbs where base-only handling isn’t practical, wear clean cotton gloves to provide better grip while protecting the glass from skin oils that can create hot spots and premature failure.
Step 4: Maintain Clean and Stable Light Fixtures
Light fixture maintenance directly impacts bulb longevity and safety. Dust accumulation acts as insulation, trapping heat around bulbs and causing them to operate at higher temperatures than designed. This thermal stress shortens bulb life dramatically and can cause glass failure from overheating. Clean fixtures monthly using appropriate cleaning methods for your fixture type.
Inspect fixture connections regularly for signs of looseness, corrosion, or damage. Loose wire connections create resistance that generates excess heat, potentially damaging both the fixture and bulb. Corroded connections prevent proper electrical contact, causing flickering, arcing, and premature bulb failure. Address any connection issues immediately by tightening screws or consulting an electrician for more serious problems.
Step 5: Control Temperature Fluctuations Around Bulbs
Temperature control plays a crucial role in preventing thermal shock and extending bulb life. Avoid installing bulbs in enclosed fixtures without adequate ventilation, as trapped heat creates operating conditions far beyond design specifications. If you must use enclosed fixtures, choose bulbs specifically rated for enclosed use or consider ventilated fixture alternatives.
Position bulbs away from heat sources like heating vents, fireplaces, or appliances that generate significant thermal output. Rapid temperature changes cause glass to expand and contract at different rates, creating internal stress that leads to cracking or complete failure. Maintain consistent ambient temperatures around lighting installations whenever possible.
Step 6: Address Electrical System Issues Promptly
Electrical system problems create conditions that destroy bulbs quickly and potentially dangerously. Voltage fluctuations from utility company issues or household electrical problems cause bulbs to operate outside design parameters, leading to shortened life and potential failure. Install whole-house surge protectors to guard against voltage spikes that instantly destroy bulbs and other sensitive electronics.
Flickering lights often indicate loose connections, failing switches, or circuit overloads that stress bulbs and create fire hazards. Never ignore flickering as a minor annoyance—investigate and correct the underlying cause immediately. Simple issues like loose wire nuts can be addressed by homeowners with basic electrical knowledge, while more complex problems require professional electrical service.
Step 7: Store Spare Bulbs Properly
Proper storage protects replacement bulbs from damage before installation. Keep spare bulbs in their original packaging whenever possible, as manufacturers design packaging to protect against impact, moisture, and temperature extremes. If original packaging is unavailable, wrap bulbs individually in soft cloth or bubble wrap before placing them in sturdy containers.
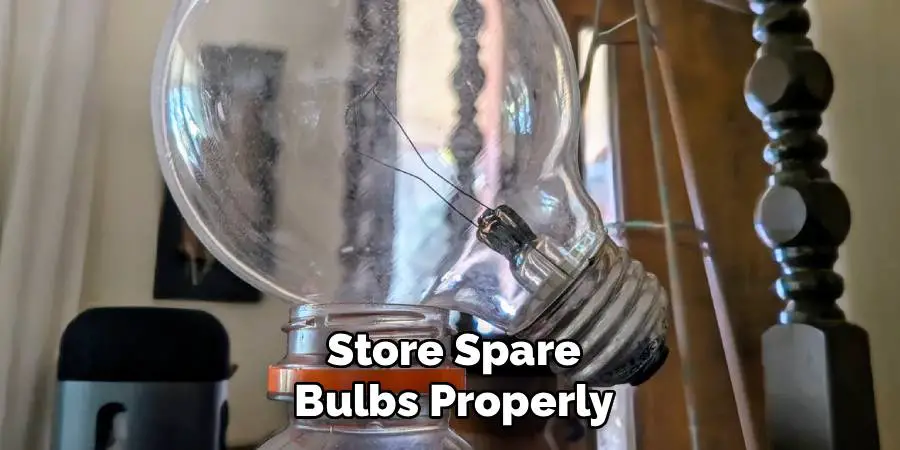
Store bulbs in climate-controlled environments away from temperature extremes and humidity. Basements, garages, and attics often experience conditions that can damage bulbs through condensation, freezing, or excessive heat. Room temperature storage in dry conditions preserves bulb integrity and ensures reliable performance when needed.
Step 8: Use Protective Covers When Appropriate
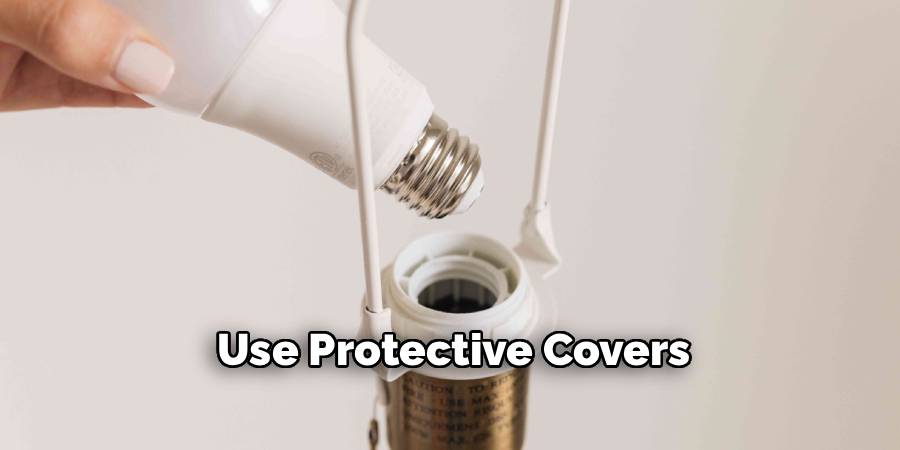
Protective covers and guards provide additional safety in high-risk environments where bulb breakage could create serious hazards. Industrial and commercial applications often require wire guards, plastic shields, or specialized fixtures designed to contain glass fragments if breakage occurs. These protective measures prove equally valuable in residential garages, workshops, and recreational areas.
For outdoor lighting exposed to weather extremes, consider fixtures with tempered glass covers or polycarbonate shields that protect bulbs from hail, wind-driven debris, and temperature shock. These protective elements also extend bulb life by creating more stable operating conditions while maintaining adequate light output for safety and security applications.
Frequently Asked Questions (FAQs)
Why Do Light Bulbs Keep Breaking in My Fixtures?
Common causes include voltage issues, fixture overheating, vibration, or improper installation techniques. Check that bulbs match fixture voltage requirements exactly. Enclosed fixtures without ventilation create excessive heat, while loose mounting causes vibration damage. Over-tightening during installation stresses the glass, leading to cracks and eventual failure.
Are LED Bulbs Really More Durable Than Traditional Bulbs?
Yes, LED bulbs are significantly more durable due to their solid-state construction without fragile filaments. They resist vibration better, generate less heat, and typically last 25,000+ hours compared to 1,000 hours for incandescent bulbs. However, LEDs still require proper installation and voltage compatibility to achieve maximum lifespan and prevent premature failure.
What Should I Do If A Bulb Breaks During Installation?
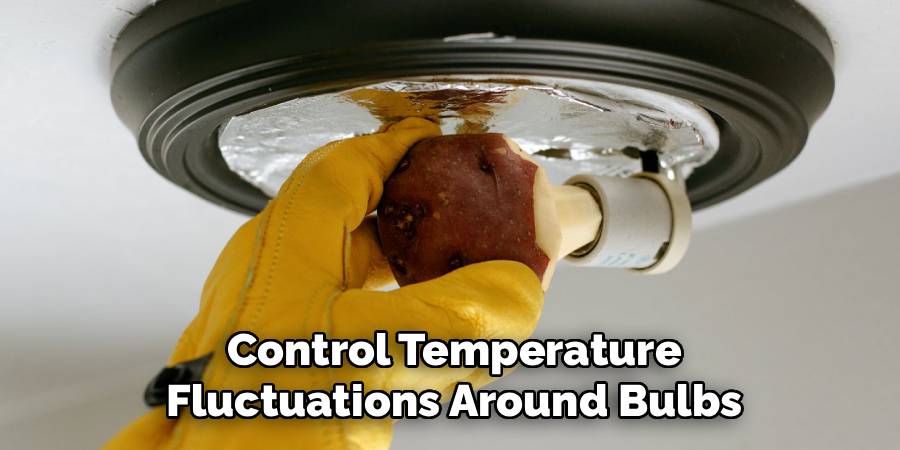
Turn off power immediately at the circuit breaker, not just the wall switch. Remove remaining glass fragments carefully using needle-nose pliers or a raw potato pressed against the broken base. Never use bare hands. Check for loose glass in the fixture and vacuum the area thoroughly. Inspect the fixture for damage before installing a replacement bulb.
How Can I Tell If My Fixture Is Causing Bulb Problems?
Signs include frequent bulb failures, flickering, visible corrosion around connections, loose mounting, or excessive heat buildup. Multiple bulb failures in the same fixture indicate fixture-related issues rather than bulb defects. Have an electrician inspect fixtures showing these symptoms to identify and correct underlying problems before they create safety hazards.
Do Dimmer Switches Affect Bulb Longevity?
Dimmer compatibility significantly impacts bulb life and performance. Standard incandescent bulbs work with most dimmers and may last longer when dimmed. However, many LED and CFL bulbs require dimmer-compatible designs to function properly. Using non-dimmable bulbs with dimmers causes flickering, buzzing, shortened life, or complete failure. Always verify dimmer compatibility before installation.
Conclusion
Learning how to prevent light bulbs from breaking empowers you to maintain safer, more economical lighting throughout your home while reducing the frustration of frequent replacements. The strategies outlined in this guide address the most common causes of bulb failure, from improper installation techniques to environmental factors that stress lighting components.
Start implementing these prevention strategies today, beginning with your most frequently used fixtures and working toward comprehensive lighting system maintenance. Your efforts will be rewarded with longer-lasting bulbs, reduced replacement costs, and the peace of mind that comes from safer, more reliable lighting throughout your home.

