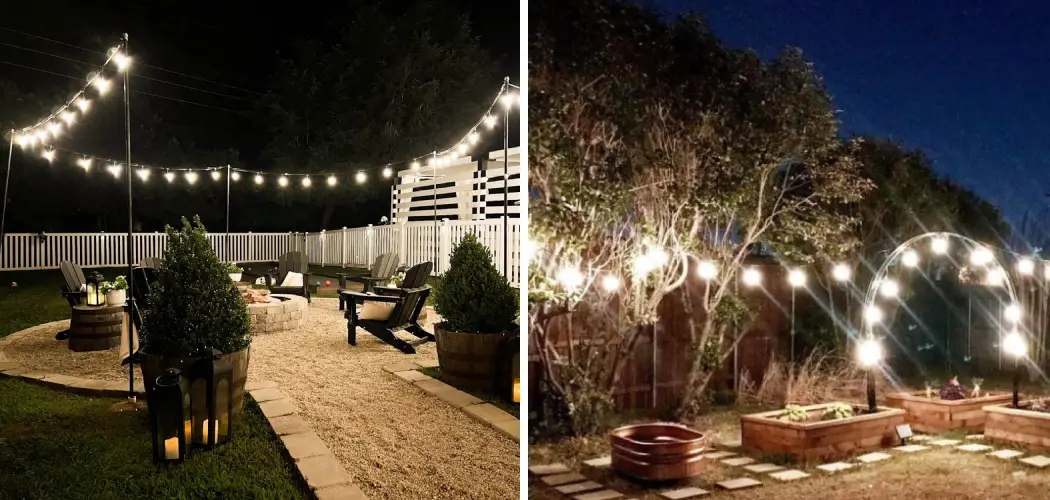
Everyone loves the soft, inviting light given off by string lights. It’s why these tiny twinkle lights adorn all sorts of special occasions—from decorating a wedding reception to setting a cozy outdoor lounge area at a barbecue.
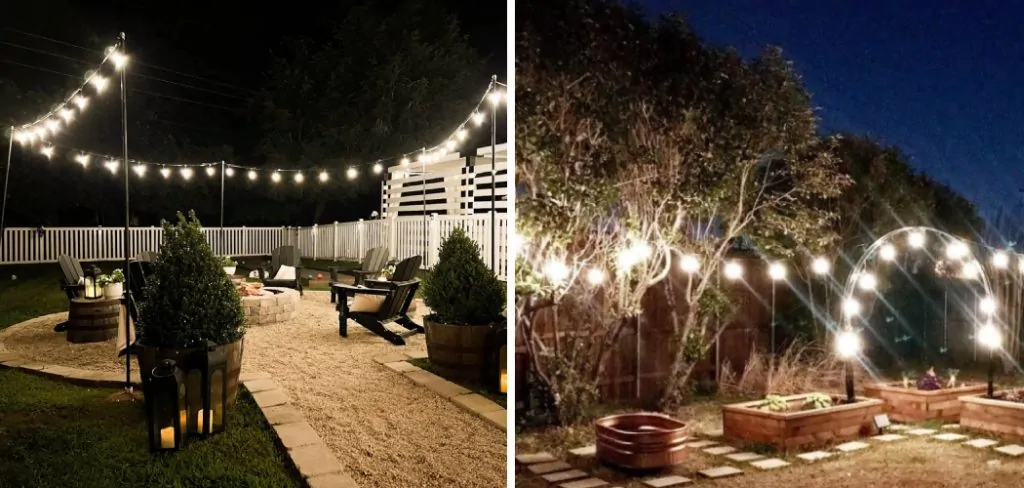
But what if you don’t have an outlet nearby? With a little creativity and elbow grease, you can get your string lights glowing without having to plug them in. Read on how to power string lights without an outlet as we show you how to power string lights without the need for an electrical outlet!
Needed Materials
Given below are the materials you will need to get started:
- String Lights of Your Choice
- Battery Holder (to Fit Your Batteries)
- Batteries (Make Sure They’re Fresh)
- Wire Cutters and Strippers
- Soldering Iron and Solder
- Electrical Tape or Heat Shrink Tubing
- Hot Glue Gun (Optional)
- Pliers (Optional)
10 Step-by-step Guidelines on How to Power String Lights Without an Outlet
Step 1: Choose Your String Lights
The first step is to decide on the type and style of string lights you want to use. There are countless options available, such as fairy lights, globe string lights, or even rope lights. Consider the look and feel you want to achieve, as well as the length of lights needed for your space. It’s also important to select lights that are suitable for outdoor use if you plan on using them outside.
Step 2: Purchase Battery Holder
Once you have your string lights picked out, it’s time to purchase a battery holder that will fit your batteries. You can find these at most hardware or electronics stores and online. You may want to consider purchasing a holder with an on/off switch for convenience.
It’s also important to check the voltage requirements of your lights and make sure the battery holder can provide enough power. You can use multiple battery holders if needed. But keep in mind, that the more batteries you use, the longer your lights will last.
Step 3: Remove Insulation from Both Ends of Your Wire
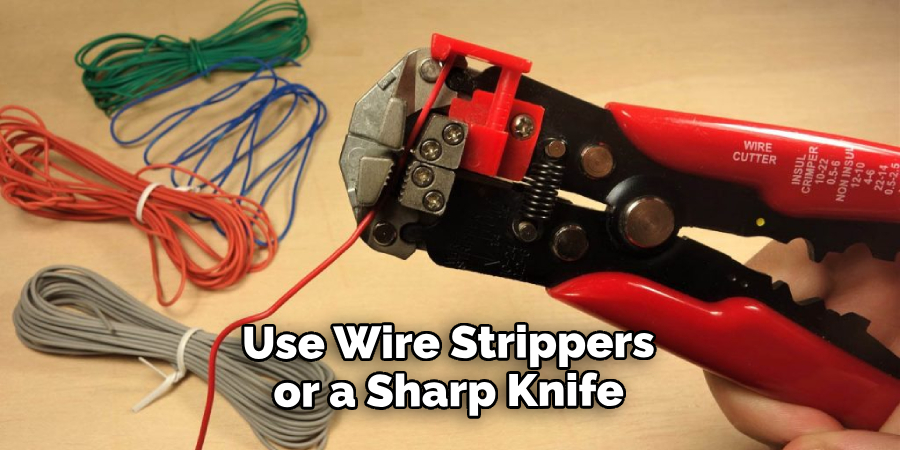
Use wire strippers or a sharp knife to carefully remove about an inch of insulation from both ends of your wire. Be cautious not to accidentally cut any wires inside. You should see two smaller wires inside – one is the positive wire and the other is the negative wire. It’s important to keep track of which is which. You can use different colored wires or mark them with a sharpie for easier identification.
Step 4: Prepare the Battery Holder
Some battery holders come with pre-stripped wires, but if not, use wire strippers to remove about half an inch of insulation from each wire. Twist the exposed ends together to prevent fraying. However, if your battery holder has pin connectors, you can skip this step and move on to the next one. It’s a good idea to test your battery holder before moving on to ensure it’s working properly. It may also be helpful to mark one of the wires as positive and one as negative for future reference.
Step 5: Solder the Wires
Heat up your soldering iron and apply a small amount of solder to both sets of twisted wires—those on your string lights and those on the battery holder. Then, press the two sets of wires together and use your soldering iron to melt the solder and fuse them together.
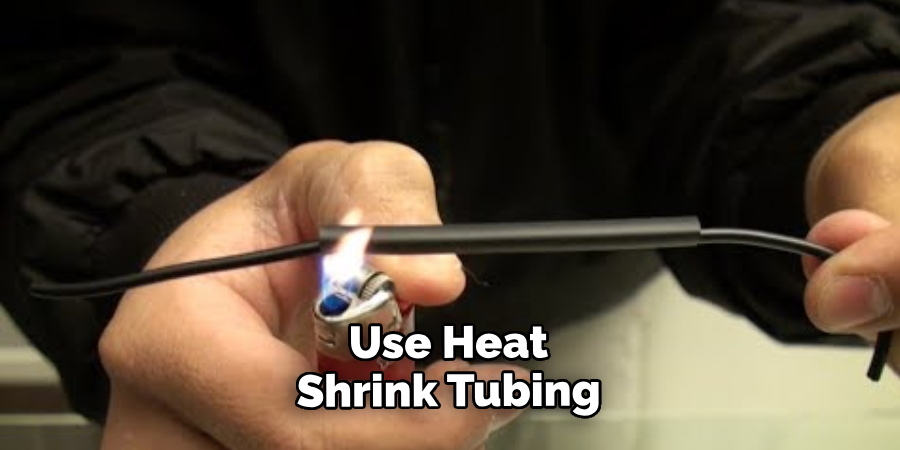
But be careful not to burn yourself in the process. Once cooled, wrap the connection with electrical tape or use heat shrink tubing for a more secure and professional-looking finish. It’s important to ensure the positive wire from your lights is connected to the positive wire on the battery holder and vice versa.
Step 6: Insulate Your Connection
Once the wires are fused, wrap electrical tape around the connection to insulate it. Alternatively, you can use heat shrink tubing for a more secure hold. Whether using tape or tubing, make sure to cover the exposed wires entirely. If using electrical tape, give it a few wraps to ensure proper insulation. You can also use hot glue for added reinforcement. But be careful not to get any glue on the wires, as it can prevent them from conducting electricity.
Step 7: Test Your Connection
Insert the batteries into the holder and test your connection by turning on the lights. If they don’t turn on, double-check your wiring and connections. It’s also a good idea to test the strength and brightness of your lights at this point to make sure they are suitable for your needs. If the lights are not bright enough, you can try using more batteries or finding a different battery holder with higher voltage capabilities.
Step 8: Secure the Battery Holder
Use hot glue or tape to secure the battery holder in place. Make sure it’s easily accessible so you can change out the batteries when needed. Alternatively, you can use pliers to crimp the battery holder onto a piece of furniture or other stable object. But be careful not to damage the wires or connections. Otherwise, you can also use Velcro or zip ties for a more temporary and adjustable solution.
Step 9: Hang Your Lights
Now it’s time to hang your lights! Use clips, hooks, or any other method that will safely hold the weight of your string lights and keep them in place. You can also use tape or adhesive hooks for temporary setups. Be creative with how and where you hang your lights to achieve the desired effect.
But make sure to keep the battery holder easily accessible for future maintenance. If using the lights outside, make sure to take proper precautions against weather and water damage.
Step 10: Enjoy!
Step back and admire the ambiance created by your newly illuminated string lights. Sit back, relax, and enjoy without worrying about an outlet nearby! Always remember to turn off the lights when not in use to conserve battery power. And don’t forget to change out the batteries as needed for continuous enjoyment. It’s amazing how string lights can transform a space, both indoors and outdoors.
Following these steps on how to power string lights without an outlet, you can easily power string lights without an outlet and create a cozy atmosphere anywhere. Remember to always use fresh batteries and be cautious when handling electrical materials. We hope this guide has been helpful, Happy lighting!
Additional Tips
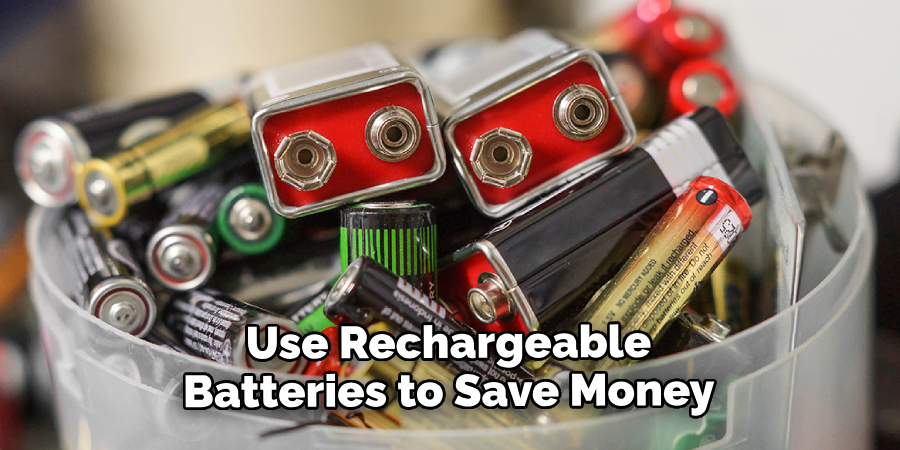
- Use Rechargeable Batteries to Save Money in the Long Run.
- Consider Using a Timer to Preserve Battery Life.
- Use Outdoor-Rated Lights for Safe Usage Outdoors.
- Get Creative with How You Hang Your Lights—Try Using a Ladder or Tree Branch!
- Make Sure the Batteries Are in Good Condition Before Starting.
Frequently Asked Questions:
Q1. Can I Use Any Type of Battery to Power String Lights?
A: The type of battery you use will depend on the voltage and current rating of your string lights. Make sure to check the specifications before choosing a battery. It’s generally recommended to use AA or AAA batteries for string lights.
Q2. Can I Use This Method to Power LED String Lights?
A: Yes, as long as the voltage and current requirements are compatible with your chosen battery, you can power any type of string light using this method. You may need to adjust the wiring and connections accordingly.
Q3. How Long Will the Batteries Last Before Needing to Be Replaced?
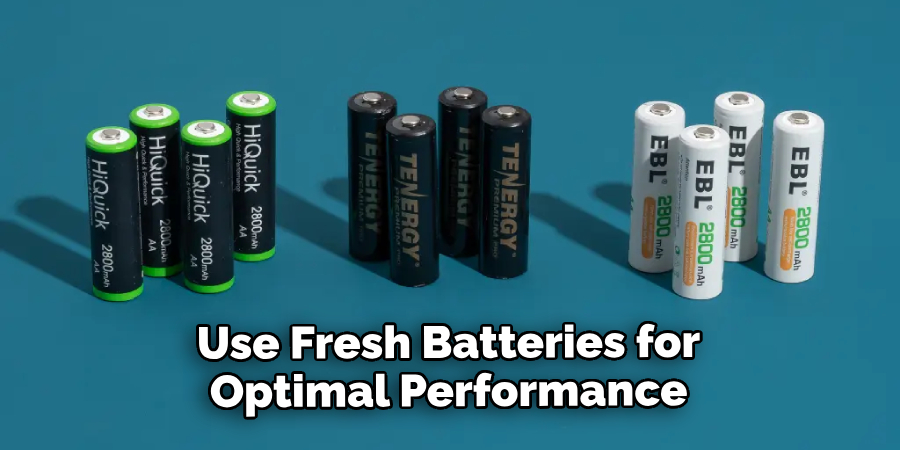
A: This will depend on the type of batteries used, as well as the length and number of string lights being powered. It’s important to use fresh batteries for optimal performance and to have extra batteries on hand in case they run out. Using a timer can also help preserve battery life. # End of Document
Q4. Can I Use This Method for Indoor and Outdoor String Lights?
A: Yes, you can use this method for both indoor and outdoor string lights as long as the battery holder and batteries are suitable for the desired environment. Make sure to check the specifications before purchasing.
Conclusion
Installing string lights in your home can add a cheerful, cozy atmosphere regardless of what time of year it is. Creating the perfect ambiance doesn’t need to be difficult or require an electrician – powering your string lights without any outlets takes a little creativity and effort, but you’ll be able to enjoy your private paradise before you know it!
Whether you opt for solar, battery-powered lights, or repurposing old mason jars into DIY luminaries, there are countless possibilities for lighting up your outdoor oasis. So what are you waiting for? Take the plunge and bring some extra charm into your outdoor living spaces with the help of these unique solutions. With this advice on how to power string lights without an outlet in mind, it’s time to get creative and power up the night!

