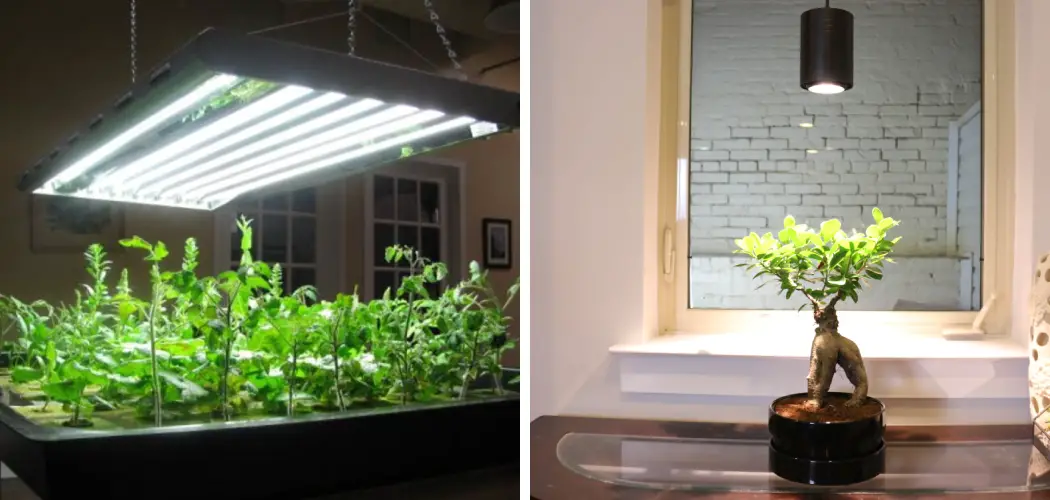
There are several reasons why learning how to properly position an outdoor grow light is important for successful plant growth. First and foremost, proper positioning ensures that your plants receive adequate and balanced lighting. Different types of plants have varying needs when it comes to light intensity and duration, so it is crucial to understand these requirements in order to achieve optimal growth.
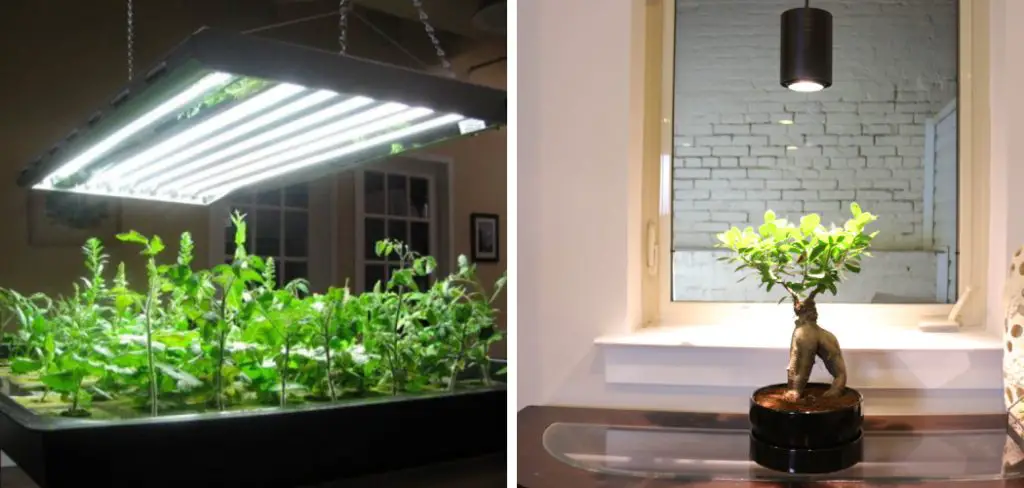
The main advantage of knowing to position an outdoor grow light is being able to control the growth and development of your plants. By positioning the light at the right angle, you can manipulate the direction and intensity of light that your plants receive, resulting in healthier and stronger growth. In this blog post, You will learn in detail how to position an outdoor grow light.
Identifying Plant Light Requirements
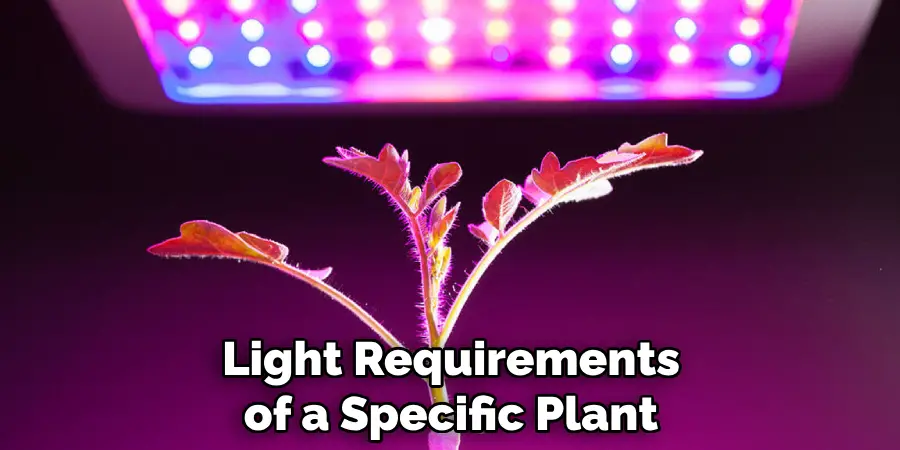
The amount of light a plant receives is one of the most important factors in determining its health and growth. Different plants have different light requirements, and understanding these requirements is crucial for successful gardening.
Light can be divided into three categories: low light, medium light, and high light. Low light refers to areas that receive no direct sunlight, such as north-facing windows or rooms without windows. Medium light is found in east, west, or partially shaded south-facing windows. High light refers to full sun exposure, which is typically found in south-facing windows or outdoors.
When it comes to identifying the light requirements of a specific plant, there are a few key factors to consider. First, look at the plant’s natural environment and where it grows in nature. This will give you a good idea of the type and intensity of light it needs. For example, tropical plants typically thrive in high light conditions, while ferns prefer medium to low light.
Types of Grow Lights
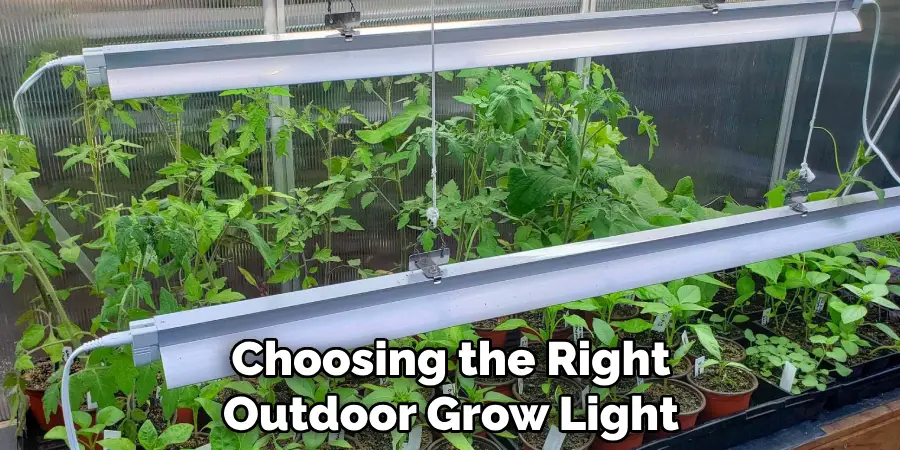
There are many factors to consider when choosing the right outdoor grow light for your garden. In this guide, we will discuss the different types of grow lights available and their respective advantages and disadvantages.
1. Fluorescent Lights
Fluorescent lights, such as T5 or CFL bulbs, are a popular choice among beginner gardeners because they are cost-effective and easy to use. These lights produce a cool spectrum of light, making them suitable for growing leafy greens and other plants that do not require intense light.
Advantages:
- Affordable
- Easy to find
- Low heat emission
Disadvantages:
- Limited spectrum
- Not suitable for flowering or fruiting plants
- Need to be replaced frequently
2. High-Pressure Sodium (HPS) Lights
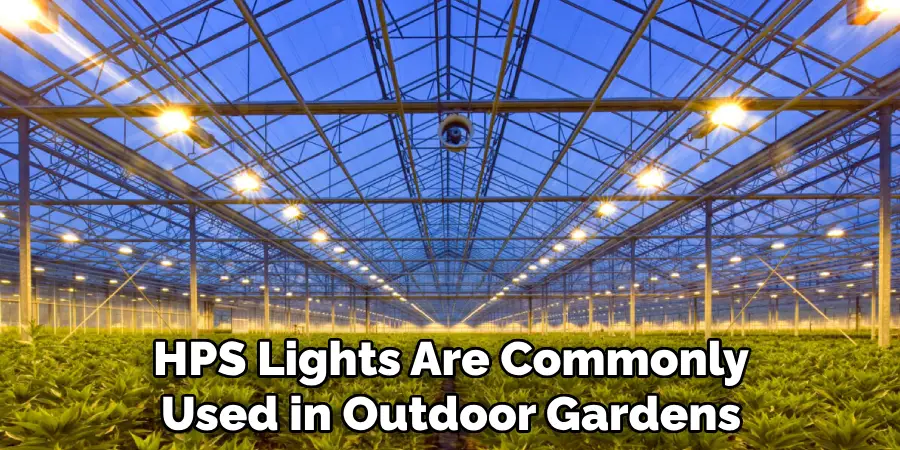
HPS lights are commonly used in outdoor gardens as they produce a warm spectrum of light, making them ideal for flowering plants. These lights are also energy-efficient and can cover a large area.
Advantages:
- Ideal for flowering plants
- Energy-efficient
- Can cover a large area
Disadvantages:
- Can be expensive
- High heat emission
- Need to be replaced frequently
3. Light Emitting Diode (LED) Lights
LED lights are becoming increasingly popular among gardeners due to their energy efficiency and customizable spectrum. These lights are designed to emit specific wavelengths of light, making them suitable for both vegetative and flowering stages of plant growth.
Advantages:
- Energy-efficient
- Customizable spectrum
- Long lifespan
Disadvantages:
- Expensive initial investment
- Limited coverage area
- May require additional fans for heat management
Factors to Consider
1. Light Spectrum
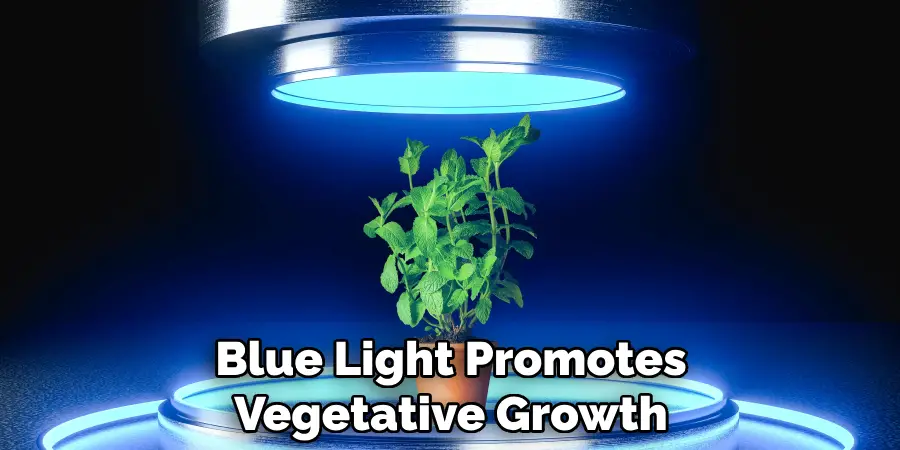
Different types of plants have different light requirements at various stages of growth. For instance, blue light promotes vegetative growth while red light stimulates flowering and fruiting. Consider the type of plants you will be growing and choose a grow light that provides the appropriate spectrum for their development.
2. Coverage Area
The coverage area of the grow light is an essential factor to consider, especially if you have a large garden. Make sure to measure your garden’s size and choose a grow light that can cover the entire area. Keep in mind that the coverage area may differ depending on the type of light and its wattage.
3. Heat Emission
Grow lights can emit a considerable amount of heat, which can affect your plants’ growth and health. Make sure to choose a grow light with proper ventilation or invest in additional fans for heat management.
4. Energy Efficiency
Replacing grow lights frequently can be costly. Consider investing in energy-efficient options, such as LED lights, to save on long-term costs.
5. Budget
Grow lights come in a wide range of prices, so it’s essential to set a budget and stick to it when choosing the right one for your garden. Remember that investing in a high-quality light can result in better plant growth and yield.
Choosing the right outdoor grow light for your garden requires careful consideration of the various factors mentioned above. Take the time to research and find the best option that suits your garden’s specific needs, budget, and plant requirements. A well-chosen grow light can significantly impact your plants’ growth and yield, making it an essential investment for any gardener.
Step-by-step Instructions for How to Position an Outdoor Grow Light
Step 1: Inspect Your Outdoor Space
Before you begin positioning your outdoor grow light, it’s important to take a close look at your outdoor space. Consider the amount of sunlight that your plants currently receive and identify any potential obstructions or limitations in your outdoor area.
Step 2: Determine Your Grow Light Needs
Different plants have different lighting needs, so it’s important to determine what type of grow light will best suit your plants. Consider factors such as the type of plant, its growth stage, and any specific lighting requirements.
Now that you have a better understanding of your outdoor space and your grow light needs, it’s time to gather all the necessary materials. This may include the grow light itself, extension cords or power strips, and any necessary tools for installation.
Step 3: Choose the Right Placement
When positioning your outdoor grow light, consider factors such as the direction of sunlight, potential shade from surrounding structures or trees, and accessibility for maintenance. It’s important to find a spot that will provide adequate lighting for your plants throughout the day. Before installing the grow light, make sure that the chosen placement is stable and secure. This will help prevent any accidents or damage to your plants.
Step 4: Install the Light
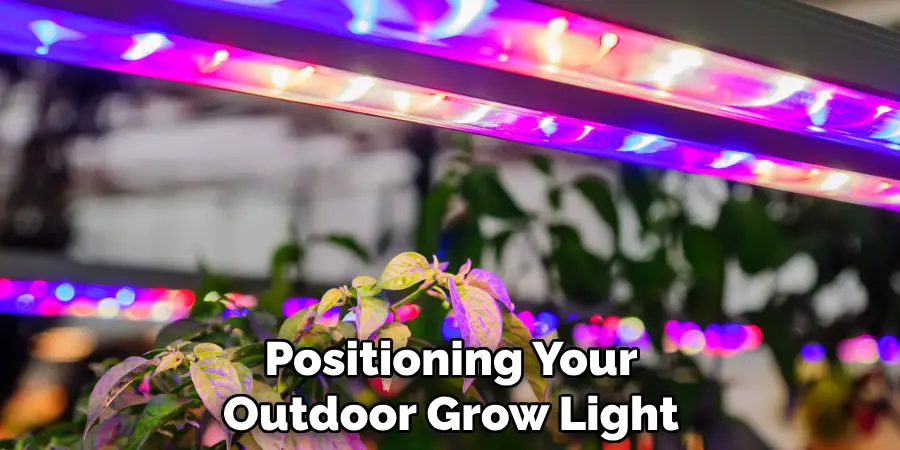
Follow the manufacturer’s instructions for installing your grow light in the chosen location. Make sure to securely attach it to any structures or poles, and use extension cords or power strips as needed. Once the grow light is installed, you may need to adjust its height and direction to ensure that it’s providing adequate lighting for your plants. This may involve moving the light closer or further away from the plants, as well as angling it in a specific direction.
Step 5: Set Up a Timer
To ensure consistent lighting for your plants, it’s helpful to set up a timer for your grow light. This will ensure that your plants are receiving the necessary amount of light each day, even if you’re not able to manually turn the light on and off.
After positioning and setting up your outdoor grow light, make sure to regularly monitor your plants’ growth. If you notice any changes or issues with their growth, you may need to adjust the positioning or lighting of the grow light.
Step 6: Make Necessary Adjustments
As your plants continue to grow and change, it’s important to make necessary adjustments to your outdoor grow light. This may involve moving the light closer or further away from the plants, adjusting its direction, or changing the timer settings.
By following these step-by-step instructions, you can effectively position an outdoor grow light and ensure optimal growth for your plants. Remember to regularly monitor your plants and make any necessary adjustments to ensure they receive the best possible lighting.
Safety Tips for How to Position an Outdoor Grow Light
- Always check the manual or instructions provided by the manufacturer before positioning your outdoor grow light. This will help you understand how to properly handle and install the light, as well as any specific safety precautions that need to be taken.
- Wear appropriate protective gear such as gloves and safety glasses while handling and installing the outdoor grow light. This will protect your hands and eyes from potential hazards such as sharp edges or electrical shock.
- Choose a stable and secure spot for your outdoor grow light. Avoid placing it in areas where it can easily get knocked over or damaged, especially during strong winds or bad weather conditions.
- Make sure the outdoor grow light is placed at a safe distance from any flammable materials such as dry leaves, paper, or plastic. This will help prevent any potential fires or hazards.
- Regularly inspect and maintain your outdoor grow light to ensure that it is in good working condition. This includes checking for any damages, loose connections, or signs of wear and tear. If you notice any issues, immediately turn off the light and address them before using it again.
- Use a timer to control the amount of time your outdoor grow light is on. This will help prevent overuse and potential overheating, which can be a fire hazard.
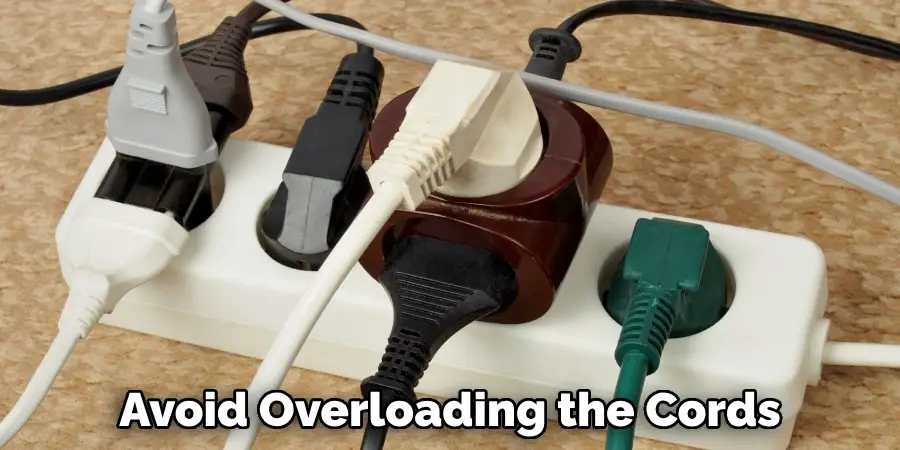
- If you are using extension cords for your outdoor grow light, make sure they are rated for outdoor use and are in good condition. Avoid overloading the cords with too many devices or running them through areas where they can get damaged.
By following these safety tips, you can ensure that your outdoor grow light is installed and used safely. Remember to always prioritize safety when dealing with any type of electrical equipment, and if in doubt, consult a professional.
Preventing Light Pollution for Positioning an Outdoor Grow Light
As outdoor gardening and farming becomes increasingly popular, the use of grow lights has also skyrocketed. However, with this rise in demand for grow lights, comes an increase in light pollution. Light pollution is defined as any artificial light that disrupts the natural environment or interferes with human activities such as stargazing or sleep cycles.
One major contributor to light pollution is the use of outdoor grow lights. These lights are typically used to extend the growing season or provide supplemental light for plants that require more sunlight. However, if not properly positioned and shielded, these lights can create a glare and emit excessive amounts of light that can cause harm to both humans and wildlife. To prevent light pollution from outdoor grow lights, here are some simple steps to follow:
- Choose the Right Type of Light: LEDs are the most energy-efficient and environmentally friendly option for outdoor grow lights. They also emit less blue light, which can disrupt natural ecosystems.
- Position the Lights Strategically: The placement of the lights is crucial in preventing light pollution. Aim them downward and away from any nearby buildings or houses to reduce glare and unnecessary light spillage.
- Use light shielding: Install shields or hoods on the grow lights to direct the light downward and prevent it from shining into neighboring properties or natural areas.
- Invest in Timers: Using timers can help control the length of time your grow lights are on, reducing their overall impact on light pollution.
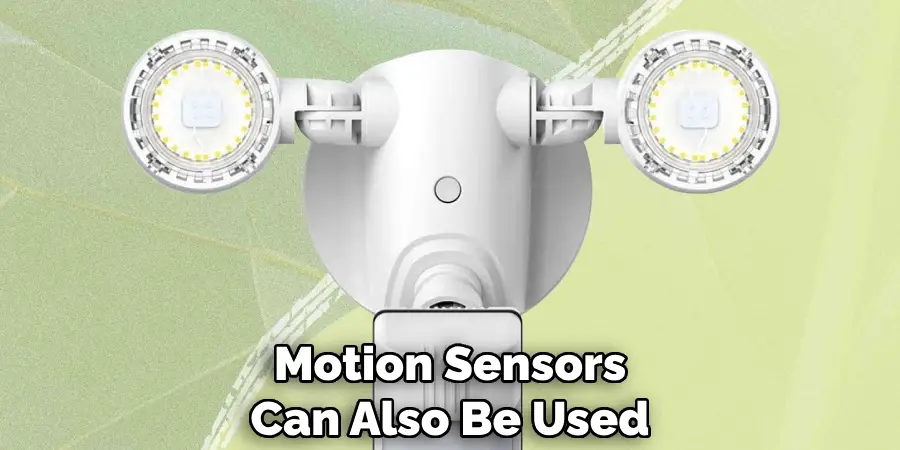
- Consider Motion Sensors: Motion sensors can also be used to turn off the grow lights when there is no activity in the garden or farm, further reducing light pollution.
- Regularly Check and Maintain Your Lights: Make sure to regularly clean and inspect your grow lights for any malfunctions or damage that could contribute to light pollution.
By taking these preventive measures, not only will you be helping to preserve the natural environment and reduce light pollution, but you will also be ensuring the success of your outdoor gardening or farming. So let’s all do our part in protecting the night sky and creating a healthier ecosystem for ourselves and future generations.
Troubleshooting Common Issues for Positioning an Outdoor Grow Light
When it comes to growing plants outdoors, a grow light can be a useful tool to ensure that your plants receive sufficient light and nutrients for optimal growth. However, positioning the grow light correctly is crucial in order for it to be effective.
Here are some common issues you may encounter when trying to position your outdoor grow light, and how to troubleshoot them.
1. Insufficient Coverage
One of the most common issues when positioning an outdoor grow light is not providing enough coverage for your plants. This can result in uneven growth or stunted plants, as some areas may receive more light than others.
To troubleshoot this issue, first check the coverage area of your grow light and compare it to the size of your plant bed or garden. If there is a significant difference, you may need to adjust the height or angle of the grow light, or consider purchasing additional lights to ensure full coverage.
2. Overheating
Another issue that may arise when positioning an outdoor grow light is overheating your plants. Grow lights can produce a significant amount of heat, which can be harmful to your plants if they are placed too close.
To troubleshoot this issue, make sure to carefully read the instructions for your grow light and follow the recommended distance between the light and your plants. If necessary, you can also use a fan or other ventilation methods to help cool down the area around the grow light.
3. Inadequate Distance
On the other hand, if your plants are not receiving enough light, it could be due to inadequate distance between the grow light and your plants. This can result in weak or spindly growth.
To troubleshoot this issue, first make sure that your grow light is positioned at the recommended distance from your plants. If it already is, then you may need to consider purchasing a stronger or more powerful grow light to provide enough light for your plants.
4. Incorrect Spectrum
Grow lights come in various spectrums, which can affect the growth and development of your plants. If you are using the wrong spectrum for your specific plants, it can lead to stunted growth or even damage to your plants.
To troubleshoot this issue, research the specific light requirements for your plants and make sure that your grow light provides the necessary spectrum. If not, you may need to purchase a different type of grow light or use supplemental lighting to provide the correct spectrum.
5. Light Obstruction
Lastly, make sure to regularly check for any obstructions that may be blocking the light from reaching your plants. This can be anything from tree branches or leaves to other structures in your garden.
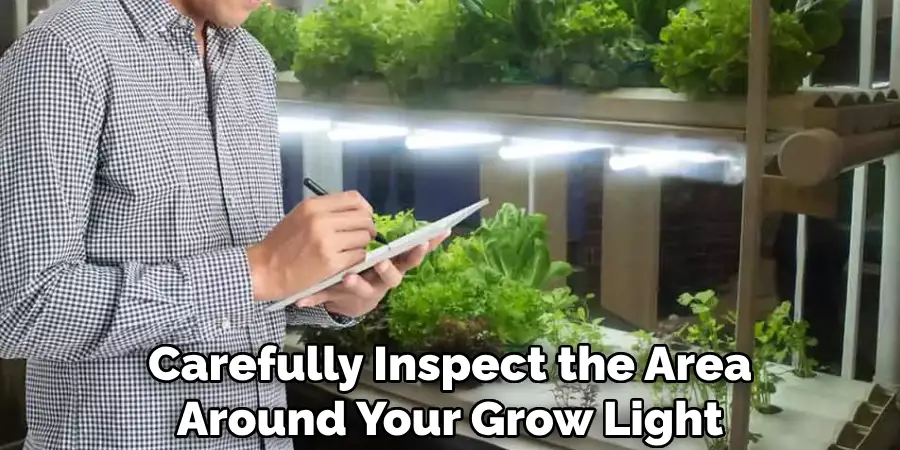
To troubleshoot this issue, carefully inspect the area around your grow light and make sure there are no potential obstructions. If necessary, trim back any overhanging branches or move the grow light to a different location for better access to direct sunlight.
By troubleshooting these common issues and ensuring proper positioning of your outdoor grow light, you can provide the best environment for your plants to thrive and flourish. Remember to always read the instructions for your specific grow light and do thorough research on the light requirements for your plants before making any adjustments.
Conclusion
In conclusion, outdoor grow lights are essential for any grower looking to produce a successful harvest. Through proper positioning, growers can maximize the efficiency of their grow lights and ensure that their plants receive the necessary light exposure for optimal growth. By following the steps outlined in this blog, growers can effectively position their outdoor grow lights and reap the benefits of bountiful and healthy crops.
One important thing to keep in mind is that the positioning of outdoor grow lights may differ depending on the type and size of plants being grown. It’s always important to consider the specific needs and characteristics of your plants when determining the best placement for your grow lights. I hope reading this post has helped you learn how to position an outdoor grow light. Make sure the safety precautions are carried out in the order listed.

