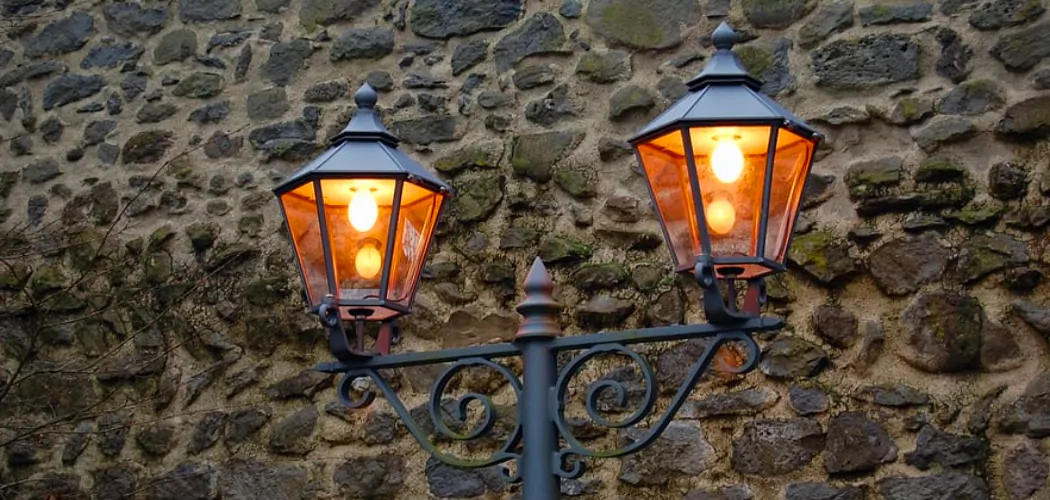
Are you tired of the dull and faded outdoor light fixtures in your home? Want to give them a fresh new look without breaking the bank? Well, painting them is a simple and cost-effective solution!
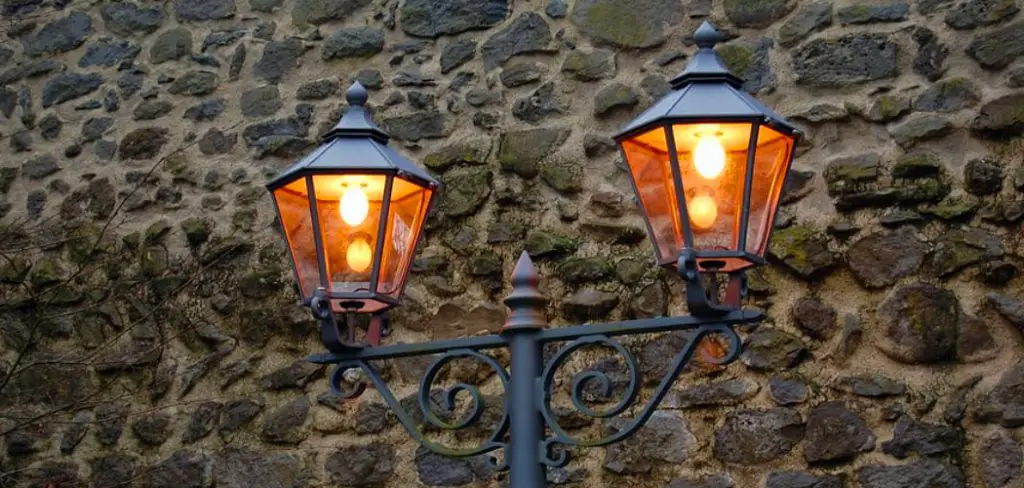
How to paint outdoor light fixtures is a simple yet effective way to refresh your home’s exterior and enhance its curb appeal. Over time, outdoor fixtures can become weathered, rusty, or faded, affecting the overall look of your space. By repainting them, you can restore their original charm or even give them a completely new style to match your current aesthetic.
Whether you’re looking for a cost-effective DIY project or simply want to extend the life of your fixtures, this guide will walk you through the necessary steps to achieve a professional finish.
What Are the Benefits of Painting Outdoor Light Fixtures?
Aside from improving the appearance of your home’s exterior, painting outdoor light fixtures offers many benefits:
- Cost-effective: Repainting is much cheaper than buying new fixtures.
- Customization: You can choose any color to match your design preferences.
- Protection: A fresh coat of paint adds a layer of protection against rust and other weather damage.
- Increased Durability: Paint can help extend the lifespan of your outdoor light fixtures.
Now that you know why painting your outdoor light fixtures is beneficial, let’s dive into the step-by-step process to get it done!
What Will You Need?
To paint your outdoor light fixtures, you’ll need the following supplies:
- Screwdriver: To remove the fixture from its mounting.
- Sandpaper or Wire Brush: To remove any rust or flaking paint and create a smooth surface for painting.
- Soap and Water: To clean the fixture before painting.
- Painter’s Tape: To protect any areas you don’t want to be painted.
- Primer Paint: To ensure better adhesion and durability of the final coat. Choose a primer suitable for metal surfaces.
- Outdoor Spray Paint or Metal Paint: Choose an outdoor spray paint specifically made for metal surfaces for a durable finish. Alternatively, you can use regular metal paint and a brush for a more traditional application.
- Drop Cloth or Newspaper: Protect the surrounding area from overspray or drips.
Once you have gathered all your supplies, it’s time to start!
9 Easy Steps on How to Paint Outdoor Light Fixtures
Step 1: Turn Off the Power
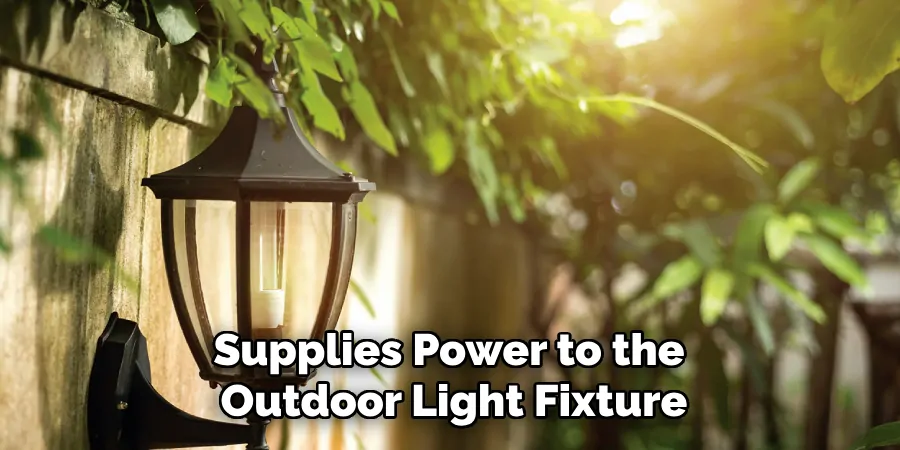
Safety should always come first when working with any electrical fixtures. Before you begin, locate the breaker that supplies power to the outdoor light fixture and switch it off completely. Do not rely solely on turning the light switch off, as there may still be a risk of electrical shock. If you’re unsure which breaker controls the fixture, you can turn off the main breaker to the house as an added precaution. Once the power is off, try flipping the light switch to confirm that the fixture does not turn on. This step ensures your safety as you remove and prepare the fixture for painting.
Step 2: Remove the Light Fixture
Carefully remove the light fixture from its mounting. Use a screwdriver to detach any screws or bolts securing the fixture to the wall or bracket. Make sure to support the fixture as you remove it to prevent it from falling or getting damaged. Once detached, disconnect any wiring by unscrewing the wire connectors and separating the wires. Take note of the wiring configuration or take a picture for reference when it’s time to reattach the fixture. Place the fixture on a stable surface to begin the cleaning and preparation.
Step 3: Clean and Prepare the Fixture
Before painting, thoroughly clean the light fixture to remove dust, grease, or any other debris. Use a mild soap, water solution, and a soft cloth or sponge to wipe down the entire surface. Avoid using abrasive materials that might scratch the surface. Once cleaned, dry the fixture entirely with a clean, dry cloth. Lightly sand the surface using fine-grit sandpaper, especially if the fixture has a glossy finish, to help the paint adhere better. Wipe away any sanding residue with a tack cloth or damp rag. Ensure the fixture is clean and smooth before proceeding to the next step.
Step 4: Apply Primer
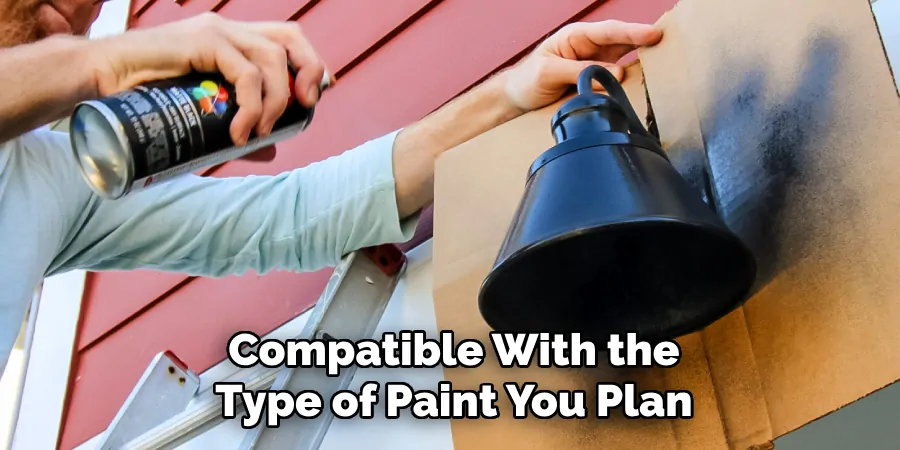
To ensure a long-lasting and even finish, apply a primer to the light fixture before painting. Choose a primer compatible with the type of paint you plan to use and suitable for the fixture’s material, such as metal or plastic. Use a spray primer for an even application, holding the can about 8 to 12 inches from the surface. Apply the primer in light, sweeping motions to avoid drips or uneven coverage. Allow the primer to dry completely according to the manufacturer’s instructions before moving on to the painting step.
Step 5: Paint the Fixture
Once the primer has dried completely, you can begin painting the light fixture. Select a high-quality spray paint designed for the material of your fixture and the environment it will be exposed to, such as indoor or outdoor conditions. Hold the spray can 8 to 12 inches away from the surface and apply the paint using smooth, sweeping motions. Start with a light, even coat to prevent drips or uneven application. Allow the first coat to dry thoroughly before applying additional layers as needed for full coverage. Follow the paint manufacturer’s drying time recommendations between coats for the best results.
Step 6: Reassemble the Fixture
After thoroughly drying the paint and you are satisfied with the coverage, carefully reassemble the light fixture. Begin by reattaching any removed parts, such as screws, hardware, or decorative elements. Ensure all connections are secure to maintain the functionality and safety of the fixture. If you removed the light bulb or glass components earlier, reinstall them gently to avoid damage. Finally, mount the fixture back in its designated location and restore power. Test the light to confirm everything works appropriately and admire your refreshed light fixture.

Step 7: Clean Up and Enjoy Your Work
Once the light fixture is reassembled and installed, take a moment to clean up your workspace. Dispose of used materials like tape, drop cloths, or old paint responsibly, and store any leftover paint or tools for future use. Wipe down the fixture to remove any fingerprints or smudges that may have occurred during the process. Turn on the light to admire your hard work and enjoy the updated look it brings to your space.
Step 8: Perform Regular Maintenance
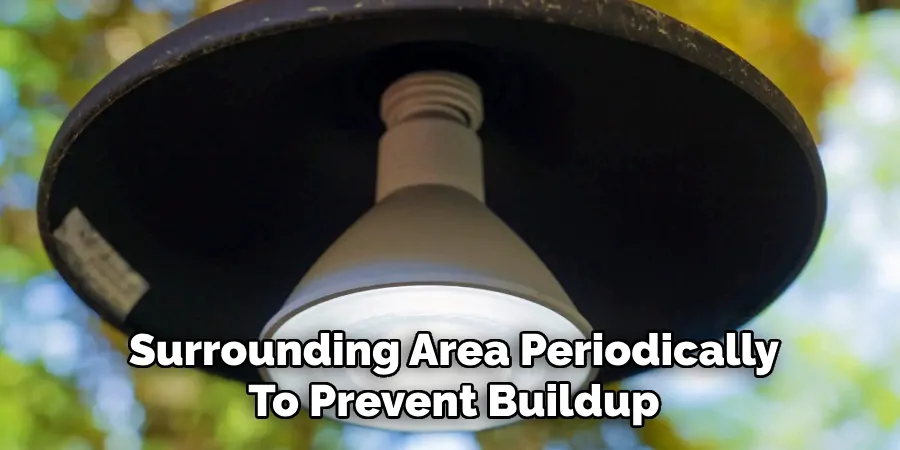
Establish a routine maintenance schedule to keep your light fixture looking its best and functioning properly. Dust the fixture and surrounding area periodically to prevent buildup, and check for any loose screws or hardware. If the light bulb needs replacing over time, ensure you’re using the correct type and wattage to maintain the fixture’s integrity. Regular upkeep will extend the life of your light fixture and preserve the refreshed appearance you worked hard to achieve.
Step 9: Troubleshooting Common Issues
If you encounter any issues with your newly installed light fixture, there are a few common problems you can troubleshoot. For instance, double-check the wiring connections to ensure they are secure and properly aligned if the light does not turn on. Verify that the circuit breaker is not tripped and that the light switch functions correctly. Additionally, confirm that the light bulb is properly installed and not defective. Flickering may be due to a loose bulb, faulty wiring, or an incompatible bulb type. Address these issues promptly to ensure your light fixture operates safely and reliably. If the problem persists, consult a professional electrician for assistance.
By following these steps, you can successfully paint your light fixture and give it a fresh, updated look.
5 Things You Should Avoid
- Skipping Proper Cleaning: Neglecting to clean the light fixture thoroughly before painting can lead to poor adhesion and an uneven finish. Dirt, grease, and previous paint layers can hinder the paint’s ability to bond with the surface, resulting in a less durable outcome.
- Using the Wrong Type of Paint: Applying indoor paint or paint not designed explicitly for outdoor use can cause premature peeling and fading. Always choose a paint labeled as weather-resistant and suitable for metal surfaces to withstand outdoor elements.
- Not Sanding or Prepping the Surface: Failing to sand or prime the surface can prevent the paint from adhering correctly. Removing rust or roughing up the surface with sandpaper ensures a smooth finish and a longer-lasting paint job.
- Painting in the Wrong Weather Conditions: Painting when it’s too humid, cold, or windy can impact the curing process and lead to imperfections like bubbles or runs in the paint. Aim to paint on a dry day with moderate temperatures for the best results.
- Ignoring Safety Precautions: Not wearing protective gear, such as gloves and a mask, or overlooking the importance of turning off the electricity when dealing with wired fixtures can lead to accidents or health hazards. Always prioritize safety at every step of the process.
Conclusion
How to paint outdoor light fixtures can be a straightforward and rewarding task if approached with proper preparation and care.
You can achieve a professional and durable finish by choosing the right materials, taking the time to sand and prime the surface, and avoiding common pitfalls such as painting in unsuitable weather. Remember to prioritize safety by using the necessary protective gear and following all precautionary measures.
With the proper techniques, you can quickly refresh and enhance the appearance of your outdoor lighting, adding charm and value to your home.
You Can Also Check It Out To Restore Faded Outdoor Light Fixtures

