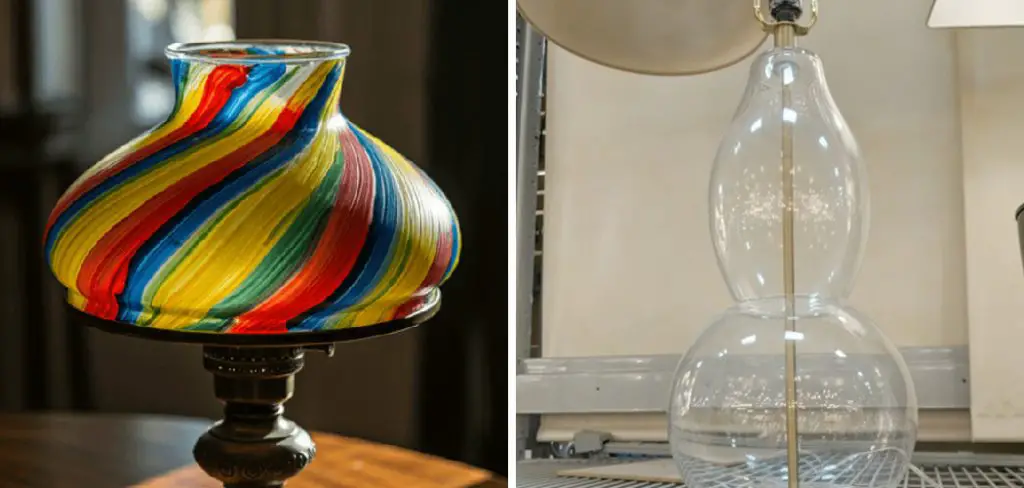
Painting glass lamps is a creative and cost-effective way to breathe new life into your home décor. Whether you’re looking to update an old lamp, personalize a plain one, or match it to a new interior design, painting glass lamps offers endless customization possibilities. This artistic process allows you to transform your lamps into unique statement pieces that complement any style, from modern minimalism to rustic charm. Additionally, it’s an excellent opportunity to repurpose and upcycle older lamps, reducing waste while enhancing your living space.

This article aims to provide you with a comprehensive step-by-step guide on how to paint glass lamps. By following the detailed instructions, you’ll learn how to prepare the surface properly, apply painting techniques for the best results, and add the perfect finishing touches. With the right tools and a bit of creativity, you can effortlessly achieve a stunning transformation and create a lamp that reflects your personal style.
Materials and Tools Needed
Essential Materials
- Glass lamp (base and/or shade).
- Primer designed for glass or multi-surface use.
- Paint suitable for glass (acrylic or enamel paint).
- Clear sealant or varnish for durability.
- Painter’s tape (for masking off areas).
- Paper towels or lint-free cloths for cleaning.
- Paintbrushes or spray paint (depending on the technique).
Tools You’ll Need
- Drop cloth or newspaper to protect surfaces.
- Gloves to protect hands from paint.
- Sandpaper (optional, for roughening the surface for better paint adhesion).
- Rags or sponges for cleaning.
The right materials and tools ensure a smooth painting process and deliver a professional-looking finish. Prepare your workspace by laying out protective coverings, and gather all supplies before starting to avoid interruptions. Proper preparation is key to achieving long-lasting results!
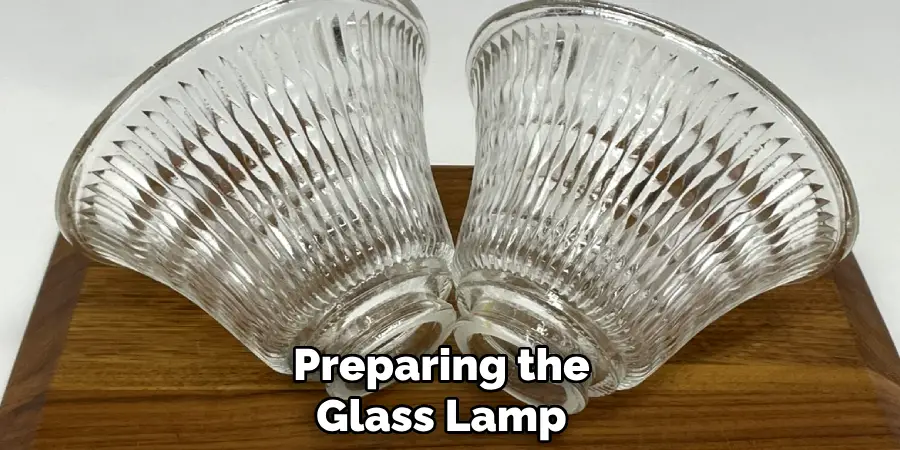
Preparing the Glass Lamp
Step 1: Cleaning the Lamp
Thoroughly clean the glass lamp using warm soapy water or a gentle glass cleaner to remove any dirt, dust, and oils that may prevent the paint from adhering properly. Pay special attention to crevices or intricate designs where grime can accumulate. After cleaning, rinse the lamp with clean water and dry it with a lint-free cloth to avoid streaks or residue.

Step 2: Preparing the Workspace
Set up a well-ventilated workspace to ensure safety when working with paint or any chemical substances. Choose an area with good natural light or adequate artificial lighting to clearly see your progress.
Cover the surrounding area with a drop cloth, old newspaper, or plastic sheeting to protect it from paint splatters or spills. Position the lamp securely to prevent it from toppling during preparation or painting.
Step 3: Sanding the Surface (Optional)
If desired, lightly sand the surface of the glass using fine-grit sandpaper. This step helps create a slightly textured surface, allowing the paint to adhere more effectively. Be gentle and avoid over-sanding, as the goal is to improve adhesion rather than damage the glass.
After sanding, use a clean, lint-free cloth to wipe away any dust or debris to maintain a smooth, clean surface for painting. Sanding is especially recommended if the lamp has a glossy finish or if you are using spray paint for optimal results.
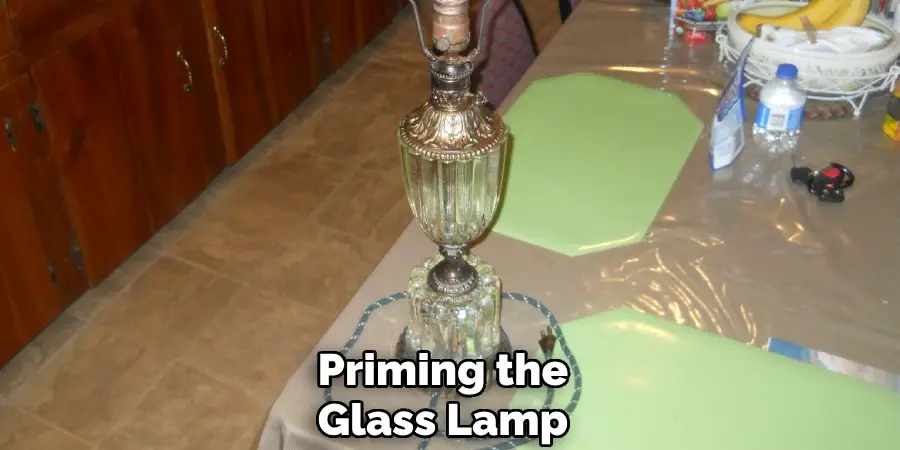
How to Paint Glass Lamps: Priming the Glass Lamp
Step 1: Applying Primer
Start by applying a thin, even layer of primer specifically designed for glass surfaces. This step is crucial to ensure the paint adheres properly and lasts longer. Choose between a paintbrush or a spray primer based on your preference and the level of precision needed.
Keep the application smooth and consistent for best results, avoiding any streaks or uneven patches. Be sure to follow the manufacturer’s instructions regarding application techniques and drying times. Allow the primer to dry thoroughly before moving on to the next step to ensure it bonds well with the glass surface.
Step 2: Multiple Coats (If Necessary)
After the first coat of primer has completely dried, assess the coverage of your application. If needed, apply a second coat to create a more uniform and solid foundation for painting. Make sure to keep the layers light and smooth, as overly thick primer coats can lead to an uneven finish.

Allow sufficient drying time between coats, as indicated on the primer’s label. Multiple coats may be especially beneficial for glass lamps with darker or uneven surfaces, ensuring that the final painted design appears vibrant and polished. Once the final coat of primer has dried, the lamp will be ready for painting.
Painting the Glass Lamp
Step 1: Choosing the Right Paint
Select acrylic or enamel paint specifically designed for glass surfaces to ensure durability and proper adhesion. Consider your desired finish when choosing your paint — brush-on paint provides more control for detailed designs, while spray paint delivers a smooth, even appearance over larger areas. Opt for quality paints that offer fade resistance and vibrant colors to enhance the lamp’s final presentation.
Step 2: Applying the Paint
Work in a dust-free area for a flawless application to prevent particles from settling on the wet paint. If you’re using a paintbrush, apply the paint in thin, even layers, ensuring you cover all areas without drips or streaks. For spray paint, shake the can thoroughly before use and hold it 6-8 inches away from the surface. Spray in a steady motion, overlapping with light, even coats for consistent coverage. Remember to allow each coat to dry thoroughly, per the paint manufacturer’s instructions, before applying additional layers.
Step 3: Building the Coverage
Achieving the perfect finish involves patience and care. Gradually build the layers by applying multiple thin coats of paint until you reach the desired level of opacity and vibrancy. Overloading the surface with paint can lead to uneven finishes and streaking, so it’s best to apply the paint slowly and methodically. Thorough layering ensures a polished, professional look that brings out the beauty of your glass lamp.

Sealing and Protecting the Painted Lamp
Step 1: Applying a Sealant
Once the paint has dried completely, apply a clear acrylic sealant or varnish to protect the painted surface. This step is crucial for preserving the finish and ensuring the durability of your work.
Depending on your desired outcome, you can choose between a spray-on or brush-on clear coat. Spray-on sealants are ideal for achieving an even, smooth application, while brush-on options allow for more control and customization. Select a finish that complements your design, whether it’s matte, satin, or glossy, to enhance the overall aesthetic of your painted lamp.
Step 2: Drying and Curing
After applying the sealant, allow it to dry fully according to the manufacturer’s instructions. Proper drying ensures that the protective layer adheres well to the painted surface, safeguarding it from scratches, wear, and environmental exposure.
For optimal results, allow the painted lamp to cure for 24-48 hours before using or handling it. This curing process ensures that the sealant hardens completely, providing a durable, long-lasting finish that keeps your artwork intact and vibrant for years to come.
Reassembling and Final Touches
Step 1: Reassembling the Lamp
Once the paint and sealant are dry, carefully reassemble any parts of the lamp, such as the lampshade, bulb socket, or decorative elements. Take your time to ensure each piece fits securely without forcing any parts into place, as this may damage the paintwork.
Pay special attention to ensure that the paint does not interfere with the lamp’s functionality, particularly regarding electrical components like the bulb socket and wiring. Test the lamp to confirm it works properly after reassembly.
Step 2: Touching Up (If Necessary)
Inspect the lamp closely for any missed spots, streaks, or imperfections in the paint. If you notice any areas that require extra attention, use a fine-tipped brush or small sponge to carefully add more paint or detail. Allow any touch-up paint to dry fully and consider lightly resealing the corrected areas to preserve them.
Step 3: Cleaning the Lamp
After all the paint and sealant have cured completely, gently clean the lamp using a soft, dry cloth to remove any dust or debris. Avoid using any harsh chemicals or abrasive materials, as these may damage the finish.

This final cleaning step will leave your lamp looking polished and ready to use, enhancing its overall appearance and showcasing your handiwork.
Troubleshooting Common Problems
Uneven Paint Coverage
Ensure each layer of paint is applied thinly and is allowed to dry fully before adding another. If you are using a spray can, apply the paint in short, controlled bursts, maintaining a consistent distance from the lamp’s surface to prevent any uneven buildup.
Paint Drips or Streaks
When using a brush, focus on smooth, long strokes to achieve an even application. If drips or streaks appear, allow the paint to dry, then carefully sand the affected area with fine-grit sandpaper. Afterward, reapply paint evenly to restore a flawless finish.
Chipping or Scratching
To prevent chipping or scratching, make sure the paint has completely cured before you handle the lamp. Applying a high-quality sealant as the final step will provide a durable protective layer, reducing the chances of future damage and extending the life of your painted lamp.
Conclusion
Transforming your lamp is a rewarding project when approached step by step. Start by thoroughly cleaning the surface to ensure proper adhesion, then apply a suitable primer to create a strong foundation. Follow this with even coats of paint, allowing each layer to dry completely, and finish with a durable sealant to protect your work.
Once reassembled, your lamp is ready to shine brightly in your home. Remember, learning how to paint glass lamps gives you the chance to experiment with colors and techniques. Take your time with each step and enjoy crafting a stylish, one-of-a-kind piece that complements your décor.

