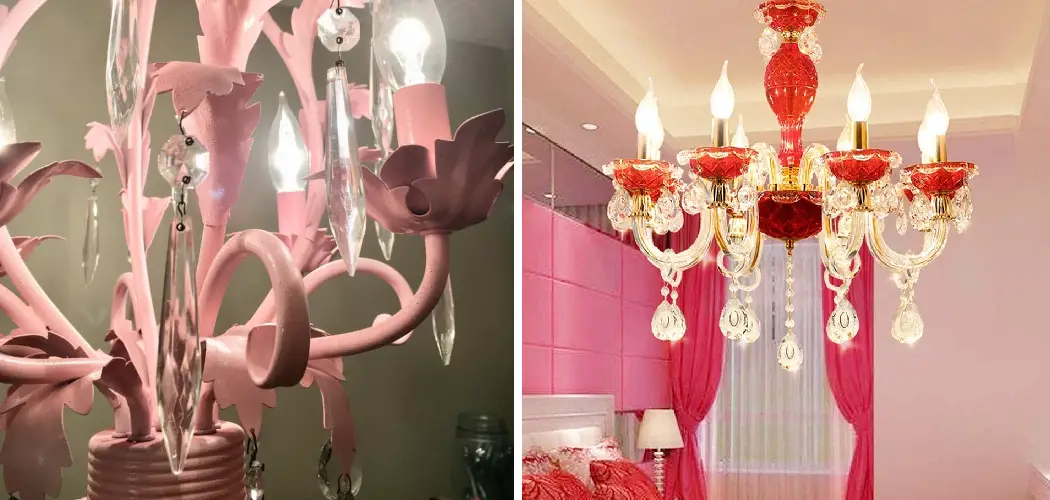
Updating the look of your living space often involves transforming even the smallest details, such as light fixtures. However, the thought of removing and re-installing a light fixture for a fresh coat of paint can be daunting.
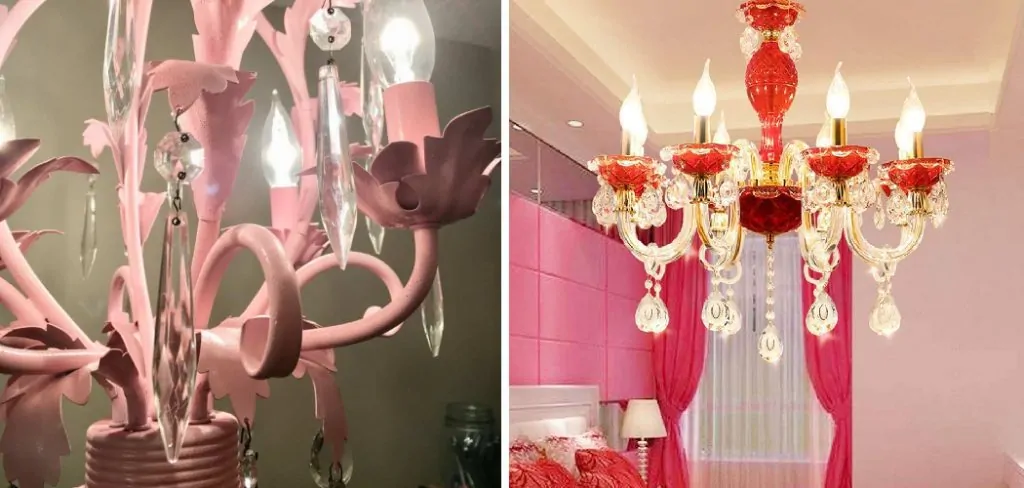
Luckily, there’s a convenient solution: painting a light fixture without taking it down. This article offers a comprehensive guide to revamping your light fixtures while they remain in place.
From choosing the right paint type to prepping the fixture and executing a flawless finish, you’ll discover step-by-step instructions that empower you on how to paint a light fixture without taking it down. Embrace this efficient approach to home improvement and infuse your interior with renewed vibrancy through skillful light fixture transformation.
The Importance of Proper Preparation and Techniques for a Successful Paint Job
Painting a light fixture without taking it down is not impossible, but it does require proper preparation and technique. This article will provide the essential steps to make sure your paint job comes out looking professional and lasts for years to come.
First and foremost, you need to assess if painting is even an option for the type of fixture that you have. Some fixtures are made from materials that won’t take paint, such as glass or metal. If your fixture fits into one of these categories, you should consider other options for adding color to the room.
If the material is suitable for painting, then you should begin by preparing the light fixture. Use a mild detergent and water to wipe down the surface and remove any dust or dirt. Make sure to pay special attention to tight corners and small crevices. Next, you should use a primer specifically designed for the type of surface material that you are working with. This will help ensure an even paint job.

13 Steps How to Paint a Light Fixture without Taking It down
Step 1: Gather Supplies and Set the Scene for Success
Assemble your tools before embarking on the transformation journey. Gather painter’s tape, drop cloths, cleaning agents, sandpaper, primer, paint, brushes, and a sturdy ladder. Prepare your workspace by ensuring adequate ventilation and safeguarding surrounding areas from any potential paint splatters.
Step 2: Prioritize Safety with Power Shutdown
Begin with safety as your foremost concern. Turn off the power to the light fixture by switching off the corresponding circuit breaker. This precautionary measure eliminates the risk of electrical mishaps while you work.
Step 3: Purity in Preparation – Thorough Cleaning
Render your fixture’s surface immaculate by thoroughly cleaning it. Remove dust, grime, and grease using a mild detergent or a concoction of water and vinegar. It’s essential to allow the fixture to dry completely before proceeding.
Step 4: Shield Vulnerable Areas with Precision
Deploy painter’s tape meticulously to shield areas that should remain paint-free, such as electrical components or delicate glass sections. Extend your protection to surrounding surfaces using drop cloths, preventing any inadvertent paint splatter.
Step 5: A Smooth Base for Brilliance – Gentle Sanding
Ensure a smooth canvas for your artistic endeavor by gently sanding the fixture’s surface using fine-grit sandpaper. This step enhances paint adhesion and guarantees a seamless foundation for the forthcoming coats.

Step 6: The Foundation of Excellence – Primer Application
Apply a thin, uniform layer of primer tailored to the fixture’s material. Primer acts as a foundation for the paint, ensuring optimal adhesion and bestowing a flawless finish upon your fixture.
Step 7: The Art of Paint Selection
Choose the paint type with meticulous consideration of your fixture’s material. Opt for metal-specific spray paint for metal fixtures, while plastics and glass warrant paints tailored to their unique characteristics. The finish, be it matte, satin, or gloss, contributes to the final desired effect.
Step 8: Unveiling the Transformation – Commence Painting
Embark on the painting process with finesse, employing smooth, even strokes. Maintain a consistent distance between the paint can or spray nozzle and the fixture to avert drips and ensure uniform coverage. Application of multiple thin coats, each allowed to dry thoroughly before the next, is key.
Step 9: Nurturing Artistry in Detail
Devote attention to intricate details and those challenging-to-reach crevices. Employ small brushes or artist’s tools for precision, exercising patience and meticulousness to attain a result that exudes professionalism.
Step 10: Embrace the Elegance of Patience – Allow for Adequate Drying
Following the final coat, permit ample drying time in accordance with the paint manufacturer’s guidelines. This practice ensures proper curing, enhancing both the longevity and the aesthetics of your painted fixture.
Step 11: Unveiling the Brilliance – Tape Removal and Cleanup
Once the paint is entirely dry, gently remove the painter’s tape and carefully gather the drop cloths. Should any paint splatters grace adjacent surfaces, address them promptly to maintain the pristine ambiance of your surroundings.
Step 12: The Final Flourish – Reconnect Power and Revel
With safety considerations in mind, restore the power to the light fixture by switching on the circuit breaker. Gaze upon your newly revitalized light fixture and appreciate the transformation it imparts to your living space.
Step 13: Savor the Splendor – Maintenance and Enjoyment
To sustain the brilliance of your painted light fixture, implement regular cleaning routines that involve dusting and gentle cleaning. This practice safeguards the enduring allure of your revamped piece, perpetuating the radiant ambiance it illuminates.
Safety Precautions When Painting a Light Fixture without Taking It Down
Safety is a priority when it comes to painting any light fixtures. Even though it may seem like a simple job, there are certain precautions you should take to ensure that no one gets hurt and the light fixture remains safe.
To begin, make sure that all power sources connected to the light fixture are turned off. This includes turning off the circuit breaker at the main electrical panel. Once this is done, it’s important to check that the light fixture is completely disconnected from any power source. Sliding a voltage meter across the terminals of the light fixture may be necessary to double-check and ensure no voltage is present.
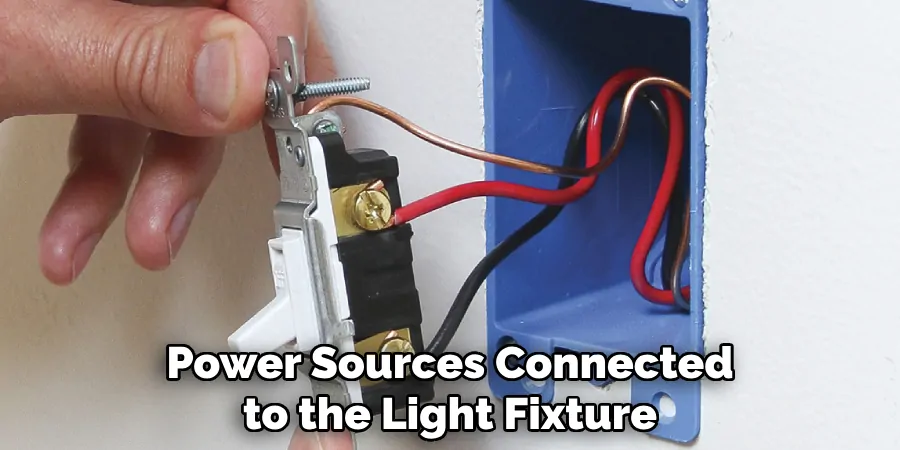
Another safety precaution to consider is wearing protective gear while painting your light fixture. This may include goggles, gloves and a face mask. If the light fixture is made of metal, you may also want to use a chemical-resistant apron and boots to further protect yourself from any potential dangers.
Finally, whether the light fixture is mounted near the ceiling or on the wall, it’s important to make sure that the room is well-ventilated during painting.
Some Common Mistakes to Avoid
When it comes to painting a light fixture without taking it down, there are some common mistakes that people might make. One mistake is using a paint color that doesn’t match the rest of the fixtures in your home. If you’re repainting an old light fixture, make sure you choose a paint color that will match with the other fixtures and look good with the rest of your decor.
Another mistake is not properly cleaning and preparing the light fixture for painting. Make sure you remove any dust, dirt, or debris from the fixture before you paint it. If there are any loose chips in the finish, sand them smooth before applying a new layer of paint. This will help ensure that your new paint job looks great and lasts for longer.
Lastly, make sure that you use the right type of paint and painting tools. Use a paint specifically designed for metal surfaces and be sure to apply multiple thin coats instead of one thick coat. Furthermore, you should avoid using a brush as it can leave visible brushstrokes on the fixture. Instead, opt for a sponge or foam roller that will create a more even finish.

Following these tips and avoiding the common mistakes can help you achieve a professional-looking paint job on your light fixture without taking it down. With a little bit of prep work and careful application, you’ll be able to repaint your light fixture and enjoy its fresh, new look for years to come.
Conclusion
With this guide, you have all the information you need to create a breathtaking light fixture that fits the aesthetic of any room. As with any painting project, safety comes first, so make sure to read and follow all safety guidelines included in your paint product. Prepare the light fixture properly before painting for best results and use paint products made specifically for metal surfaces. Test out different colors and combinations!
Show off your beautiful new light fixture to family and friends by inviting them into your home or sharing online. Now you know how to paint a light fixture without taking it down – what’s next? Get creative, have fun, and don’t forget to explore Dyco Paints’ vast selection of interior and exterior paints when tackling all your home renovation projects.

