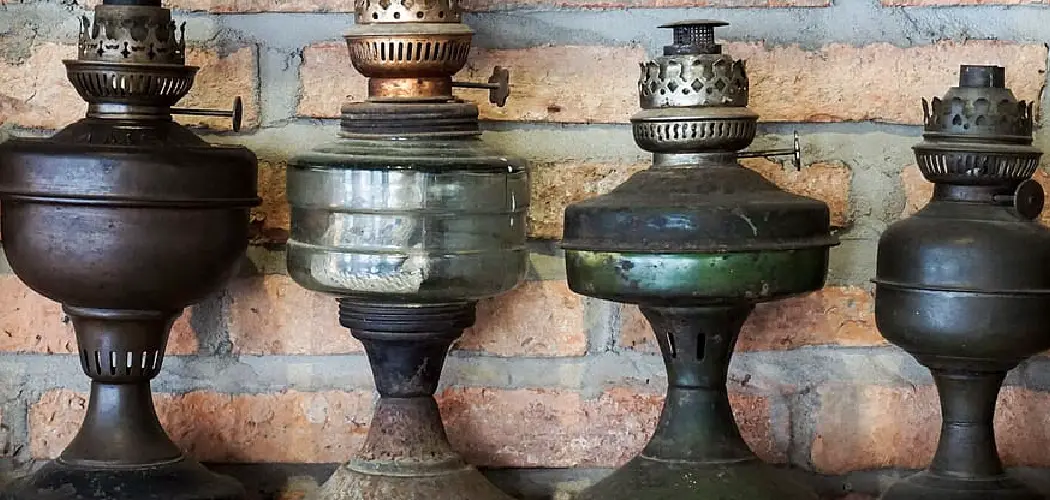
Painting a brass lamp is a great way to give it a fresh, customized look while preserving its vintage charm. Whether you’re looking to match your lamp to a new decor style or simply revitalize its appearance, the process is simple and rewarding. With the right materials and techniques, you can transform your brass lamp into a stunning centerpiece with a smooth and professional finish.
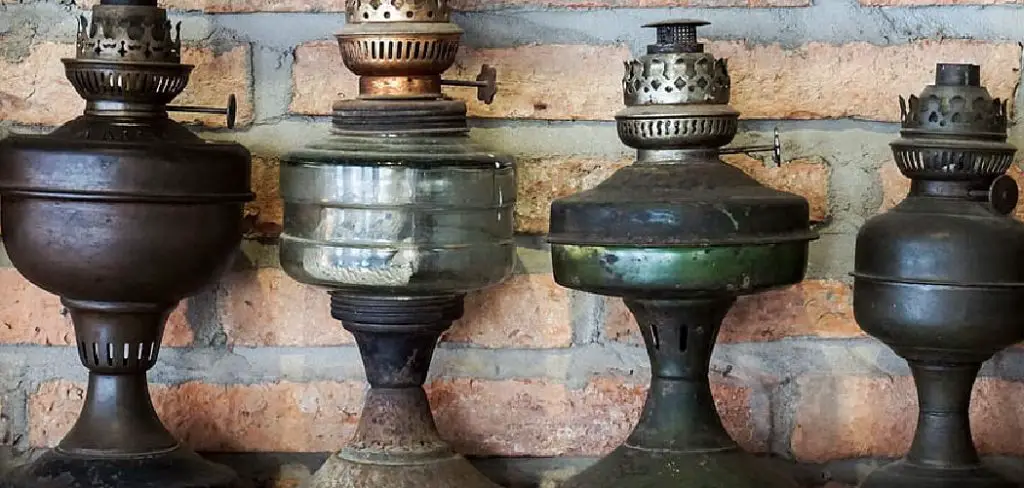
This guide on how to paint a brass lamp will walk you through the steps to prepare, paint, and protect your lamp for a long-lasting and beautiful result.
What is Brass?
Brass is a metal alloy made primarily of copper and zinc. It has been used for centuries in various applications, including decorative objects like lamps.
Its golden color and malleability make it a popular choice for home decor pieces. However, over time, the brass can tarnish or become discolored, losing its original shine and luster.
Why Paint a Brass Lamp?
There are several reasons why you may want to paint your brass lamp. The most common reason is to update its appearance and match it to a new decor style. Painting the lamp allows you to customize it to fit your desired aesthetic, whether it be modern, rustic, or bohemian.
Another reason to paint a brass lamp is to cover up any scratches, dents, or imperfections on the surface. This can give an old lamp new life and make it look like a brand new piece.
Additionally, painting your brass lamp can be a cost-effective alternative to purchasing a new one. Instead of spending money on a new lamp, you can transform your existing one with just a few coats of paint.
Materials Needed
- Brass Cleaner (if the Lamp is Tarnished)
- Fine-grit Sandpaper
- Primer Spray Paint
- Spray Paint in Desired Color/Finish
- Protective Gloves and Goggles
- Drop Cloth or Newspaper to Protect Work Surface
- Masking Tape
6 Simple Step-by-step Guidelines on How to Paint a Brass Lamp
Step 1: Prepare the Lamp
- Before starting, make sure to clean your brass lamp thoroughly with a brass cleaner if it’s tarnished. This will ensure that the paint adheres properly.
- Use fine-grit sandpaper to roughen up the lamp’s surface. This will help the primer and paint to stick better.
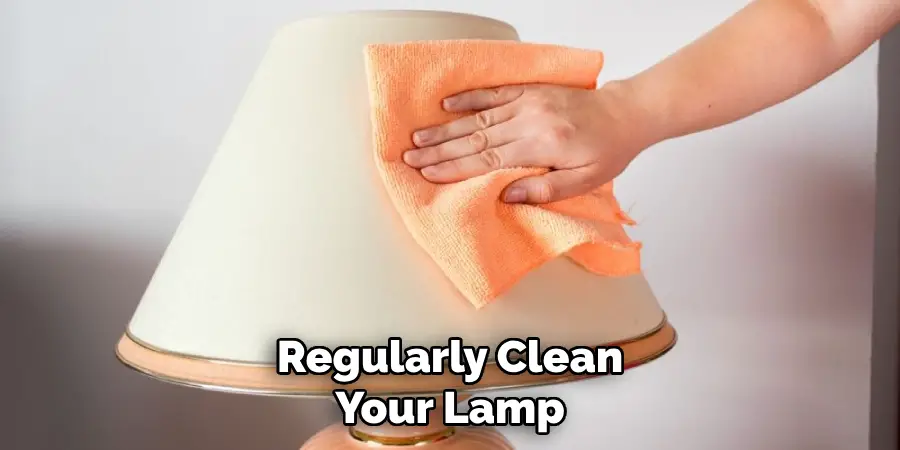
- Wipe off any dust or debris with a clean cloth.
Step 2: Protect your Work Area
- Lay down a drop cloth or use newspapers to cover your work surface. This will protect it from any accidental spills or overspray.
- Use masking tape to cover any parts of the lamp that you don’t want to get painted, such as the cord or socket.
- If using spray paint, make sure to work in a well-ventilated area and wear a mask to avoid inhaling fumes.
Step 3: Prime the Lamp
- Use a high-quality primer specifically designed for metal or plastic surfaces. This will ensure proper adhesion and prevent the paint from chipping.
- Follow the instructions on the primer, including how long it needs to dry before painting.
- Apply the primer evenly and in thin layers for best results.
- Let the primer dry completely before moving on to the next step.
Step 4: Paint the Lamp
- Choose a high-quality paint specifically designed for metal or plastic surfaces.
- Again, follow the instructions on the paint for best results.
- Use thin layers of paint and allow each layer to dry completely before applying another. This will help prevent drips and ensure an even finish.
- If using spray paint, hold the can about 6 inches away from the lamp and use smooth, sweeping motions to apply an even coat. Be sure to cover all angles of the lamp.
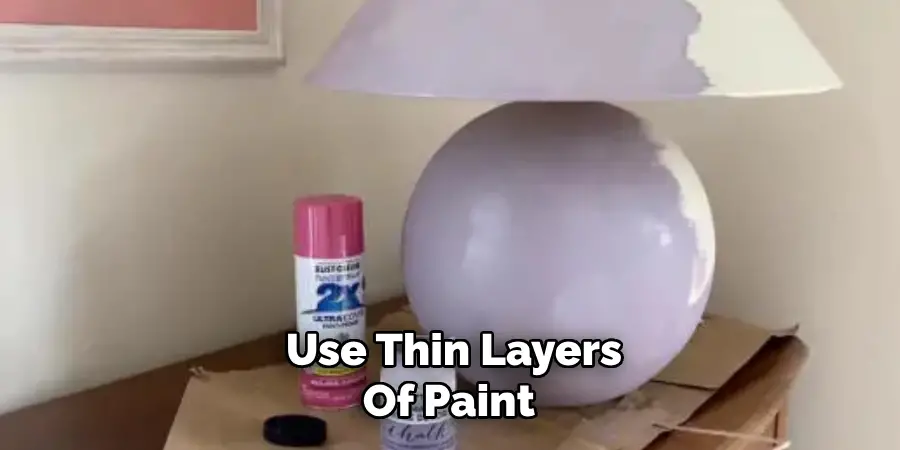
- Once the first layer is dry, apply a second coat for better coverage.
- If using brush-on paint, use a small paintbrush and work in thin layers. Make sure to smooth out any brush marks for a more professional look.
- After the final layer of paint has dried completely, you may choose to add a clear sealant for added protection and shine.
Step 5: Reassemble the Lamp
- Once all the painted components are completely dry, carefully reassemble the lamp.
- Start by reattaching the hardware, such as the base and any decorative accents. Ensure all screws or connections are securely fastened.
- Next, reinstall the wiring and bulb socket, following the reverse order of how you disassembled it. Double-check that all electrical components are correctly connected and tightened.
- Finally, insert the light bulb and attach the lampshade. Plug in the lamp to test it, ensuring it works properly and looks as good as new!
Step 6: Enjoy Your Newly Revamped Lamp
Congratulations, you have successfully transformed your old lamp into a stylish new accessory for your home! Now it’s time to sit back, relax and enjoy the glow of your revamped piece.
Following these simple steps on how to paint a brass lamp, you can easily revamp any old lamp and give it a new lease on life. Not only is this a cost-effective way to upgrade your home decor, but it is also an environmentally friendly option to repurpose old items instead of throwing them away.
Do You Need to Use Professionals?
Deciding whether to hire professionals to revamp tasks depends on your comfort level and skill set. If you’re confident with DIY projects and have the necessary materials, transforming your lamp yourself can be a rewarding experience.
However, if the project involves intricate electrical work or you lack the tools and expertise, consulting a professional can ensure safety and a high-quality finish. Ultimately, assessing the complexity of the job and your own abilities will guide you in making the best decision for your project.

How Much Will It Cost?
The cost of revamping your lamp can vary greatly depending on the scope of the project and the materials required. For a simple DIY refresh, such as repainting or replacing a lampshade, costs may remain minimal, often under $50. However, if the project involves more complex repairs or upgrades, such as rewiring or replacing key components, expenses can rise significantly, especially if professional services are needed.
Labor costs for electricians or specialized artisans typically range from $50 to $100 per hour, depending on your location. Additionally, the choice of premium materials or bespoke designs can further increase the overall investment. Carefully budgeting and comparing options will help you manage costs while achieving your desired result.
Additional Tips and Ideas
- Don’t be afraid to get creative with your color choices. Consider using bold or unexpected colors to make a statement.
- If you want a distressed or vintage look, lightly sand down areas of the lamp before painting.
- You can also use stencils or tape to create fun patterns on your lamp. Just make sure to plan out your design beforehand.
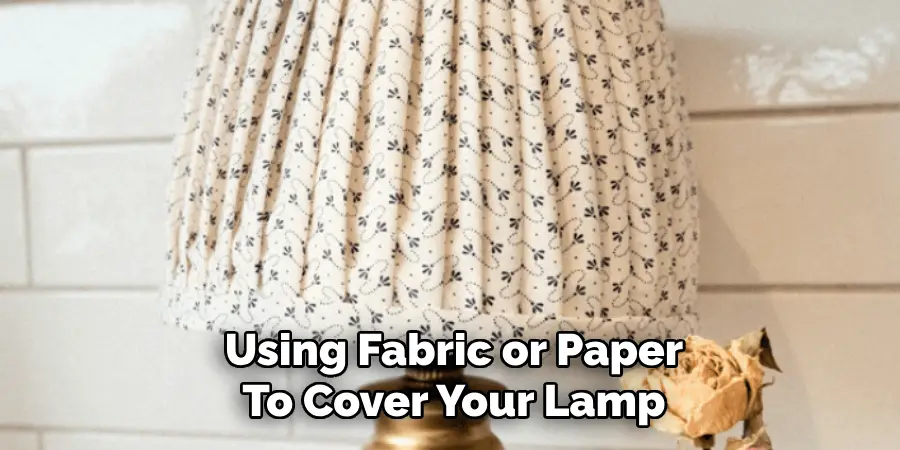
- Instead of painting, you can also try using fabric or paper to cover your lamp for a unique look.
- Don’t limit yourself to just lamps. You can use these same techniques to revamp other home decor items such as vases, picture frames, and furniture.
- Consider adding extra embellishments like beads, gems, or ribbon for an added touch of personality.
- If you are working with kids, let them join in on the fun by allowing them to decorate their own lamps for their bedrooms.
- Use old books or sheet music to create a decoupage effect on your lamp. This adds a vintage and literary touch to your decor.
Frequently Asked Questions
Q: Can I Use Any Type of Paint for My Diy Lamp Project?
A: Yes, you can use any type of paint for your DIY lamp project. However, it is important to consider the material of your lamp base and choose an appropriate paint that will adhere well and not chip or peel over time.
Q: Can I Use a Regular Light Bulb for My Diy Lamp?
A: Yes, you can use a regular light bulb for your DIY lamp as long as it fits the size and wattage specifications of your lamp base. It is important to follow safety guidelines when handling and installing light bulbs in any lamp.
Q: Do I Need Any Special Tools to make a Diy Lamp?
A: No, you do not need any special tools to make a DIY lamp. Most materials can be easily found at hardware or craft stores and can be assembled with basic household tools such as a screwdriver, pliers, and wire cutters. However, having a hot glue gun or a drill may make the process easier and more efficient. Always exercise caution when using any tools to prevent accidents and injuries.
Q: How Can I Customize My Diy Lamp?
A: There are several ways you can customize your DIY lamp to fit your personal style and preferences. You can choose different materials, colors, and designs for the lamp base and shade. You can also add embellishments such as beads, ribbons, or paint to make your lamp unique. Additionally, you can experiment with different lighting options such as using LED bulbs or adding a dimmer switch for adjustable brightness. The possibilities for customization are endless and allow you to create a one-of-a-kind piece that reflects your personal taste and creativity. Happy DIY-ing!
Conclusion
Customizing your own lamp is not only a fun and creative project but also an excellent way to express your individuality. By tailoring each detail, from the materials to the finishing touches, you can create a functional piece of art that perfectly complements your space. The process encourages creativity and resourcefulness, making it a rewarding experience.
Whether for your home or as a thoughtful gift, a personalized lamp brings a sense of uniqueness and charm that is truly priceless. Thanks for reading this article on how to paint a brass lamp.

