Decorating your house with Christmas lights is a festive way to spread holiday cheer and create a warm, inviting atmosphere. Whether you prefer a classic, understated look or a bold, colorful display, outlining your home with lights can transform it into a stunning holiday spectacle.

This guide on how to outline house with christmas lights will provide you with practical tips and step-by-step instructions to help you safely and effectively outline your house with Christmas lights, ensuring your display is both beautiful and secure.
Why Outline Your House With Christmas Lights?
There are several reasons why outlining your house with Christmas lights is a popular holiday tradition. Not only does it add to the festive spirit, but it also allows you to showcase your creativity and spread joy to your neighbors and passersby. Additionally, many people find that admiring their neighbor’s Christmas light displays brings them a sense of comfort and community during the holiday season.
So, let’s get started on creating a stunning display for all to enjoy!
Needed Materials
To outline your house with Christmas lights, you will need the following materials:
- String Lights (Led or Traditional)
- Extension Cords
- Outdoor-safe Hooks or Clips
- Ladder (if Needed for Higher Areas)
- Timer (Optional)
- Other Decorations or Accessories (Optional)
Make sure to choose high-quality lights that are specifically designed for outdoor use to ensure safety and longevity. It’s also a good idea to plan out your design before purchasing the lights to ensure you have enough and avoid any unnecessary trips to the store.
9 Simple Steps on How to Outline House With Christmas Lights
Step 1: Plan Your Design
Before you start hanging lights, take some time to plan your design thoroughly. Walk around your house and determine which areas you want to outline, such as the roofline, windows, doors, or porch railings. Sketch out your vision on paper, including details like where you’ll place additional decorations or focal points.
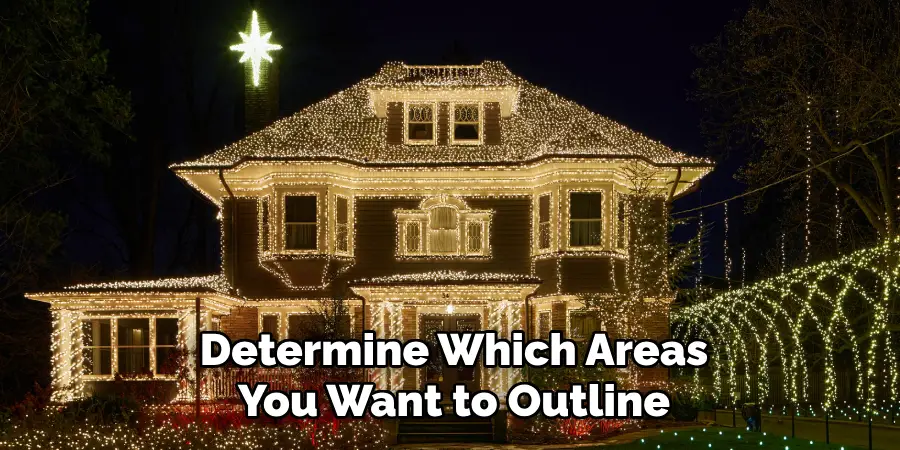
During this step, consider the colors and patterns of the lights you want to use, as well as how they will complement your home’s style. Proper planning not only ensures that you have enough lights and materials but also helps you achieve a cohesive and visually appealing display.
Step 2: Gather Your Supplies and Tools
Once you have a clear plan, gather all the necessary materials and tools. Make sure to check if you have enough extension cords, hooks or clips to safely attach the lights to your house. If you need additional supplies, purchase them beforehand so that you can complete the decoration process without any interruptions.
But remember, safety first! Take all necessary precautions, such as using a sturdy ladder and wearing appropriate clothing and footwear. It’s also important to check the weather forecast and avoid hanging lights during wet or windy conditions.
Step 3: Test Your Lights
Before hanging the lights on your house, it’s crucial to test them first. Plug in each string of lights to ensure they are working correctly and replace any burned-out bulbs. It’s easier to fix faulty lights before hanging them rather than trying to troubleshoot while standing on a ladder.
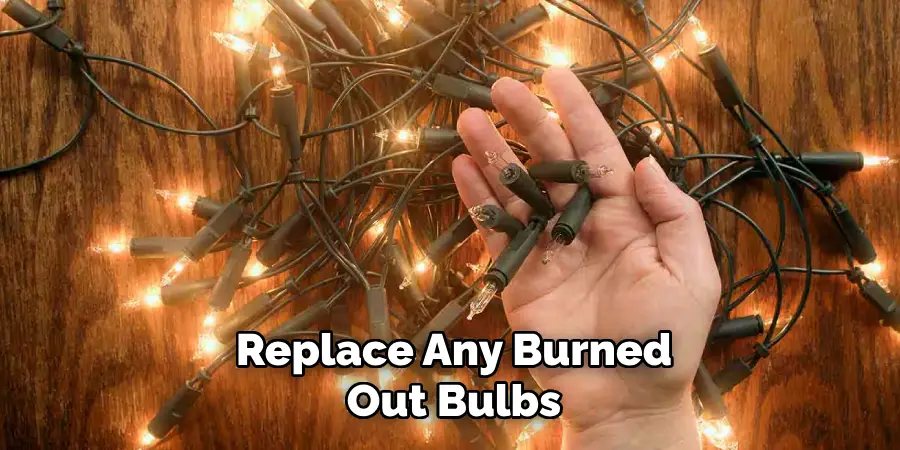
It’s also a good idea to invest in LED lights, which are energy-efficient and longer-lasting compared to traditional incandescent bulbs.
Step 4: Start at the Power Source
Begin by plugging in your first string of lights at the power source. If you have multiple strings, connect them before starting to hang them on your house. This will save time and help you avoid any tangled messes.
The power source will also determine where you need to start hanging the lights. If your lights have a male plug at the end, you’ll need to start near an outlet. If they have a female plug, start near the end of your design.
Step 5: Secure Lights with Outdoor-safe Hooks or Clips
To ensure your Christmas lights stay in place and look neat, use outdoor-safe hooks or clips designed for your specific surface. Attach these hooks or clips along the areas where you plan to hang your lights, such as roof edges, gutters, or window frames. This method prevents damage to your home and provides a secure hold, even during windy or rainy weather.
When securing your lights, space the hooks or clips evenly for a polished appearance. Avoid using nails, staples, or any materials that could damage the wires or create a safety hazard. Taking the time to properly secure your lights will help keep your display intact throughout the holiday season and make the removal process easier once the festivities are over.
Step 6: Hang the Lights
Now it’s time to start hanging the lights! Begin at your designated starting point and work your way along the outlined areas of your house. If you’re using multiple strings, remember to connect them as you go.
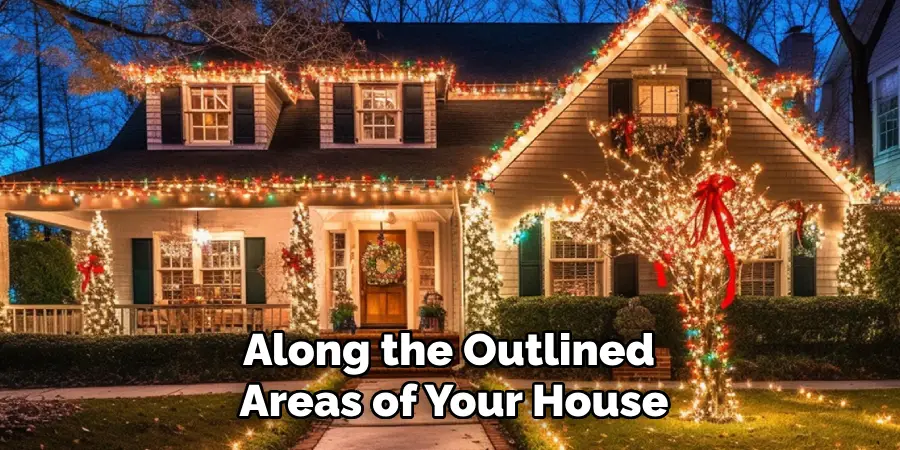
When hanging lights on the roof, use clips or hooks that can slide under shingles without causing damage. For gutters, use light clips designed to fit over the edge without crushing them. If you have a brick exterior, consider using adhesive light clips specifically made for this surface.
As you hang each string of lights, step back and check that they are straight and evenly spaced. Adjust as necessary before moving on to the next section.
Step 7: Add Additional Decorations or Focal Points
If desired, you can add other decorations or focal points to your display, such as a wreath, inflatable characters, or light-up figures. Make sure to place these items safely and securely without interfering with the lights’ placement.
Remember to stick to your planned design to ensure a cohesive and visually appealing display. Too many additional decorations can create a cluttered and overwhelming look.
Step 8: Consider Using a Timer (Optional)
To save energy and reduce the hassle of turning your lights on and off every day, consider investing in a timer. This device allows you to set specific times for your lights to turn on and off, making your display more convenient and efficient.
You can also use a timer to control the lights’ brightness, creating a subtle and cozy ambiance or a bright and festive atmosphere.
Step 9: Enjoy Your Beautifully Outlined House!
Congratulations, you have successfully outlined your house with Christmas lights! Take a step back and admire your hard work. Don’t forget to take pictures and share them with family and friends.
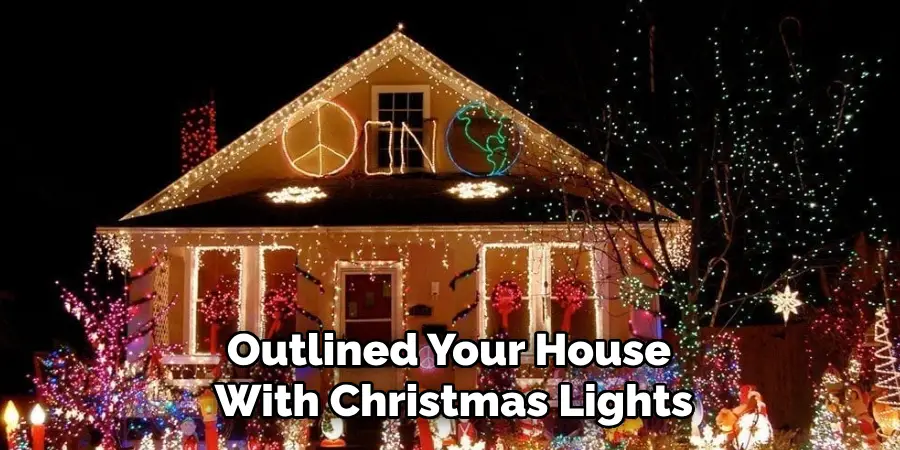
Remember to turn off the lights when going to bed or leaving the house, and always prioritize safety by following proper guidelines on how to outline house with christmas lights for outdoor lighting. Enjoy the festive atmosphere that your outlined house with Christmas lights brings during this magical time of year. Happy Holidays!
Additional Tips
- To create a visually impactful display, consider using different types of light (e.g., fairy lights, icicle lights, and net lights) or mixing colors.
- Add a personal touch by incorporating DIY decorations or repurposing items you already have at home.
- Don’t forget to consider the placement of your power source when planning your design.
- If you live in an area with harsh weather conditions, opt for durable and waterproof lights to ensure they last throughout the holiday season.
- Properly store your Christmas lights after the holidays to keep them in good condition for future use.
- Involve family members or friends in the decorating process for a fun and festive bonding experience.
Frequently Asked Questions
Q1: Can I Use Indoor Christmas Lights for Outdoor Decorations?
A: No, indoor lights are not designed to withstand outdoor elements and may become a safety hazard. Always use lights specifically labeled for outdoor use. It’s also essential to check for the UL label, which ensures the lights have been tested and approved for safety.
Q2: How Can I Prevent My Lights from Tangling?
A: To avoid tangles, store your lights carefully after each use. One method is to wrap them around a cardboard or foam tube before storing them in a box. You can also invest in storage solutions specifically made for Christmas lights.
Q3: Are LED Lights More Expensive Than Incandescent Bulbs?
A: LEDs may have a higher upfront cost, but they are more energy-efficient and have a longer lifespan, making them a more cost-effective option in the long run.
Q4: Can I Leave My Christmas Lights On All Night?
A: It is generally recommended to turn off your lights when going to bed or leaving the house for safety and energy purposes. However, if you do choose to leave them on all night, make sure they are outdoor-safe and installed properly.
Conclusion
Decorating your house with Christmas lights is a wonderful way to spread holiday cheer and create a festive atmosphere for your home. By following the steps on how to outline house with christmas lights outlined above, you can ensure your display is safe, visually appealing, and easy to manage throughout the season. Whether you opt for a simple design or an elaborate showcase, the joy and warmth that these lights bring to you, your family, and your neighbors make the effort truly worthwhile.
With proper planning, safety precautions, and a touch of creativity, your beautifully outlined house will be a memorable highlight of the holiday season. Happy decorating and happy holidays!

