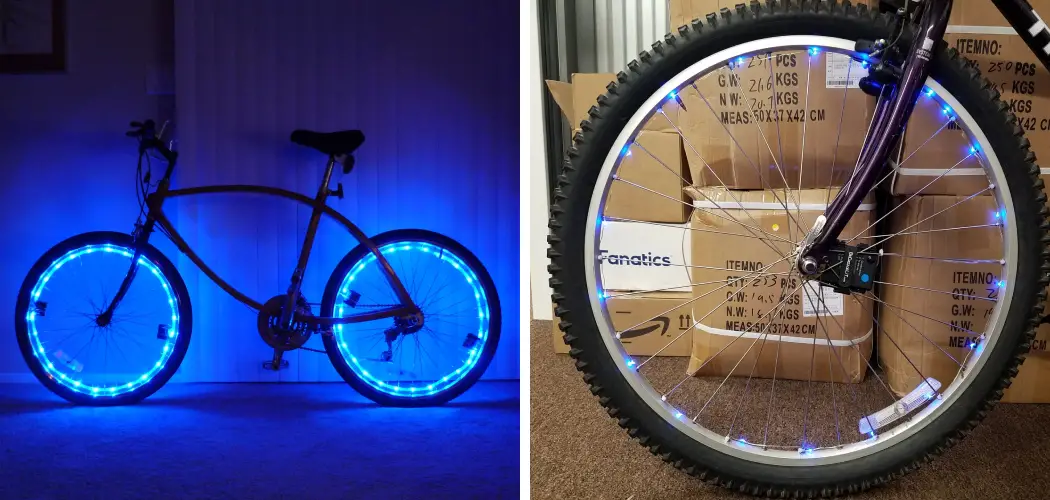
Do you like to add a little extra flair to your car or bike? Then wheel lights might just be the perfect addition for you! These lights can add color and style to your ride, making it stand out even more. But before decorating your wheels, you need to know how to mount wheel lights.
Wheel lights are a fun and functional way to increase the visibility and safety of your bicycle while adding a personal touch of style. Mounting wheel lights can seem daunting at first, but with the right tools and guidance, it’s a process that can be completed with ease.
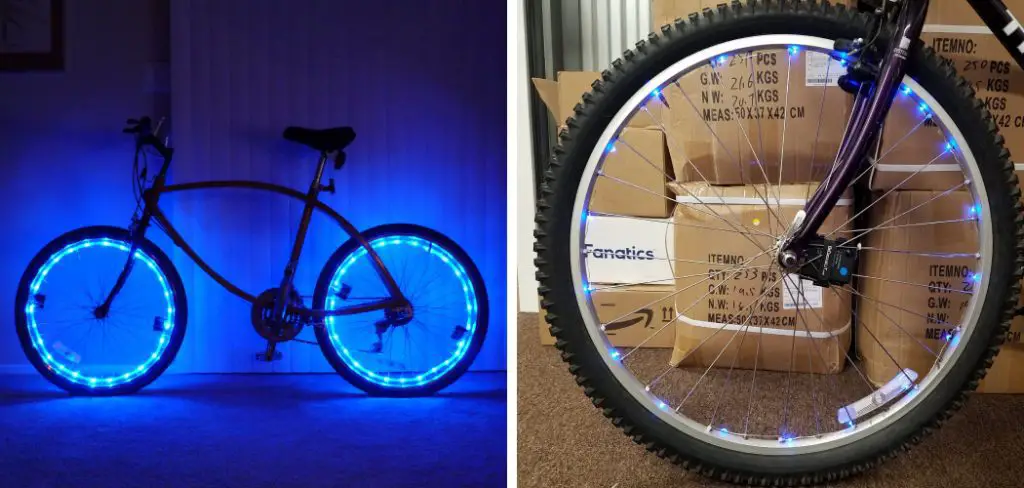
Whether you’re a seasoned cyclist or a beginner, this guide will walk you through the key steps to securely and correctly attach wheel lights to your bike, ensuring that your night rides are both safe and spectacular. Let’s get your wheels glowing!
What are the Use Cases for Wheel Lights?
Before we dive into the actual process of mounting wheel lights, let’s first understand why they are helpful. There are several use cases for wheel lights, including:
- Increased Visibility: Adding lights to your wheels can make you more visible to other vehicles and pedestrians while riding at night.
- Personal Style: Wheel lights come in various colors and design options, allowing you to add a personal touch to your ride.
- Safety: In addition to making you visible, wheel lights can also act as a safety feature by warning others of your presence on the road.
- Fun and Entertainment: Let’s be honest, riding with colorful wheels is just plain fun! It can also make for some pretty cool photo opportunities.
Now that we’ve established the benefits of wheel lights let’s move on to how you can mount them on your bike.
What Will You Need?
Before you begin mounting your wheel lights, here’s a list of tools and materials you’ll need to complete the task:
- Wheel Lights Kit: You can purchase a wheel light kit online or at your local bike shop. These kits usually have the necessary hardware, including LED lights, battery packs, and zip ties.
- Bike Stand (optional): A bike stand can make the process of mounting wheel lights easier and more convenient, as it allows you to work on your bike at a comfortable height.
- Zip Ties: You’ll need zip ties to secure the lights to your bike’s spokes. Make sure to choose durable and heavy-duty zip ties.
- Scissors or Wire Cutters: These tools will be useful when trimming excess zip ties.
- Rubbing Alcohol: This is used to clean the surface of your bike’s spokes before attaching the lights.
Now that you have all the necessary tools and materials let’s move on to the steps for mounting wheel lights.
10 Easy Steps on How to Mount Wheel Lights
Step 1. Prepare Your Bike
Before you start attaching any lights, it’s essential to prepare your bike. Begin by placing your bicycle on a bike stand, if you have one, to stabilize it. Ensure your bike is clean by wiping down the wheels with a cloth and rubbing alcohol. This will help the wheel lights adhere more securely to the spokes. Check that the spokes are tight and aligned, as this is essential for both the proper functioning of the wheel lights and cycling safety. Once your bike is prepped and stable, you can move on to the next step.

Step 2. Unpack Your Wheel Lights Kit
After you have prepared your bike, take out your wheel lights kit and make sure all parts are present. Lay out the LED strips, battery pack, and zip ties. Some kits may include specific mounting brackets or adhesives. Review the instructions included with your kit carefully to familiarize yourself with the components and the installation process.
This is important to ensure a smooth set-up and to understand where each part goes. If the kit includes various light modes or color options, decide on your preference beforehand to avoid adjustments later on. Once you have everything sorted and understand the instructions, you’re ready for installation.
Step 3. Position the LED Strips
Carefully position the LED strips along the bike’s wheels where you plan to attach them. It’s best to place them evenly between the spokes to ensure balanced visibility and wheel functionality. If your LED strips are designed to be cut to size, measure them against the wheel to determine the correct length. Remember not to cut them too short; it’s always better to trim any excess later.
Some strips may come with an adhesive backing, which should not be removed until you’re confident of the placement. Once you have the LED strips positioned to your satisfaction, move on to securing them.
Step 4. Secure the LED Strips with Zip Ties
Now that your LED strips are in position start attaching them to the spokes using the zip ties provided in your kit. Begin by threading a zip tie through the holes in the LED strip (if applied) and around the spokes, pulling it just enough to hold the strip in place but not so tight that it causes the strip to bend or warp. It’s vital to secure the LED strip at multiple points along the wheel to prevent it from sagging or flapping when it is in motion.

Ensure that the LED strips are fastened securely and evenly spaced to maintain the wheel’s balance. Once the strip is fully secured, carefully snip off the surplus end of each zip tie to keep your installation neat and to prevent any possible injury from sharp edges.
Step 5. Attach the Battery Pack
After securing the LED strips, installing the battery pack is time. Start by identifying a spot on your bike frame or hub that’s close to the wheel but won’t interfere with its operation or your safety while riding. The battery pack should be positioned where it can be easily reached for turning the lights on and off and for battery replacement.
If your kit comes with a bracket or holder for the battery pack, attach it to your bike using any screws provided, or if it’s designed to be strapped on, use the straps to secure it firmly in place. Ensure that the battery pack is tight enough to avoid any movement while cycling but not so tight that it damages the frame or the pack itself. Once the battery pack is mounted, proceed to connect the wires from the LED strips to the battery pack, ensuring a secure and stable connection.
Step 6. Connect the LED Strips to the Battery Pack
With the battery pack in place, it’s time to connect the LED strips. Carefully thread the wires from the LED strips to the battery pack, route them so that they do not get tangled or interfere with the bike’s moving parts. Most wheel light kits come with connectors that make attaching the wires to the battery pack simple. Once the wires are connected, check to ensure that the connections are secure and that no bare wire is exposed. After everything is connected correctly, test the lights to verify that they work before moving on to the final steps of installation.
Step 7. Test the Wheel Lights
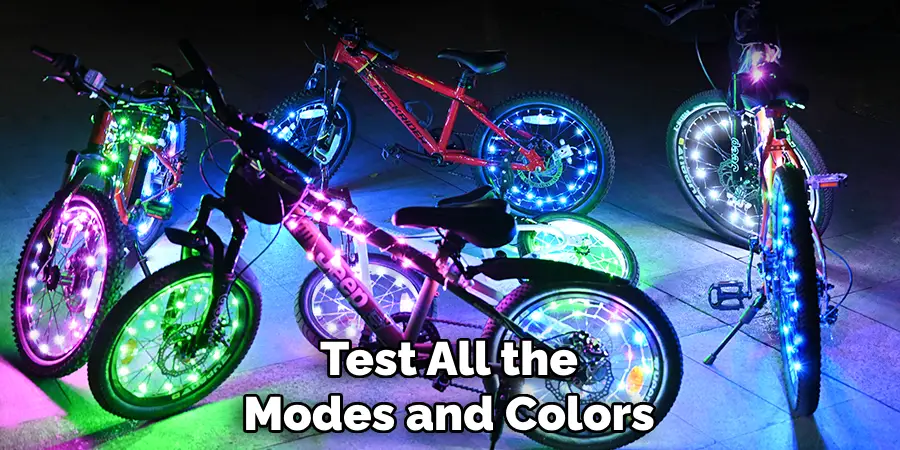
Before you take your bike out on the road, it’s crucial to test the wheel lights to ensure they are functioning correctly. Turn on the battery pack and watch as the LED strips illuminate. Check each individual LED to confirm that they are all lighting up; any that aren’t working may indicate a loose connection or a faulty strip. Test all the modes and colors, if available, to ensure full functionality. It’s also vital to spin the wheel and observe the lights in motion to ensure they are securely attached and that the wheel’s motion doesn’t affect their operation. If everything looks good, you can move on to neatening up the wiring.
Step 8. Neaten the Wiring
With the lights tested and functional, the next step is to organize and secure the wiring. This helps prevent any damage to the wires and keeps them from getting caught in the wheel. Use the zip ties to neatly bundle any loose or hanging wires along the bike frame, ensuring they are tight enough to keep the wires in place but not so tight that they pinch or damage the wiring.
If the wires are too long, you can coil the excess length and secure it with a zip tie. Ensure that none of the wiring interferes with the bike’s gears, brakes, or pedals. After you’ve tidied up the wires, give your bike another spin to ensure that everything stays in place and operates correctly.
Step 9. Final Inspection and Adjustments
After securing the wiring, conduct a final inspection of the entire installation to ensure everything is in place. This includes a last check of the LED strips’ placement, the tightness of the zip ties, the battery pack’s position, and the routing of wires to ensure they are all secure and not subject to wear from moving parts.
If you make any adjustments, retest the lights to confirm they’re still functioning properly. It’s also wise to go for a short test ride in a safe area to identify any issues that may only become apparent under actual riding conditions. This step ensures that your LED wheel lights are installed correctly and are safe to use on the road.
Step 10. Maintenance Tips
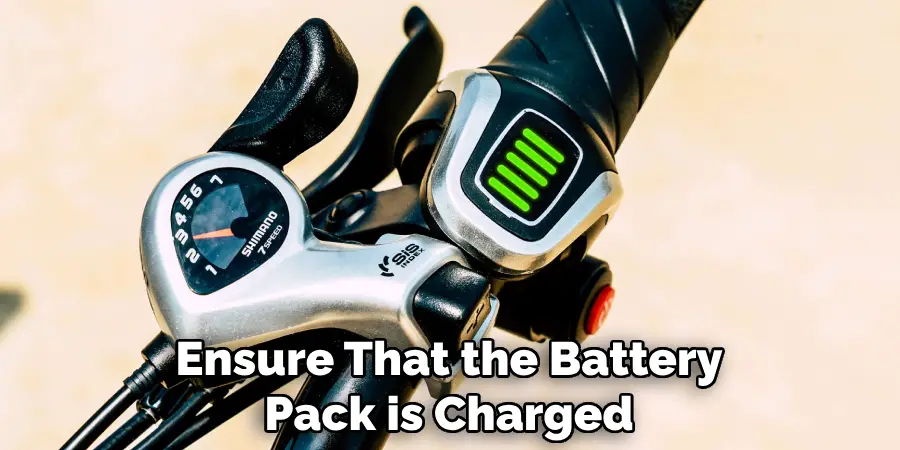
Perform regular maintenance checks to keep your LED wheel lights in pristine condition. Ensure that the battery pack is charged and the batteries are replaced when necessary to continue enjoying optimal brightness. Inspect the LED strips periodically for any signs of damage or wear, and tighten any loose zip ties. It’s also essential to clean the strips gently with a damp cloth to prevent dirt and grime from affecting their performance. Finally, if you encounter any issues with the lighting, refer to the troubleshooting guide provided with your kit or consult the manufacturer for assistance.
By following these steps and keeping up with maintenance, you can enjoy safe and stylish rides with your LED wheel lights. So go out and light up the night!
5 Additional Tips and Tricks
- Check for Size Compatibility: Before purchasing, ensure that the wheel lights you choose are compatible with the size of your wheels. Incorrect sizes can lead to poor attachment and potential damage during riding.
- Clean Wheel Surface: Thoroughly clean the area of the wheel where the lights will be attached. Dirt and grime can prevent the adhesive from sticking properly and may lead to the lights falling off.
- Install in Temperate Conditions: Adhesives used for mounting wheel lights work best in mild temperatures. If it’s too cold or hot, the adhesive might not set correctly, affecting the hold.
- Test Light Orientation: Before fixing the lights permanently, temporarily place them to test the orientation. This ensures the lights are positioned for maximum visibility and effect when the wheel is spinning.
- Secure Loose Wires: If your wheel lights have any accompanying wires or battery packs, use zip ties or velcro straps to secure them to the spokes or hub to avoid tangling or catching while the wheels are in motion.
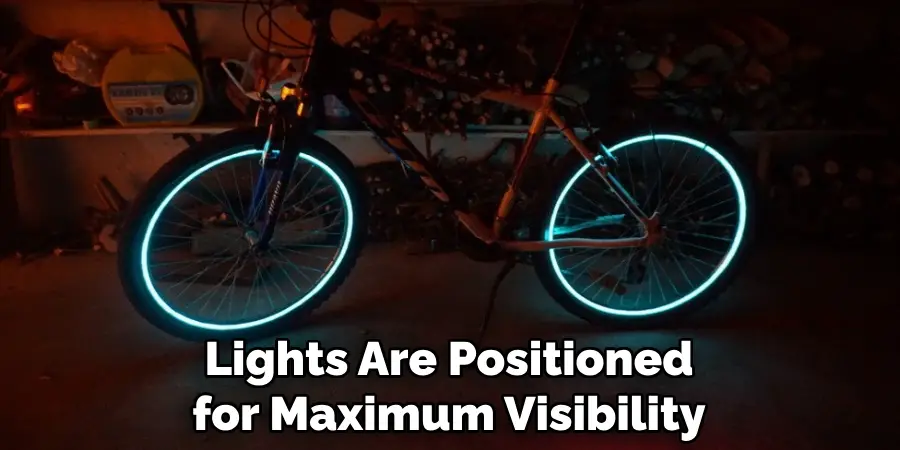
With the additional tips and tricks, you can enhance the installation and longevity of your wheel lights.
5 Things You Should Avoid When Mounting Wheel Lights
- Neglecting the Manual: Avoid starting the installation without reading the manufacturer’s manual. Each product may have unique requirements or steps crucial for proper installation.
- Forcing Parts Together: Do not force parts to fit where they do not naturally belong. This can cause damage to the light system or your wheels.
- Installing in Poor Lighting: Avoid mounting your wheel lights in an area with insufficient lighting. Proper visibility is critical to ensuring a secure and accurate installation.
- Ignoring Weather Conditions: Do not install the lights if expecting immediate rain, snow, or extreme weather, as it can compromise the adhesive or damage the lights before they’re securely attached.
- Skipping Safety Checks: Finally, never bypass a post-installation safety check. Make sure everything is secure, and the lights do not interfere with the wheel’s movement or the bike’s brakes.
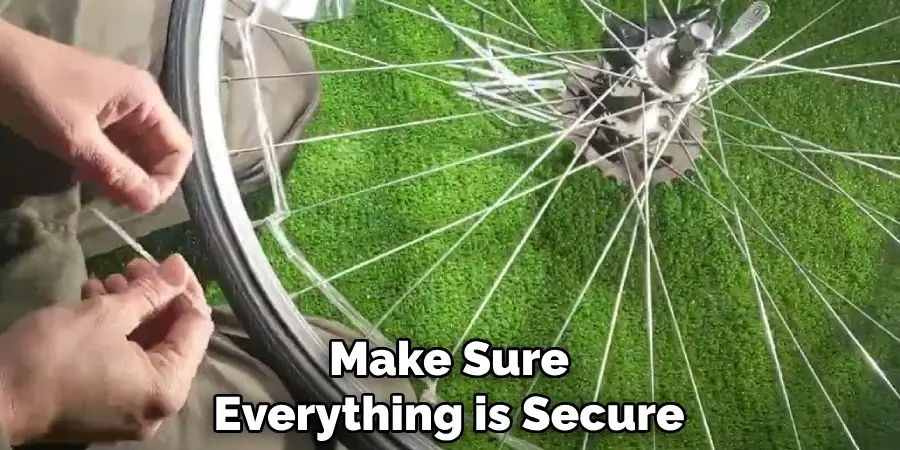
By avoiding these common mistakes, you can ensure a smooth and successful installation of your wheel lights.
Which Rims Are the Lightest?
When it comes to wheel lights, the weight of the rims can play a significant factor in the overall performance of your bike. Lighter rims can provide better acceleration and handling, while heavier rims may offer more stability and durability.
Carbon fiber rims are often considered the lightest option for bike wheels. They are known for their strength and lightweight properties, making them a popular choice among professional riders. However, they can also be quite expensive.
Other lightweight rim options include aluminum rims, which are more affordable and offer decent weight savings compared to steel rims. Titanium rims are also gaining popularity for their light weight and durability.
Ultimately, the lightest rim option will depend on your budget and riding style. It’s important to consider all factors when choosing the right rims for your bike, including weight, durability, and price. So research and find the best fit for you and your ride!
Are Aluminum Wheels Light?
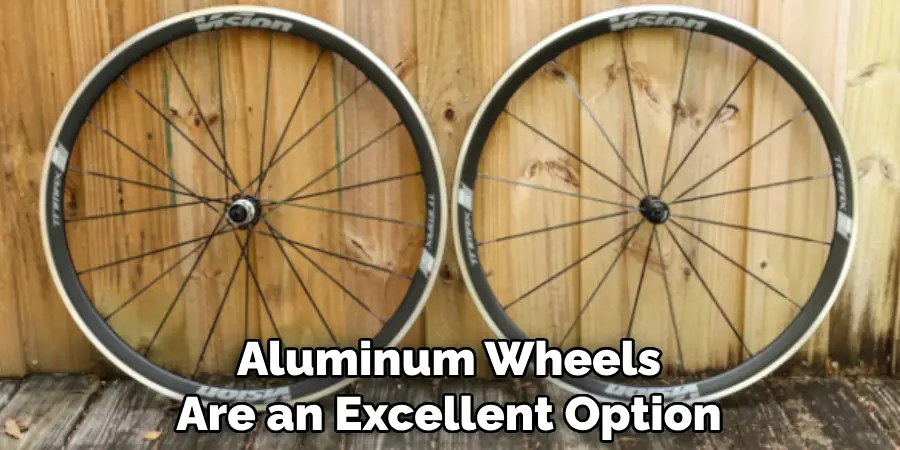
Yes, aluminum wheels are generally considered to be lightweight compared to other materials such as steel or carbon fiber. This makes them a popular choice for bike riders who value speed and agility. However, it’s essential to note that the weight of an aluminum wheel can vary depending on its design and construction. Other factors like spoke count, rim width, and tire type can also affect the overall weight of the wheel.
Overall, aluminum wheels are an excellent option for those looking for a lightweight and affordable choice. They offer good strength and durability while still being relatively light compared to other materials. However, it’s always important to consider all factors when choosing bike components, including your riding style and terrain. So, take your time and find the right balance between weight, performance, and cost for your specific needs.
Conclusion
In conclusion, mounting wheel lights is a relatively simple process that can greatly increase your visibility and safety, as well as add a personal touch to your ride. By following the appropriate steps for installation, such as checking size compatibility, cleaning the wheel surface; installing in optimal temperature conditions; testing light orientation; and securing any loose wires, you ensure that your wheel lights are mounted correctly and reliably.
Remember to avoid common pitfalls like neglecting the manual, forcing incompatible parts together, installing in poor conditions, and skipping safety checks. Choosing the right rim material, such as light aluminum or carbon fiber, can further enhance your biking experience. By taking these tips and precautions into account, you can look forward to many safe and enjoyable rides with your new, illuminated wheels.
Hopefully, this guide on how to mount wheel lights, has been helpful in providing useful information for installing and maintaining wheel lights. Ride on! Happy biking!

