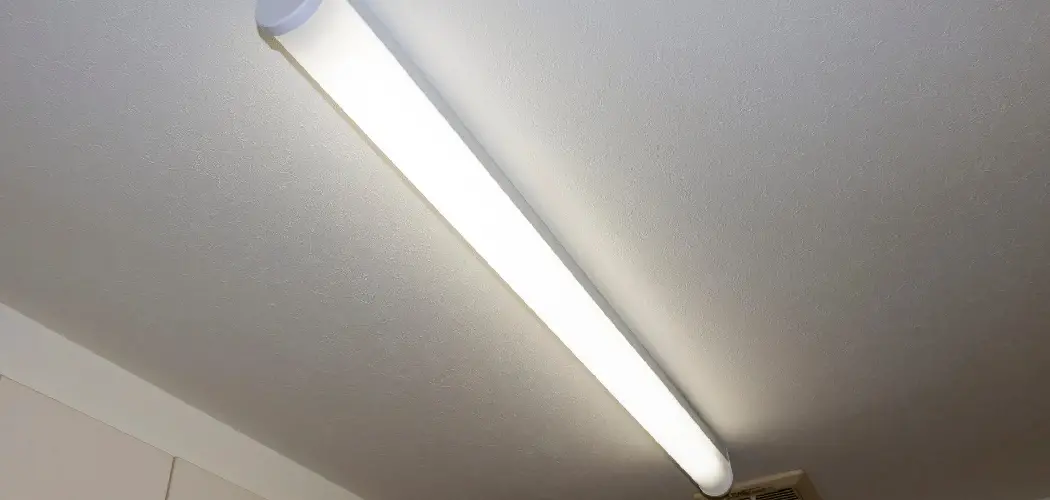
Mounting fluorescent lights can seem like a daunting task, but with the right tools and clear instructions, it becomes a straightforward process. Whether you are
installing lights in your home, office, or garage, proper installation ensures efficient lighting and long-lasting performance. This guide will take you step by step through the process of how to mount fluorescent lights, helping you achieve a safe and professional result.
Why Choose Fluorescent Lights?
Fluorescent lights offer several advantages that make them a preferred choice for many spaces. One of their key benefits is energy efficiency; they use significantly less electricity compared to traditional incandescent bulbs, which can reduce utility bills and environmental impact.
Additionally, fluorescent lights provide bright, even illumination that is ideal for large or workspace areas, such as offices and garages. They also have a longer lifespan, meaning less frequent replacements and lower maintenance costs. This combination of cost-effectiveness, performance, and durability makes fluorescent lights a reliable and practical lighting solution.
Different Types of Fluorescent Lights
Fluorescent lights come in a variety of types, each designed to suit specific needs and applications. Here are some common types:
- T12 Bulbs: These are older, larger-diameter fluorescent tubes, typically 1.5 inches in diameter. While less energy-efficient compared to newer options, they are still used in older fixtures or where retrofitting is not feasible.
- T8 Bulbs: A more modern and efficient option, T8 bulbs have a smaller diameter of 1 inch and are widely used in commercial and residential spaces for their better energy performance and brightness.
- T5 Bulbs: These are the most compact and efficient of the common fluorescent tubes, with a diameter of only 5/8 of an inch. They are ideal for high-performance applications, such as task lighting or under-cabinet installations.
- Compact Fluorescent Lamps (CFLs): CFLs are small, coiled fluorescent bulbs that fit into standard light sockets. They are popular for their versatility and energy savings, making them a great replacement for incandescent bulbs in many fixtures.
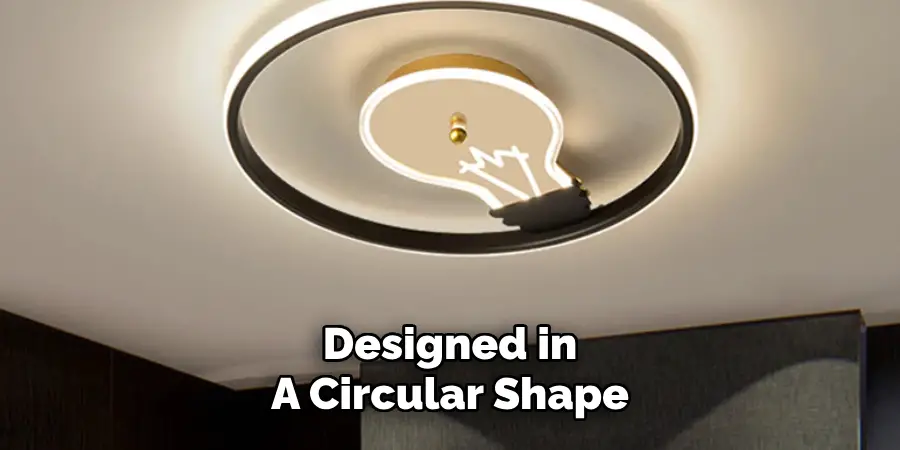
- Circline Bulbs: Designed in a circular shape, these bulbs are often used in specialty applications such as ceiling fixtures, where unique forms of lighting are needed.
Each type of fluorescent light is designed to meet different functional needs, allowing you to choose the best option based on your requirements for efficiency, brightness, and design.
Gathering Necessary Tools and Materials
Before you begin mounting fluorescent lights, it’s essential to gather all the tools and materials required for the installation. Having everything prepared in advance will ensure a smoother and more efficient process. Here’s a list of items you may need:
Tools:
- Drill and Drill Bits: For creating holes in the mounting surface.
- Screwdriver: A flathead or Phillips screwdriver for securing screws.
- Measuring Tape: To measure the placement of the fixture accurately.
- Level: Ensures the light fixture is mounted straight.
- Wire Strippers: For preparing wires during the electrical connection.
- Pencil or Marker: To mark drill holes and fixture placement.
- Ladder or Step Stool: Needed to reach ceiling-mounted fixtures.
- Voltage Tester: To confirm the power is off before starting any electrical work.
Materials:
- Fluorescent Light Fixture: The specific fixture you’ve chosen for your space.
- Bulbs: Ensure you have the correct type and size of fluorescent bulbs for your fixture.
- Mounting Hardware: Screws, brackets, or anchors typically come with the fixture—confirm you have the right components.
- Electrical Wiring Supplies: Wire connectors, electrical tape, and other materials to safely connect power.
- Protective Gear: Safety glasses and gloves are recommended for protection during installation.
Double-check the instructions that come with your fluorescent light fixture, as they often list any additional or specific tools you’ll need. Having all these items ready beforehand helps avoid last-minute interruptions and ensures a safer and more organized installation process.
10 Methods How to Mount Fluorescent Lights
1. Choosing the Right Location for Installation
Before mounting a fluorescent light fixture, determine the best location based on lighting needs and power source availability. Consider the area’s dimensions, existing wiring, and potential obstructions. Fluorescent lights work best in places requiring broad, consistent illumination, such as kitchens, basements, and workspaces.
2. Turning Off Power at the Circuit Breaker
Safety is crucial when working with electrical fixtures. Before beginning the installation, switch off the power at the circuit breaker to avoid electric shock. Use a voltage tester to confirm that no electricity is flowing through the wires before proceeding with the mounting process.
3. Marking the Mounting Points on the Ceiling or Wall
Using a measuring tape and a level, mark the positions where the fluorescent fixture will be secured. Align the fixture evenly to prevent uneven lighting and
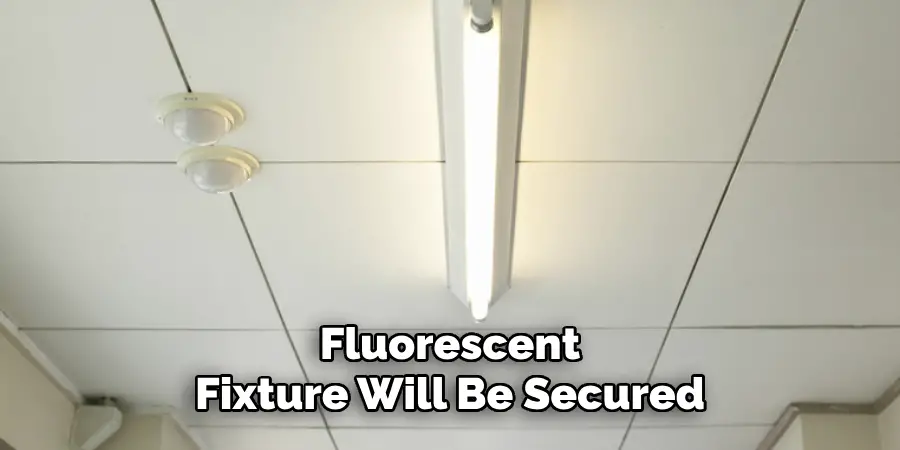
ensure stability. If mounting to a ceiling, ensure the fixture is parallel to the walls for a professional and balanced appearance.
4. Installing Mounting Brackets for Secure Placement
Most fluorescent fixtures come with mounting brackets that need to be attached before installation. Secure the brackets using screws and wall anchors if necessary. If mounting on drywall, use appropriate anchors to prevent the fixture from loosening over time.
5. Wiring the Fluorescent Light Fixture Properly
After securing the mounting brackets, connect the wiring. Strip the insulation from the electrical wires, then match the black (live) wire from the fixture to the black wire from the power source, and the white (neutral) wire to the white wire from the power source. Secure all connections with wire nuts and wrap them with electrical tape for added safety.
6. Connecting the Ground Wire for Safety
Fluorescent light fixtures often include a ground wire (typically green or bare copper). Connect this wire to the ground screw on the fixture or the electrical box. Proper grounding prevents electrical hazards and ensures compliance with safety regulations.
7. Attaching the Fluorescent Light Fixture to the Mounting Brackets
Once the wiring is complete, attach the fixture to the pre-installed mounting brackets. Secure it with screws or clips, ensuring it is tightly fastened to prevent sagging or instability. If the fixture has a cover, reattach it according to the manufacturer’s instructions.
8. Installing Fluorescent Tubes and Diffuser
Insert the fluorescent tubes into the sockets by aligning the pins and gently rotating them until they lock in place. If the fixture includes a diffuser, snap it into
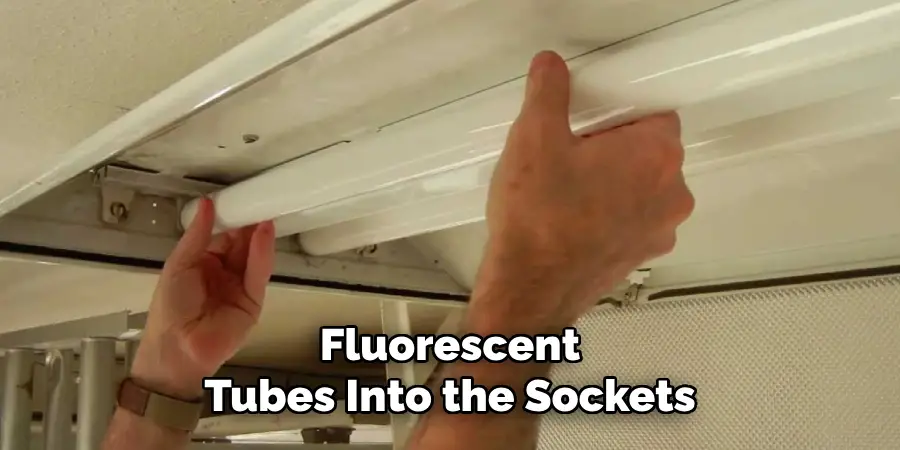
position to help distribute the light evenly and reduce glare. Ensure the tubes are seated properly to prevent flickering or malfunction.
9. Testing the Fluorescent Light for Proper Functionality
After mounting and wiring, restore power at the circuit breaker and turn on the light switch. Observe whether the fluorescent tubes illuminate correctly. If there is flickering or a failure to turn on, double-check the wiring connections, bulb installation, and ballast condition.
10. Maintaining and Cleaning the Fixture for Longevity
To ensure long-term performance, periodically clean the fluorescent light fixture. Dust and debris can accumulate on the tubes and diffuser, reducing brightness over time. Turn off the power before cleaning with a soft cloth or mild cleaner. Also, replace any faulty tubes or ballasts as needed to maintain efficiency.
Things to Consider When Installing Fluorescent Lights
When installing fluorescent lights, there are several factors to keep in mind to ensure a successful and safe installation:
- Ceiling or Wall Material: Verify the type of surface you will mount the fixture on. Different materials, such as drywall, concrete, or wood, may require specific tools or anchors to secure the fixture properly.
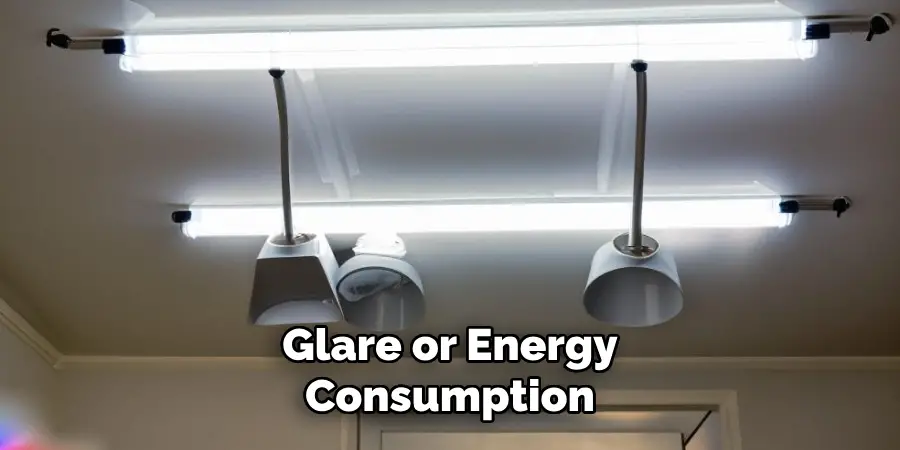
- Lighting Requirements: Assess the amount of illumination needed for the space. Choose a fixture size and bulb wattage that provide adequate light without causing excess glare or energy consumption.
- Existing Wiring and Power Source: Check the availability of existing wiring and ensure that the circuit has enough capacity to handle the additional load from the fluorescent light fixture.
- Room Aesthetics: Consider how the fixture fits with the room’s design and layout. Placement should be both functional and visually appealing to harmonize with the surrounding décor.
- Energy Efficiency: Fluorescent lights are generally energy-efficient, but ensure the bulbs you select meet any energy-saving goals you may have for the space.
Safety Considerations
When installing fluorescent lights, prioritizing safety is essential to prevent accidents and ensure a reliable setup. Here are the key safety measures to keep in mind:
- Turn Off the Power: Always switch off the power supply at the circuit breaker before beginning any work with electrical fixtures. Use a voltage tester to confirm the absence of electricity in the intended work area.
- Use Proper Tools and Equipment: Ensure that all tools and materials, such as screwdrivers, wire strippers, or wall anchors, are suitable for the task. Avoid using damaged or inappropriate tools, which can increase the risk of mishaps.
- Follow Manufacturer Instructions: Adhere to the guidelines provided by the fixture manufacturer for installation, wiring, and maintenance. Incorrect handling may compromise safety and void warranties.
- Inspect Wires and Components: Check for damaged or frayed wires and replace them before proceeding. Also, inspect the fixture for any defects or signs of wear and tear that could affect its performance.
Conclusion
Mounting fluorescent lights requires careful planning, precise installation, and adherence to electrical safety guidelines. By following these ten methods, you can ensure that your fluorescent light fixture is securely and correctly installed, providing efficient and long-lasting illumination for your space. Thanks for reading, and we hope this has given you some inspiration on how to mount fluorescent lights!

