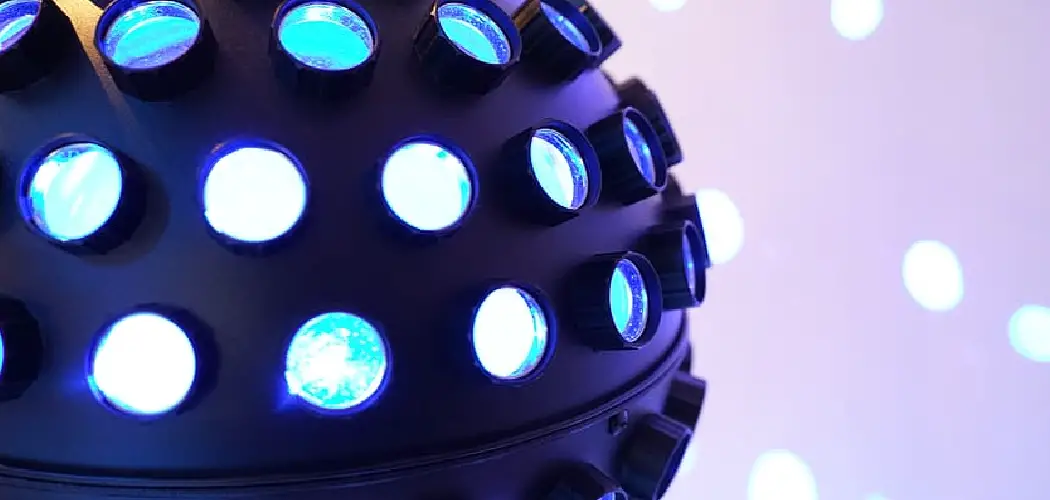
Lighting is pivotal in setting the right atmosphere for DJ performances, transforming a simple space into an immersive experience. The vibrant interplay of spotlights, wash lights, moving heads, lasers, strobes, and effect lights creates visual excitement that enhances the music, captivating the audience.
Each type of DJ light has a specific purpose: spotlights and moving heads highlight key features, wash lights provide broader illumination, lasers add dynamic patterns, and strobes create pulsating effects that sync with the beat. This article aims to guide readers on the proper and safe methods for mounting DJ lights, ensuring a secure setup that maximizes their performance impact. By understanding “how to mount DJ lights,” both novice and experienced DJs can enhance their visual setups, leading to more memorable and professional shows.
Understanding DJ Lights
Types of DJ Lights:
- Spotlights: These provide focused beams of light that can highlight specific areas or create dramatic effects. They are excellent for pinpointing certain aspects of a performance or creating a spotlight on the DJ.
- Wash lights: Designed to cover large areas with smooth and even light, wash lights are perfect for adding ambiance to the entire venue. They can flood walls, ceilings, and dance floors with vibrant colors.
- Moving heads: These dynamic lights can rotate and pivot, offering an array of effects and patterns. Moving heads are versatile and can follow the beat of the music, creating an engaging and fluid light show.
- Lasers: Known for their sharp, colorful beams, lasers can create intricate patterns and animations that add an extra layer of excitement to the performance. They are particularly effective in larger venues or for special effects.
- Strobes: Strobes produce fast, pulsating flashes of light, which creates a sense of motion and intensity. They are often used to highlight high-energy moments in a set.
- Effect lights: These include a variety of specialty lights, like moonflowers and Gobo projectors, that can project patterns and shapes, adding unique visual elements to the performance.
Importance of Placement:
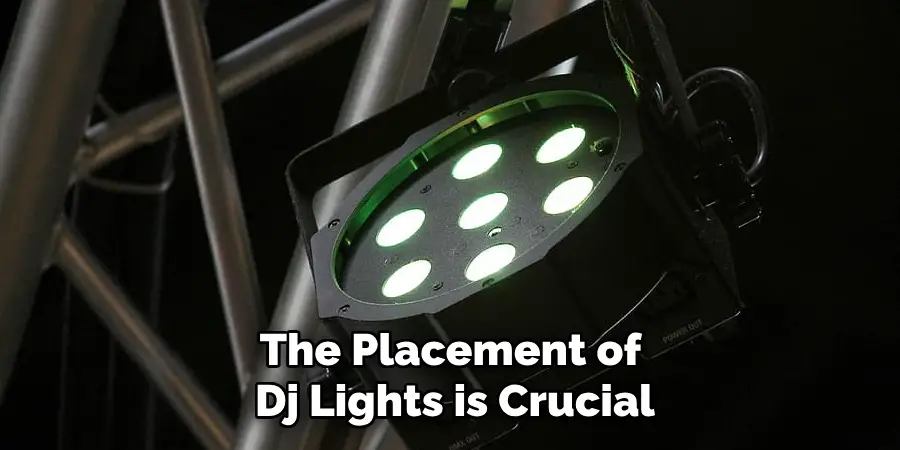
The placement of DJ lights is crucial in achieving the desired ambiance and visual impact. Strategic positioning can enhance the contours and features of the venue, direct the audience’s attention, and synchronize with the music to create a seamless sensory experience. Proper placement ensures that the lights effectively cover the space, highlight critical areas, and contribute to the overall energy and atmosphere of the performance.
Planning Your Lighting Setup
Assessing the Venue:
Effective lighting starts with a thorough assessment of the venue. Understand the space by noting the dimensions, ceiling height, and structural features such as beams, trusses, and walls. Identify potential mounting points that are strong and secure. Consider obstacles like low ceilings, pillars, or uneven surfaces that might influence light placement and coverage. Evaluating the venue’s layout will help you visualize where each light can be positioned to best complement the space and enhance the performance.
Designing the Layout:
Begin designing your lighting layout by determining the best positions for various types of lights to achieve your desired effects. Spotlights and moving heads should be placed to highlight key areas, such as the DJ booth and the dance floor, or to create dramatic focal points. Wash lights can be distributed evenly to provide broad illumination and color across the venue. Lasers and effect lights should be strategically positioned to project patterns and shapes where they will be most visible and impactful. Consider sight lines and audience flow, ensuring that lights are not obstructed and can effectively enhance the overall ambiance.
Safety Considerations:
Safety is paramount when planning your lighting setup. Ensure that all electrical connections are secure and capable of handling the load of your lighting equipment. When mounting lights, use proper clamps and hardware rated for the weight of the lights, and double-check all connections to avoid the risk of falling equipment. Routing cables carefully can prevent tripping hazards and accidental unplugging during the performance. Employ safety cables and check mounting points regularly to ensure stability over time. By prioritizing safety, you can create an impressive and secure lighting setup that enhances the DJ performance without compromising the well-being of the audience and staff.
Assessing the Venue:
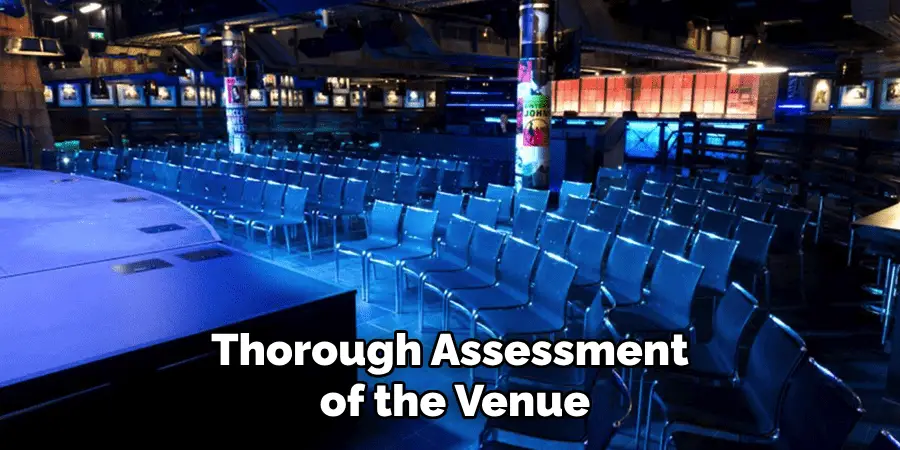
Effective lighting starts with a thorough assessment of the venue. Understand the space by noting the dimensions, ceiling height, and structural features such as beams, trusses, and walls. Identify potential mounting points that are strong and secure. Consider obstacles like low ceilings, pillars, or uneven surfaces that might influence light placement and coverage. Evaluating the venue’s layout will help you visualize where each light can be positioned to best complement the space and enhance the performance.
Designing the Layout:
Begin designing your lighting layout by determining the best positions for various types of lights to achieve your desired effects. Spotlights and moving heads should be placed to highlight key areas, such as the DJ booth and the dance floor, or to create dramatic focal points. Wash lights can be distributed evenly to provide broad illumination and color across the venue. Lasers and effect lights should be strategically positioned to project patterns and shapes where they will be most visible and impactful. Consider sight lines and audience flow, ensuring that lights are not obstructed and can effectively enhance the overall ambiance.
Safety Considerations:
Safety is paramount when planning your lighting setup. Ensure that all electrical connections are secure and capable of handling the load of your lighting equipment. When mounting lights, use proper clamps and hardware rated for the weight of the lights, and double-check all connections to avoid the risk of falling equipment. Routing cables carefully can prevent tripping hazards and accidental unplugging during the performance. Employ safety cables and check mounting points regularly to ensure stability over time. By prioritizing safety, you can create an impressive and secure lighting setup that enhances the DJ performance without compromising the well-being of the audience and staff.
Choosing the Right Mounting Equipment
Lighting Stands:
Selecting the appropriate lighting stands is key to creating a stable and versatile lighting setup. There are several types of stands to consider, each with its own advantages:
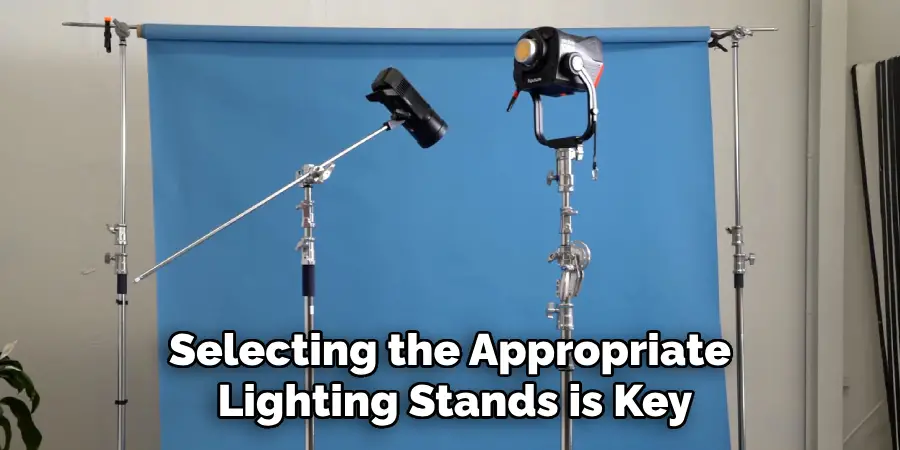
- Tripod stands: Tripod stands are widely used for their simplicity and ease of setup. They are highly adjustable and can accommodate various heights, making them suitable for many venues. Their portability and lightweight design make them ideal for mobile DJs and smaller shows.
- T-bar stands: T-bar stands provide a horizontal bar on top of a tripod stand, allowing for multiple lights to be mounted on a single stand. This arrangement maximizes space and provides better light distribution across the venue. They are particularly advantageous for creating symmetrical lighting effects and can be a cost-effective solution for medium-sized venues.
Trusses:
For larger setups or more complex lighting arrangements, trusses offer numerous benefits.
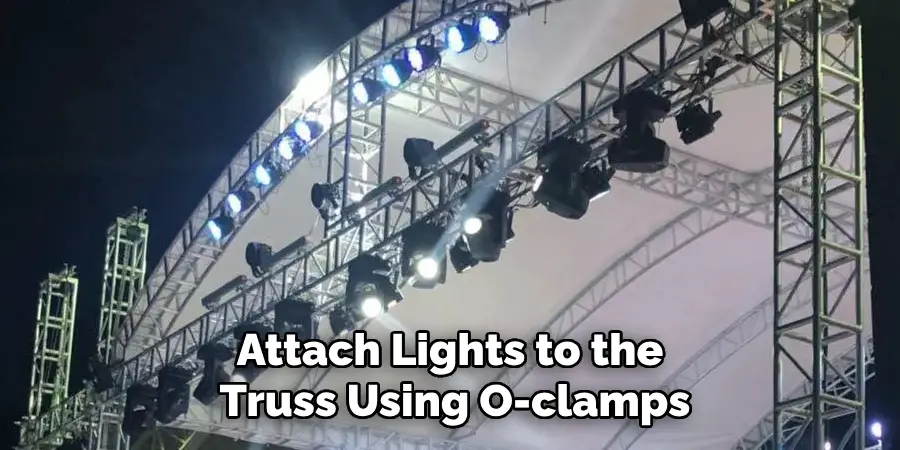
- Benefits of using trusses: Trusses provide greater stability and load-bearing capacity compared to standard lighting stands. They allow for intricate lighting designs, where multiple lights and effects can be mounted at various heights and angles. Trusses are ideal for larger venues and outdoor events where robust and expansive lighting setups are required. They also offer enhanced aesthetic appeal, contributing to the overall visual impact of the performance.
Clamps and Brackets:
Securing lights to stands or trusses requires reliable clamps and brackets.
- Types of clamps: Various types of clamps ensure your lights are safely mounted, such as C-clamps and O-clamps. C-clamps are versatile and commonly used for attaching lights to trusses and T-bars. O-clamps, also known as wrap-around clamps, provide a secure grip around round trusses and tubing, ensuring stability.
- Brackets: Brackets allow for the secure mounting of lights to stands and trusses. They come in various designs, accommodating different light fixtures and providing adjustable angles for precise light positioning.
Safety Cables:
The importance of safety cables cannot be overstated.
- Importance of using safety cables: Safety cables serve as an essential safety measure to prevent lights from falling if a clamp or bracket fails. By securing the light fixture to the stand or truss, safety cables provide an extra layer of security, protecting both the equipment and the audience. Always use appropriately rated safety cables and regularly inspect them for wear and tear to ensure they maintain their integrity over time.
How to Mount DJ Lights: Step-by-Step Guide
Mounting on Lighting Stands:
- Positioning the stand:
- Setting up the stand in a stable location:
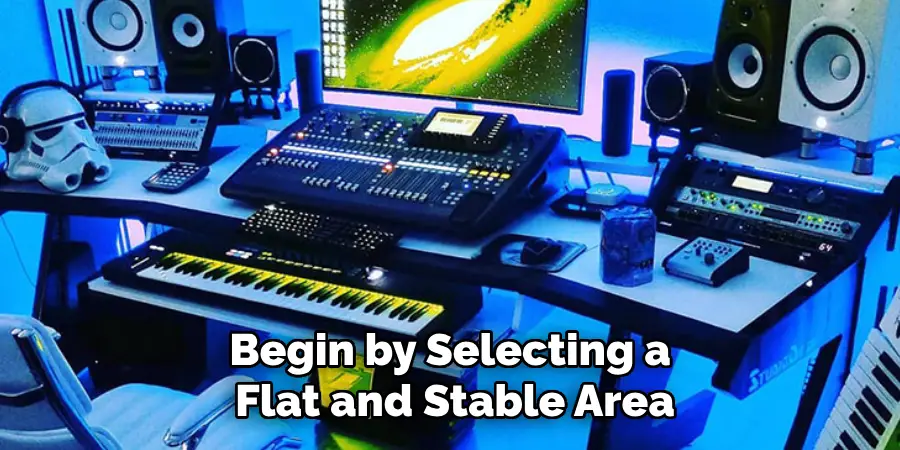
Begin by selecting a flat and stable area to set up your lighting stand. Ensure it is away from high-traffic areas to avoid accidental bumps or trips. Extend the legs of the tripod fully and lock them in place for maximum stability.
- Attaching lights:
- Securing lights to the T-bar or crossbar using appropriate clamps:
Carefully mount your lights onto the T-bar or crossbar at the top of the stand. Use C-clamps or other suitable clamps designed for your light fixtures. Attach the clamps securely to avoid any movement or slippage.
- Adjusting angles:
- Fine-tuning the angle and direction of the lights for optimal coverage:
Once the lights are attached, adjust their angles to ensure they illuminate the desired areas effectively. Tighten the clamps once you achieve the ideal positioning, making small adjustments as necessary during your final checks.
Mounting on Trusses:
- Setting up the truss:
- Assembling and positioning the truss securely:
Assemble the truss according to manufacturer instructions, ensuring all parts are firmly connected. Position the truss securely in your venue using stable support structures or stands.
- Attaching lights to the truss:
- Using clamps to attach lights to the truss at desired intervals:
Attach lights to the truss using O-clamps or other appropriate mounting hardware. Space the lights evenly, taking care to distribute the weight across the truss.
- Ensuring stability:
- Double-checking all connections and securing with safety cables:
Verify that all clamps are tight and secure. Use safety cables to secure each light fixture to the truss as an added safety measure. Inspect the setup to ensure nothing is loose or unstable.
Ceiling or Wall Mounting:
- Choosing mounting points:
- Identifying strong, secure points for mounting:
Locate beams, studs, or other strong structural elements within the ceiling or walls where lights can be safely mounted. Avoid weak or hollow areas that may not support the weight.
- Installing mounting hardware:
- Drilling holes and installing anchors or mounts:
Drill appropriate holes and insert anchors or mounting hardware rated for the weight of your lighting fixtures. Ensure all mounts are securely fastened to the structure.
- Attaching lights:
- Securing lights to the mounts and adjusting angles:
Attach the lights to the mounted hardware, ensuring they are tightly secured. Adjust the angles to achieve the desired lighting effect and tighten all connections to prevent movement.
Wiring and Power Management
Power Sources:
- Identifying power sources and ensuring they can handle the load:
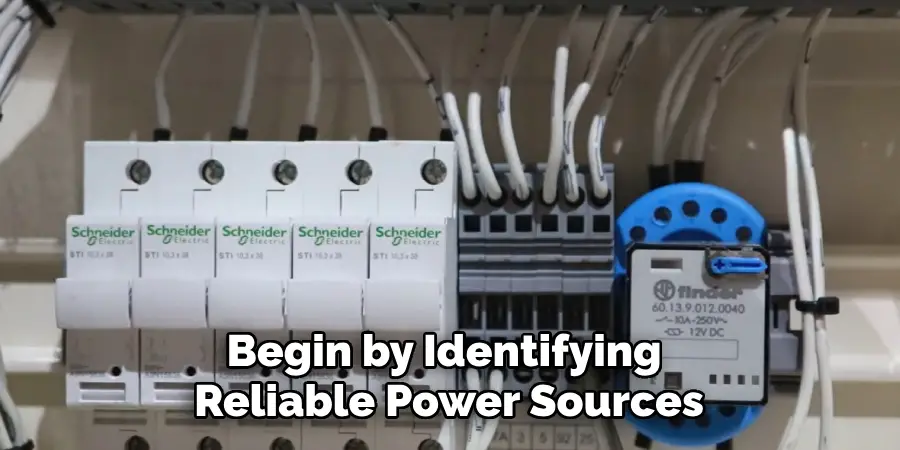
Begin by identifying reliable power sources within your venue. Calculate the total power consumption of your lighting setup to ensure the available outlets can handle the load without tripping breakers. If necessary, distribute the load across multiple circuits to avoid overloading any single source. Always use power sources that comply with local electrical codes and regulations.
Cable Management:
- Using cable ties and organizers to keep cables neat and prevent tripping hazards:
Proper cable management is essential for both safety and aesthetics. Use cable ties and organizers to bundle and route cables neatly. This not only prevents tripping hazards but also reduces the risk of cables being accidentally unplugged or damaged. Label each cable clearly to simplify troubleshooting and maintenance. Run cables along walls or use cable ramps to protect them in high-traffic areas.
Connecting Lights:
- Properly connecting lights to power sources and control systems (e.g., DMX controllers):
Connect each light fixture to the power source, ensuring the plugs and sockets are compatible and securely fitted. Connect the lights to the DMX controller using appropriate DMX cables for DMX-controlled lighting. Follow the correct daisy-chaining procedures for DMX lighting, and ensure terminators are used at the end of the chain to prevent signal loss. Double-check all connections to ensure they are secure and free from damage.
Safety Checks:
- Ensuring all connections are secure and testing the setup before use:
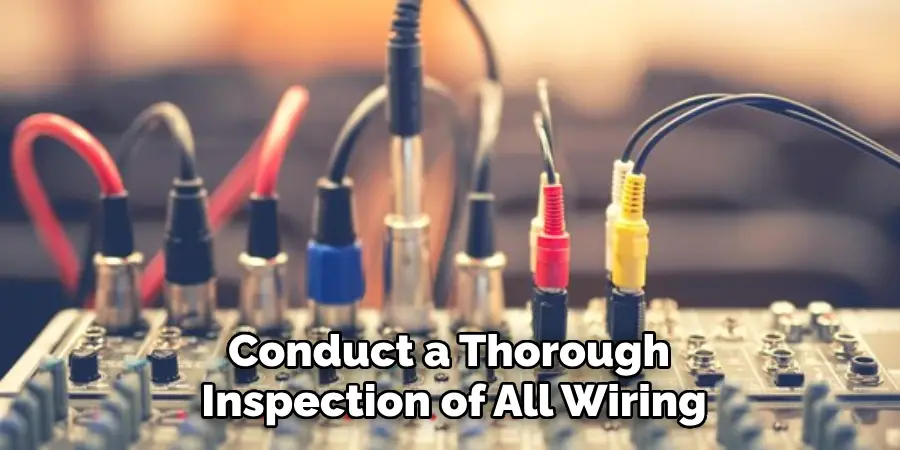
Conduct a thorough inspection of all wiring and connections before powering up the system. Check that all plugs are fully inserted and secured to prevent disconnections during use. Test each light individually and then as part of the overall system to ensure everything operates correctly. Address any issues immediately to prevent potential hazards or malfunctions during your event. Regularly inspect and maintain the setup to ensure long-term safety and performance.
Adjusting and Testing the Lights
Initial Adjustments:
- Setting up initial positions and angles for each light:
Begin by positioning each light fixture according to the design plan. Aim the lights at their intended targets, such as the dance floor, stage, or specific areas of the venue. Adjust the angles to cover the desired areas uniformly and avoid unwanted shadows or glares. Use a light meter, if available, to measure the intensity of the light and ensure even distribution across the intended areas.
Testing Light Effects:
- Running tests to check light effects and coverage:
Once the initial setup is complete, run a series of tests to check how each light behaves. Activate different light effects, patterns, and colors to observe their performance. Walk around the venue to inspect the coverage and ensure that all areas are lit as planned. Test any moving lights through their full range of motion to confirm they operate smoothly and without obstructions. Use this opportunity to identify any dark spots or overly bright areas that may need adjustment.
Fine-Tuning:
- Making necessary adjustments to angles, positions, and settings for the best performance:
Based on the test results, make fine adjustments to the angles, positions, and settings of each light. Slightly reposition fixtures to improve coverage and eliminate any unwanted shadows or glare. Adjust the dimming levels for a balanced lighting intensity across the venue. If applicable, reprogram light sequences and effects to synchronize better with the event’s needs. Finally, conduct another round of tests to ensure that all adjustments have achieved the desired outcome and that the lighting setup enhances the overall atmosphere of the event.
Maintenance and Troubleshooting
Regular Maintenance:
- Cleaning lights and checking mounts and cables regularly:
To ensure the longevity and optimal performance of your lighting setup, perform regular maintenance. Clean the lights to remove dust and debris that can affect brightness and colour accuracy. Inspect all mounts and cables to ensure they are secure and free from wear and tear. Regularly tighten any loose connections and replace damaged components to maintain a safe and reliable lighting system.
Common Issues:
- Identifying and resolving issues like flickering lights, loose mounts, or power problems:
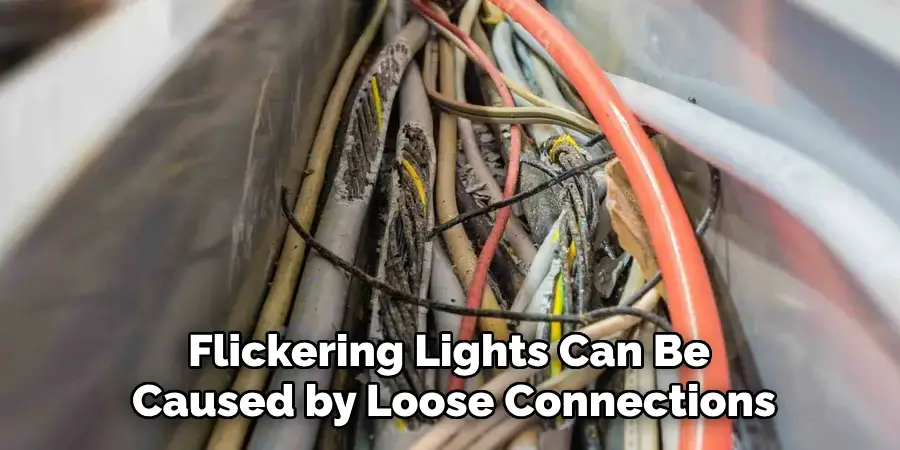
Familiarize yourself with common issues that might arise. Flickering lights can be caused by loose connections, faulty bulbs, or insufficient power supply. Check and tighten all electrical connections and replace flickering bulbs. Loose mounts can pose safety hazards; regularly test the stability of mounts and secure them as needed. Power problems, such as tripped breakers or overloaded circuits, can also disrupt the lighting setup. Ensure each circuit is not overloaded and distribute the electrical load evenly.
Spare Parts and Backups:
- Keeping spare bulbs, clamps, and cables on hand for quick fixes:
Having a stockpile of essential spare parts ensures quick resolutions to common issues. Keep spare bulbs, clamps, and cables on hand to replace faulty components without delay. This preparedness allows for immediate corrections during an event, maintaining smooth operation and preventing prolonged downtime. Always test spare parts before use to confirm their functionality.
Conclusion
Proper mounting of DJ lights is crucial for ensuring both safety and maximum performance at any event. By following the outlined guidelines, you can significantly reduce the risk of accidents and enhance the overall lighting effect. Remember, consistent maintenance and attention to detail, such as using appropriate mounts and managing cables properly, play vital roles in the longevity and reliability of your setup.
For anyone asking “how to mount DJ lights,” the key points include securing fixtures, ensuring stable mounts, and handling power and signal cables with care. Implementing these best practices not only prevents technical issues but also elevates the atmosphere, creating memorable experiences for attendees. By investing time and diligence in correctly mounting your DJ lights, you set the stage for a smooth, visually stunning performance that can truly elevate your DJing to the next level.

