Neon signs are a popular choice for decorative lighting, adding a vibrant and eye-catching touch to homes, businesses, and events. Their glowing designs and customizability make them a unique way to showcase personality or branding. However, knowing how to mount a neon sign correctly is essential for ensuring both safety and long-lasting functionality. Improper installation can lead to instability, potential damage to the sign, or even safety hazards.

This article will provide a comprehensive, step-by-step guide to securely mounting a neon sign on various surfaces. By following these instructions, you can ensure your neon sign is both visually appealing and safely displayed in the desired location. Whether you’re a homeowner, business owner, or event planner, this guide will help you make the most of your neon sign investment.
Choosing the Right Location for Your Neon Sign
Selecting the ideal location for your neon sign is crucial to ensure it stands out and performs safely. Here are the key factors to consider:
Visibility and Height
To maximize impact, place your neon sign where it is visible, such as at eye level in busy areas or above entryways for greater prominence. Carefully consider the height to ensure people can easily view it without obstruction, and balance placement with your overall décor or branding.
Proximity to Power Outlets
Your neon sign will require a power source, so choose a spot near a conveniently located outlet. If necessary, plan for extension cords or concealed wiring to maintain a clean and professional appearance.
Surface Types
Different surfaces may require specific installation methods. For drywall, anchors or screws provide stability, while adhesives or specialized mounting kits work better for smooth surfaces like metal or glass. For brick or wood, use the appropriate fasteners or drill points for a secure installation.
Environmental Considerations
Determine whether the sign will be mounted indoors or outdoors. Outdoor placements may need weatherproofing to protect against rain, wind, and temperature changes. Additionally, avoid mounting your neon sign in areas with excessive moisture unless it is waterproof to prevent damage or hazards.
Materials and Tools Needed
When preparing to mount a neon sign, having the right materials and tools on hand ensures a smooth and secure installation. Below is a list of essential tools and optional supplies that may be required based on your specific mounting setup.
Essential Tools
- Power drill and appropriate drill bits: These are necessary for creating holes in walls, especially those made of brick, wood, or concrete.
- Screws, anchors, or hooks: Choose these based on the type of wall where you’ll mount the sign, ensuring they are suitable for the material.
- Level: To ensure the sign is aligned correctly and straight during installation.
- Measuring tape: This helps accurately measure dimensions and placement points for the sign.
- Pencil: Use it to mark the drilling or mounting points on the wall.

Optional Supplies
- Mounting brackets or standoff hardware: Some neon signs come with these, and they can enhance stability and aesthetics during installation.
- Zip ties or cable clips: Use these to manage cords and keep wires neat and out of sight.
Preparing these tools and supplies in advance ensures the installation process is efficient and minimizes errors, leaving you with a perfectly mounted neon sign.
Preparing the Wall and Sign
Wall Preparation
Before mounting your neon sign, it’s essential to prepare the wall surface properly to ensure a secure and stable hold. Start by cleaning the wall with a damp cloth to remove dust, grease, or debris that might interfere with adhesion or hardware stability. If you’re mounting the sign on drywall and it’s cumbersome, use a stud finder to locate studs. Mounting directly into studs provides greater support and can prevent the sign from becoming dislodged over time. If studs aren’t available, consider using wall anchors rated to support the weight of your neon sign as an alternative.
Sign Preparation
Carefully inspect your neon sign to identify its mounting holes or hanging hardware. These are usually pre-drilled points or hooks designed for effortless installation. Measure the dimensions of your sign and determine the ideal placement on the wall. Use a tape measure and a level to mark the exact spots where the mounting points will go. Double-check that these marks align properly to ensure the sign hangs straight. Proper preparation on both the wall and the sign will save time during installation and ensure your neon sign looks professional and secure.
How to Mount a Neon Sign: Mounting Methods Based on Surface Type
Mounting on Drywall
If your neon sign needs to be mounted on drywall and there is no stud behind the mounting area, wall anchors are essential. Begin by drilling holes at the marked points and inserting the wall anchors. These anchors provide additional stability and prevent the screws from loosening over time. Once the anchors are securely in place, attach the screws and mount the sign. Double-check that the sign is level and securely fastened.
Mounting on Brick or Concrete
For brick or concrete surfaces, use masonry drill bits to create holes at the marked positions. Insert concrete anchors designed for these surfaces into the holes, ensuring they fit snugly. Then, fasten screws into the anchors to secure your neon sign in place. The durability of brick and concrete provides excellent support for heavier signs if mounted correctly.

Mounting on Wood
When mounting your neon sign on a wooden surface, the process is straightforward. Drill directly into the wood using wood screws, as anchors are unnecessary for solid wood. Ensure the screws are tightened adequately to hold the sign firm. This method works well for both bare wooden walls and wooden paneling.
Command Strips or Adhesive Hooks (for Lightweight Signs)
For smaller neon signs that weigh just a few pounds, Command strips or adhesive hooks can be a practical solution. Ensure the surface is clean and dry before application to achieve a strong bond. Follow the manufacturer’s weight limits and instructions for best results. This option is ideal for renters or those who prefer not to drill.
Securing and Hanging the Neon Sign
Using Built-in Hanging Hardware
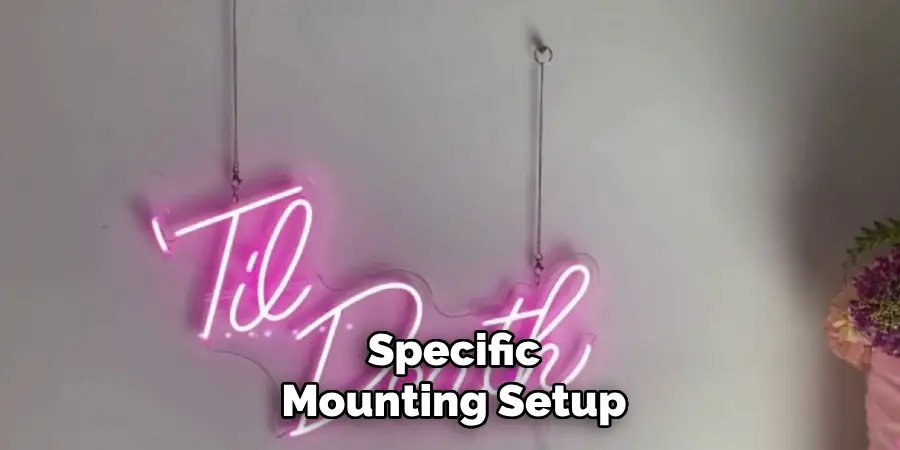
Many neon signs come equipped with pre-installed holes or brackets designed to make hanging them a straightforward task. Begin by identifying the mounting points on your neon sign and ensuring they align with your desired wall placement. Use a pencil to mark the spots where screws or nails will go, ensuring the marks are level.
Installing Mounting Brackets
If your neon sign requires mounting brackets, start by attaching the brackets to the wall. Use a drill and appropriate screws or anchors to secure them firmly, especially if the sign is heavier. Be sure to check the weight limits of both the brackets and the hardware used. Once the brackets are in place, carefully attach the neon sign onto them, ensuring a snug and secure fit.
Adjusting and Leveling
Before fully tightening screws or securing the sign in place, use a level to confirm that the sign is straight. This step is crucial for achieving a professional-looking display. Adjust as necessary, then tighten everything to eliminate wobbling or unevenness.
Cable Management
To maintain a polished appearance, manage the power cords efficiently. Use zip ties, cable clips, or a wire conduit to secure the cords neatly along the wall. This not only improves aesthetics but also reduces the risk of tripping hazards and ensures the power supply remains easily accessible. Proper cable management completes the installation process, leaving your neon sign looking clean and professionally mounted.

Testing and Safety Tips
Testing the Sign
After completing the installation, plug in the neon sign to confirm it lights up correctly. Check for any dim or unlit sections that might indicate connectivity issues. If you notice any problems, double-check the power source and ensure all connections are secure.
Safety Checks
Ensure the neon sign is firmly secured to its mounting surface, with no wobbling or loose fixtures. Cords should be neatly managed and kept away from high-traffic areas to avoid tripping hazards. Additionally, if you are installing multiple neon signs, be cautious not to overload electrical outlets, as this can pose a fire risk. Use surge protectors where necessary to protect your signs and electrical system.
Routine Maintenance
To keep your neon sign in excellent condition, dust it regularly with a soft, dry cloth. Avoid using harsh cleaners or abrasive materials that may damage the surface. Periodically inspect the mounting points and power cords for signs of wear or loosening. Addressing minor issues promptly ensures the longevity of the sign and maintains its vibrant appearance.
Alternative Display Options for Neon Signs
Mounting to a Stand or Frame
For renters or individuals who prefer temporary setups, mounting neon signs to a stand or frame is a practical solution. This option eliminates the need for drilling into walls, making it versatile and gentle on surfaces. Portable stands are easy to relocate, offering flexibility for events, photoshoots, or changing room designs.
Freestanding Neon Signs
Freestanding neon signs are an excellent choice for those seeking portability and style. These signs are often mounted inside clear acrylic cases or integrated into sturdy, movable frames. This design ensures safety while allowing the sign to stand independently, making it perfect for exhibitions, retail displays, or home decoration.
Magnetic or Suction Mounting
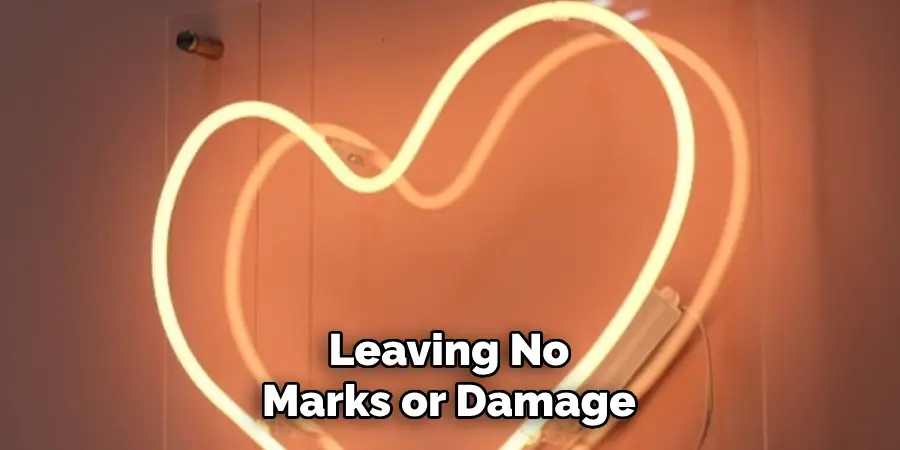
For windows or metallic surfaces, magnetic or suction mounting provides a convenient and temporary display method. Ideal for storefronts or short-term advertising campaigns, these mounts are easy to apply and remove, leaving no marks or damage.

Conclusion
Learning how to mount a neon sign securely and safely ensures a lasting and visually appealing display. Start by assessing your wall type to determine whether drilling, adhesive, or magnetic solutions are best suited for the surface. Use high-quality tools and materials appropriate for your chosen method to achieve reliability and stability. Carefully follow each step, from selecting the right mounting style to double-checking your measurements. Finally, take the time to plan the installation layout to create the desired visual impact while ensuring durability, so your neon sign remains a striking feature for years to come.

