Precision is paramount when it comes to installing recessed lighting, and knowing how to measure accurately is the first step towards achieving a well-lit and aesthetically pleasing space. Recessed lighting provides a sleek and unobtrusive way to illuminate various areas in a room, but determining the right measurements is crucial for a successful installation.
In this guide, we will delve into how to measure for recessed lighting, covering essential aspects such as spacing, placement, and fixture size. Whether you’re updating an existing lighting layout or embarking on a new installation project, understanding how to measure effectively ensures a harmonious balance of light and a polished finish.
From calculating the room’s square footage to considering focal points and tasks, this article will equip you with the knowledge needed to confidently measure for recessed lighting and elevate the overall lighting design of your space.
Types of Recessed Lighting
Recessed lighting, also known as can lights or pot lights, is a type of lighting that is installed into the ceiling, creating a clean and modern look. They are popular in both residential and commercial spaces due to their versatility and ability to blend seamlessly with the surrounding decor.
There are different types of recessed lighting available, each serving a specific purpose. These types include:
- Fixed: This is the most basic type of recessed lighting, where the light is fixed in place and cannot be adjusted. It provides general ambient lighting and is suitable for low ceilings or tight spaces.
- Adjustable: As the name suggests, this type allows you to adjust the direction of the light beam, making it perfect for highlighting specific areas or objects such as artwork or architectural features.
- Wall Wash: This type of recessed lighting is designed to cast a broad and even light on the wall, creating a soft wash effect. It is commonly used in hallways, staircases, and other areas where indirect lighting is desired.
- Retrofit: These lights are designed to fit into existing ceilings without the need for any additional wiring or construction. They are a cost-effective option for those looking to upgrade their lighting without major renovations.
- New Construction: This type of recessed lighting is installed during the construction phase of a building, making it more suitable for new builds or major renovation projects.
Can vs. Canless Recessed Lighting
When it comes to choosing the right type of recessed lighting for your home or office, there are two main categories: can and canless. While both options provide a clean and modern look, there are some key differences between the two.
Can Recessed Lighting
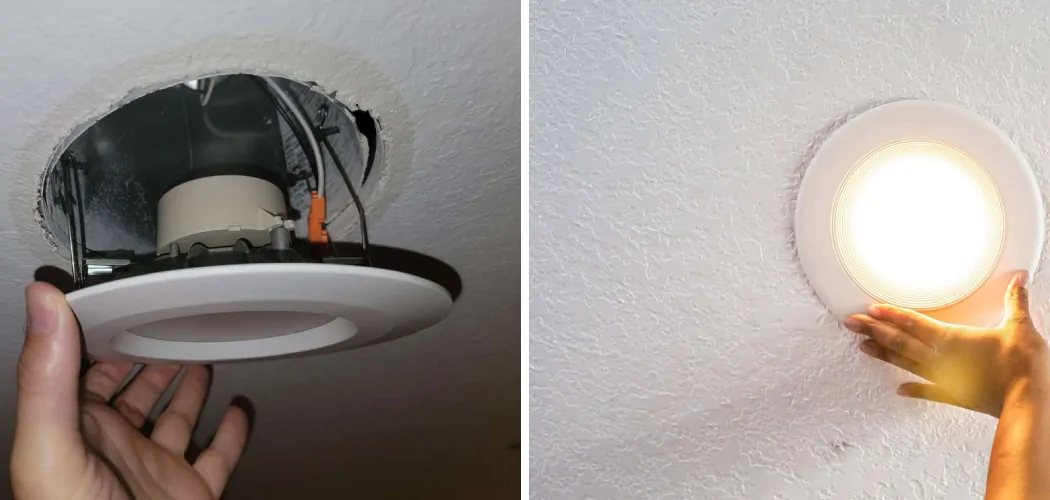
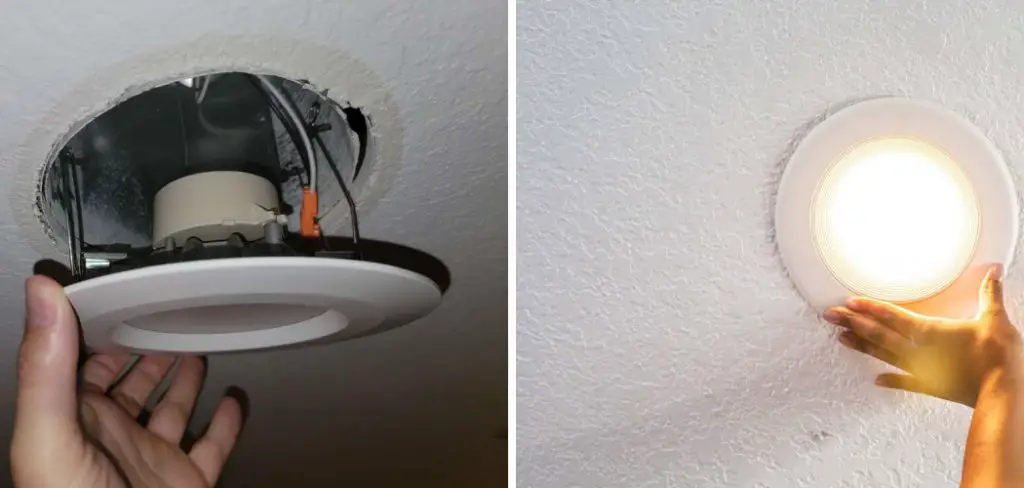
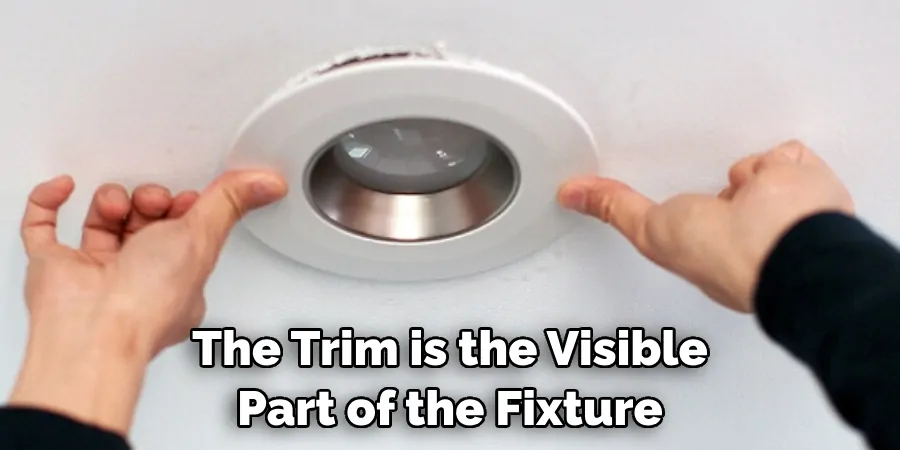
Can recessed lighting is typically made up of three main parts: the housing, trim, and bulb. The housing is the part that gets installed into the ceiling and holds everything together. The trim is the visible part of the fixture that covers the hole in the ceiling and comes in a variety of styles and finishes to match any decor. Lastly, the bulb is what provides light and can be changed out as needed.
Pros
- Easy to Install: Can lights require a hole to be cut in the ceiling for the housing, but this can easily be done with a saw or drywall saw.
- Adjustable: The trim of can lights is adjustable, allowing you to direct the light where it’s needed most.
- Versatile: Can lights come in a variety of sizes and styles, making them suitable for any room or space.
Cons
- Requires More Space: Can lights need enough space above the ceiling to accommodate the housing, which can be challenging in tight spaces.
- Bulbs Need to be Changed: As with any traditional light fixture, bulbs will eventually burn out and need to be replaced.
Canless Recessed Lighting
Canless recessed lighting eliminates the need for a housing and is installed directly into the ceiling without needing to cut a hole. The trim and bulb are still present, but they fit flush against the ceiling.
Pros
- Space-saving: Canless lights do not require any space above the ceiling, making them ideal for tight spaces or rooms with low ceilings.
- Energy Efficient: Without a housing, canless lights have less air leakage and therefore are more energy efficient.
- Easy Maintenance: The bulbs in canless lights are typically designed to last for many years, reducing the need for frequent changes.
Cons
- Limited Adjustability: Canless lights do not have adjustable trim, so the light direction cannot be changed once installed.
- Fewer Options: Canless lights may have limited options when it comes to sizes and styles compared to can lights.
10 Methods How to Measure for Recessed Lighting
1. Determine the Desired Lighting Layout
Before measuring for recessed lighting, it is important to determine the desired lighting layout in the room. This will help you determine how many lights are needed and where they should be placed.
2. Measure the Ceiling Height
The first step in measuring for recessed lighting is to measure the ceiling height. This will help you determine how far apart the lights should be spaced and what size trim and housing will be needed.
3. Find the Center of the Room
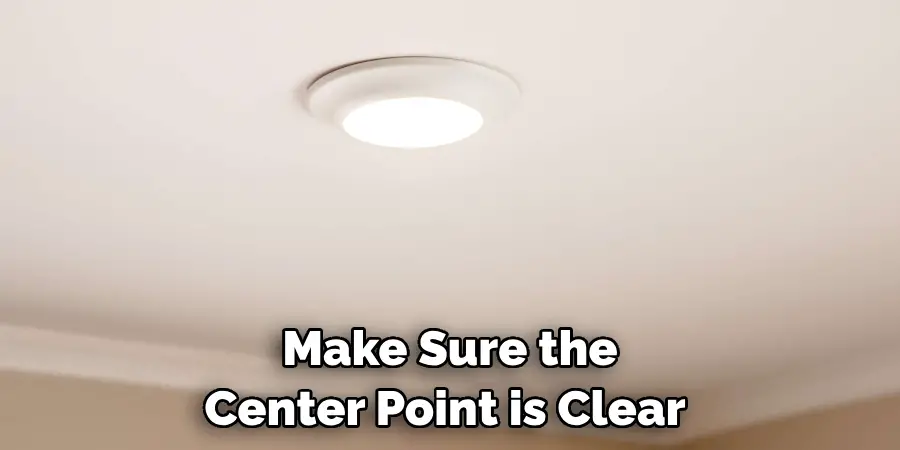
Next, find the center of the room by measuring from wall to wall in both directions and marking where they meet. This will serve as a reference point for placing your lights. Make sure the center point is clear of any obstructions such as ceiling fans or light fixtures.
4. Determine Spacing between Lights
The general rule for spacing between recessed lights is that they should be placed 4-6 feet apart, depending on ceiling height and desired brightness. Use this measurement to place marks on each side of your center point.
5. Measure from Walls
Using your marks as a guide, measure from each wall to ensure that your lights will be evenly spaced from all sides of the room. Adjust the placement of your marks if necessary. To ensure accurate measurements, use a laser level for straight and precise lines.
6. Consider Furniture Placement
If there are any large pieces of furniture in the room, it is important to take them into consideration when measuring for recessed lighting. Make sure to leave enough space between lights and furniture so that they do not interfere with one another.
7. Measure for Size and Type of Trim
Once you have determined where your lights will be placed, measure their diameter to determine what size trim will be needed. You may also want to consider different types of trims, such as baffle or reflector trims, depending on your desired look and functionality.
8. Check for Obstructions
Before installing your recessed lighting, make sure there are no obstructions such as pipes or ductwork in the way that could affect placement or installation. If there are, adjustments may need to be made to your lighting layout.
9. Consider Dimmers or Switches
When measuring for recessed lighting, it is important to also consider the placement of dimmers or switches. Make sure they are easily accessible and in a convenient location. However, be mindful not to place them too close to the lights, as this can cause flickering or buzzing.
10. Consult a Professional
If you are unsure about measuring for recessed lighting or feel uncomfortable doing it yourself, it is always best to consult a professional. They can help ensure that your measurements are accurate and provide guidance on the best placement for your lights.

Things to Consider When Measuring for Recessed Lighting
When it comes to installing recessed lighting, taking accurate measurements is crucial. Whether you are remodeling a room or building a new home, recessed lighting adds a modern and sleek touch to your home’s interior design.
Consider the Room’s Purpose and Layout
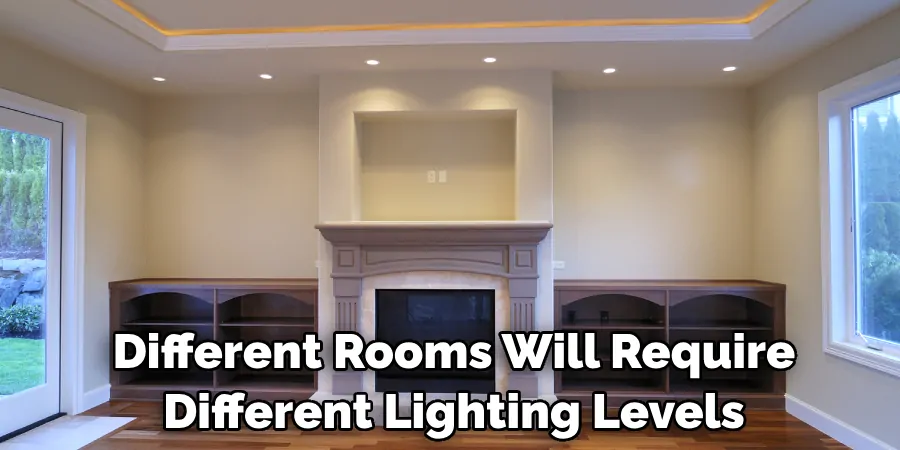
Before you start taking measurements, it is essential to consider the room’s purpose and layout. Different rooms will require different lighting levels and placements. For example, a kitchen may need brighter lighting compared to a bedroom or living room. Additionally, the layout of the room will also determine where you can install recessed lighting.
Determine the Number of Lights Needed
The number of lights needed for a room will depend on several factors, such as the size and shape of the room and the type of lighting you want. For general lighting, the rule of thumb is to have one recessed light for every 4-6 square feet. However, if you are using recessed lighting as task or accent lighting, you may need more lights in specific areas.
Conclusion
Whether you’re renovating your home or just trying to update the lighting in a specific room, understanding how to measure for recessed lighting is crucial for achieving the desired results. So go ahead and put these tips into action today! Measure your space, calculate the number of lights needed, and browse through various styles to find the perfect fit for your space.
Don’t be afraid to seek professional help if needed or try out different options until you find what works best for you. With this knowledge, you can brighten up any space with ease and create a visually pleasing atmosphere that will surely impress anyone who steps foot in your home. So let’s start measuring and bringing some light into our lives today!

