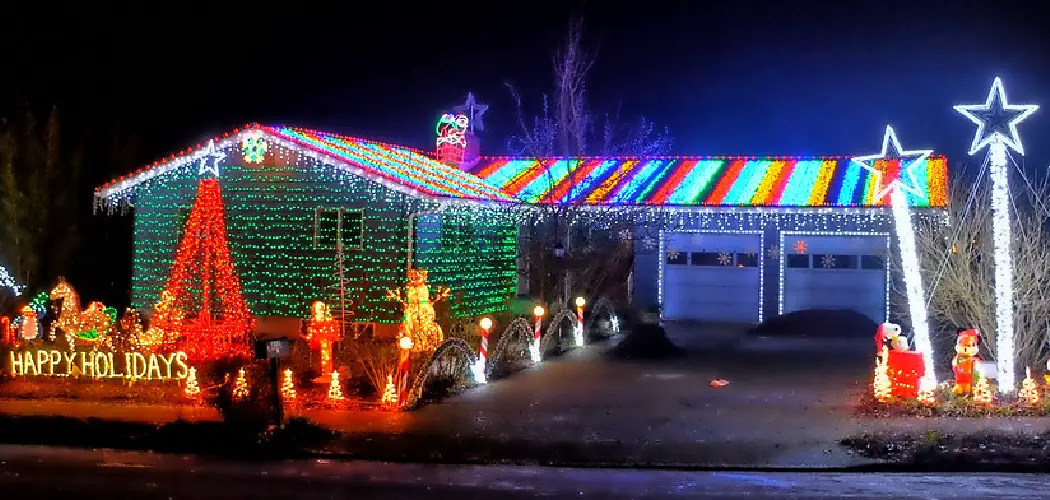
Tis the season to get creative and make your own DIY Christmas lights! Instead of settling for shop-bought versions, why not surprise everyone with a unique, custom set that you made yourself? We’ll show you how to make your own Christmas lights.
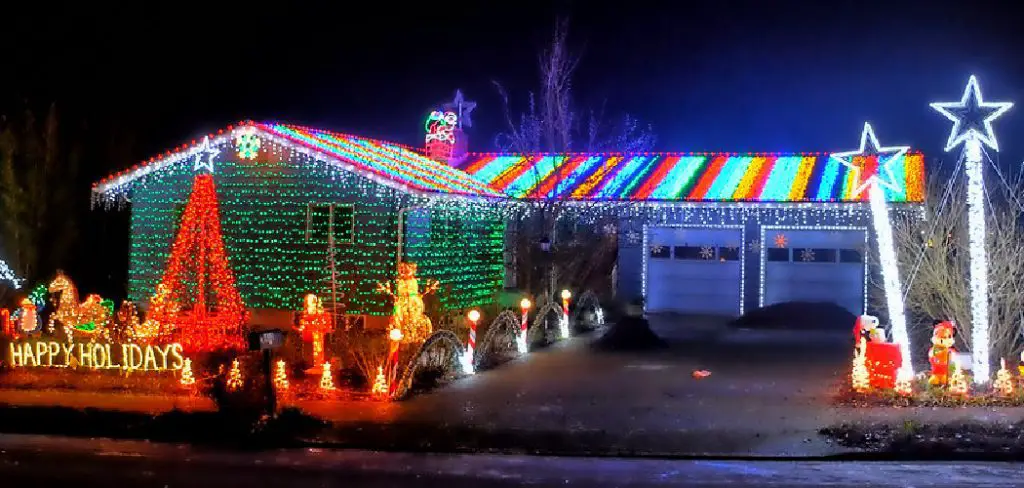
With some planning and preparation, homemade Christmas lights can become a beautiful part of your holiday decoration – sparkly, twinkling reminders of happy memories to come. Press play on the festive tunes and let’s get started!
Why May You Want to Make Your Own Christmas Lights?
1 . To Save Money
One of the main reasons why people make their own Christmas lights is to save money. Buying pre-made Christmas lights can be quite expensive, especially if you want something unique or high-quality. By making your own, you can control the cost and choose which materials to use. This also allows you to customize your lights according to your budget.
2 . To Add a Personal Touch
Making your own Christmas lights gives you the opportunity to add a personal touch and express your creativity. You can choose the colors, styles, and patterns that reflect your personality or match your home decor. It’s a great way to make your holiday decorations stand out and add a unique touch to your home.
3 . To Bond with Family and Friends
Christmas is all about spending time with loved ones, and making your own Christmas lights can be a fun activity to do together. It’s a great way to bond with family and friends while creating something special that you can use for years to come. You can even turn it into a yearly tradition and make new memories each holiday season.
4 . To Be Environmentally Friendly
Many pre-made Christmas lights are made with plastic and other materials that can harm the environment. By making your own lights, you have control over the materials used and can choose sustainable options. This is a great way to reduce your carbon footprint and contribute to a greener planet. Plus, you can recycle and reuse your homemade lights each year.
5 . To Learn a New Skill
Making your own Christmas lights is not only a fun activity but also a chance to learn a new skill. From basic electrical wiring to soldering, there are many techniques involved in creating your own lights. You may even discover a new hobby or passion that you can continue to explore beyond the holiday season.
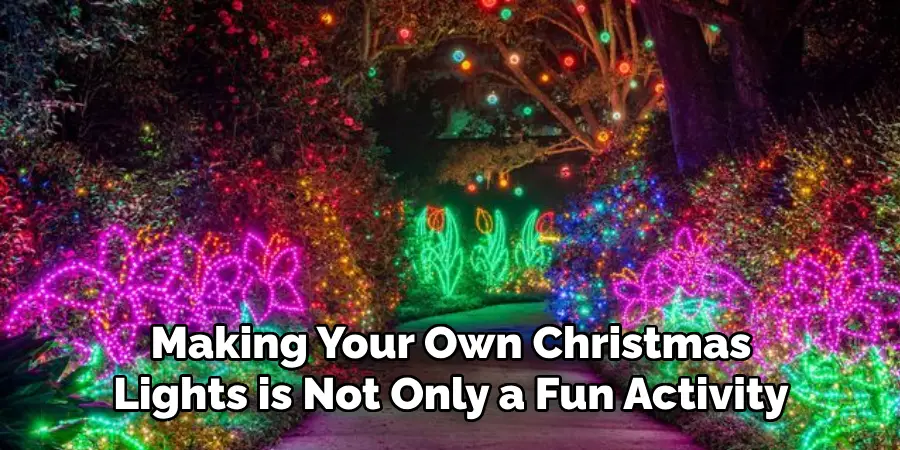
How to Make Your Own Christmas Lights in 5 Easy Steps
Step 1: Gather Your Materials
First, you will need to gather all the necessary materials for making your own Christmas lights. These include:
- String lights (LED or incandescent)
- Paper lanterns or cups
- Scissors
- Glue or tape
- Decorative items (such as ribbons, glitter, beads)
Step 2: Measure and Cut the String Lights
Before you start attaching the string lights to the lanterns or cups, you will need to measure and cut them to the desired length. Make sure to leave enough room at the end for plugging in the lights.
Step 3: Decorate the Paper Lanterns or Cups
This step is where you can get creative and add your own personal touch to the Christmas lights. You can use ribbons, glitter, beads, or any other decorative item to add some sparkle and color to the lanterns or cups.
Step 4: Attach the String Lights
Once you have decorated the lanterns or cups, it’s time to attach the string lights. You can use glue or tape to secure them onto the surface of each lantern or cup. Make sure to evenly distribute the lights and leave enough space between each one for a balanced look.
Step 5: Hang and Display Your Homemade Christmas Lights
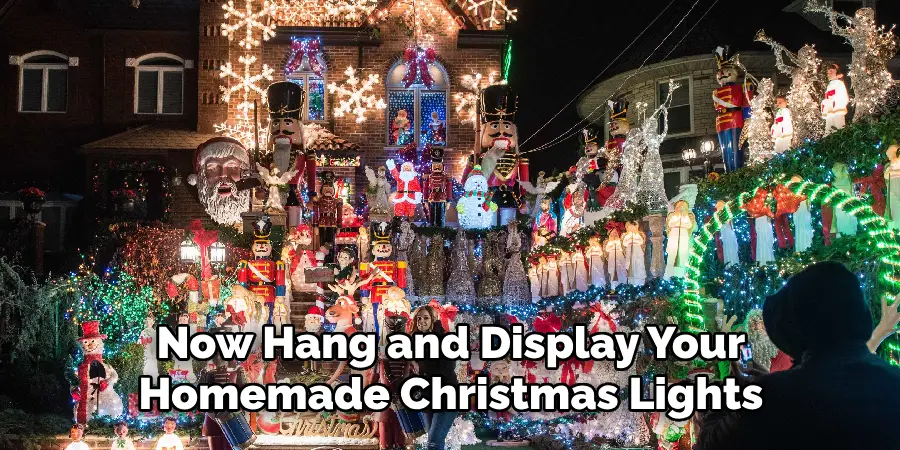
After all the lights are attached, you can now hang and display your homemade Christmas lights! You can hang them on your tree, along the walls or ceilings, or anywhere else you want to add some festive cheer.

Some Extra Tips to Make Your Own Christmas Lights
1 . Recycling Old Lights
If you have old strands of lights that are no longer functioning, don’t throw them away! Use the bulbs and wires to create new light decorations. You can easily replace broken bulbs or add more light sockets to a strand by using pliers and some patience. This is not only an environmentally friendly option but also saves you money from buying new strands of lights.
2. Decorating with Your Favorite Characters
Instead of using traditional Christmas lights, why not decorate your home with your favorite characters such as superheroes, Disney princesses, or even emojis? You can find string lights in different shapes and designs at craft stores or online shops. This will add a unique and personal touch to your holiday decorations.
3. Incorporating Natural Elements
Take your Christmas lights to the next level by incorporating natural elements such as pinecones, berries, or twigs. You can wrap these items around your string lights or attach them with small clips. Not only does this add a rustic and cozy feel to your home, but it also adds texture and depth to your decorations.
4. Using Different Colored Lights
Who says Christmas lights have to be limited to just white or multicolored? Get creative and use different colored lights such as blue, green, or purple. You can even mix and match them for a unique and colorful display. Just make sure to stick with one color scheme to avoid a chaotic look.
5. Creating Lighted Garlands
Instead of buying pre-made lighted garlands, make your own! This allows you to customize the length and style of the garland to fit your specific needs. Simply buy a strand of lights and wrap it around greenery or tinsel. You can also add in other elements such as ornaments or ribbon for extra flair.
6. Experimenting with Different Light Settings
Most Christmas lights come with different settings such as steady, flashing, or fading. Take advantage of these options and play around with different settings to create a unique display. You can even sync the lights to music for an extra festive touch.
7. Adding Lights to Outdoor Decorations
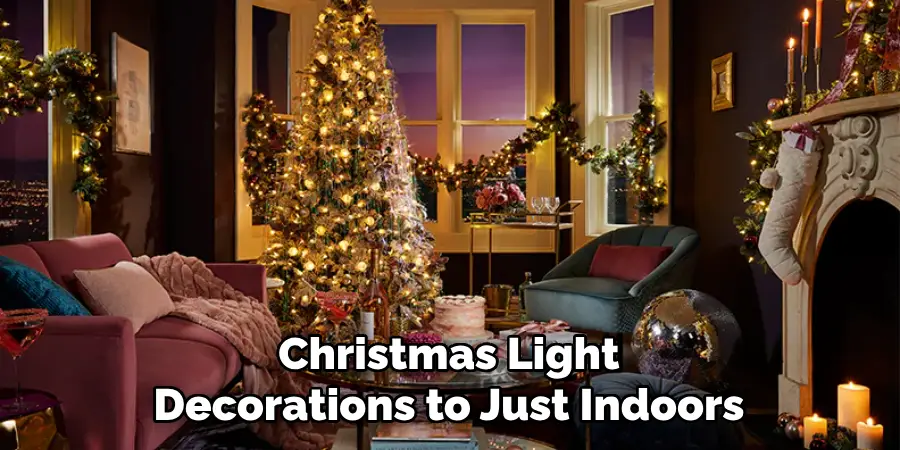
Don’t limit your Christmas light decorations to just indoors. Add some festive cheer to your outdoor decorations by incorporating lights into items such as wreaths, garlands, or even trees in your yard. Make sure to use outdoor-rated lights and secure them properly to withstand harsh weather conditions.
8. Creating Lighted Mason Jars
Mason jars are versatile and budget-friendly item that can be used for various DIY projects, including light decorations. Simply wrap a strand of lights inside the jar and add in some décor elements such as ribbon or fake snow. You can also paint the jars to match your desired color scheme.
9. Making Lighted Centerpieces
Instead of using traditional candles, create unique centerpieces with string lights. Fill a clear vase or bowl with lights and add in other decorative items such as ornaments, pinecones, or flowers. This will add a warm and cozy atmosphere to your holiday table.
10. Safety First
No matter how creative you get with your Christmas lights, always remember to put safety first. Make sure to properly secure all lights, use outdoor-rated lights for outdoor decorations, and never leave them unattended or on overnight. By following these safety precautions, you can enjoy your homemade Christmas lights without any worries.
Frequently Asked Questions
What Precautions Should I Take When Making My Own Christmas Lights?
When making your own Christmas lights, it is important to take certain precautions to ensure the safety of both yourself and others. Here are some tips to keep in mind:
- Always use UL-listed lights and cords: This means that the lights have been tested by Underwriters Laboratories and deemed safe for use. Be sure to check for the UL mark on both the lights and cords.
- Use low wattage bulbs: When making your own Christmas lights, it is best to use bulbs with a lower wattage to prevent overheating and potential fires.
- Inspect all materials before use: Before plugging in your homemade Christmas lights, be sure to inspect all materials for any signs of damage or wear and tear. This includes the lights, cords, and any other decorations or materials you may be using.
- Keep away from water: Water and electricity do not mix, so it is important to keep your homemade Christmas lights away from any sources of moisture.
Can I Customize the Colors of My Christmas Lights?
Absolutely! One of the great things about making your own Christmas lights is the ability to customize them however you want. You can mix and match different colored bulbs, use different types of string or wire, and even add in special effects like blinking or fading lights.
How Much Time Does It Usually Take to Make My Own Christmas Lights?
The time it takes to make your own Christmas lights can vary depending on the complexity of your design and the materials you are using. Simple string lights with a few added decorations may only take an hour or two, while more intricate designs may take several hours or even days to complete.
Conclusion
As you can see, creating your own Christmas lights is a fun and easy process. Taking the time to design, build, and hang up unique customized lights can be a rewarding experience in the end. You have all the tools necessary to create something special that will surely delight your neighbors when they walk by your house at night!
To get started making your own lights, gather the supplies you’ll need and find instructions online or from home improvement store experts. Don’t limit yourself—let your creativity take over and craft an illuminated masterpiece for everyone to enjoy this holiday season! Now you know how to make your own christmas lights. So what are you waiting for? Gather those supplies and begin blazing a new, beautiful twinkling path in your neighborhood now!

